This is part 2, for part 1 of this project, click here. Part 1 left off with the decision to use "hunter green" rustoleum, not shirwin-williams. Now that the color is set in stone, I could add it to my photoshop mockup. A crude rendering is shown below:
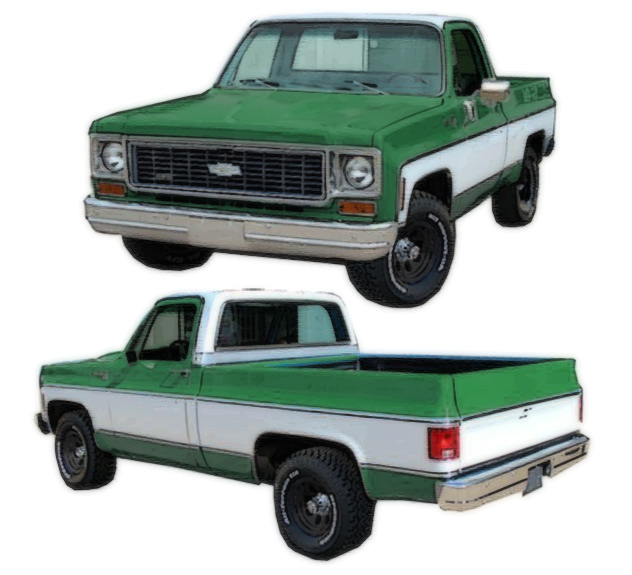
So that's the plan.
Before starting on the green, I applied more white paint to the top of the cab, sides, and tailgate to get 6 or 7 coats.

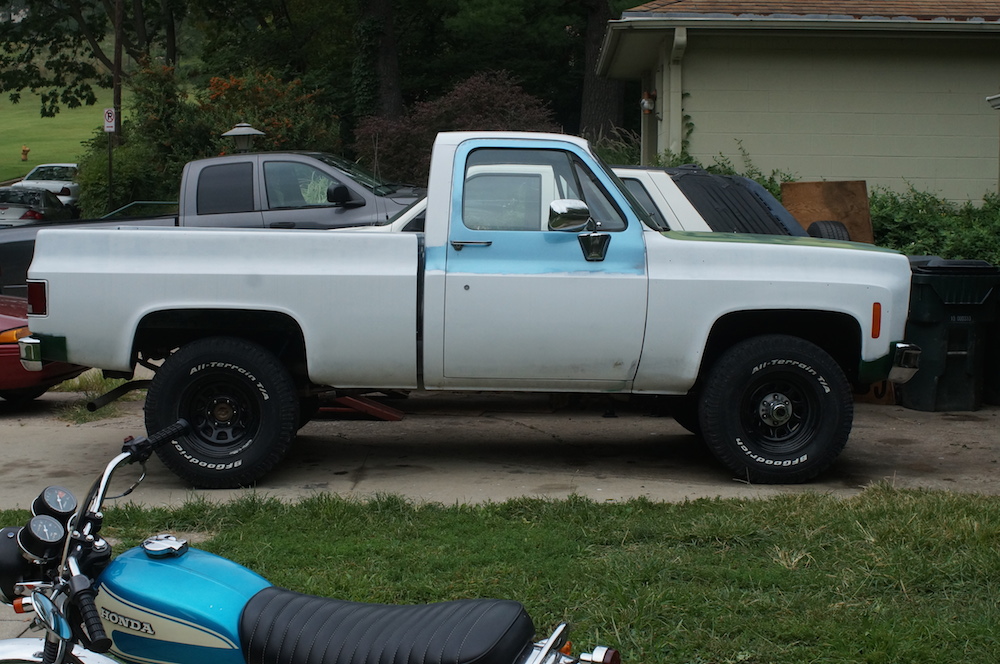
Now I was ready for the green paint.
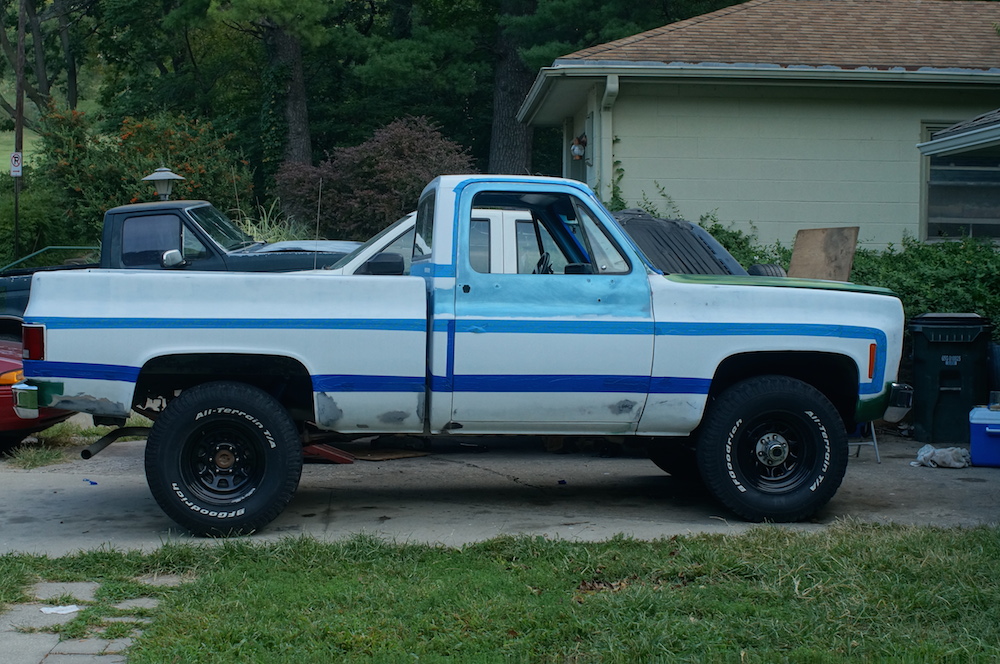
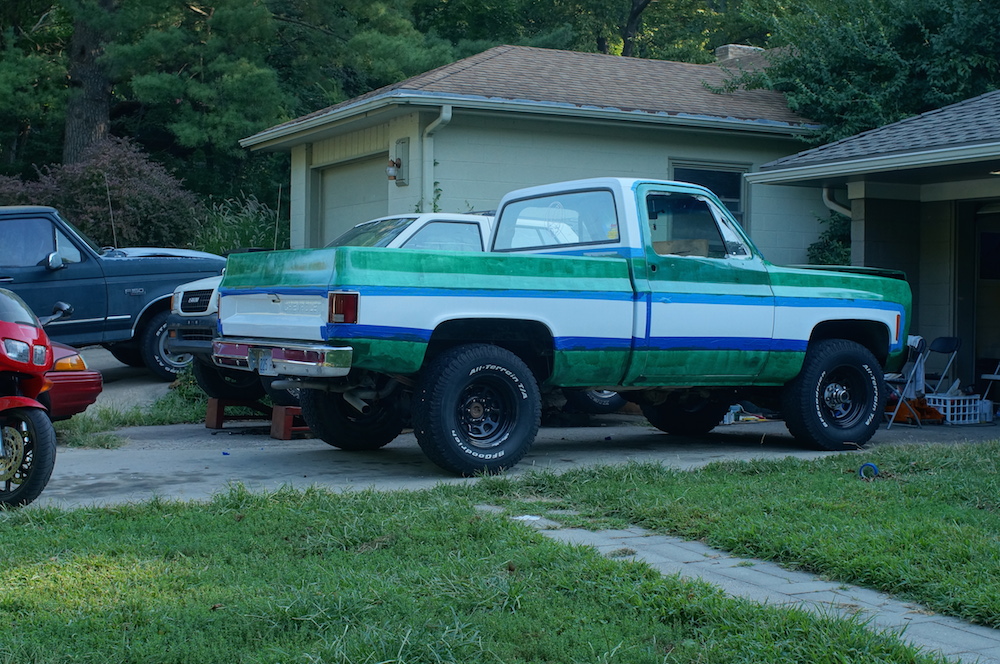
I masked off the white sections first.
I've added one one additive to the mixture: enamel hardener by valspar. It says it helps with UV protection, hardness and dry time and is ideal for adding to tractor implement paint. A little pricey at $20 but you only need a tiny amount and I think it really helps. I recommend it.
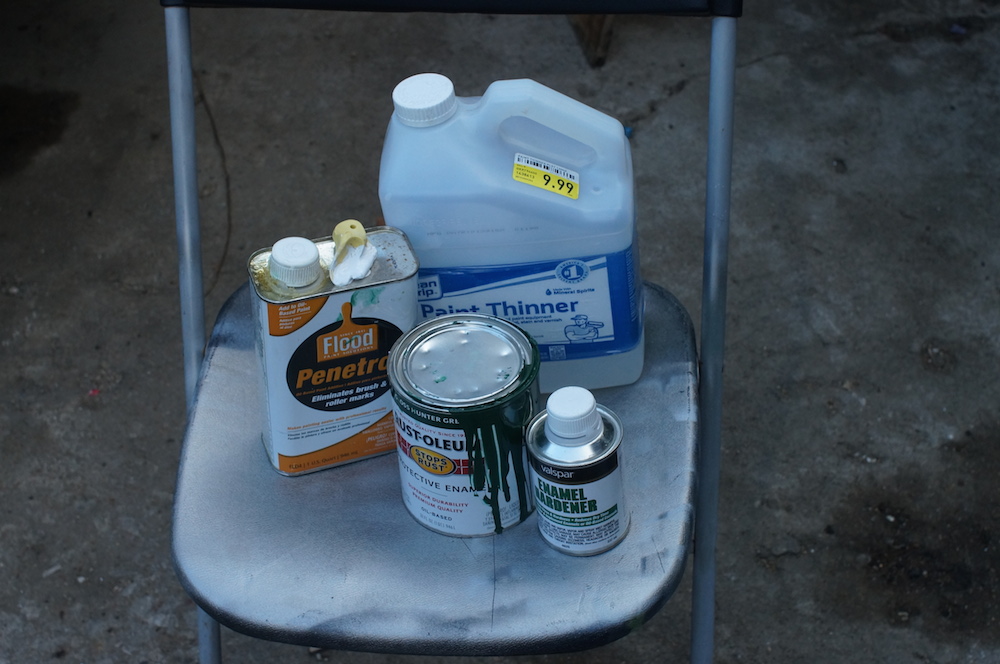
So the mixture I'm using is:
- 8 ounces of rustoleum enamel
- 6 or 7 ounces of paint thinner (you'll need to adjust this to your temp/humidyt, more on that in a bit...)
- 1 ounce of penetrol
- 0.5 ounces of enamel hardener
You'll need a little more if you're painting the whole truck, not just the color section of the two-tone scheme.
After one coat:
I reckon that now would be a good time to talk about how to do this outside in the driveway or where ever. You see, you can't do this in the sun. The sun will cause the paint to "dry" (for a lack of better word) before it has had enough time to flow out nice and flat. You'll get massive orange peel.
There's two times of the day to paint without the sun while also still being able to see: the morning and the evening. But there's a problem with painting in the evening: bugs! I tried painting in the evening once and so many tiny little flies and mosquitoes and even one big moth got stuck in the paint.
So really, there's only one small window of time in the day to paint outside and that is in the wee morning hours. I'm fortunate that a big tree is blocking the sun until precisely 9:35. But also, painting in the morning means the paint will bake in the sun all day long and that's awesome. We want that.
But there's a problem with painting in the morning: condensation!
Never before have I payed so much attention to the dew point, which is the point that the air cannot hold any more water and it condensates out. When the temperate drops and reaches the dew point, the relative humidity reaches 100% and dew condensates on the most vulnerable things outside: vehicles. Basically this means that the dew point must be low enough that there isn't condensation all over the truck in the morning. A shammee helps with a little condensation but it's not going to get the gallon of water that builds up when humidity is at 100% for several hours overnight.
And you obviously can't paint in the rain or snow, and you can't paint when leaves are falling. So, in addition to the small window of time of day that is appropriate for painting outisde and the small window of weather conditions that is appropriate for painting outside, there's only a small window of the time of year that is appropriate for aping outside too!
Sheesh! Hopefully now you understand why it's taken me all summer to get only this far.
Anyways...
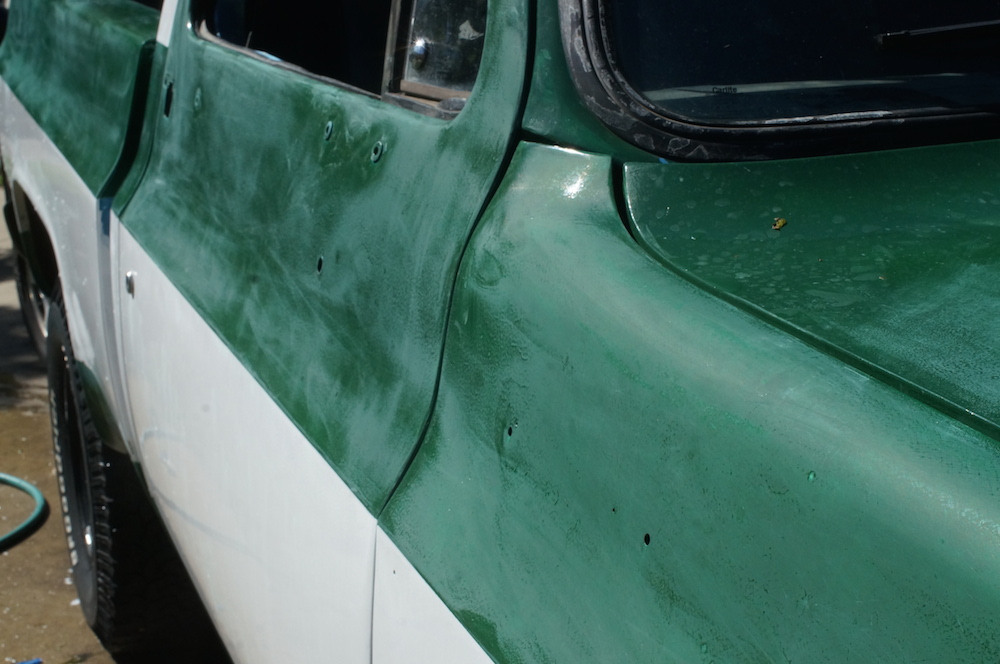
I managed to get three coats on before it rained and ruined my masking job.
Remove the masking tape was not fun. This style of painting might not be the best choice for two-tone paint jobs, because the paint sags into the crease in the tape. I also just suck a prep work I guess because the paint peeled off with the tape is several spots.
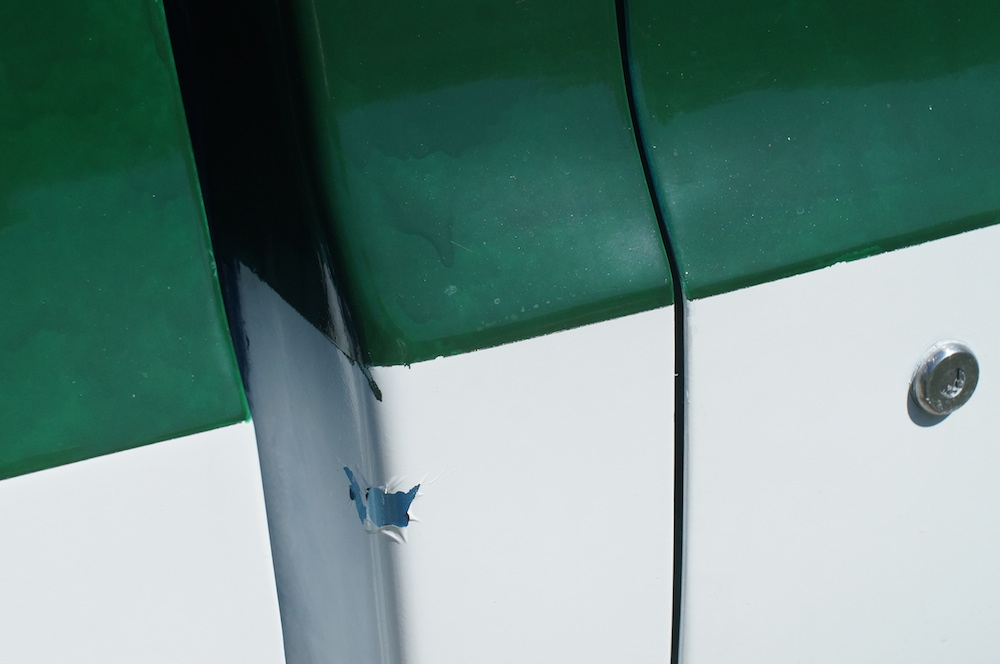
Ouch! I'll fix that later with two or three applications of unthinned white rustoleum enamel.
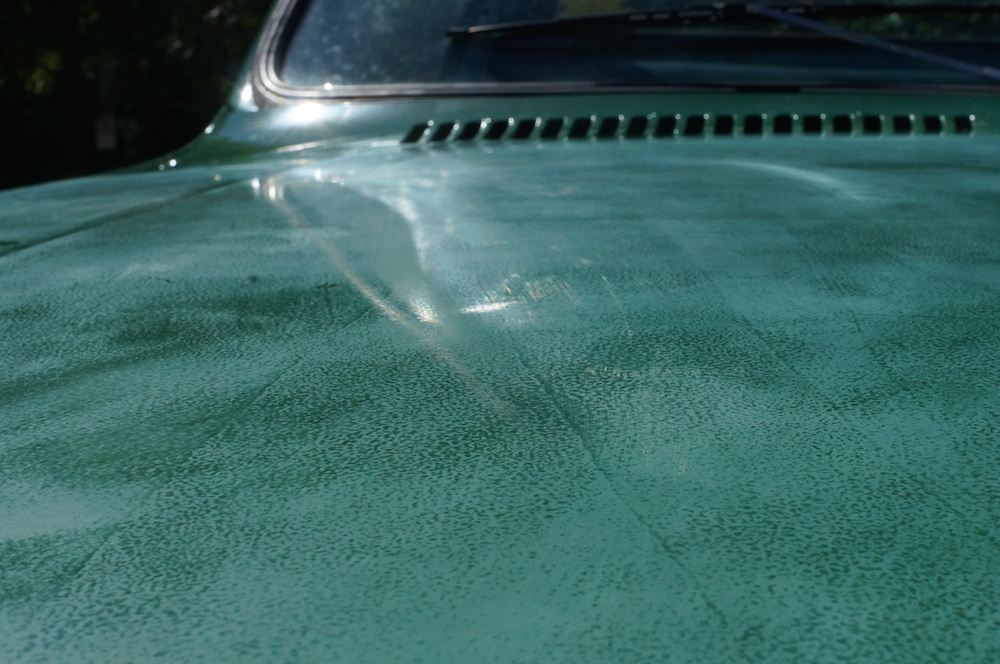
After the first three coats I wet sanded. I just tried to get the big stuff out, not all the orange peel completely. Mostly I want any brush marks to be gone but the hood was the worst.
Gotta get these brush strokes out.
After 3 more coats of paint, it was done! Honestly it could have used one or two more coats but it was threatening to rain again and I had to make a judgement call.
One final wet sanding, this time with 1500 grit (in hindsight, I should have used 2000 grit, would have made polishing much easier). Again, I just wanted to get major blemeshes out and not the orange peel. There were some little bugs, hairs, dust spects, brush marks, drips, sags, etc.
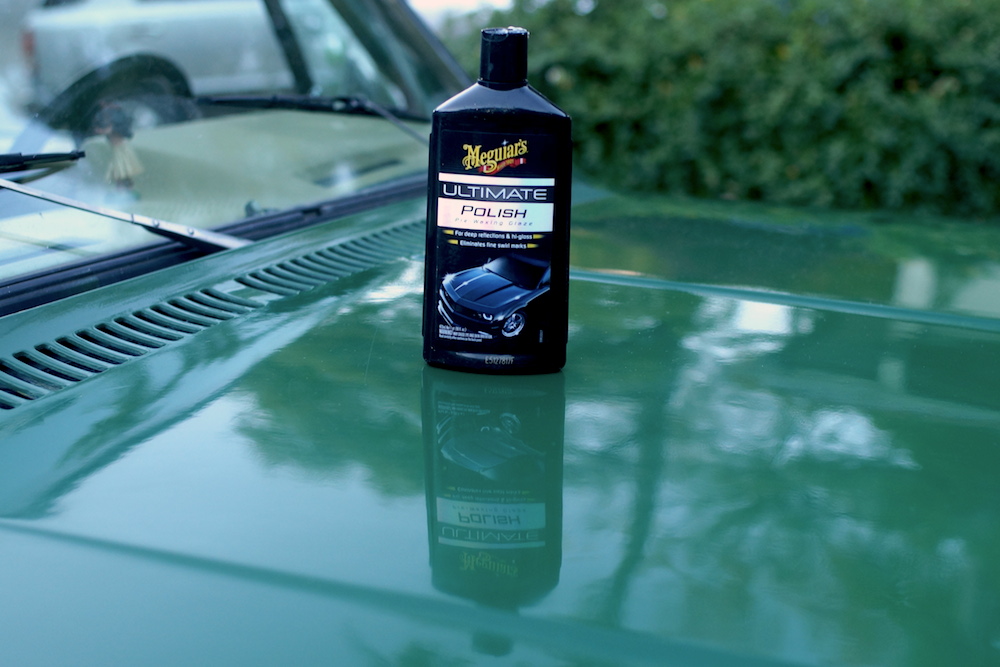
Then the polishing began.
I used a two step process: first I used Meguiar's Ultimate Compound, then I used Meguiar's Ultimate Polish after that. Usually two applications for each step, using a DA sander/buffer. It took a long time but it worked. Maybe it would have been better to make it a three step process (compound, then swirl remover, then machine glaze) because there are tiny scratches and swirl marks visible when the sun is hitting it just right, but this ain't a show winning truck or anything [update: yes it is!] and all those Meguiars products are expensive...
I could have skipped the polishing completely by not wet sanding at all, the finish after the last coat of paint was great, but there was enough dust specs and little bugs and drips and sags and brush marks, it needed to be wet sanded. In fact, if I could do it again, I would have wet sanded to my hearts content and then carefully applied one very good layer of paint. Then no polishing needed!
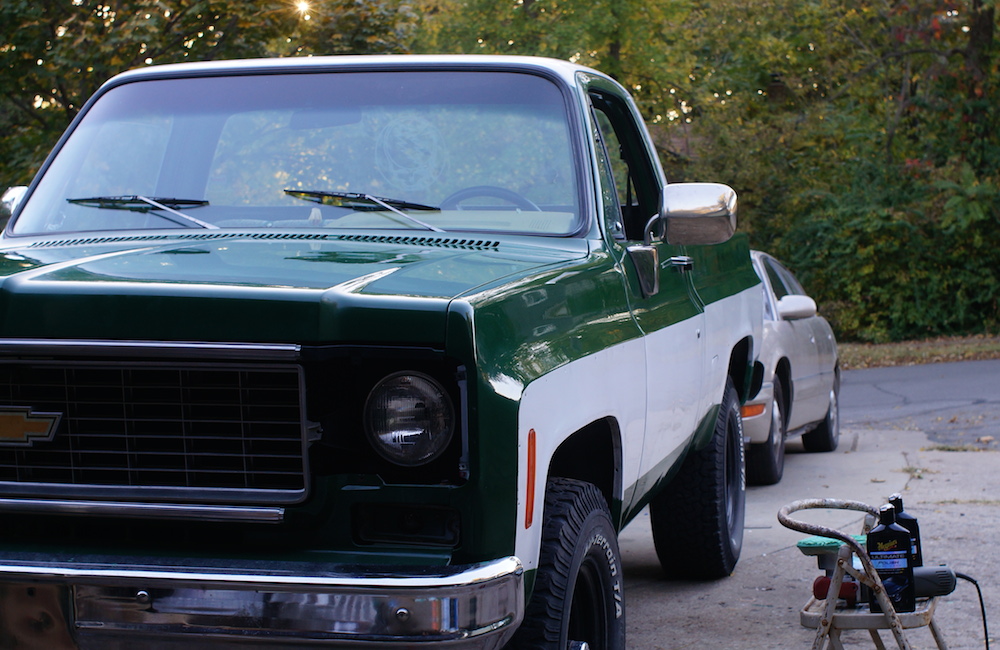

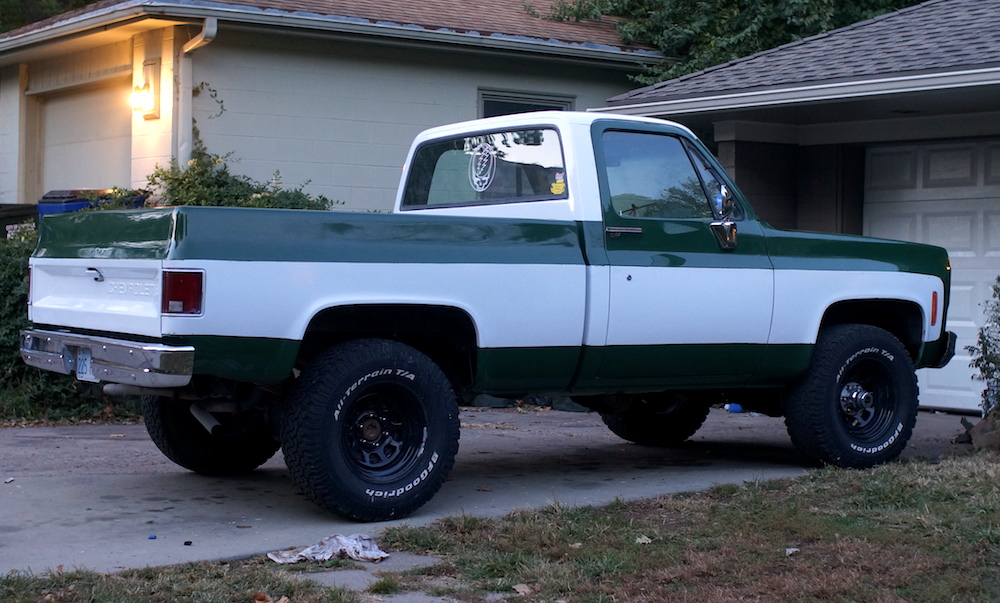
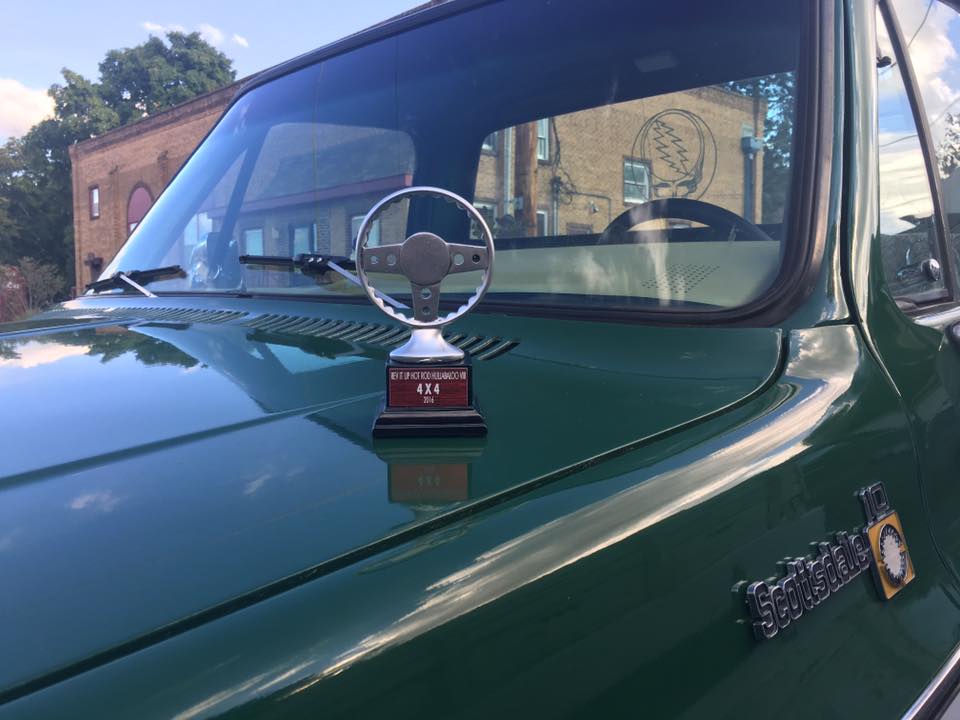
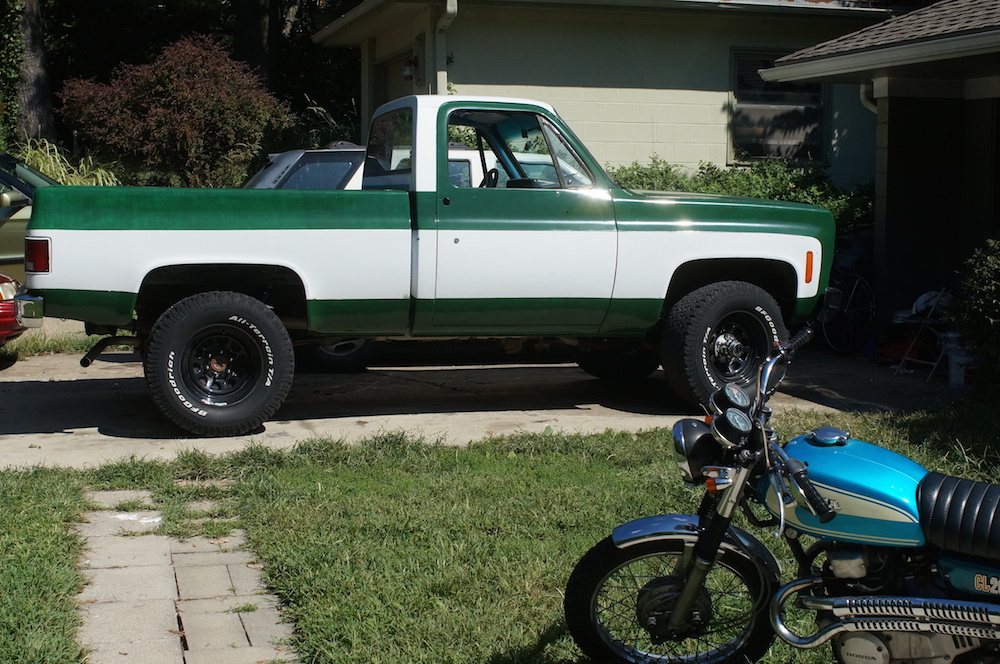
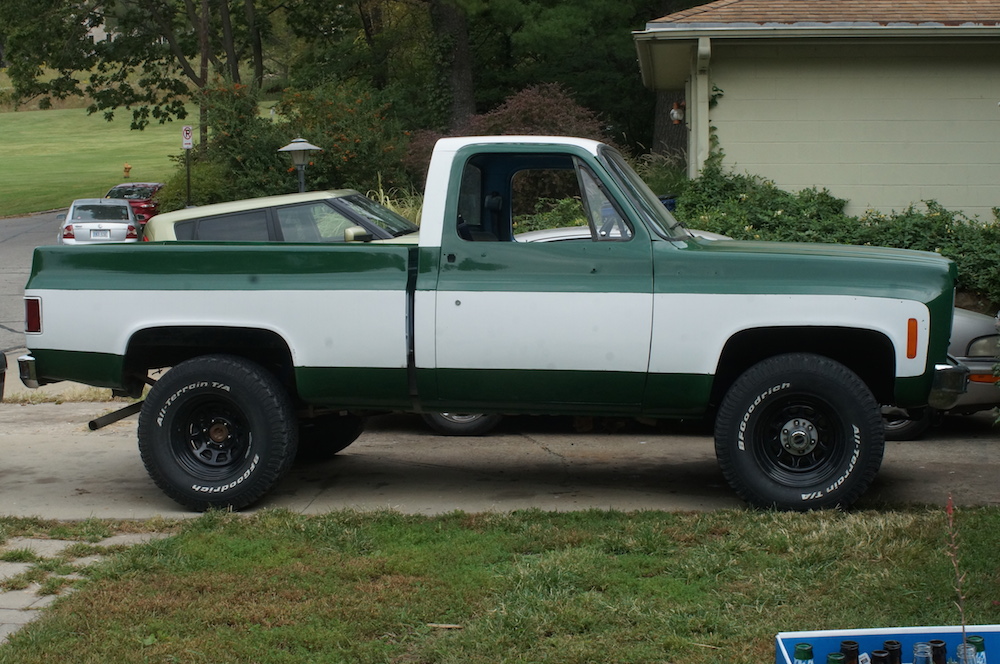
All done! The paint job is complete!!
Overall, it was a success. A lot of mistakes to be sure, but that was expected. Did it cost $50? Not really.
It was called "the $50 paint job" but that's no way close to the actual price once everything is added up. If you only include the paint and what goes into it: 2 quarts of white rustoleum and 2 quarts of green rustoleum, like $10 each, plus the penetrol for $10 and the enamel hardener for $20. Then there's the paint thinner ($10 for a gallon), foam rollers ($20 for a 10 pack and you need a new one for every coat), touch up brushes, paint trays, mixing cups... it adds up to well over $100 before you know it.
After that you need the sand paper in various grits, polishing compound, wax... and I bought a $70 DA sander/buffer from HF. And, in my case, I needed a lot of plastic body filler, fiberglass body filler, grinding disks, welding wire, applicators for this and that, metal patch panels from LMC, and a $30 bottle of rust converter. Lets not forget the acetone, primers, adhesion promotor, wax and grease remover, terry cloths, tacky wipe pads, rubber sanding blocks in various sizes, latex gloves, libations, sacrifices to the automotive gods, and a transistor radio to listen to the local baseball team. If I did a good job of keeping track of every time I went to the hardware store and/or auto parts store to buy all this, it could have added up to around $400. Not $50. But of course that's including all the body-work materials that shouldn't be included in the actual cost of the paint job alone.
The very cheapest of the cheap paint jobs, like a Macco paint job during a discount weekend, would have cost at like $600. It would have been with cheap, single-stage paint in a limited selection of colors, one color only (no two-tone paint job like I wanted), and would probably have came out looking just as good/bad as my roller paint job. A quality paint job would start at $1500 and go up from there.
Which brings me back to where I started. There was no way I could afford a pro paint job! I gave myself an allowance of $1500 to restore this truck which included much much more than just a fresh paint job. So an expensive paint job just wasn't in the budget. Then I started looking at alternative methods, like plasti-dip. But when I did the math, a plasti-dip paint job would have cost $400 at least and would not be a real investment into this truck. Of course I could have gotten a dozen spray cans and bombed it, but I wasn't interested in something with basically no quality at all. Then I came across a youtube video of someone painting a small red car with rustoleum and a roller. And it looked great! I started watching and reading more and more. The rolled on version was much harder, shinier, and more durable than with spray cans. I was sold.
A paint job like this takes a lot of time and labor. And I mean a LOT! I applied the first layors of white paint 6 months ago. Half a year! The results are pretty great though. People who see it cannot believe it's a roller paint job. I'd do it again if it proves to be fairly durable.
[Update]
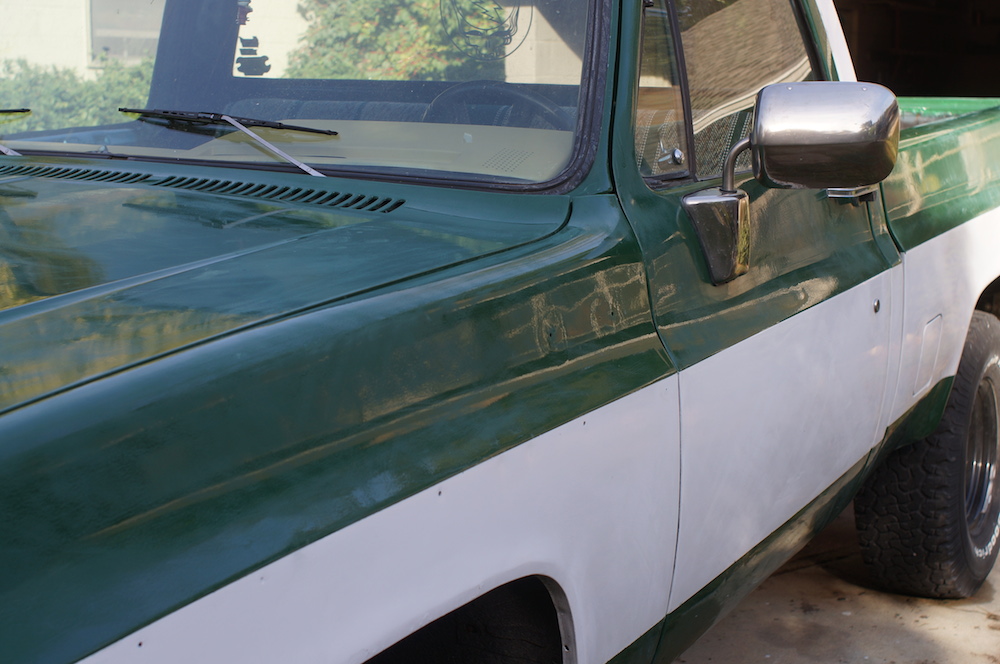
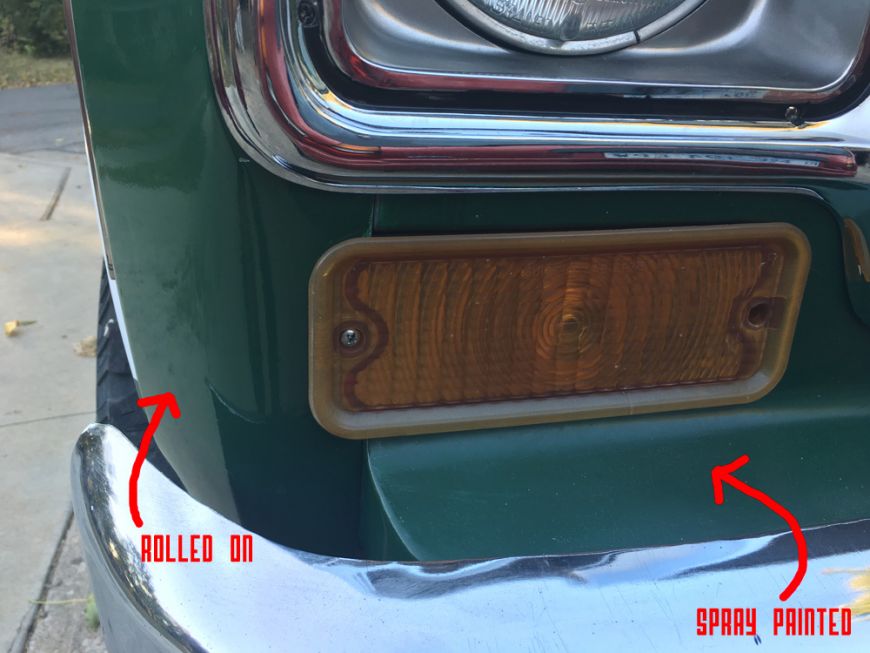
Here's the difference between the rolled on paint and a small section that was spray painted. Same color (hunter green) rustoleum, but one was spray painted and the other was rolled on using the method discribed in Part 1. The sheet metal part that goes unter the grill and behind the front bumper, I believe it's called the "lower grill panel", was spray painted several months ago before I did the front clip swap. You can clearly see the difference in gloss and quality between the two styles.
This time next year I'll post an update to how the paint job has held up through the winter weather and summer heat. Stay tuned...
UPDATE: Please follow this link to see the update..
Hint: it's a show winner!