I'm swapping front clips. Going from the square headlights to the round headlights. Why? Because I like it better, that's why. This is my project, I have a design goal in mind, and this is what I must do to achieve it. I want to turn my 80's truck into a 70's truck, make it more of a classic, more retro. Cooler.
There are no photo-documented tutorials for how to do this swap. None online that I could find. Therefore, I hope this information can be added to the collective knowledge of the squarebody community.
Step-by-step Instructions, front clip swap on a chevy squarebody c10, k10, k5, Suburban, Blazer, etc
I put this together AFTER performing this myself and finding out what works and what doesn't.
-- DISSASEMBLY --
* all parts are 81-87
- remove the hood
- remove the bumper and brackets
- remove the battery
- disconnect the wiring harness from the headlights, horn, ground point, etc.
- unbolt the radiator from the core support (don't miss the two bolts on the bottom)
- unbolt the fenders and inner fenders from the cab
- unbolt the core support from the frame (the body mounts) (will have to remove grill to access them)
- remove the front clip
- remove the wiper arms and the cowl cover
- remove the wiper linkage
- remove the tall splined nubs from the wiper linkage
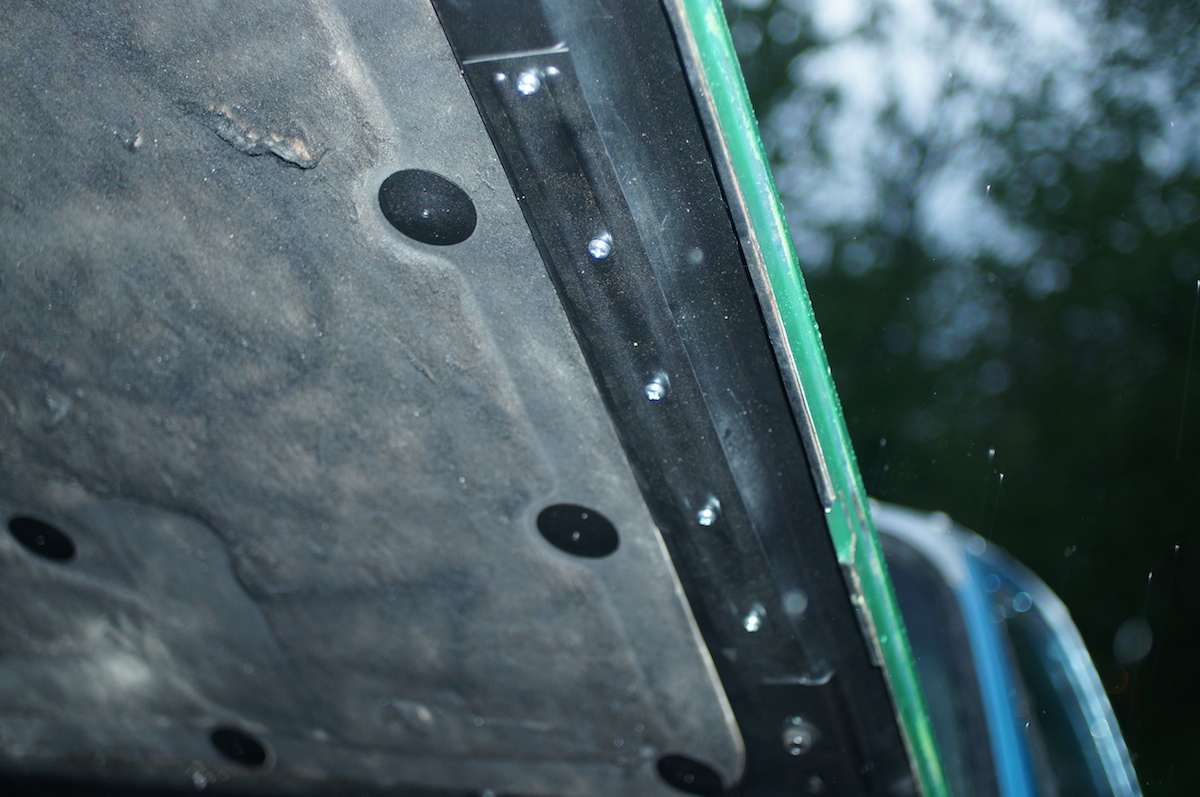
- (optional) patch up the holes in the cowel where the hinges used to be
- (optional) clean up and/or paint the fire wall
-- REASSEMBLY --
* all parts are 73-80, fully dissasembled
- replace the wiper linkage
- easier to do now before the fenders are on and in the way
- can't just replace the splined nubs because they're rivited on
- may have to hog out 2 out of 3 holes
- I think all the wiper stuff was changed in '85, so you're millage may vary
- install the plastic cowl piece and wiper arms
- bolt just the radiator core support to the frame, using the bigger 81-87 rubber body mounts, the ones that came with the frame
- bolt the inner fenders to the fenders
- bolt one of the fenders to the cab and core support, keep the bolts snug but not torqued
- if it doesn't fit then...
- remove the body mount perchs from the frame
- relocate it to the correct spot on the body, and either weld it or bolt it there
- attach the other fender to the cab and core support, bolts snug but not torqued
- align the body panels with shims
- lay the hood down to see if there are any gaps that need work
- torque down all the bolts
- connect the radiator to the radiator core support
- may need to fabricate brackets or find a radiator that fits
- hook up the headlights, turn signals, and running lights
- headlights
- use the light sockets from the 73-80 wiring harness, cut them off and splice them into the existing wiring harness
- pay attention not just to the color of wire, but to the orientation on the sockets, i.e. if ground (black) is left top or right on 81-87 light socket then it should be in same position on new light socket
- turn singals
- I bought new light sockets from Oreillies for $5 each, I connected the black wires together, the brown wires together, and what was left was one blue and one yellow wire and I connected those together. Seems to work just fine.
- if you have a single headlight already, you may not need to do any cutting or splicing of wires for the headlights, just turn signals
- the running lights use the same light socket so you don't have to cut those off, just reuse the same ones
- headlights
- install the battery tray and put the battery in
- may need to extend the negative battery cable
- install the front bumper
- won't be able to use the lower middle two bolts because the frame is cut off at that spot on 81-87 frames
- you may need to drill a few holes in the frame
- install the grill, bezels, trim,
- Either reuse the sheet metal nut things or cut threads into the studs on the back of the upper and lower grill trim with a #12 die (be VERY carefull not to break off the studs!)
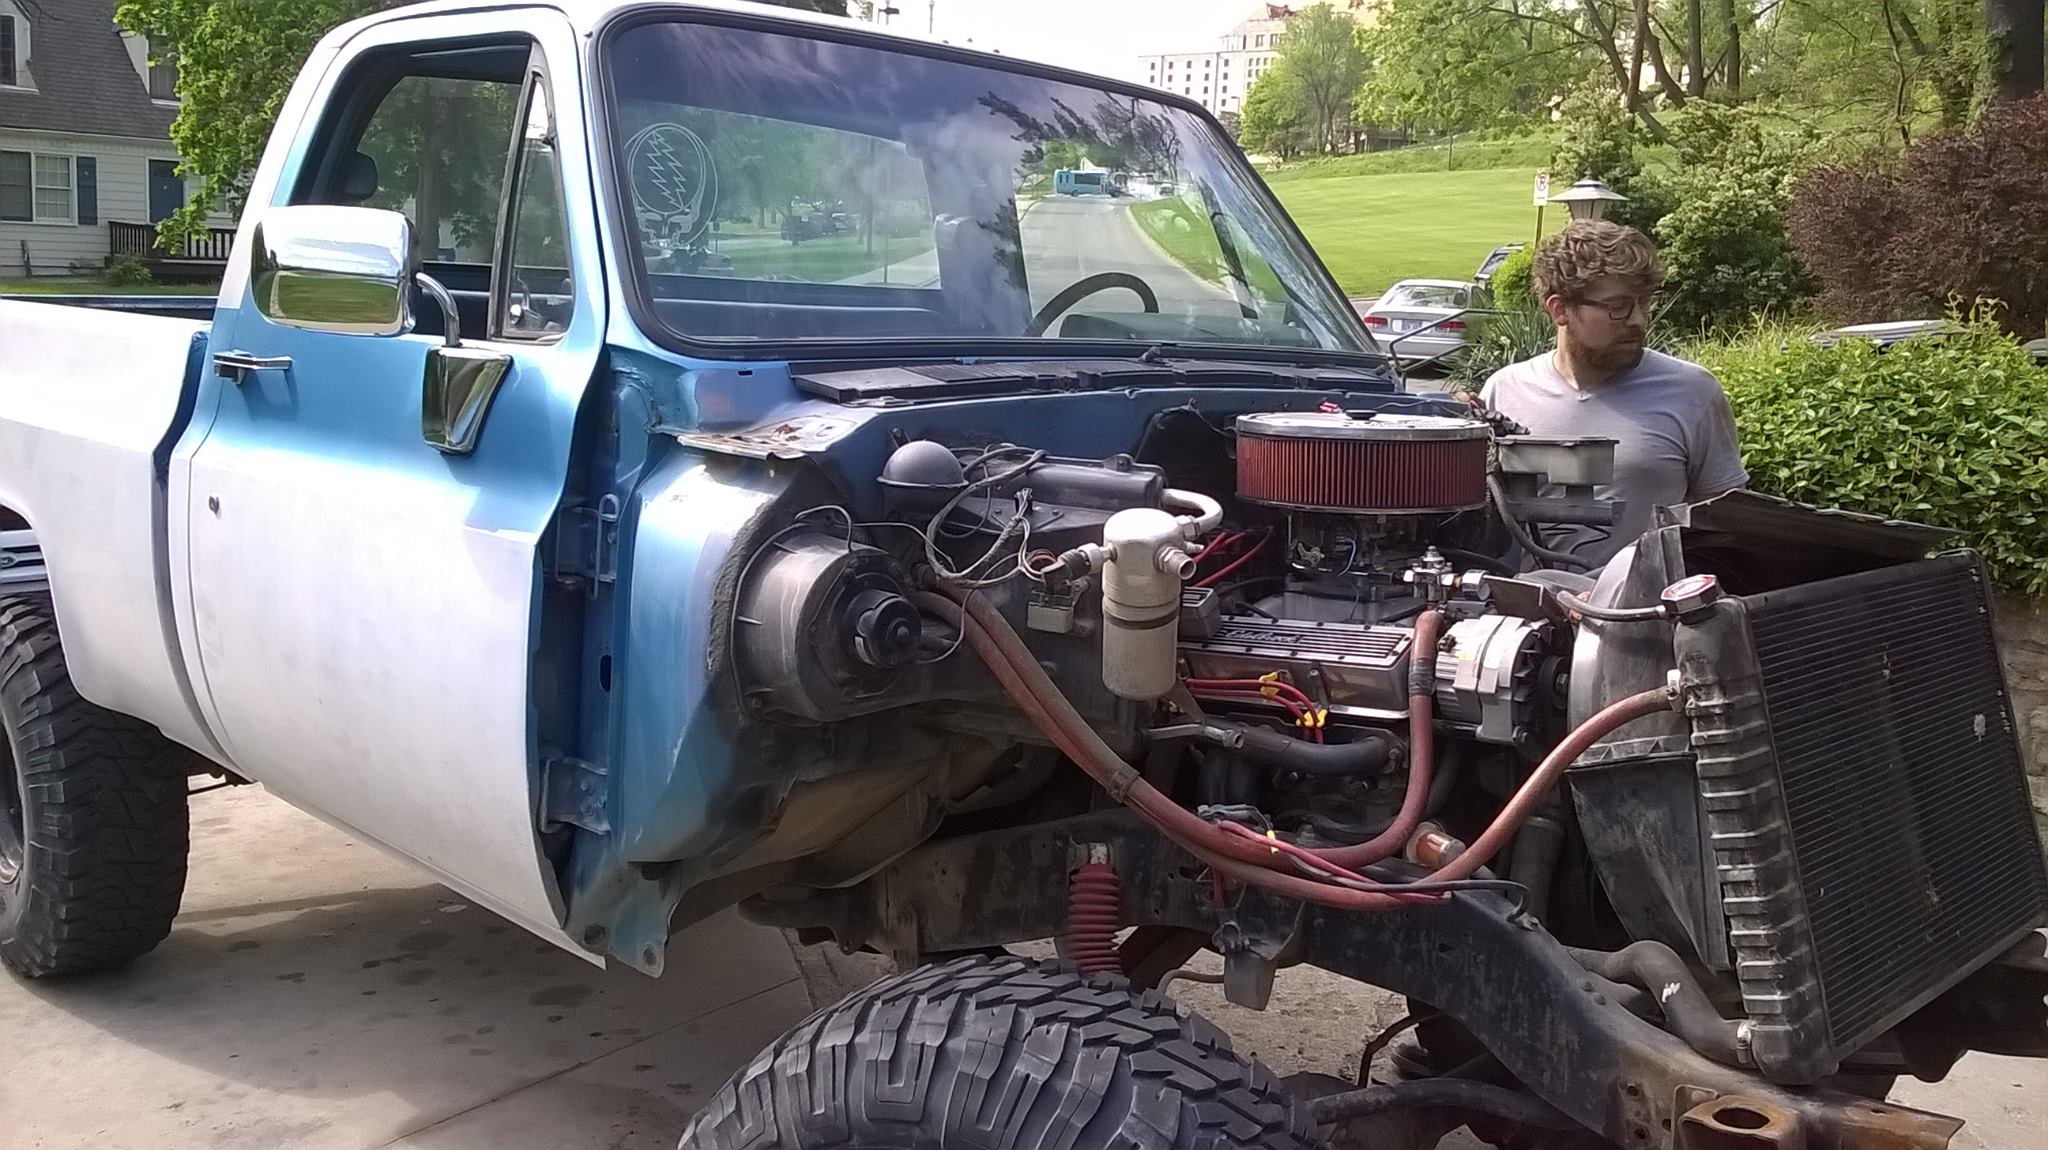
Photo-Documented Tutorial for how to swap front clips on a chevy squarebody c10, k10, k5, Suburban, Blazer, etc
Here's my new (to me) front clip, disassembling everything so I can take care of rust and paint the inside. It's from a '73 or '74 c20 I think.
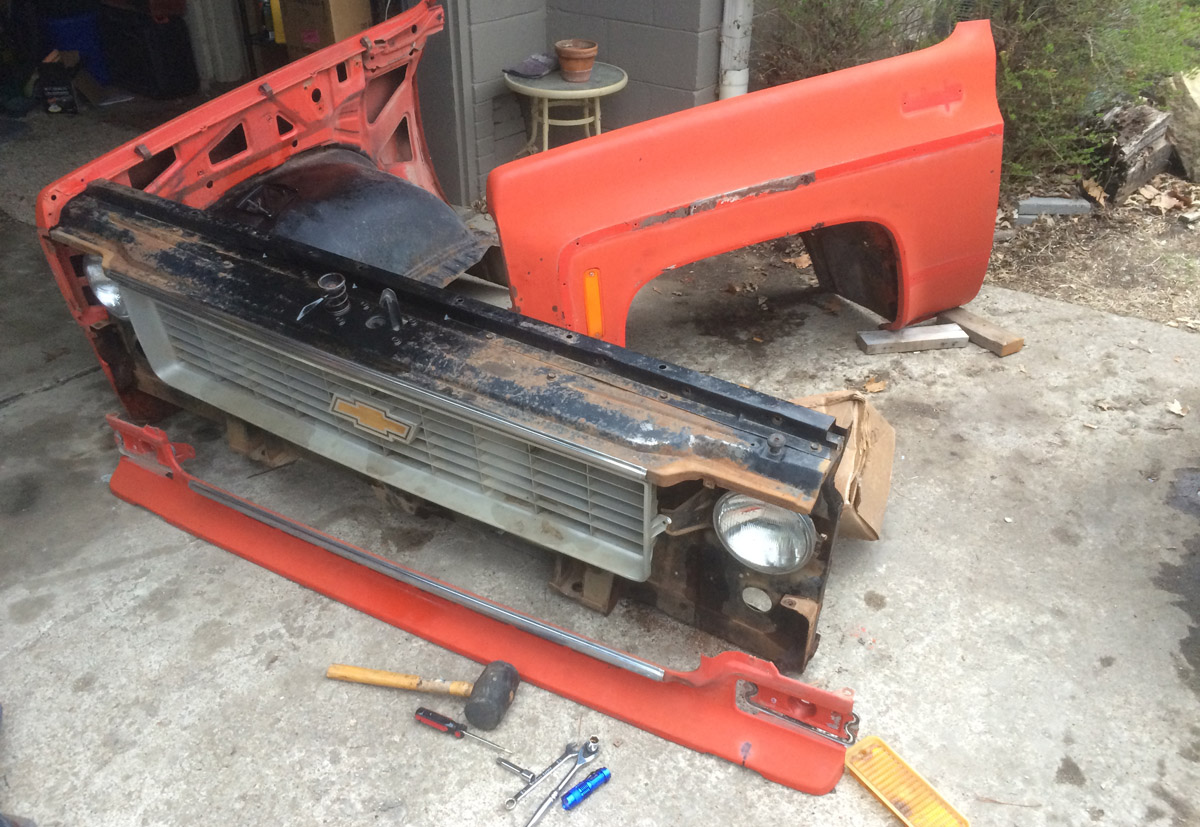
I have a weekend of clear weather, then it's forcasted to rain for the next 10 days. Better get to work!
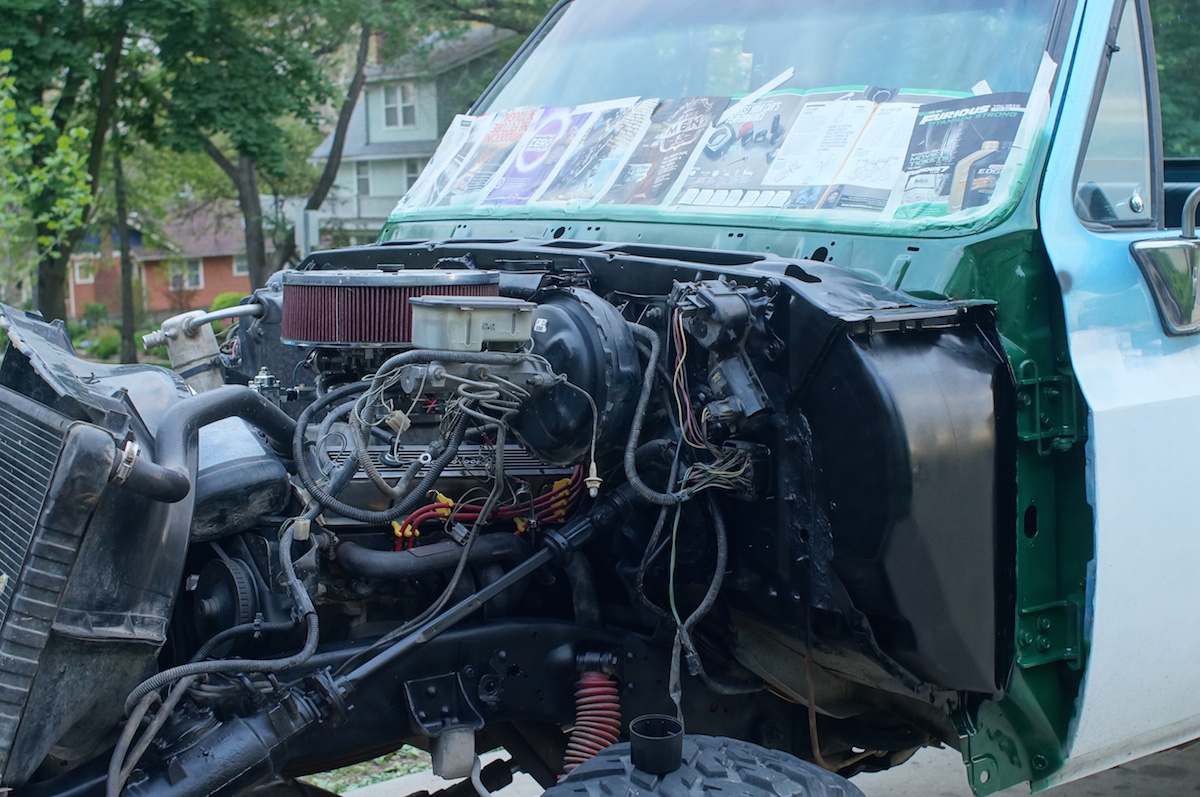
Front Clip Swap, Day 1: Removing the old front clip
First I started with the bumper.
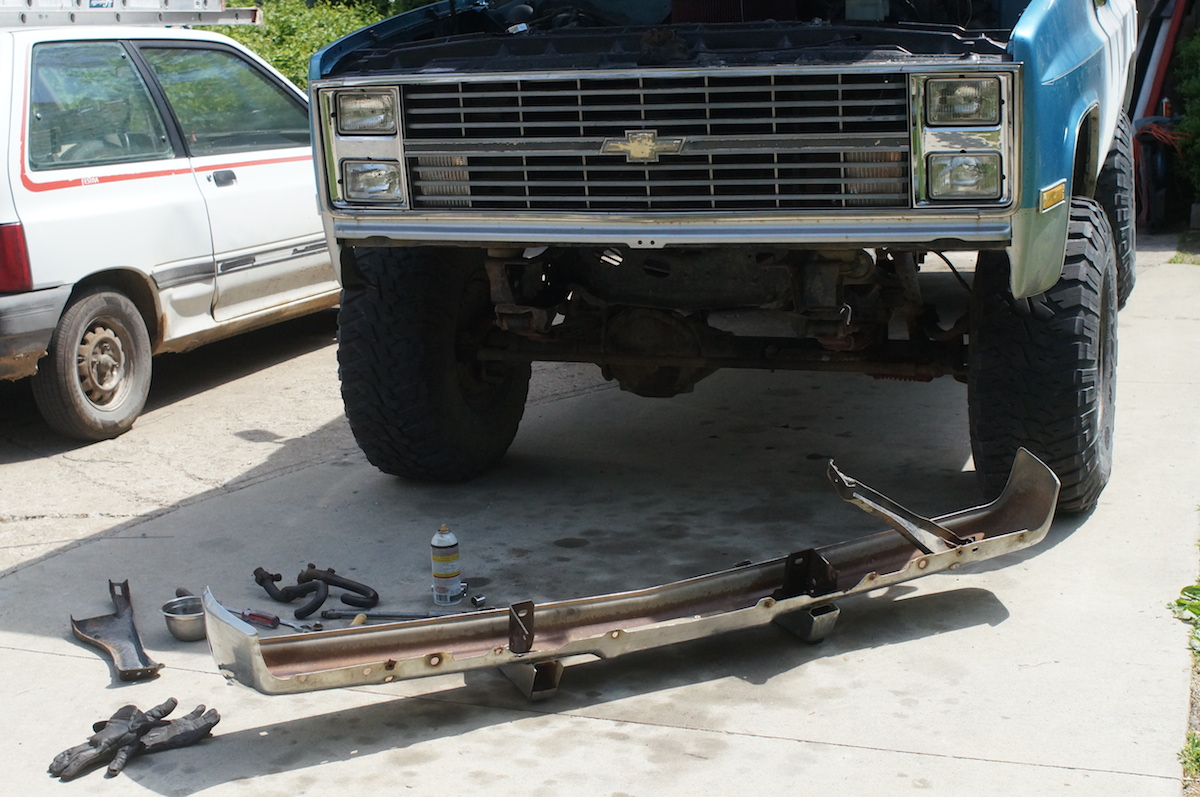
Then the hood was next. Thats my bud in the pics helping me with the heavy lifting

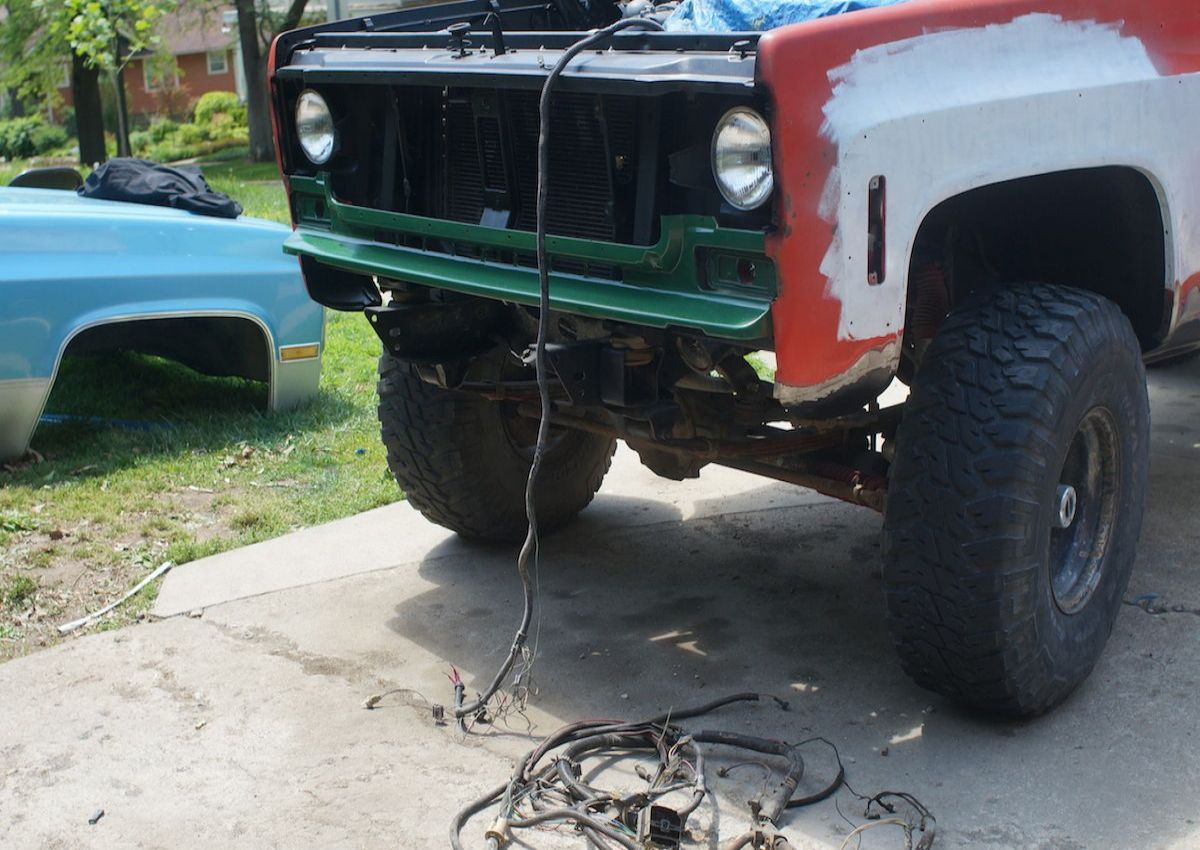
I disconnected the battery, the wiring harness from the lights and horn and ground points, unbolted the radiator from the core support, and unbolted the fenders and inner fenders from the cab.
Last, I unbolted the core support from the frame through the body mounts. We had to remove the grill to get to the head of the bolt.
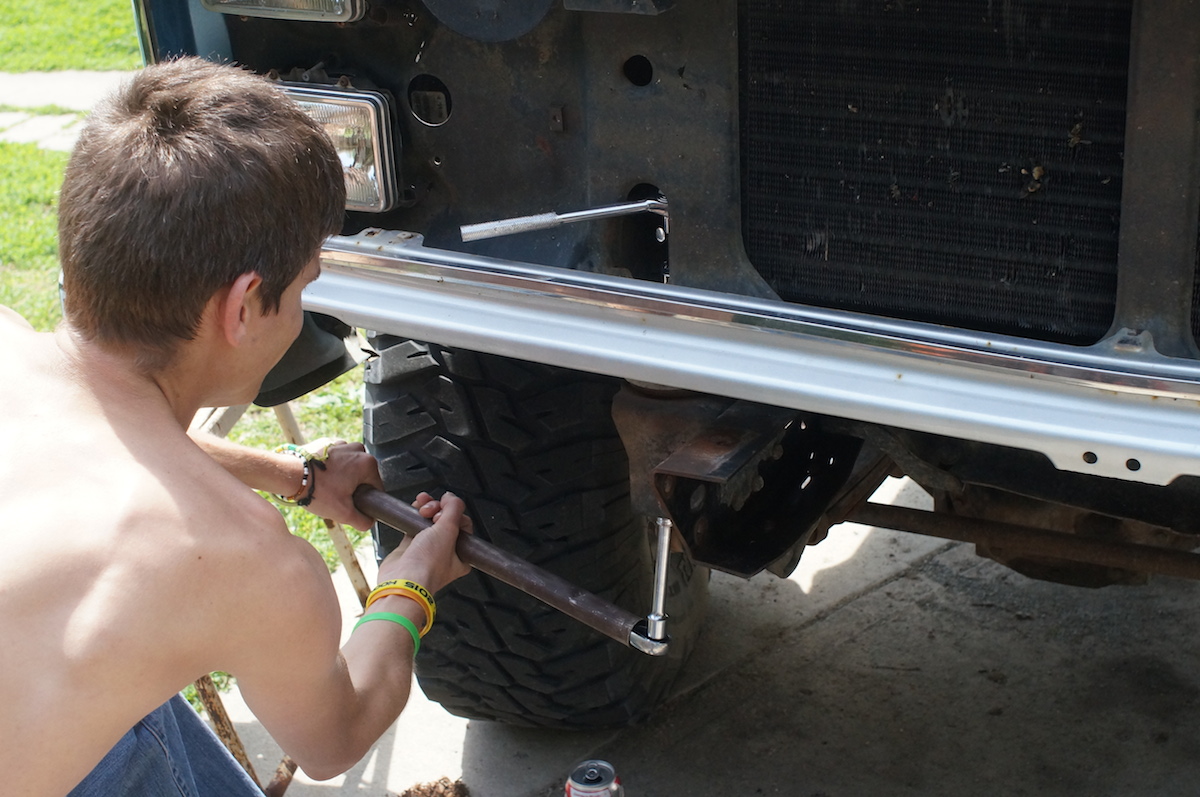
And then we just pulled it right off!
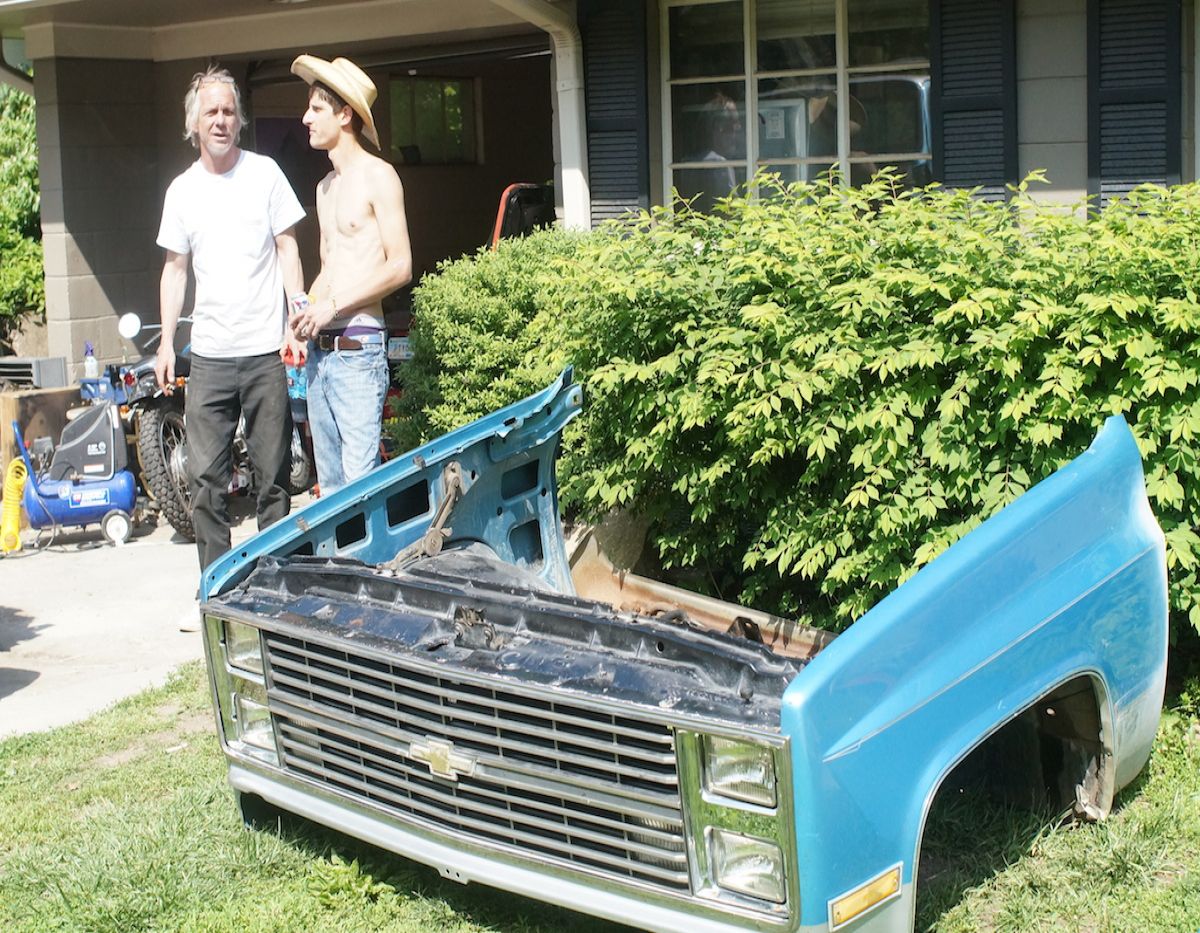

Here's me, looking confused:
I took the opportunity to clean and paint the firewall and inside the door jams.
Front Clip Swap, Day 2: Installing the new front clip
Ok, so there's a discussion on a forum about this swap and, about fitting the 73-80 clip on the 81-87 frame, some swear up and down the street that you have to move the body mount perches on the frame and some swear up and down this same street that you do not. If it's true, then that means I have to somehow get off the huge rivets holding the body mount perch to the frame. Then weld it in place. Worse yet, if it has to move towards the cab, it will basically be impossible because the leaf spring shackles would be in the way.
The correct body/radiator-support bushing need to be used for the frame, not the radiator support. I.E. use the 81-87 bushings on the 81-97 frame. The 73-80 bushings are not wide enought and would fall through the hole in the perch. I just reused the bushing because I'm cheap.
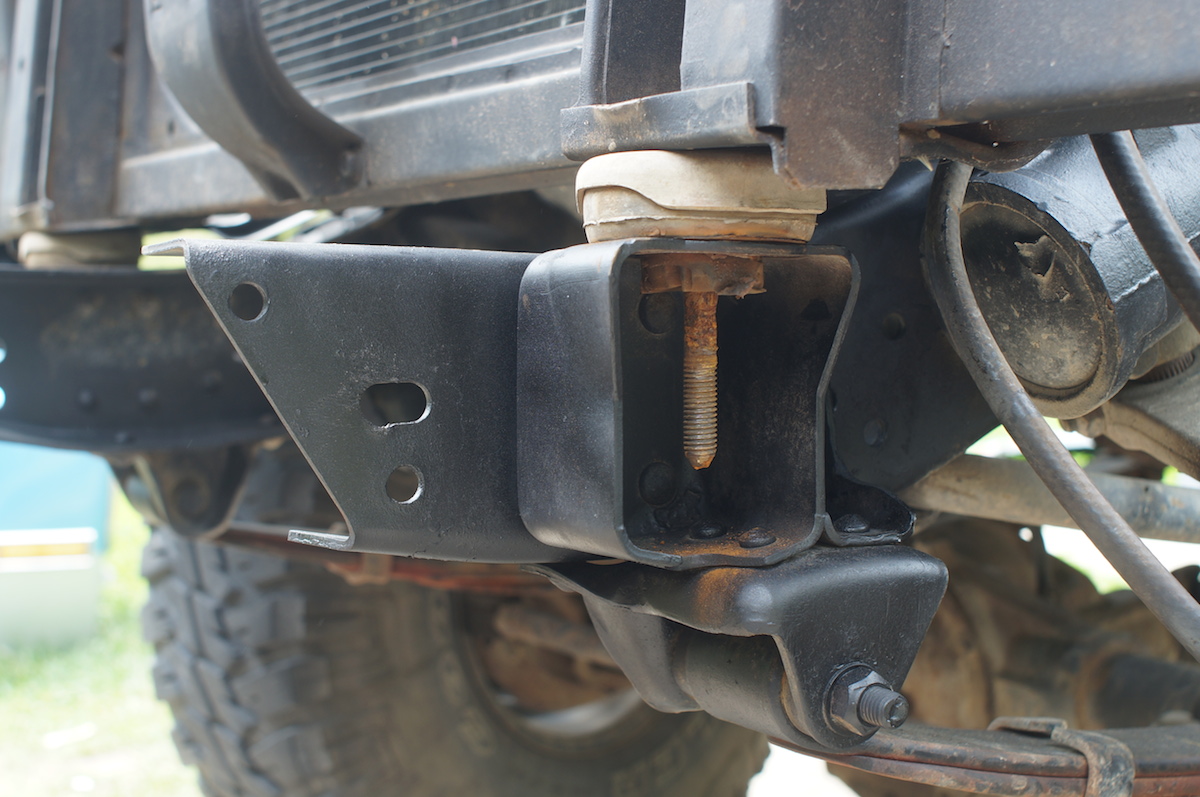
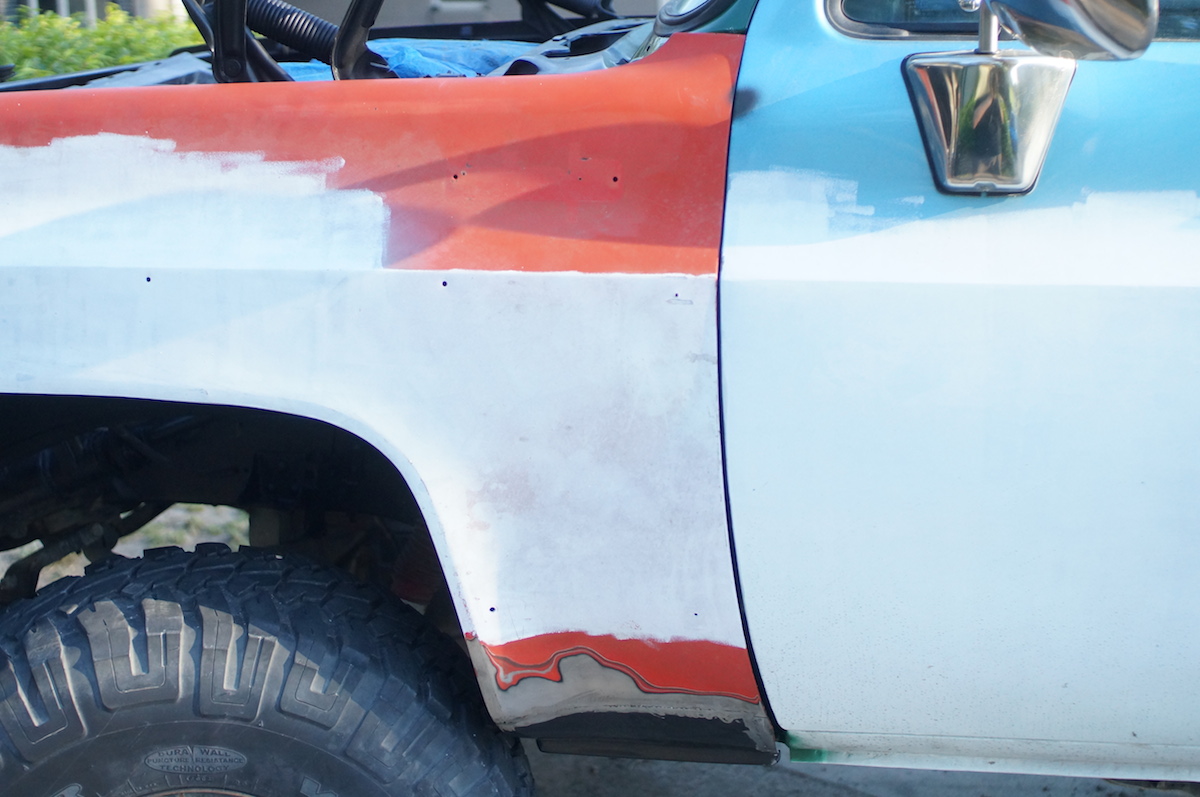
Now I needed to figure out if this would be a problem or not. I first put the radiator core support on the frame and bolted the body mounts up. Then I put up the fenders on and just looked to see if the holes lined up. Good news! It fit just fine!
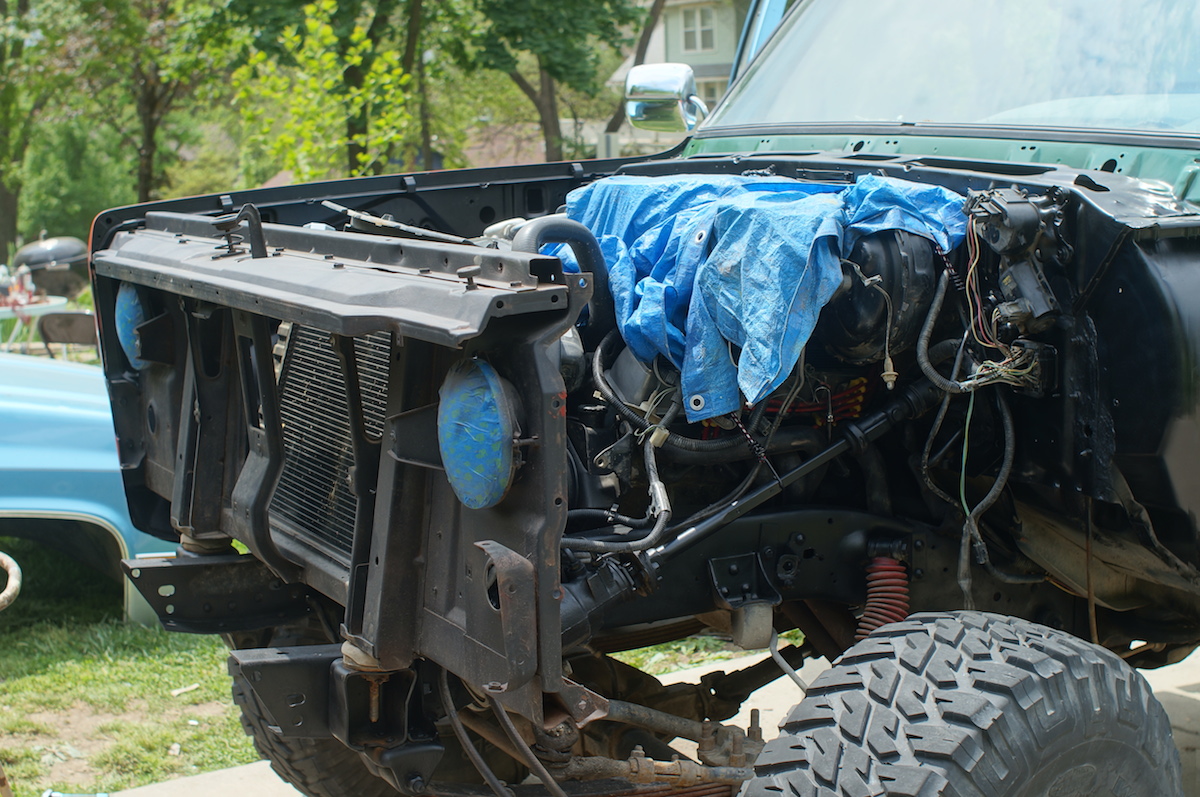
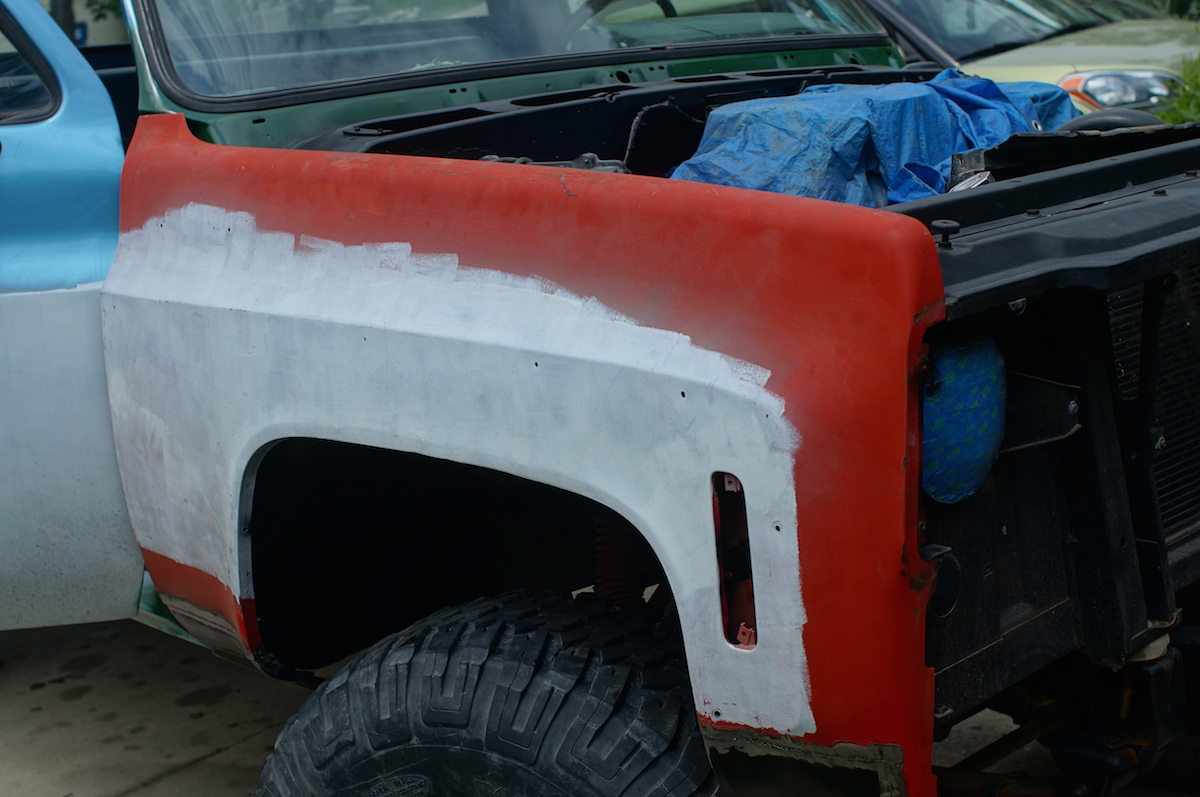
Even the body lines where easy, just needed a few shims. The hood doesn't quite fit right, not sure what to do about that yet. The hood did not come with the clip, the one that did was bent.
Speaking of bent hoods, I thought I'd loosen up the hood hinges by spraying the joints with lithium grease and working it in with a cheater extension on the hinge for leverage.

I don't know if that was a good idea or not, because it bent the stupid hinge! At first it wouldn't budge at all, so I gave it some more force. Still wouldn't budge! I started hanging on it like king kong, and thats when it started to buckle. Shat!
Front Clip Swap, Day 3: Retrofitting
Sunday was spent retrofitting stuff, and driving to Kansas City to buy new hood hinges from LMC and picking up some used wiper posts and linkage. That wasted like 3 hours so I didn't get a whole lot finished, I was hoping to have it all finished by now but oh well.
I payed $80 for two hinges and I'm really not happy about it. After I bought them I went and picked up the wiper posts. The guy left them next to his garage for me to grab and when I did so, right next to it was a pair of used hood hinges! I couldn't get ahold of him but later he told me they could be mine for $20. A little rusty but, could have saved me $60! It's the things like this that can wreck a budget build like this one.
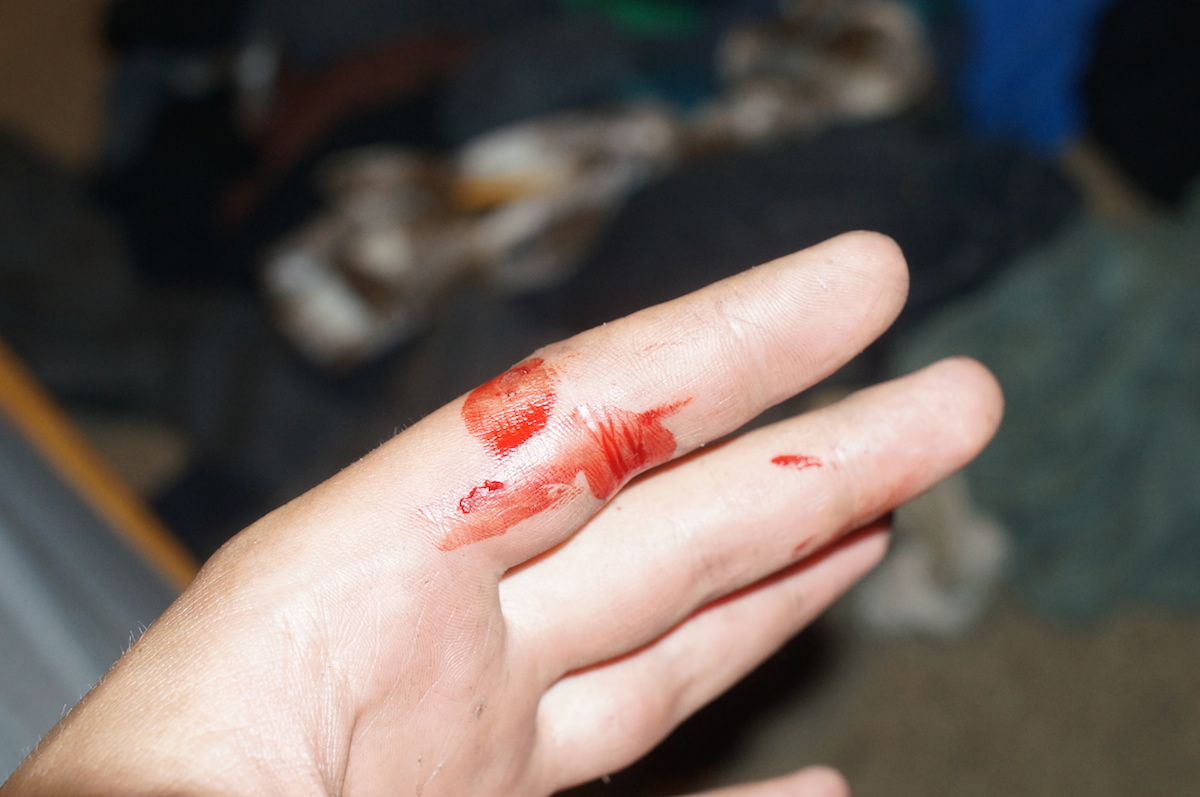
I didn't buy the $5 spring puller tool so I used vice grips instead. I found the best way to get the springs on was to install the hinge on the fender, then stand on the wheel and use all my might to wrestle the spring into place.

It ended with me saying me new catch phrase, "I should have been wearing safety gear." :lol:
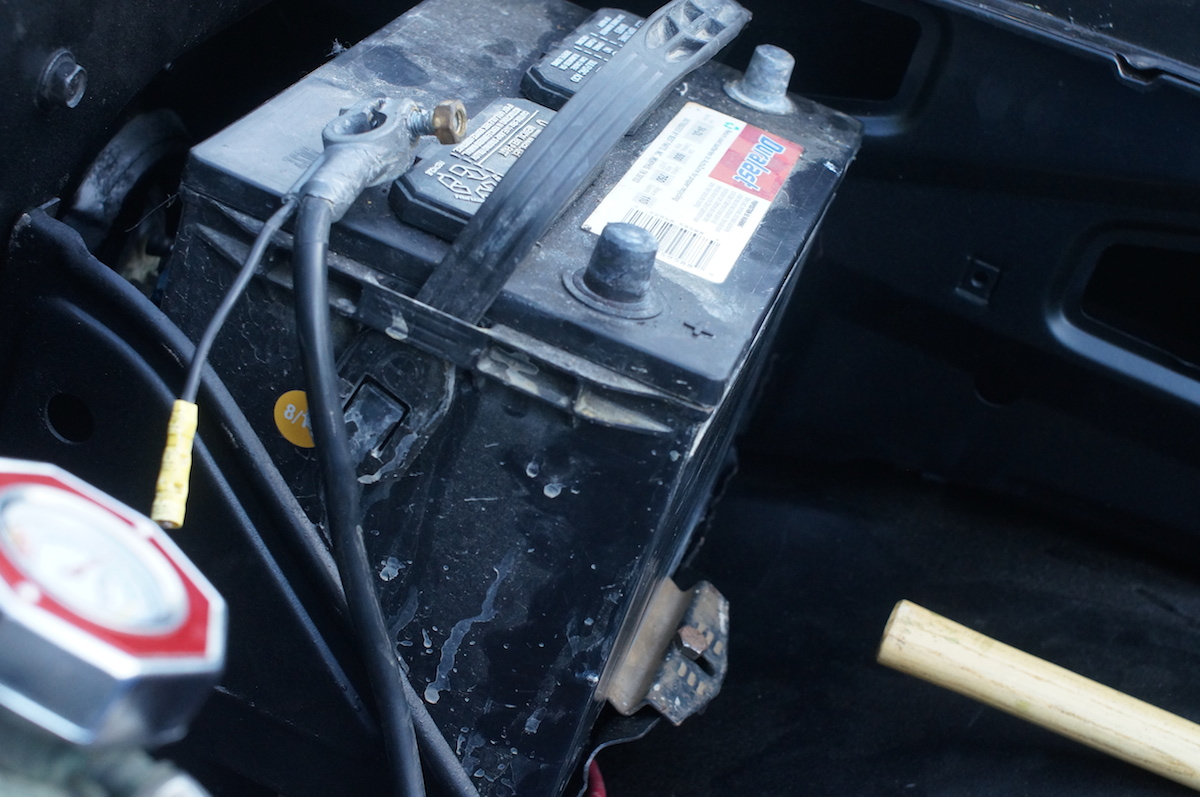
Then I installed the battery tray. The battery is in a different orientation than 81-87 models, and because of this the ground cable will not reach far enough so I'll have to extend it.
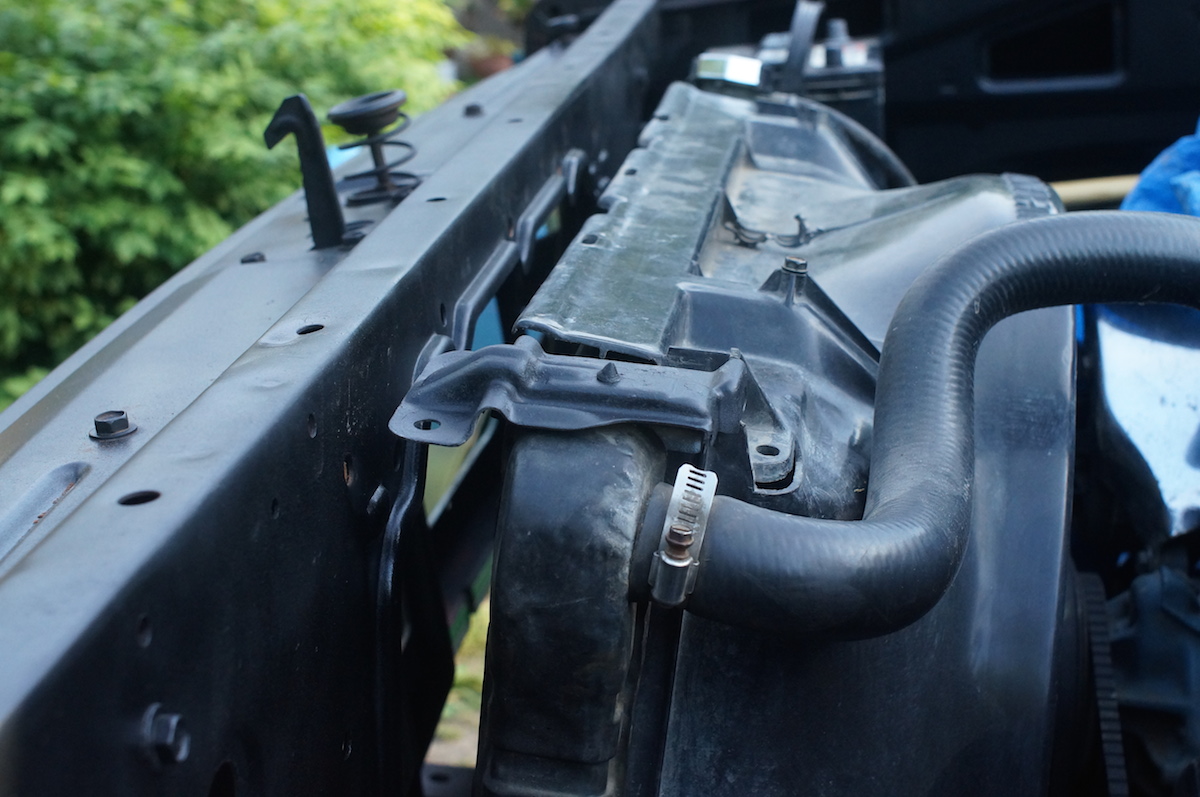
The '74 radiator support plate will not work with my '83 radiator. I think the radiator is too tall.

But my '83 radaitor support brackets will not fit the '74 core support either!
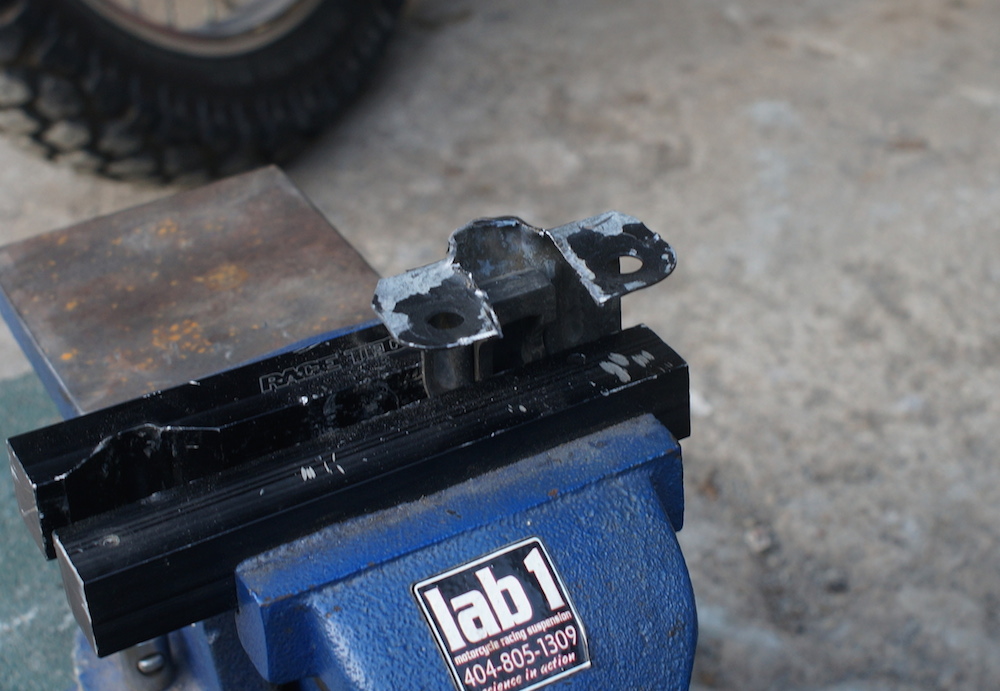
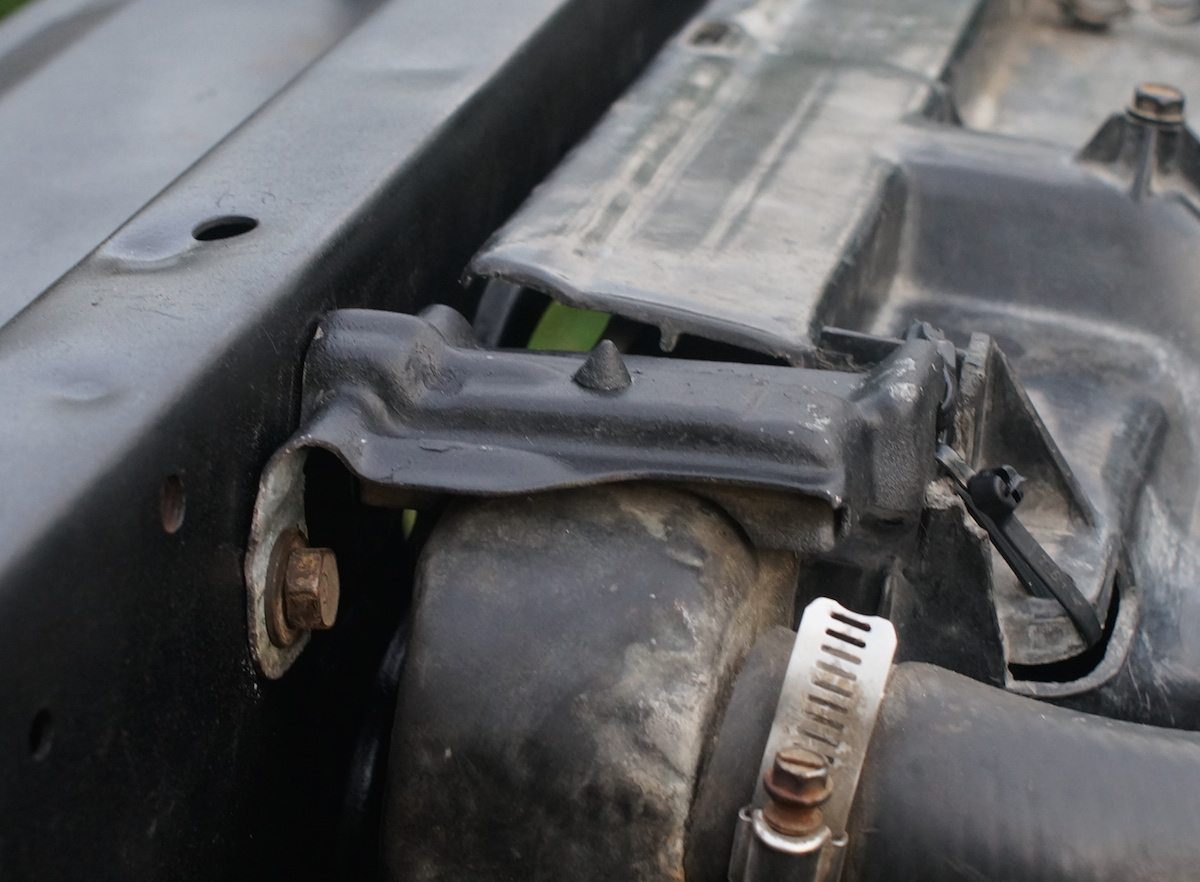
So I had to fabricate my own brackets. I used the '83 radiator brackets and cut out a little bit of steel in the middle so I could bend down the bolt tabs.

The windshield wiper posts are not only different in height, but they also bolt to the cab differently. You also can't just swap out the posts onto the original linkage, you must use the linkage the new posts are on because they're riveted to it not bolted.
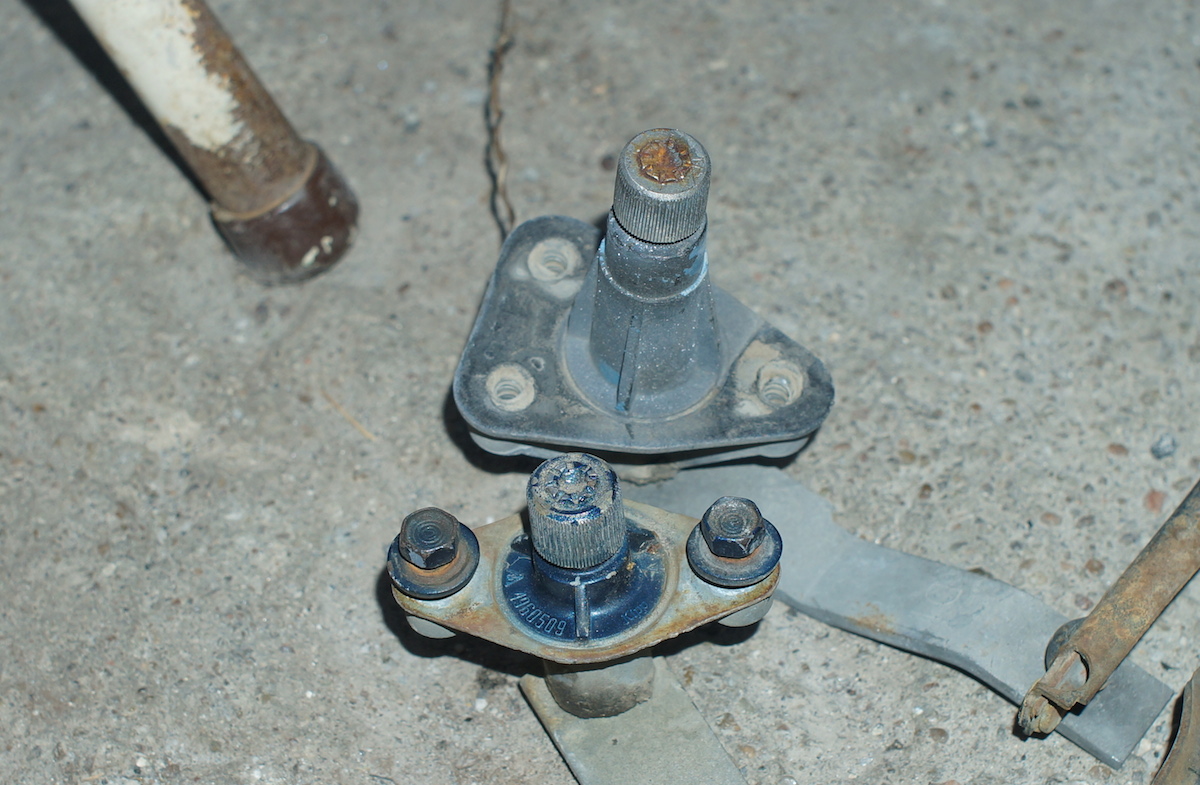
The driver side post could just use two of the three holes, but I had to hammer in the metal around it a little so that the wiper arm wouldn't it it. The passenger side post needed a hole to be drilled.

Front Clip Swap, Day 4: Wiring harness and hood installation
Today's my last chance to finish the swap before a week of rain begins. It's Monday, but by the grace of God my boss sent me home today to work from home! Like that's going to happen...
First on the agenda today was to wire up the lights.
My advice for wiring up the headlights (I'm going from two headlights for low and high beam, to a single headlight for both) is to use the socket from the older style wiring harness but to NOT connect the same color wires - I had 2 green, 2 brown and 2 black coming from both the 74 headlamp socket and my '83 wiring harness. They don't match the orientation on the socket. Instead, match the wires to the orientation on the headlamp socket. What I mean is, on the 83 wiring harness's headlamp socket, the black wire was on the left but on the 74 headlamp, a green wire was on the left. So connect the green wire to the black wire. This worked for me, but I have no idea if it was dumb luck or not.
I was also able to pick up sockets for the turn signals for oreillies, and a "battery connector" cable that was the perfect length to lengthen the negative battery cable.
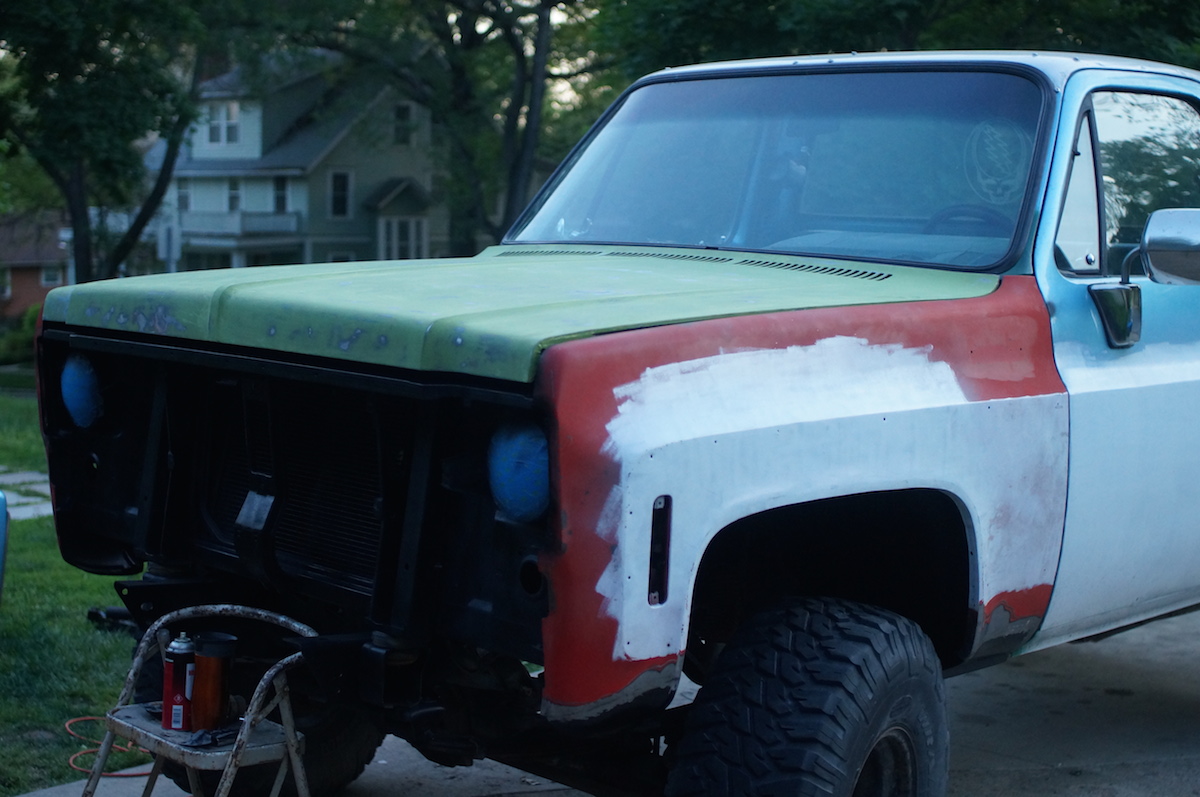
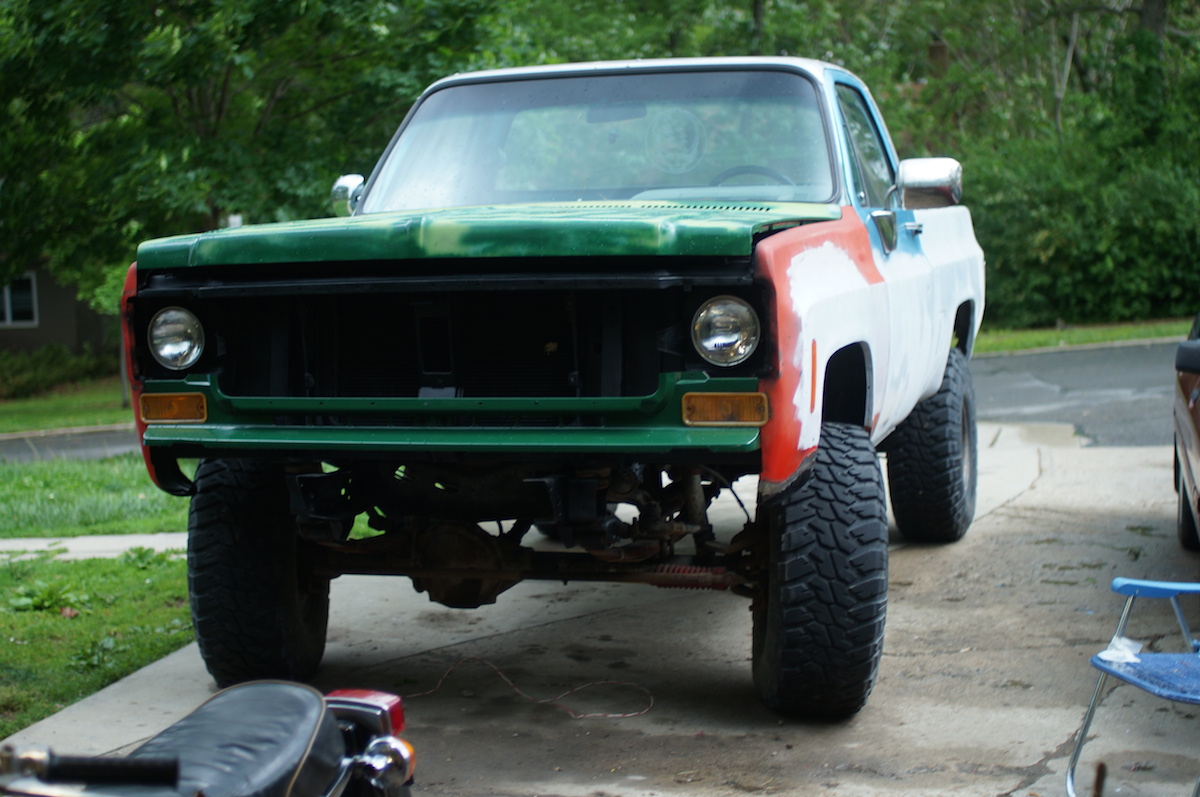
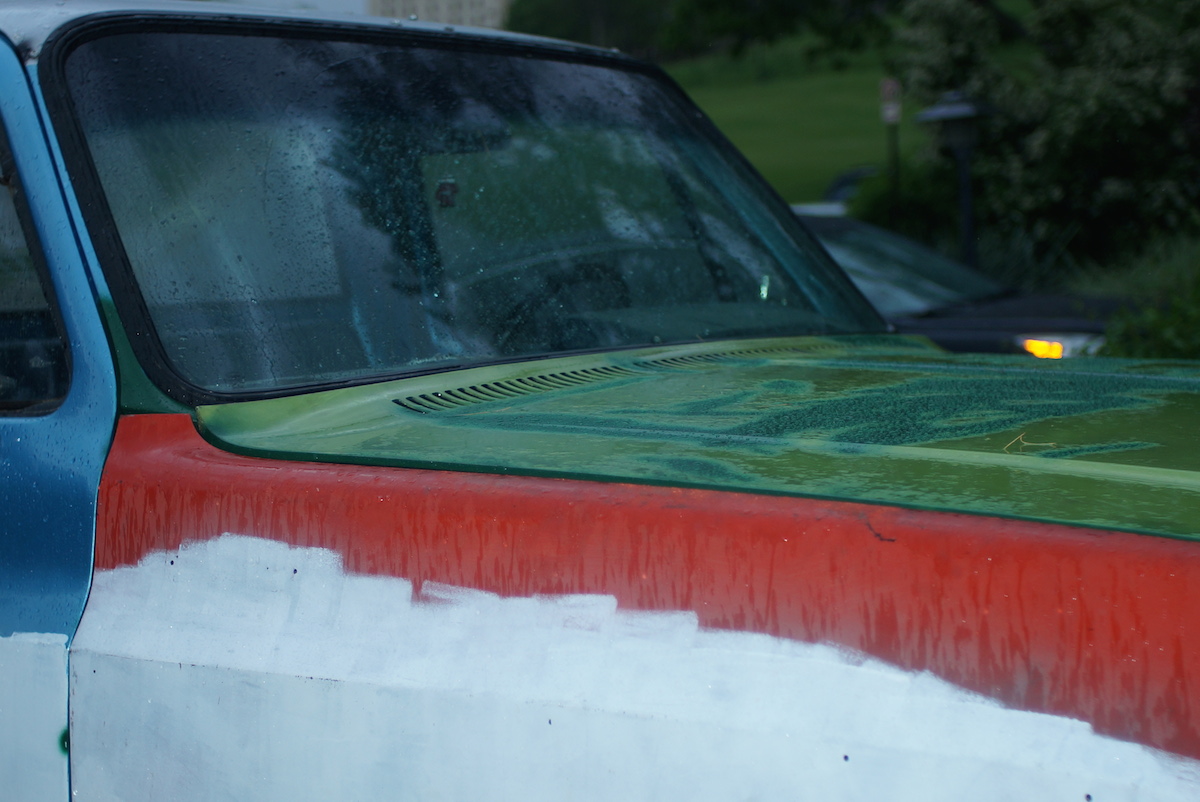
Next, I installed the hood. Got it on right before it started raining.
After I got it lined up as best as I could, I installed a brace kit. I had to be very careful to not put too much pressure on the drill, so that when I drilled throw the metal, it didn't continue and hit the sheet metal behind it and make a ding in the top of the hood.
Beginning to rain now, I was so happy to just close the hood with a good slam on the first try!
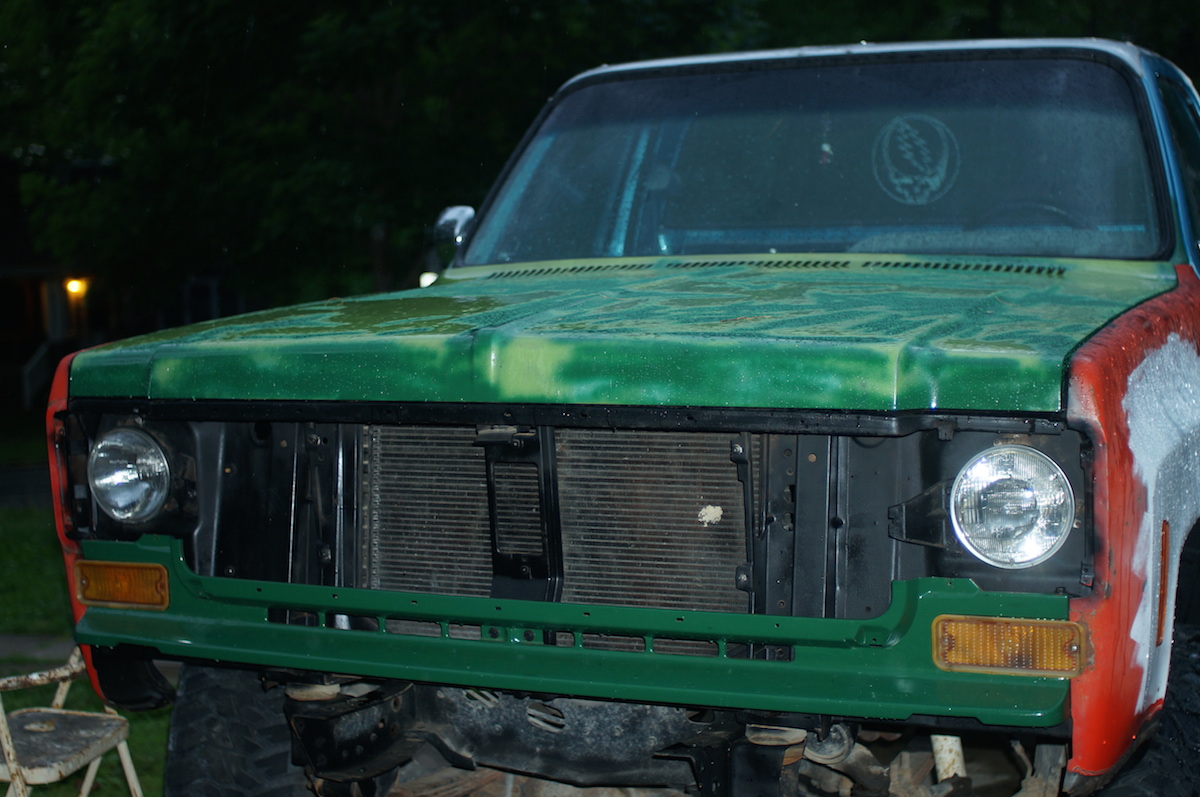
Can you tell that I used aftermarket hood hinges? [Update: to align the hood better, I had to remove it and hog out some holes in the hinges so there was room for adjustment]

Stay tuned for more updates....