The body work continues!! Can't stop won't stop... Click here to see part 1 and part 2 of the body work and rust removal process.
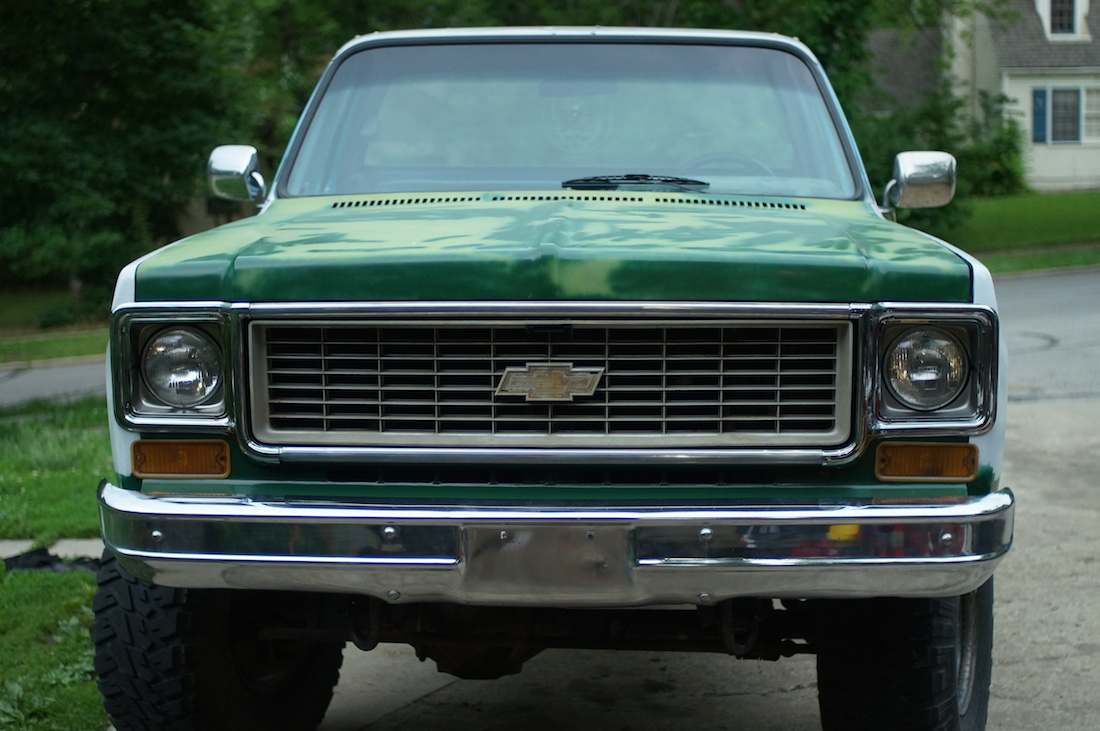
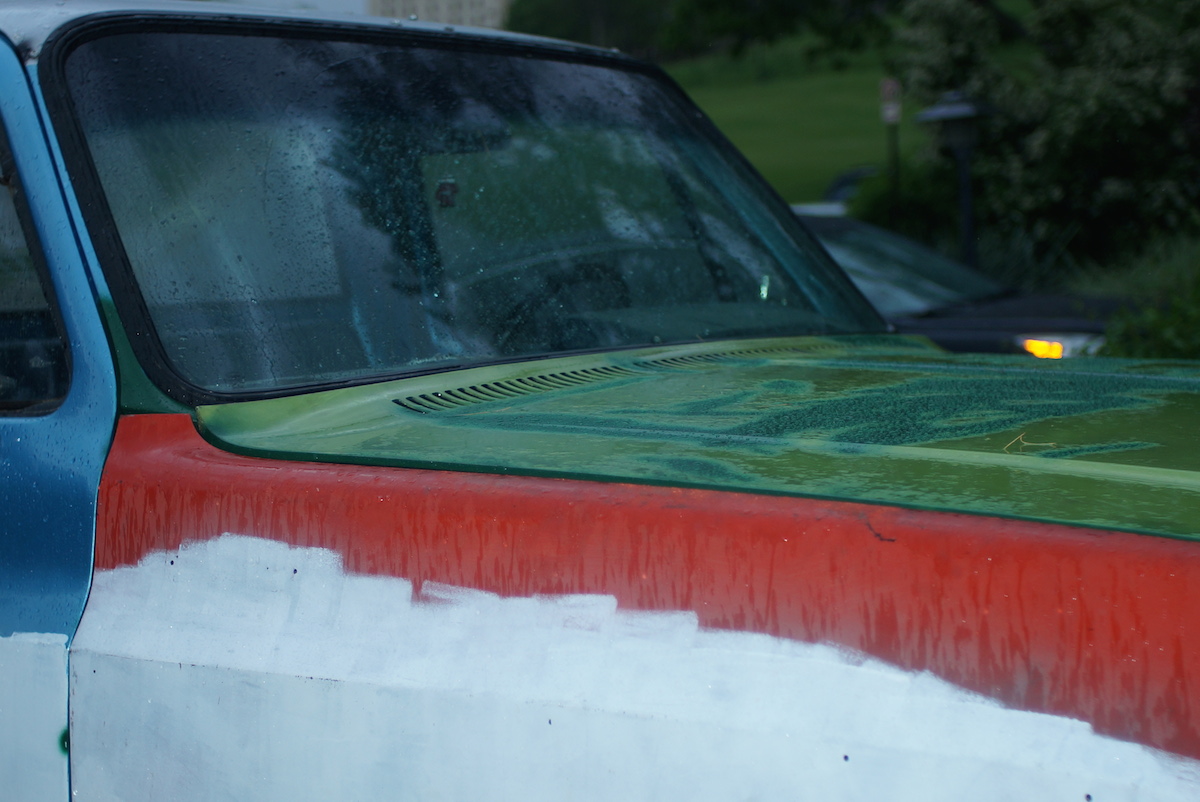
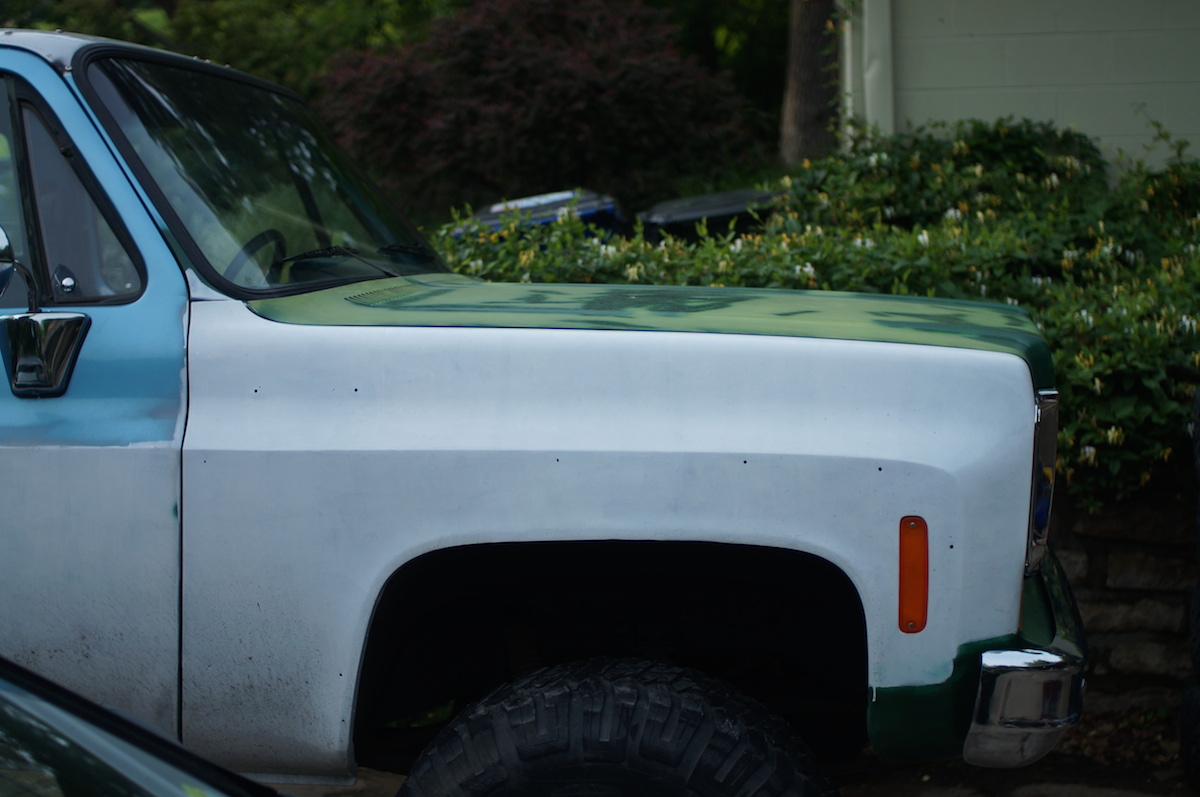
I've been driving around with 7 different colors, lol. Hunter green, lime green, blue, white, silver, red and just a bit of black. That will soon change.
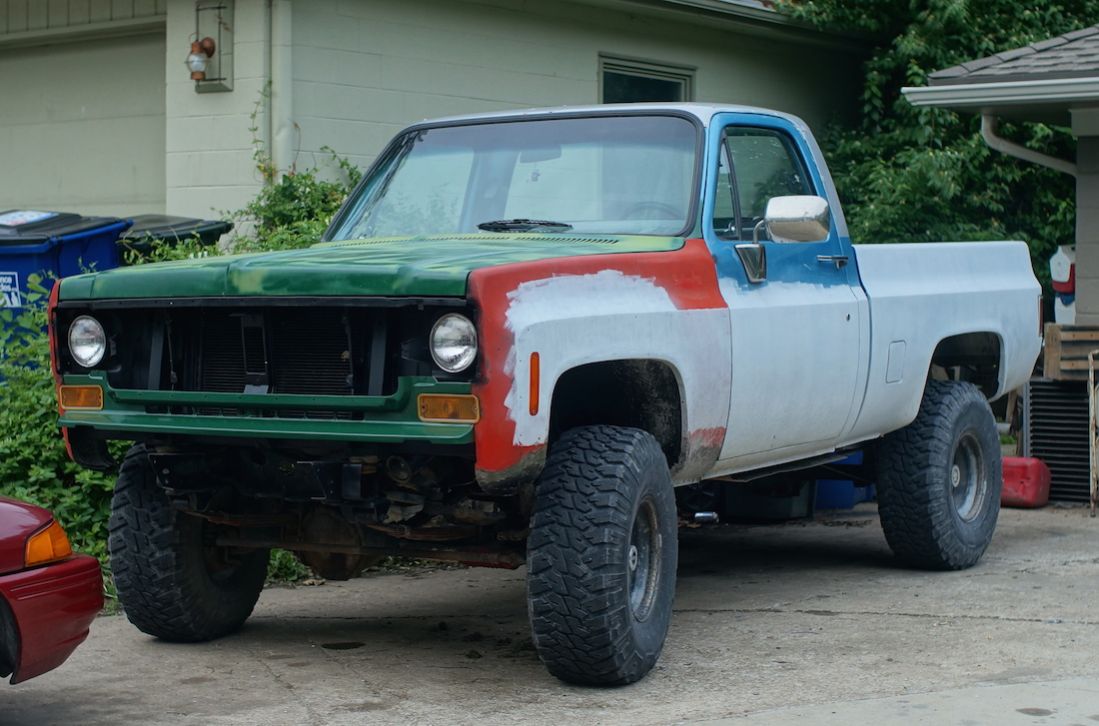
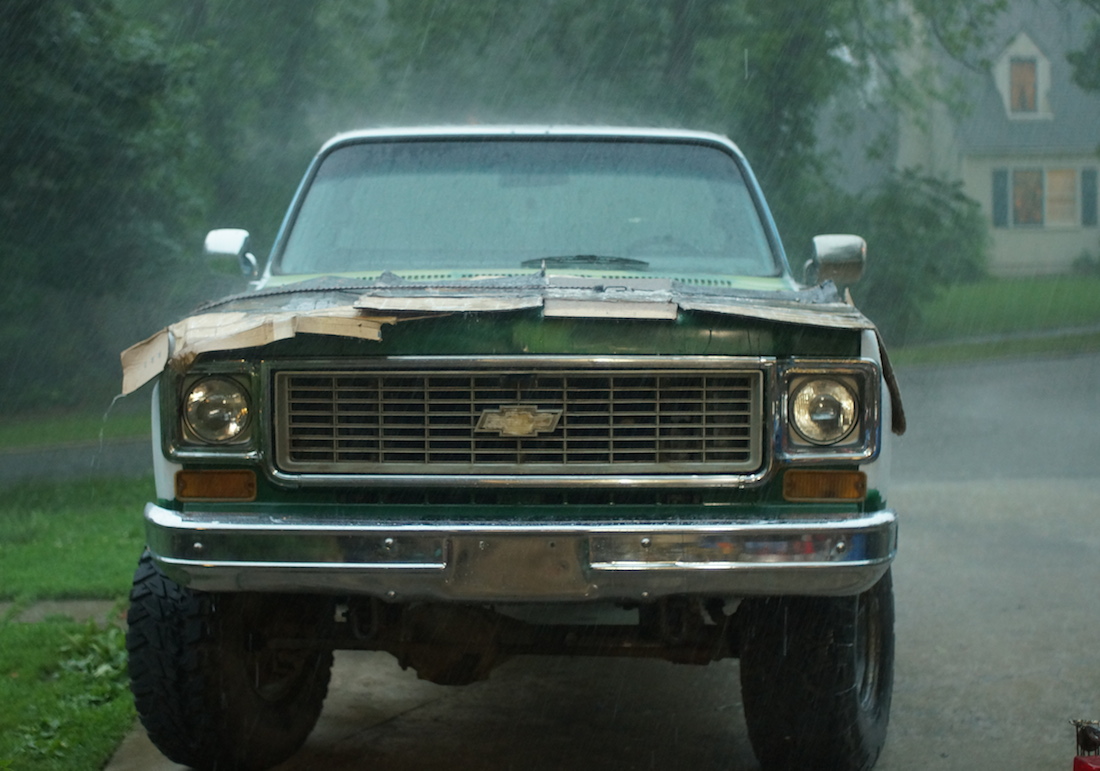
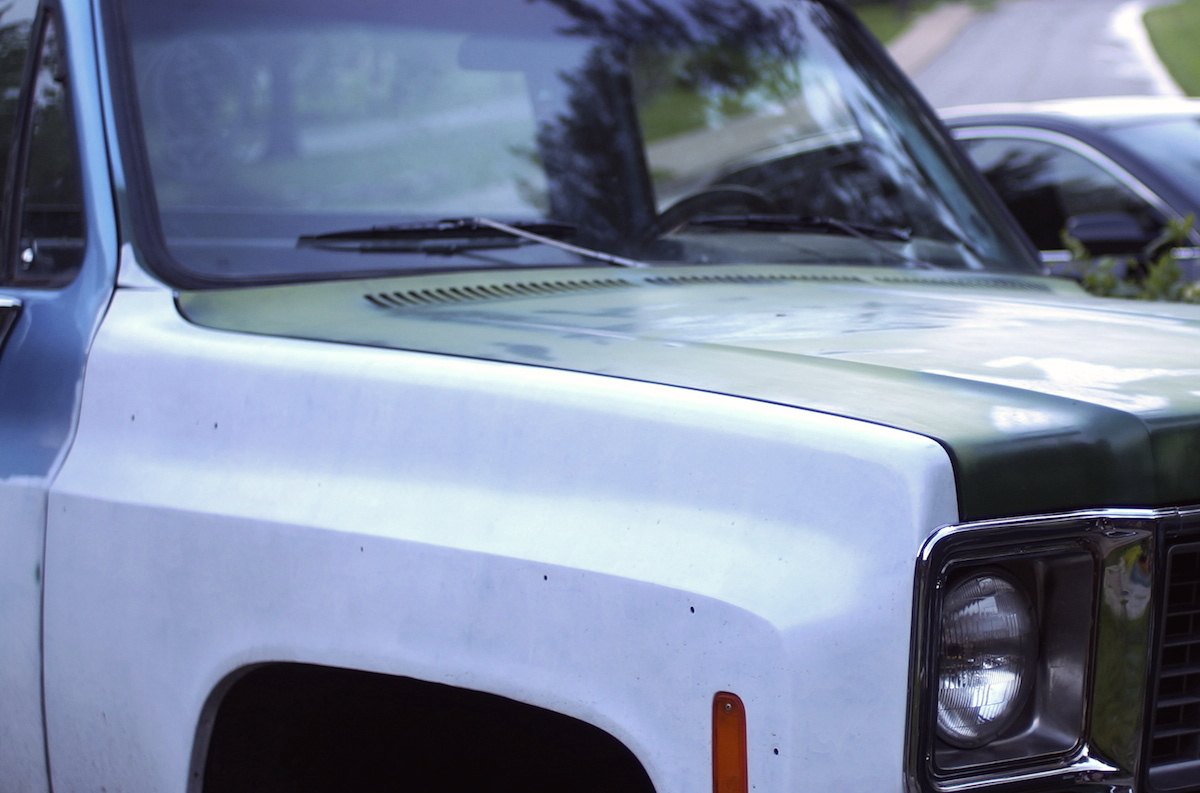
It stopped raining just long enough to do some body work and get two coats of paint on the fenders.
First I filled the gaps in my amature welds with fiberglass body filler.
Then regular body filler.
Then block sanded the whole fenders.
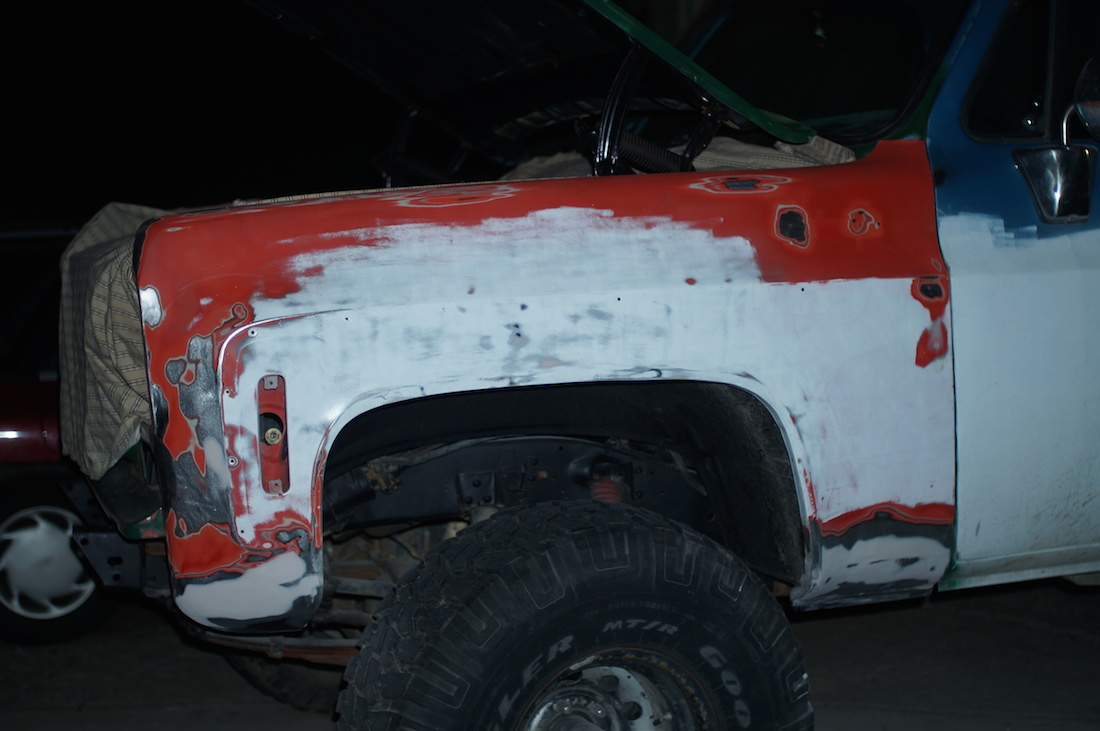
Then high build primer and some glazzing putty.
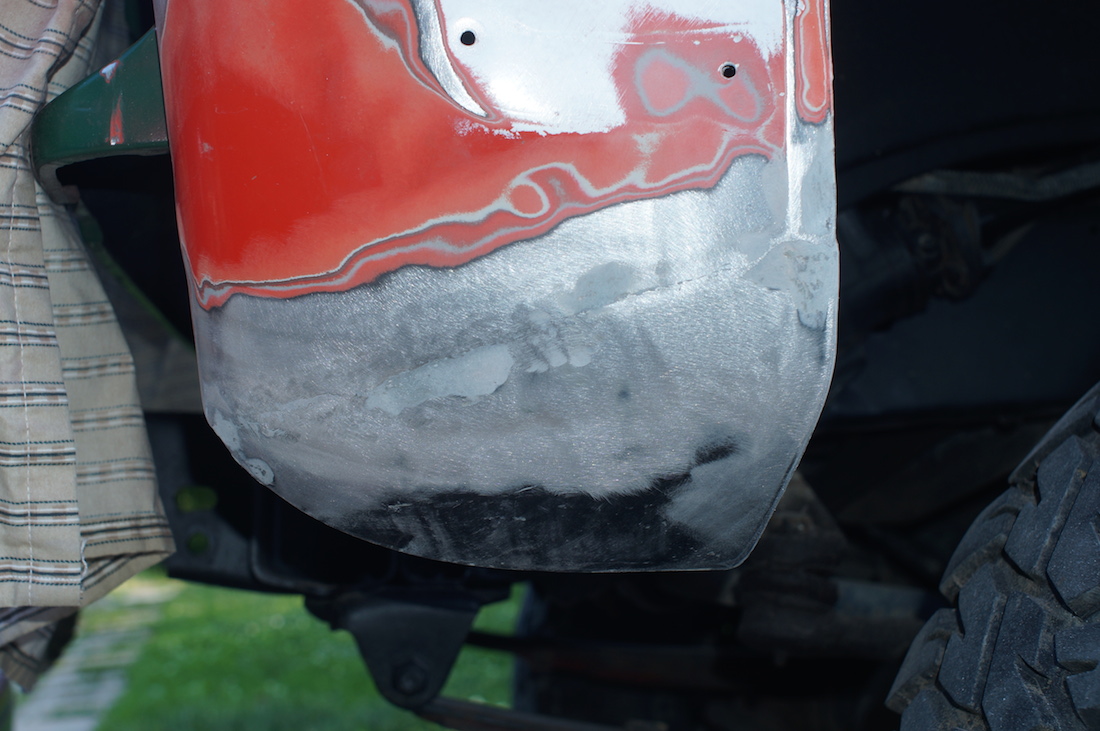
Followed by more block sanding. (yes there's a really obvious ding just to the right of the side marker that I'm seeing now for the fist time. dammit.)
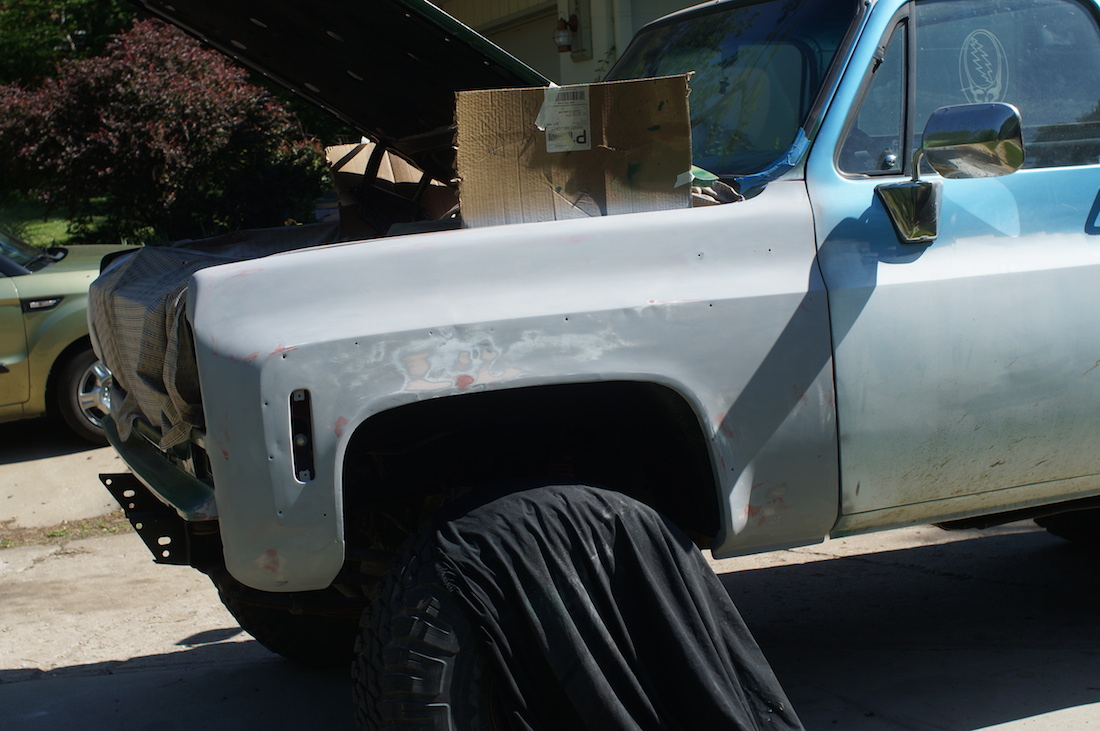
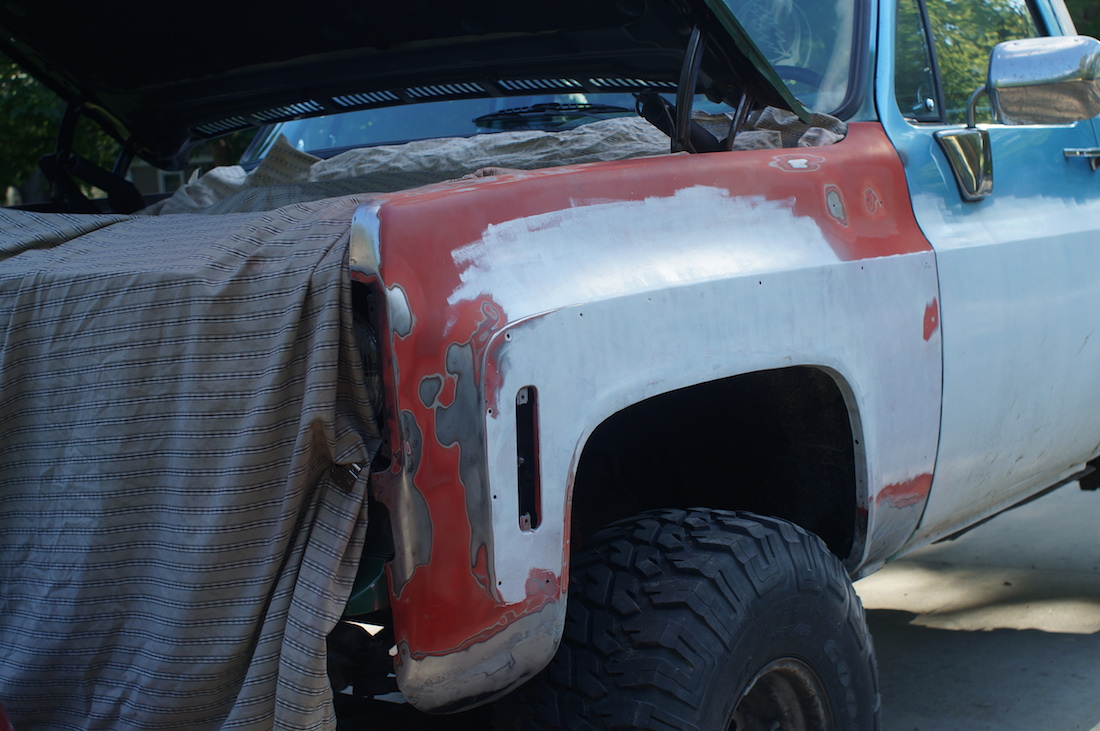
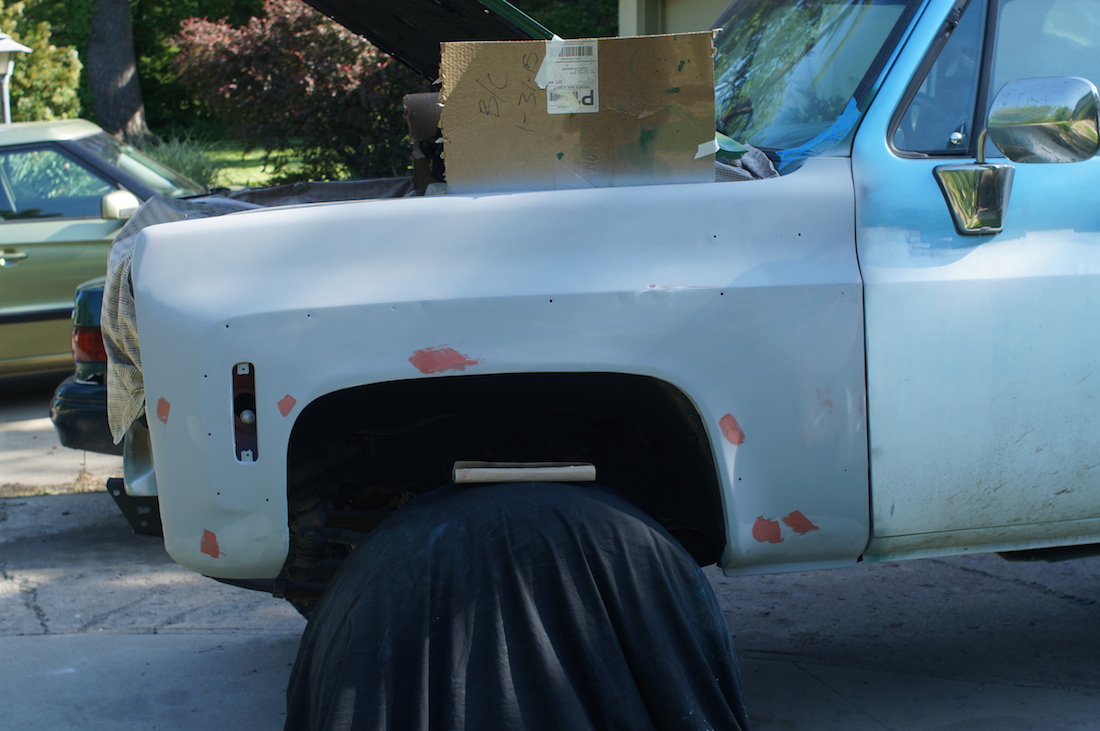
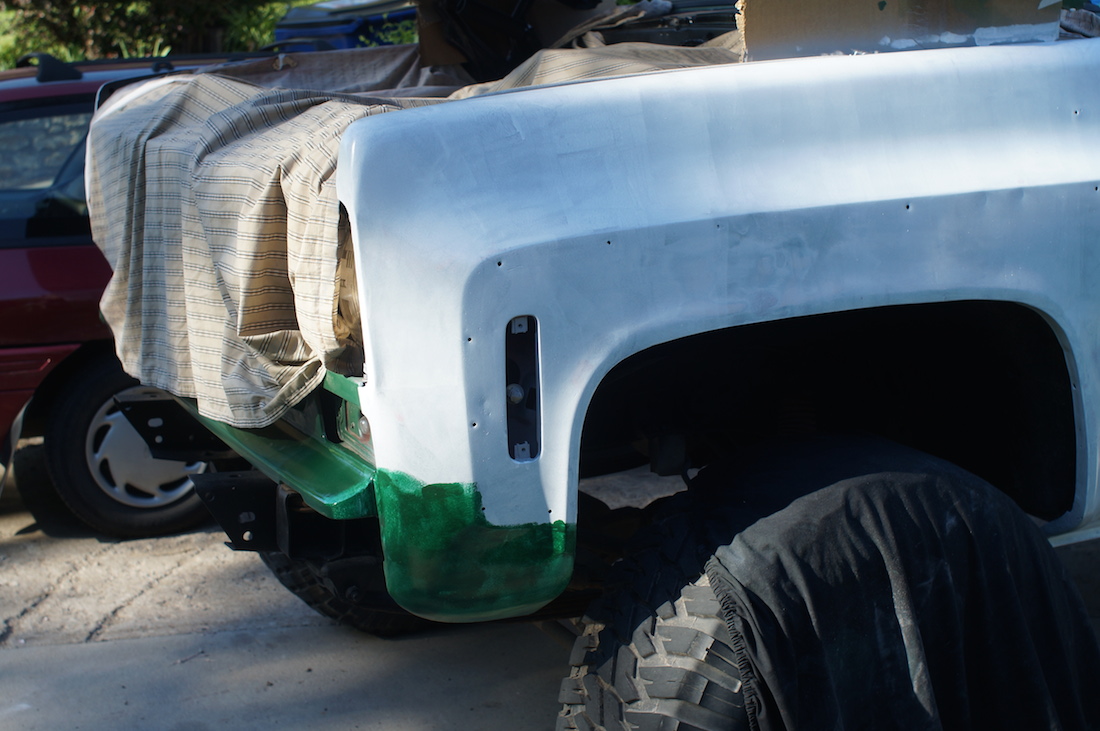
The next morning I rolled on some white rustoleum (I roll on the paint in the morning when it's cool and the bugs are down). I'm sticking to my game plan of painting the whole truck with two coats of white, one panel at a time. This seals up the primer and allows me to continue using the truck as my daily driver.
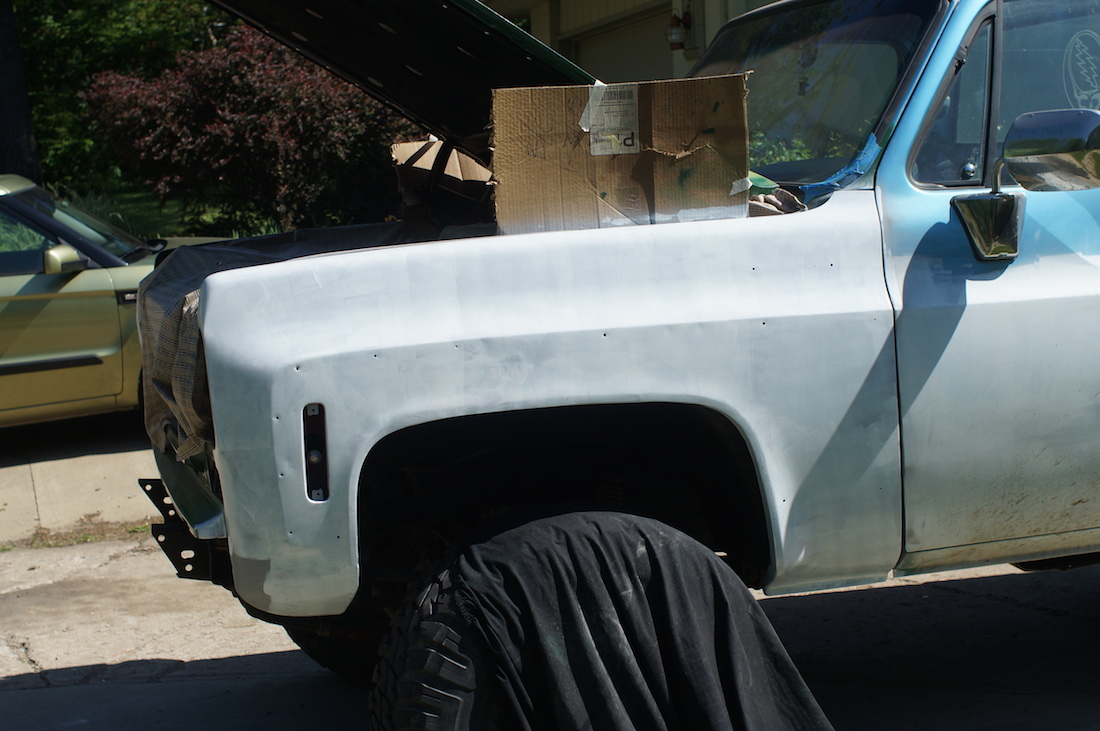
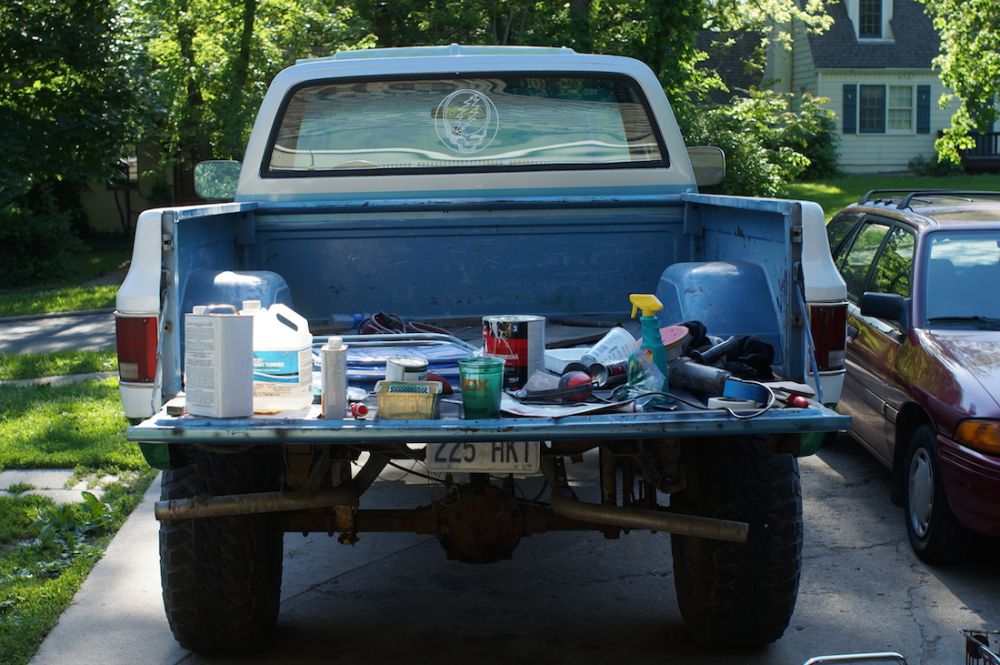
I've been using the tailgate as my work bench (its the perfect standing height) so the tailgate will be the last thing to get painted.
In order to install the bumpers before I'm finished painting, I rolled the green rustoleum I'll be using. This is just one very ugly coat. I got lazy and the next morning I just used the spray can version of the same color.
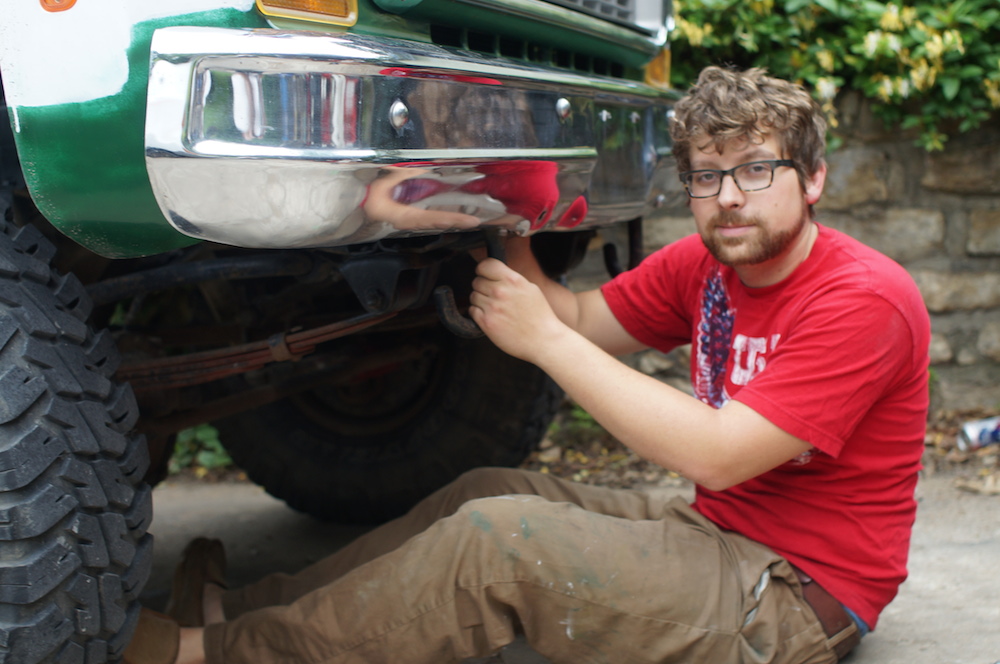
Speaking of bumper, time to install the front one.
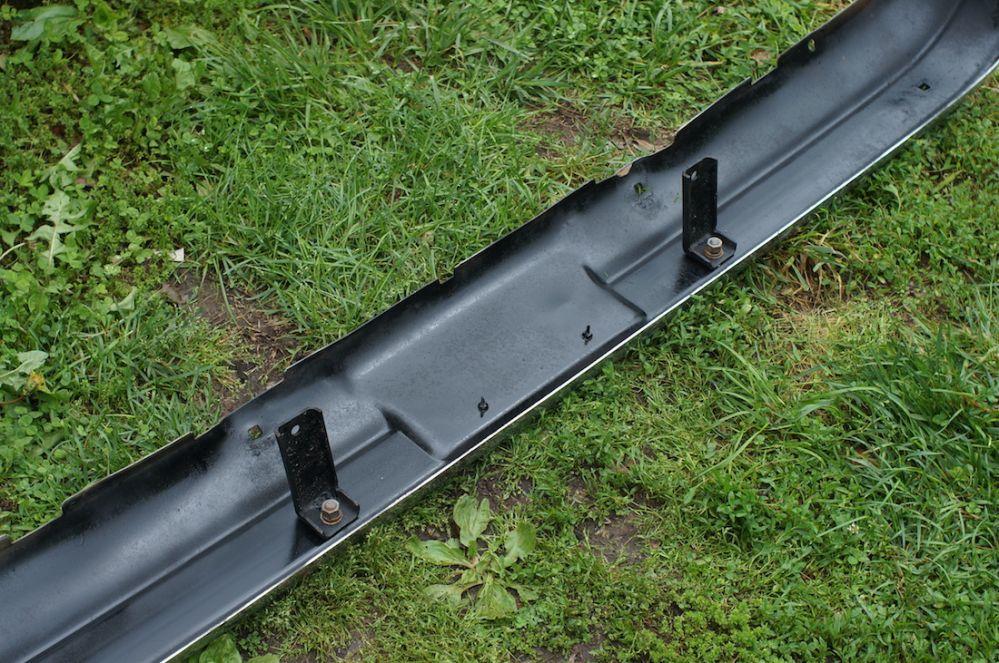
The used bumper was a little rusty on the inside so I sprayed it the rustoleum rust-reformer then rustoleum stops rust.
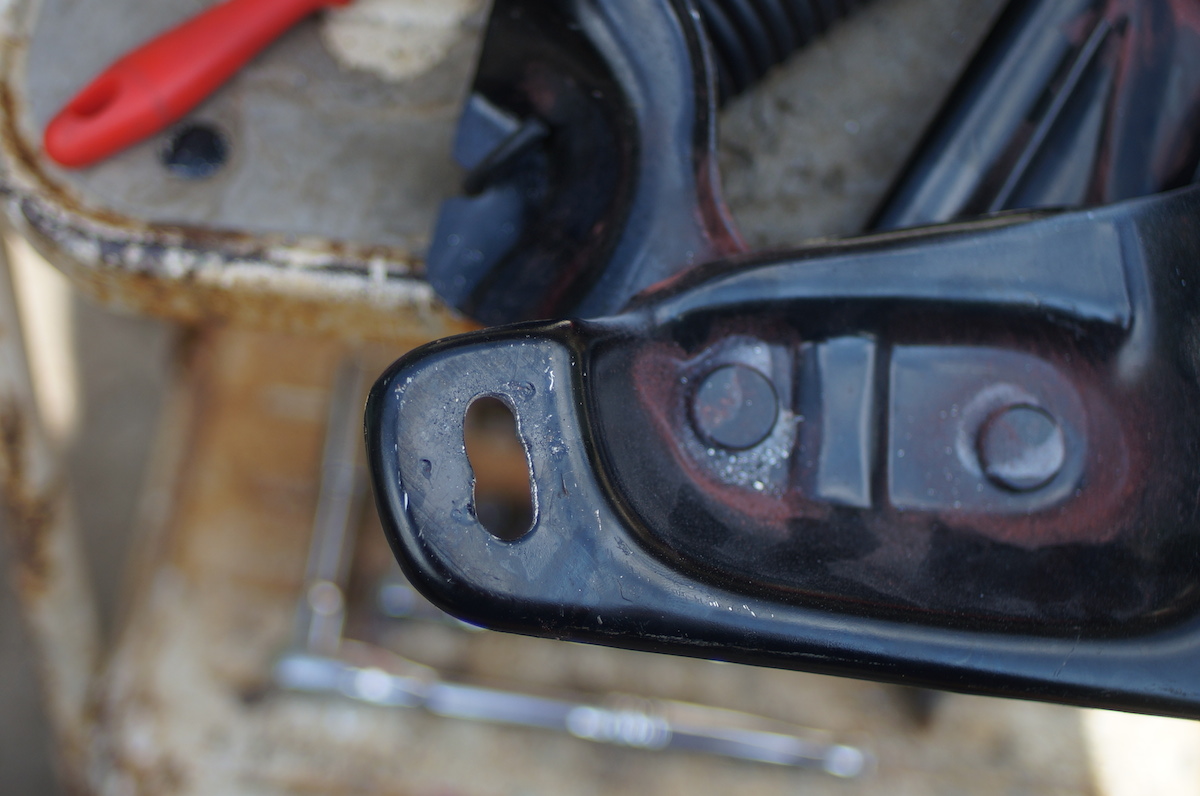
Then I mounted the top, inner bumper brackets.
I layed it on the frame, lined it up with the body as close to it and with little of a gap as possible, then marked on the frame where I need to drill holes. Actually, everywhere I drilled a hole was an unused hole about an inch more forward on the frame. Maybe this means I was able to get the bumper closer to the body than it would have been stock.
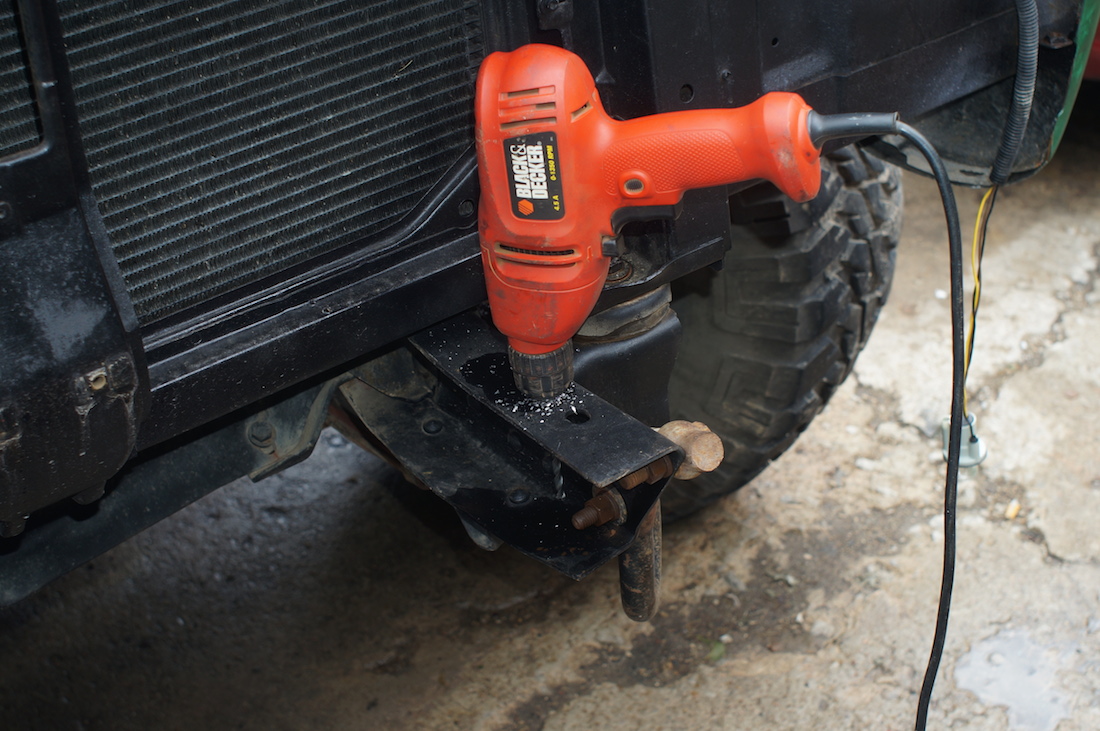
I had to remove the lower grill panel to get the drill in there.
I had to use two shims on one bumper only. Don't know why but it lined up much better, I think one of my two brackets wasn't square.
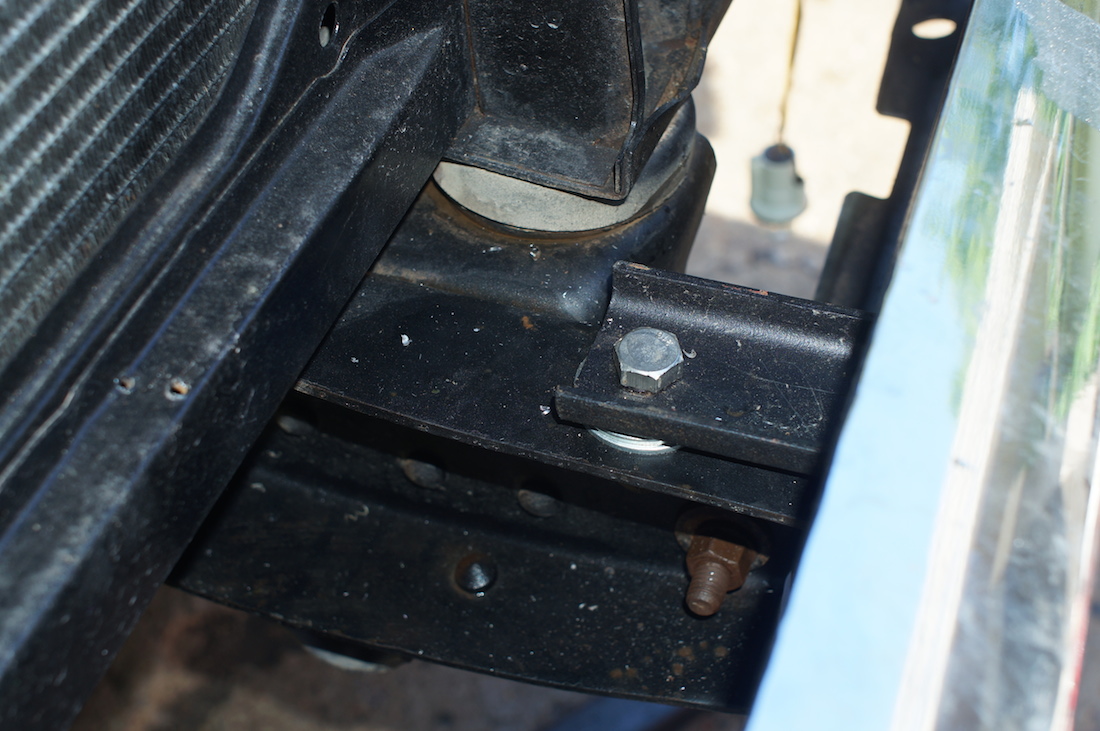
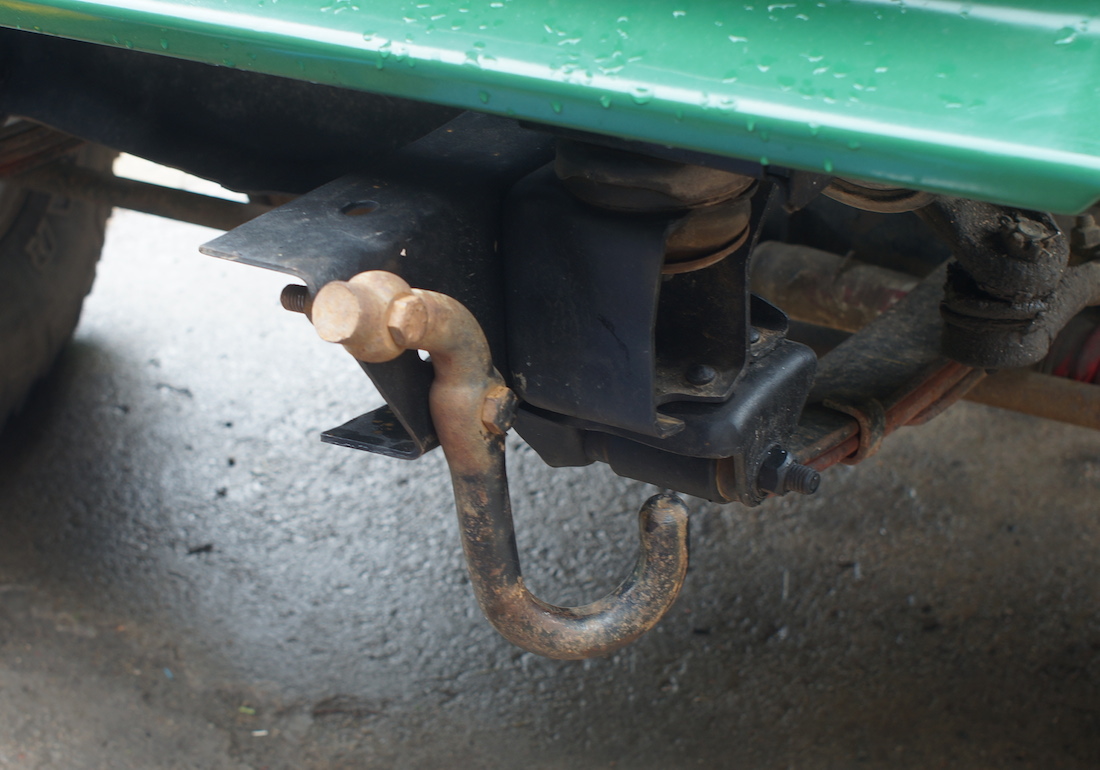
I also was able to put the tow hooks back on, they weren't in the way of any of the new brackets or bumper.
With the inner brackets securing the bumper in the correct location, I could mark the holes for the outer brackets. I bolted the bracket to the bumper then I could see where I needed to drill a hole in the frame. The driver side bracket was much harder because the steering stuff (the technical term) was in the way. I ended up slotting both holes in the bracket so that I could use that vacant hole an inch up the frame that I was telling ya about.

Viola!
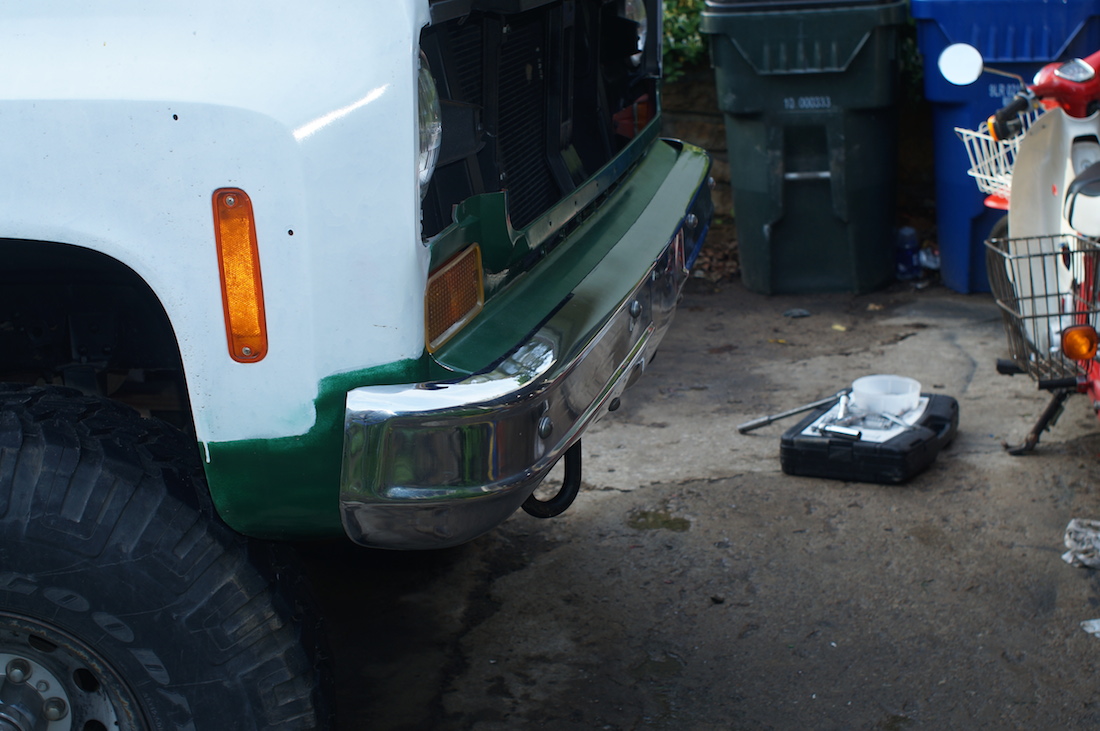
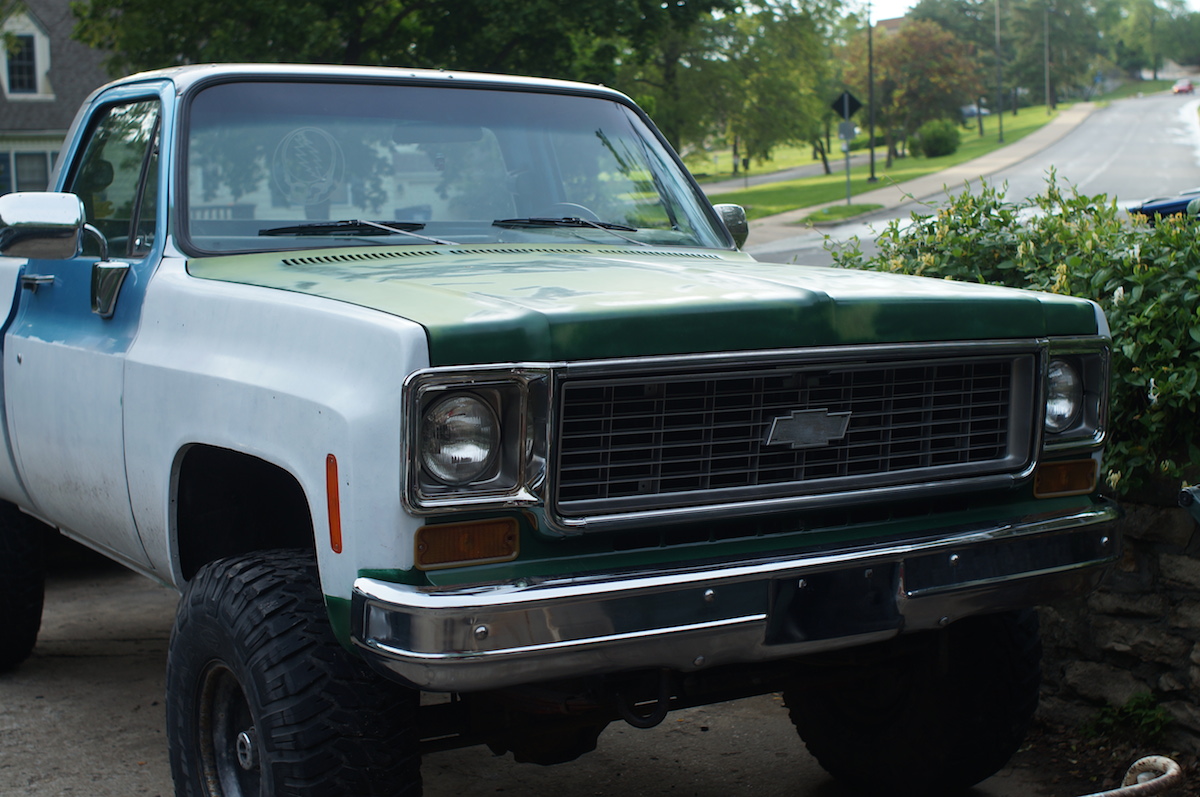
Next up was the stainless steel trim that goes above and below the grill. I cleaned and polished it up with some Blue Magic and a piece of #0000 steel wool.
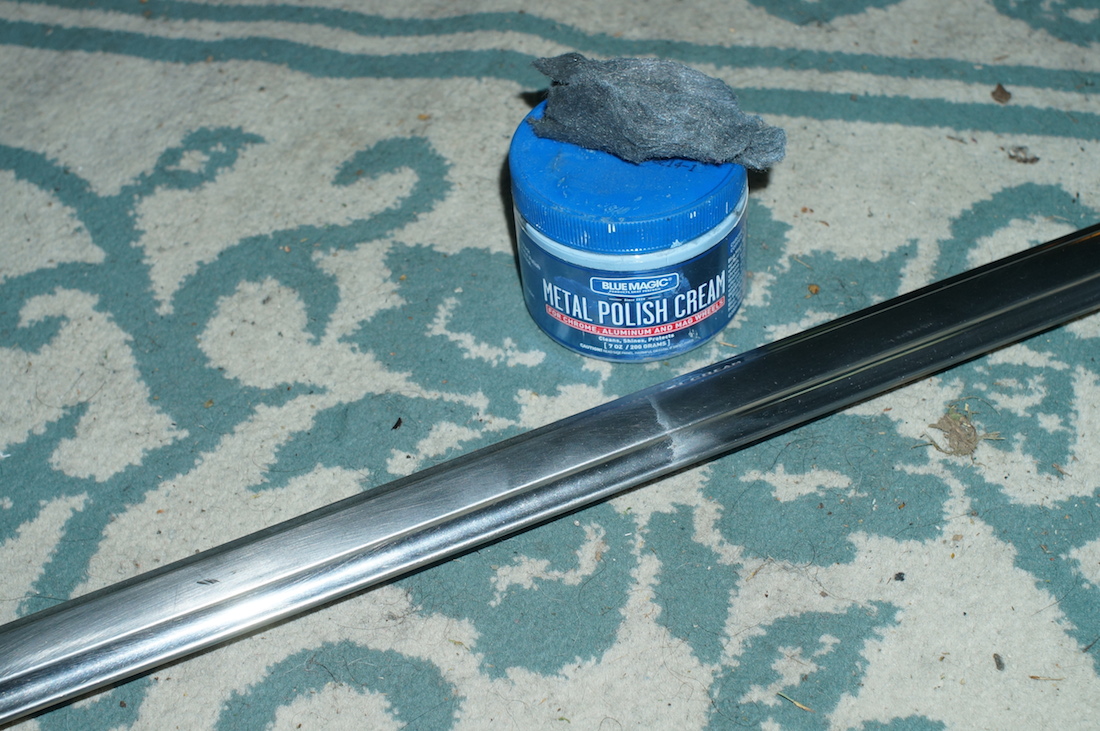
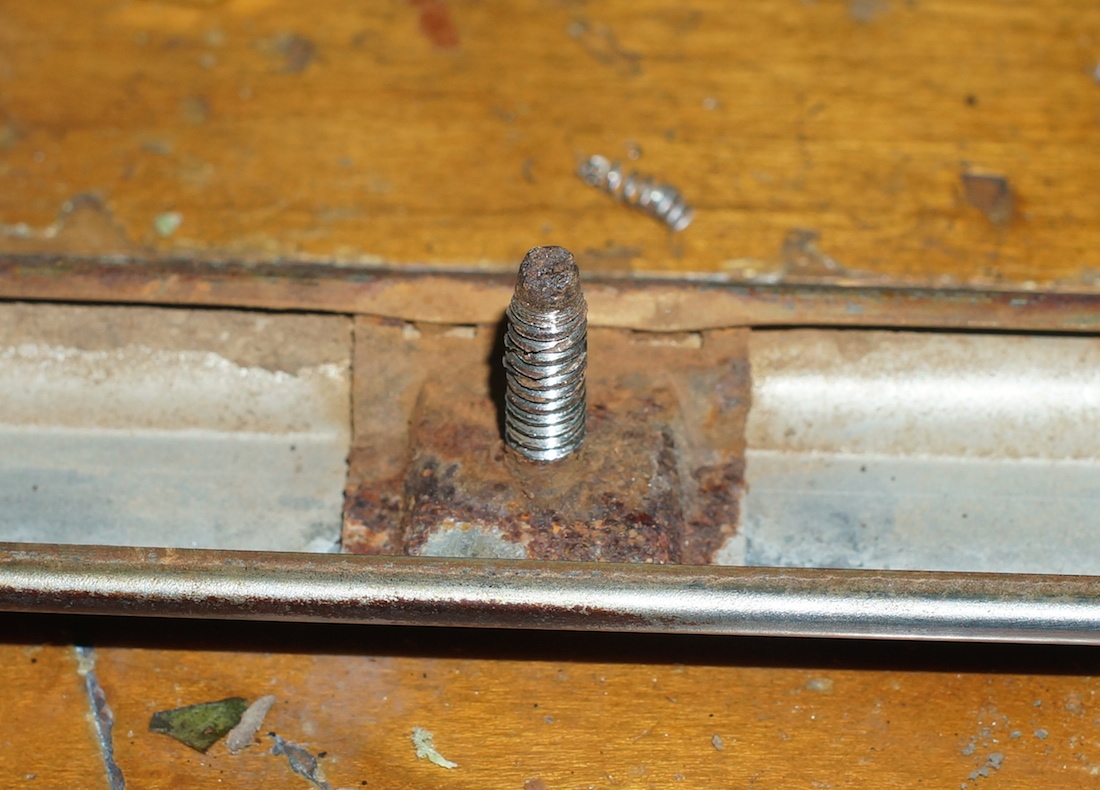
They're attached the the body with these studs that stick out.

When I removed them I threw away the little speed nut things that held them to the body because they were so rusty that half of them broke. I went to the hardware store to find replacements for them but a #10 was too small and a 1/4" was too big and there was nothing in between! So I bought a #12 die and a bunch of #12 nuts. The problem with that was that #12 must be a rare size because the only nuts I could find for it were brass and $0.50 each. I must have ran to the hardware store 6 times trying to figure all this out, thankfully I got my motorcycle running for this purpose.
Finally!
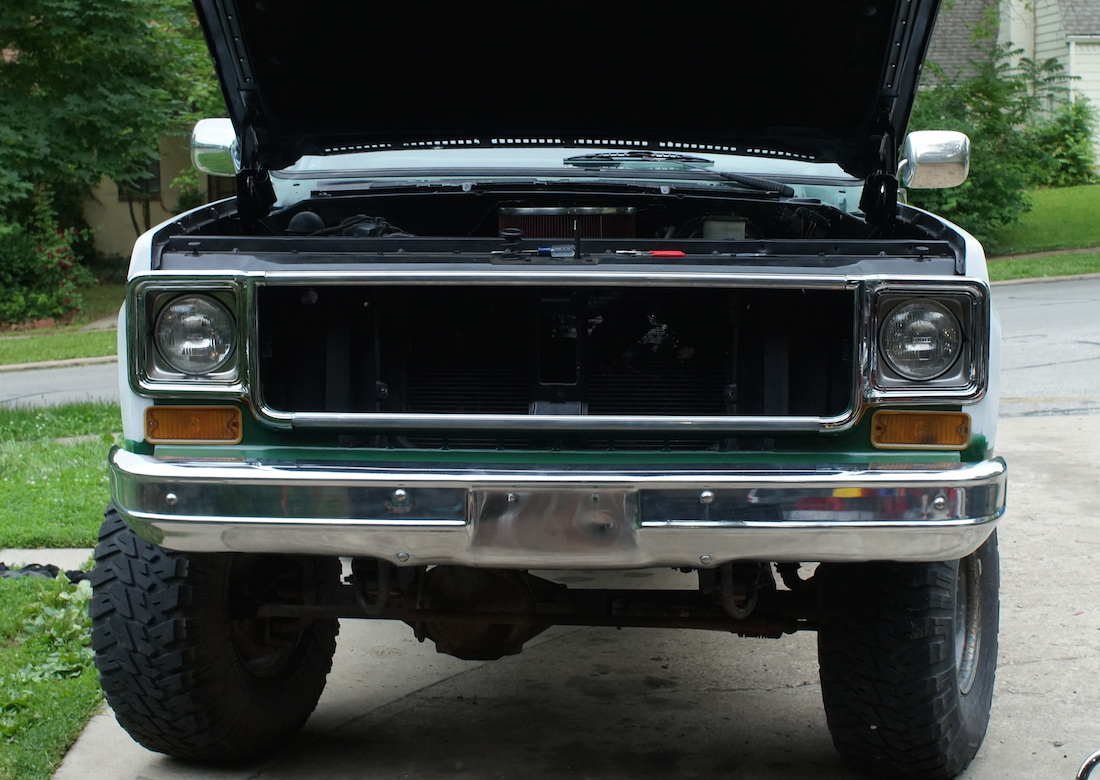
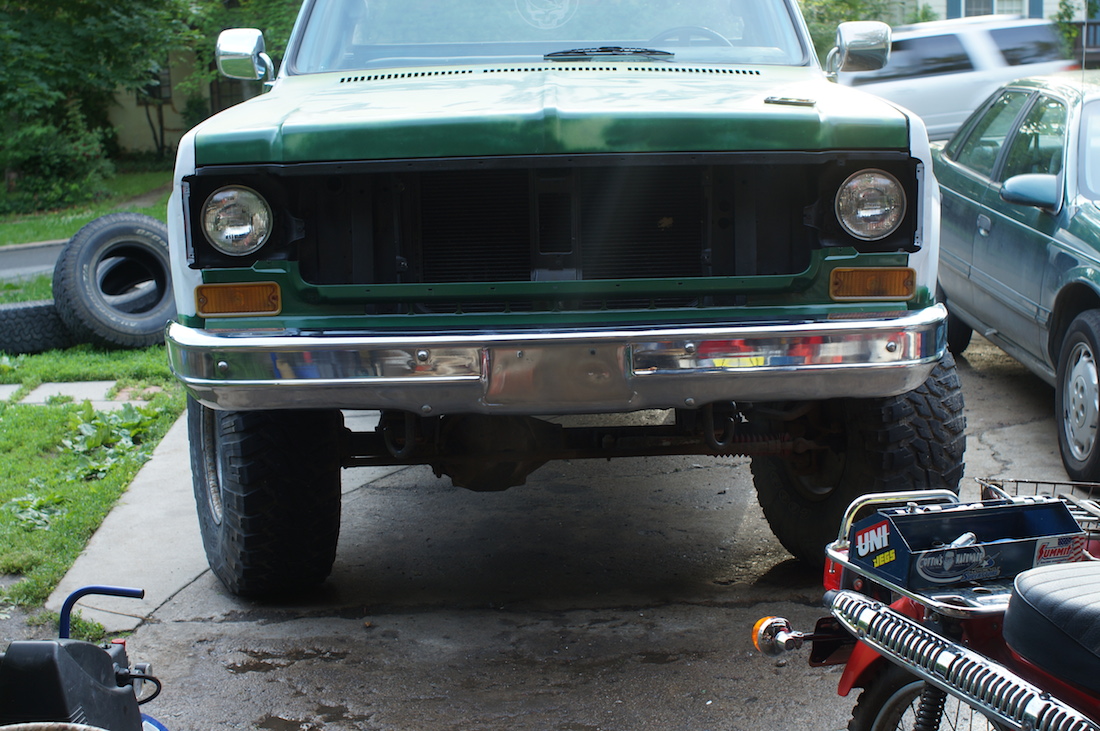
I put the grill on for now but I'm going to take it off to paint it.
Shorty after I got the grill on a huge thunderstore rolled through. I wasn't about to let any hail wreck my investment!
My bolts from boltdepot.com also came it. I like ordering from them for big purchases, they're soooo much cheaper than buying from the hardware store but the $10 shipping can wipe away all those savings unless it's a big enough order. Of course I forgot plenty of other bolts I needed like for the license plate for example.
I bought stainless steel carriage bolts for the rear bumper. But there were a little ugly so I came up with neat way to polish them. I was just barely able to fit them in the chuck my roommates drill (they wouldn't fit in my cheap Black and Decker drill). Now I could spin them and polish them up real well.
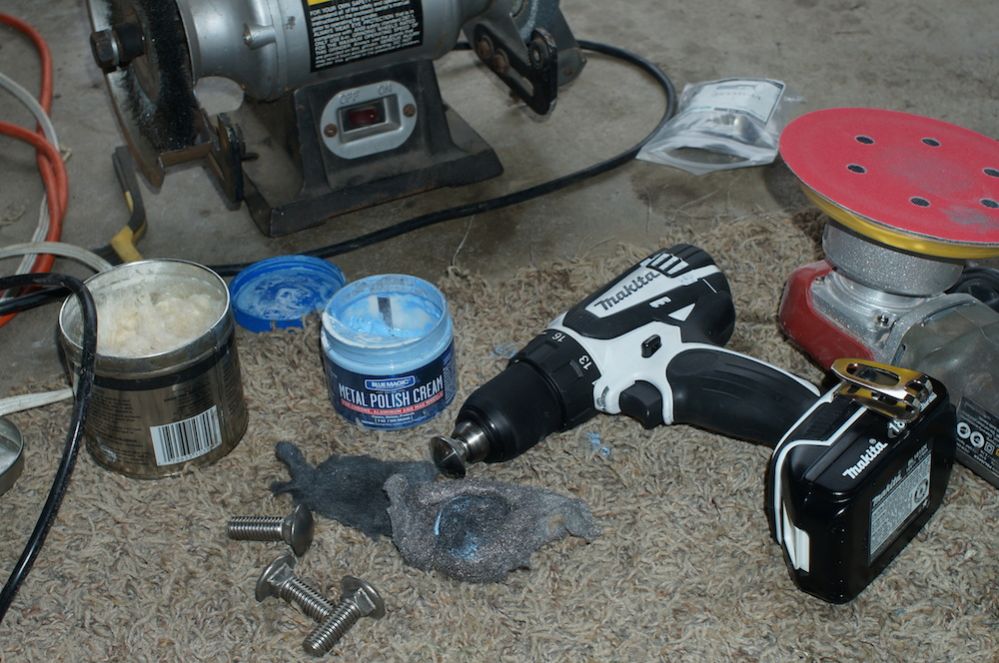
I first used 220 grit sand paper, then #1 steel wool with Blue Magic metal polish, then #0000 steel wool with metal polish.
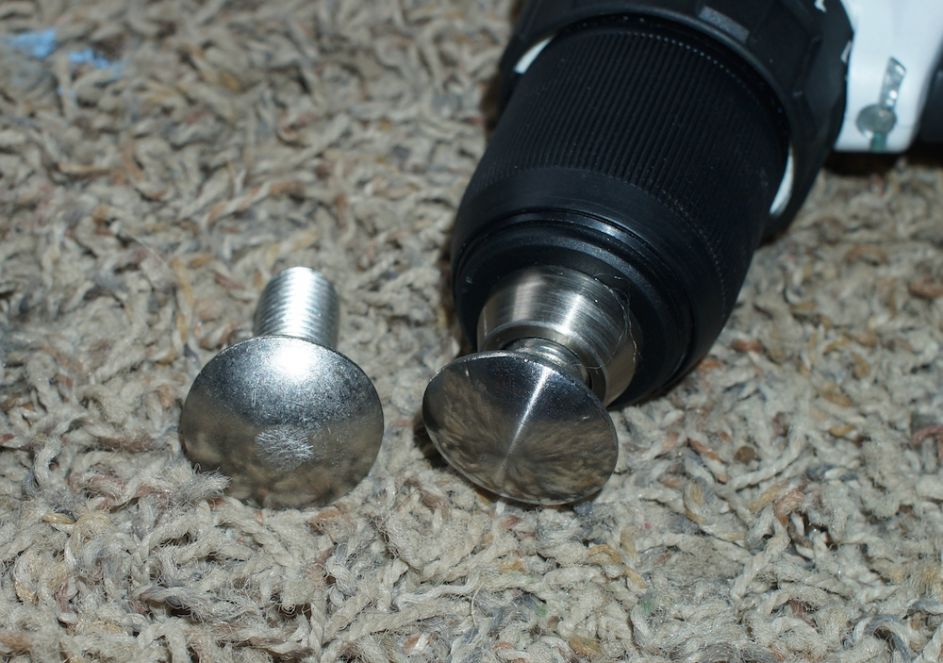
They turned out really well. Much cheaper than buying the chrome bolts.
I needed to make a license plate holder bracket thingy. Another cheap move was to not buy the $40 one sold my LMC and to make my own out of aluminum sheet metal.

Ta-da!
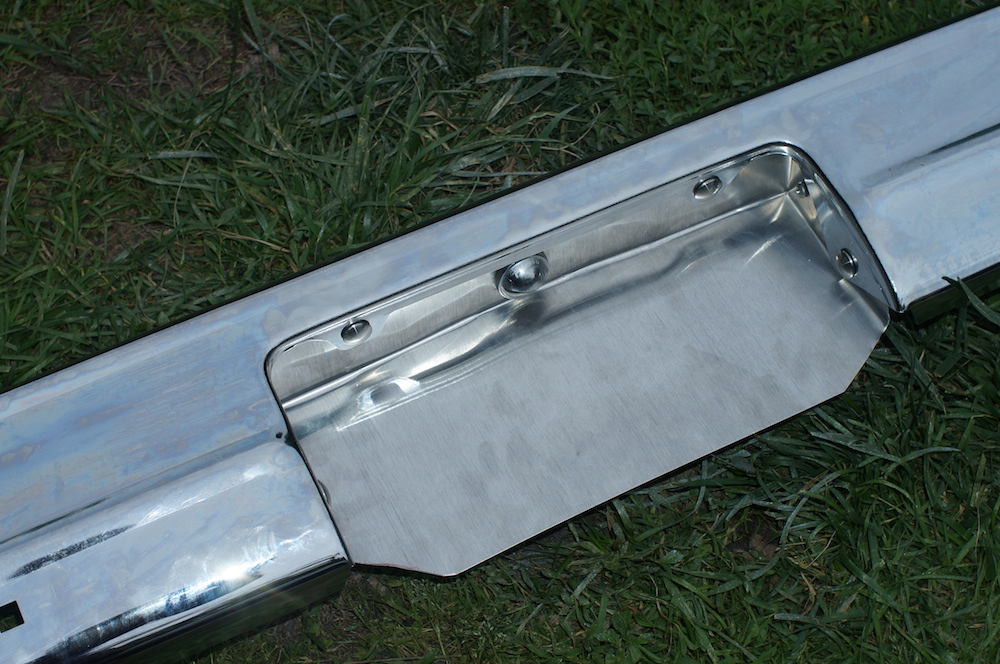

Now I could put the rear bumper on.
I bought some used brackets off ebay for $40, but only the outer ones. LMC wants like $150 for all 4 of them! I'll have to keep my eyes peeled for the inner two brackets.
Sure enough there where holes in the '83 frame for the '73-80 bumper brackets, but when I attached everything the bumper was much too far away from the body.
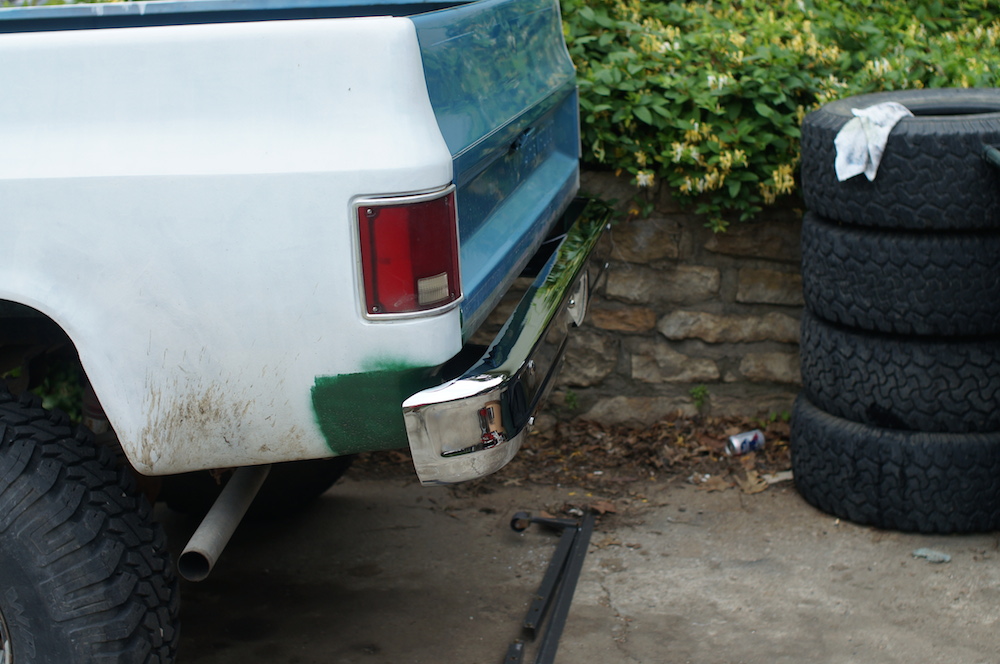
So I took it back off and drilled holes an inch inward on the frame, just like I did for the front bumper.

Aw! Much better!!
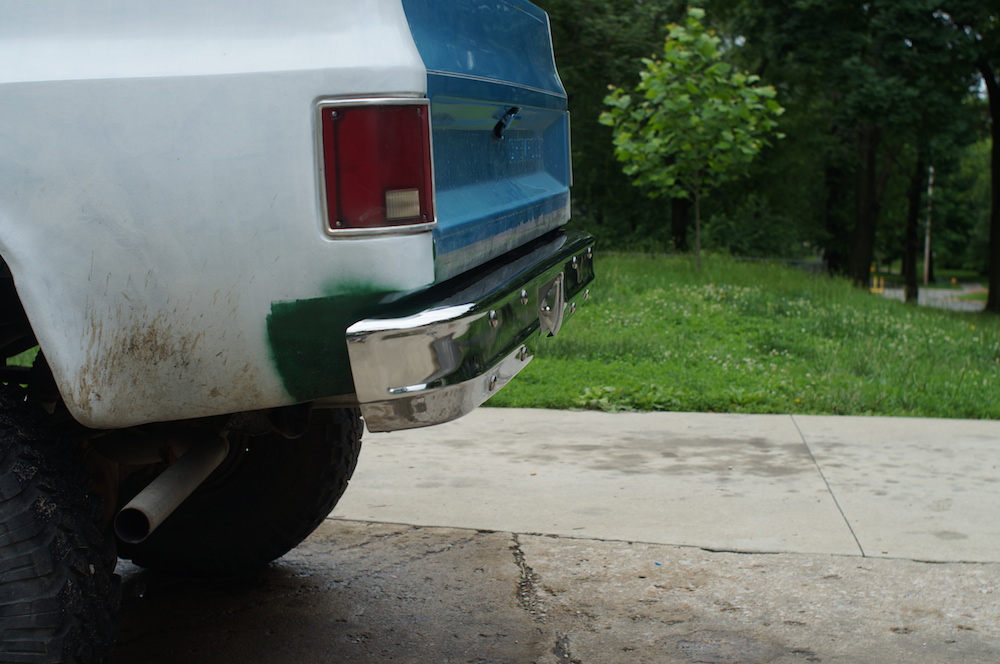
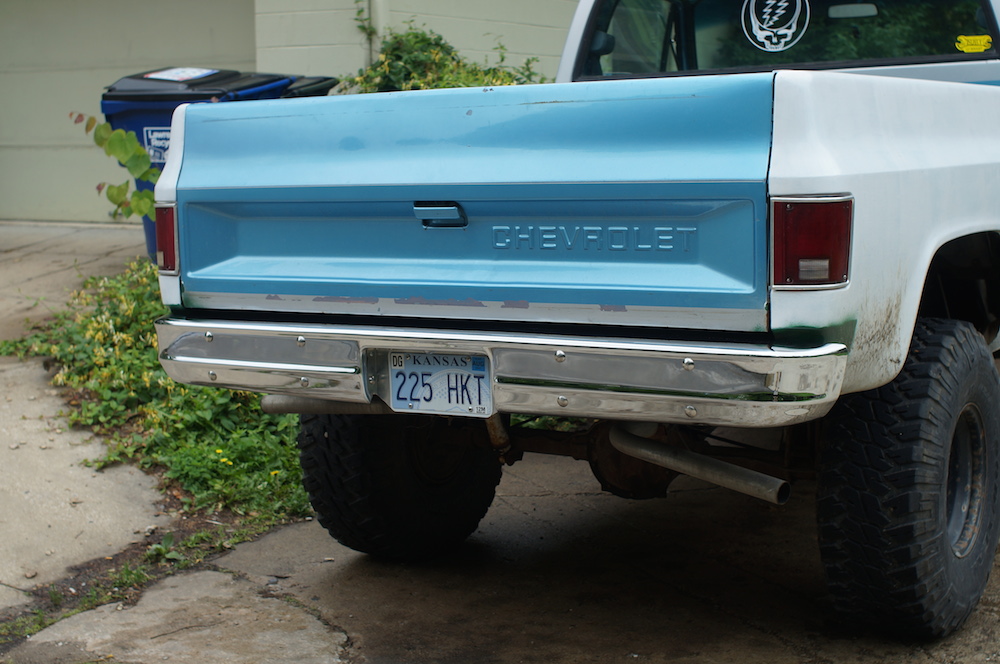
I think it looks great. But the whole bed it a little uneven.
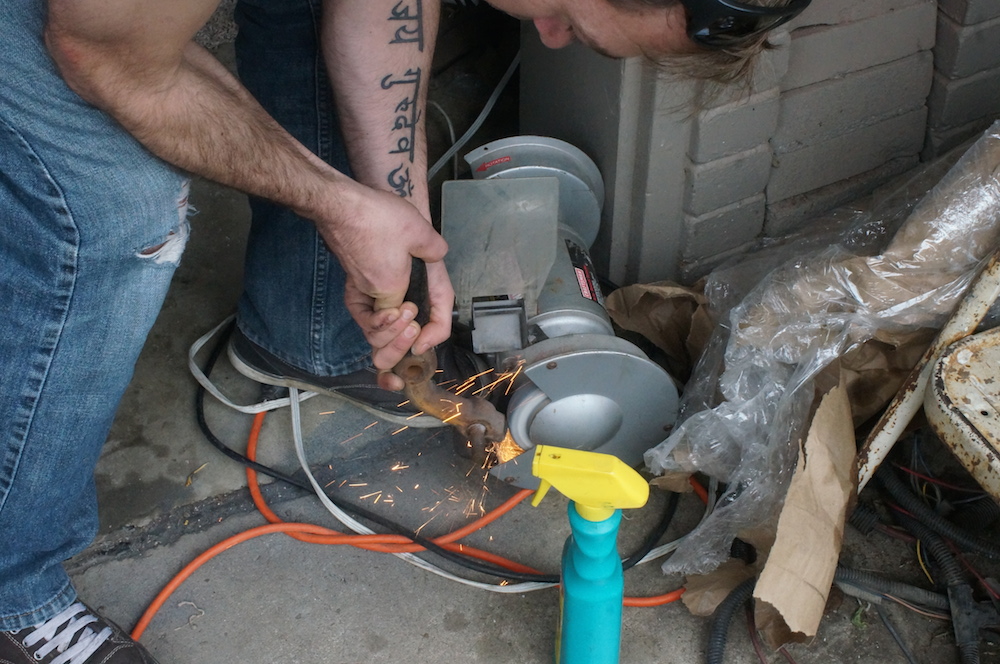
After the front clip conversion, there was a ratteling noise coming from the front end somewhere. I thought it was a wheel bearing at first. Turns out the sound was actually the bumper rattling against the tow hook. If you recall, I fit the bumper as close as I could to the body buy drilling new holes in the frame about an inch inward on the frame. I guess it was a little too close.
So I simply took the tow hooks off and then Johnny grinded them at the corner where they were hitting the inside of the bumper.
So the next thing that needs aligning is the hood. The aftermarket brackets from LMC didn't fit quite right, the hood was raised up over a quarter an inch.
Here's how it looked before:
So I removed the hood and the hogged out the holes in the hinges where they bolt to the fenders.
It made a world of difference
...and that was that for the fenders.
I know this article is getting rediculously long now, but there was one final thing that needed to be prepped before paint: the roof.
There were holes in the roof, I think they were from a visor. The PO just ripped the visor off and left the open holes there, maybe he thought it would be a nice way to collect rain water or something...
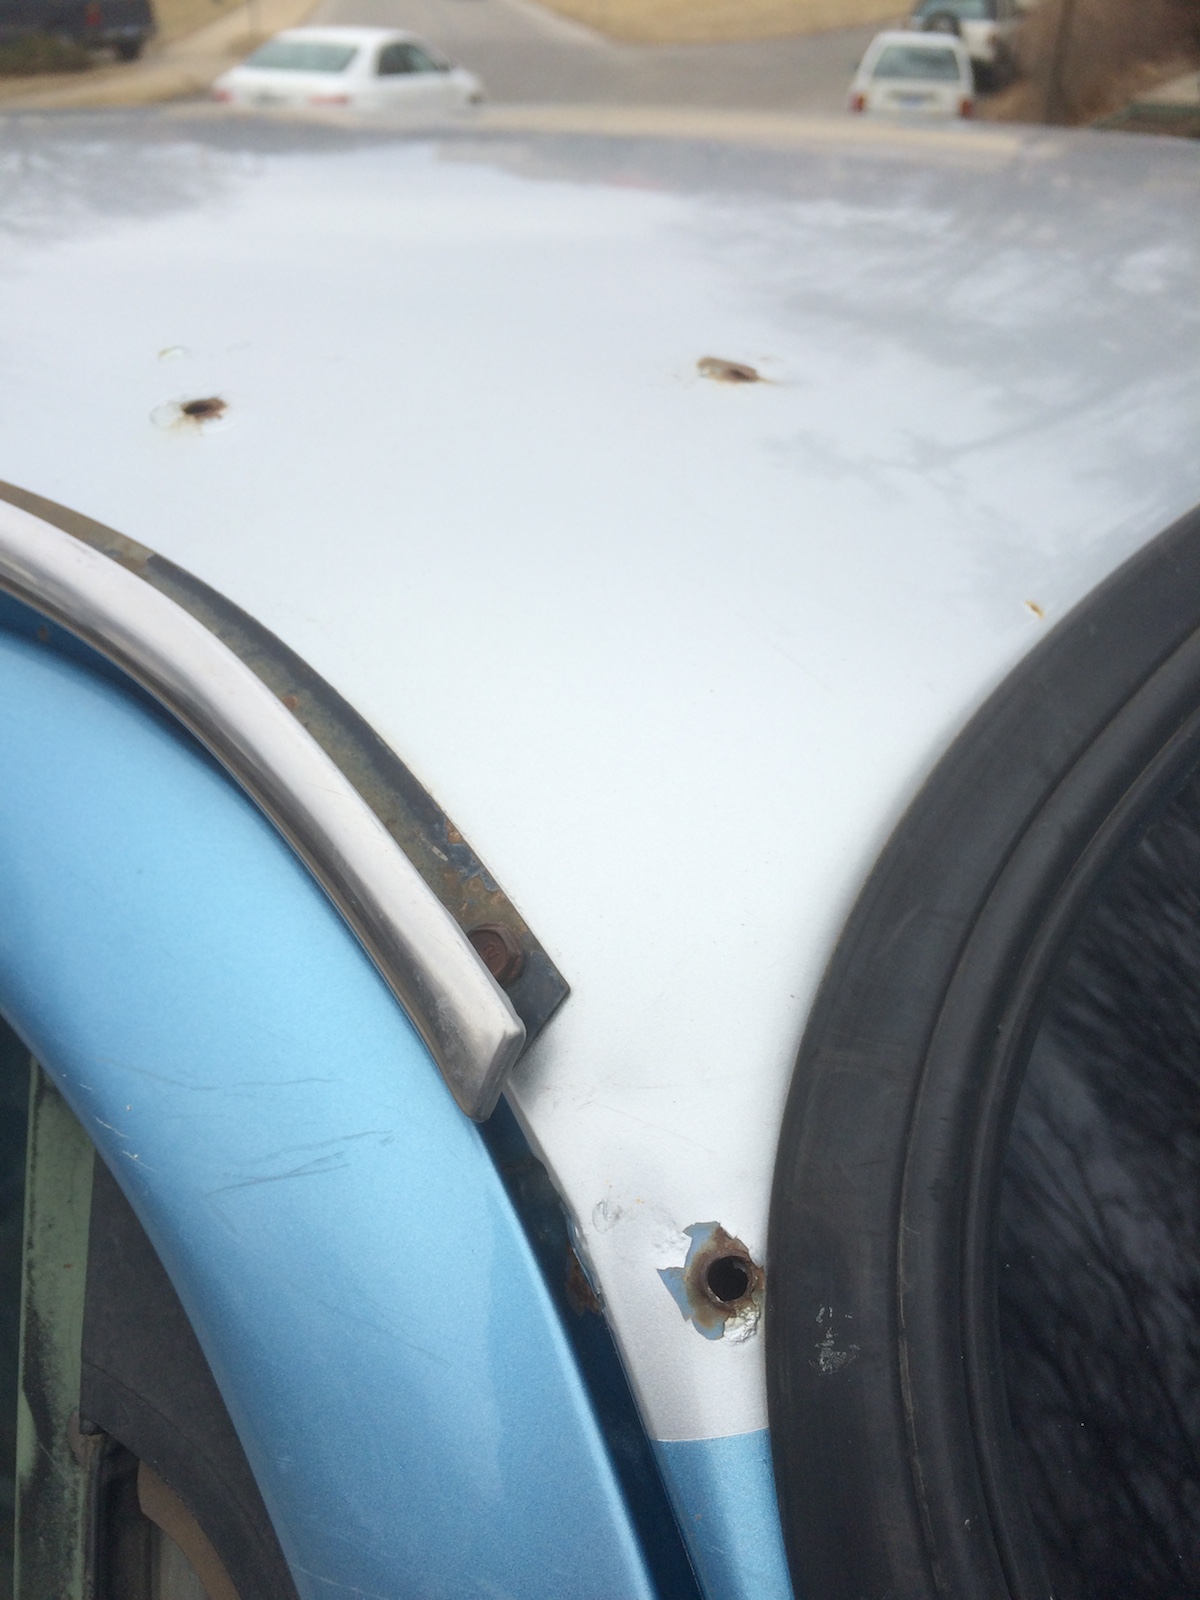
A few months ago I plugged the holes with silicon and sheet metal screws, but now it's time to do something for real about it.
I filled the holes with fiberglass body filler, then sanded it smooth. When I did that, I found rust under the paint!
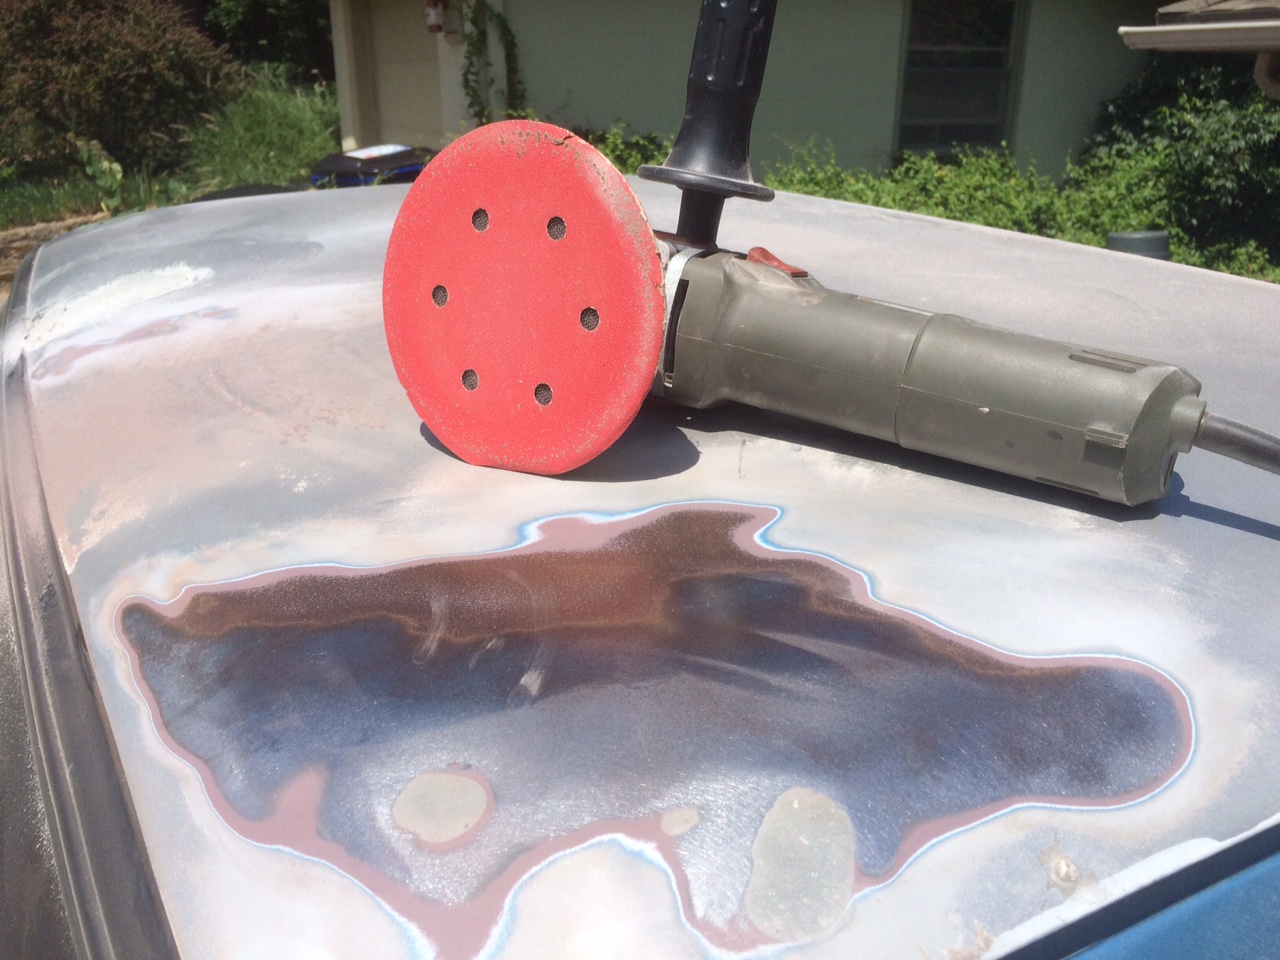
OH GAWD WHY ME?!?!?!
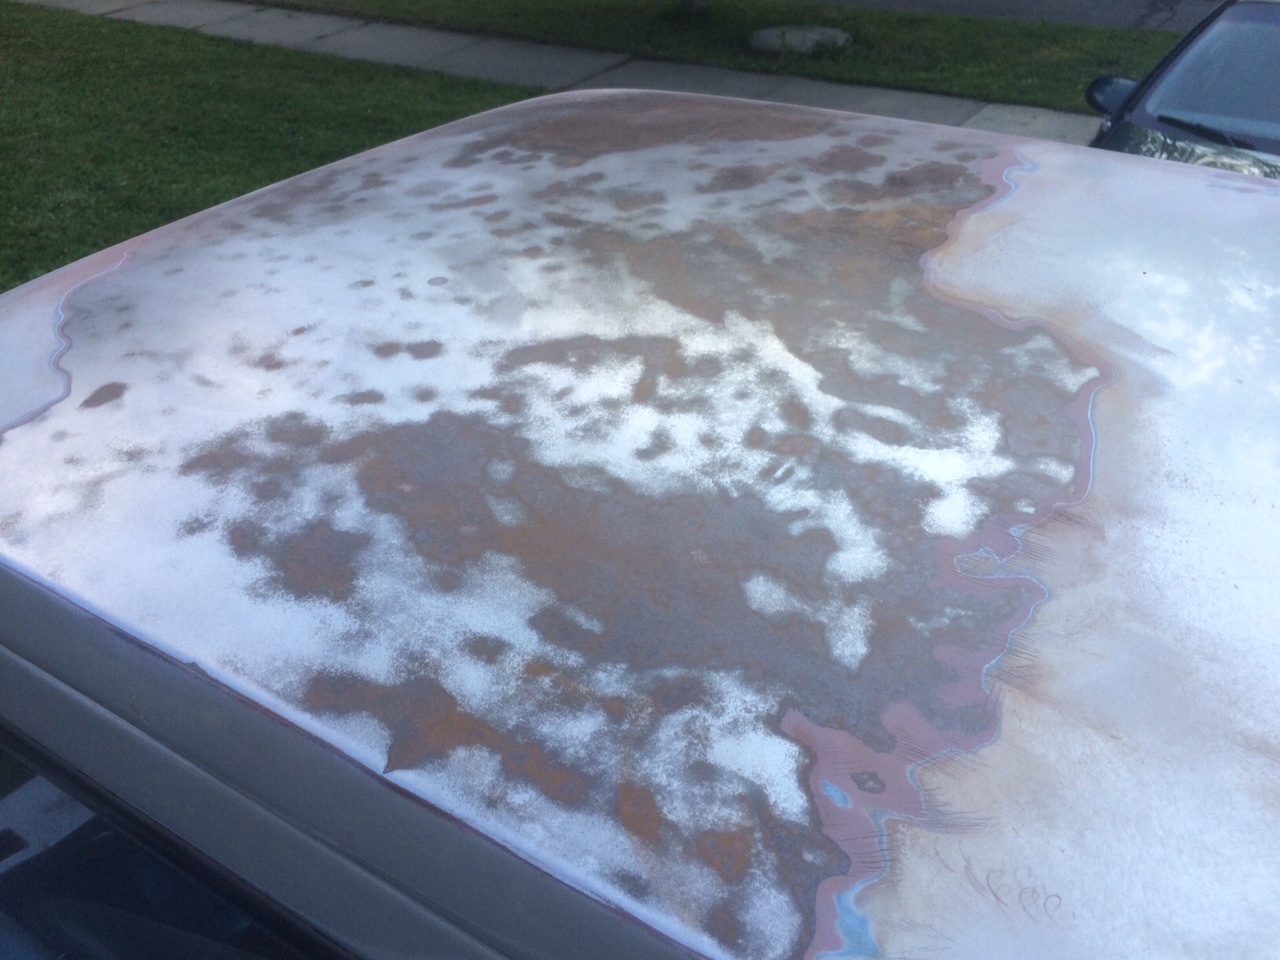
I used a grinder with one of the black abrassive sponge things on it, it worked really well.
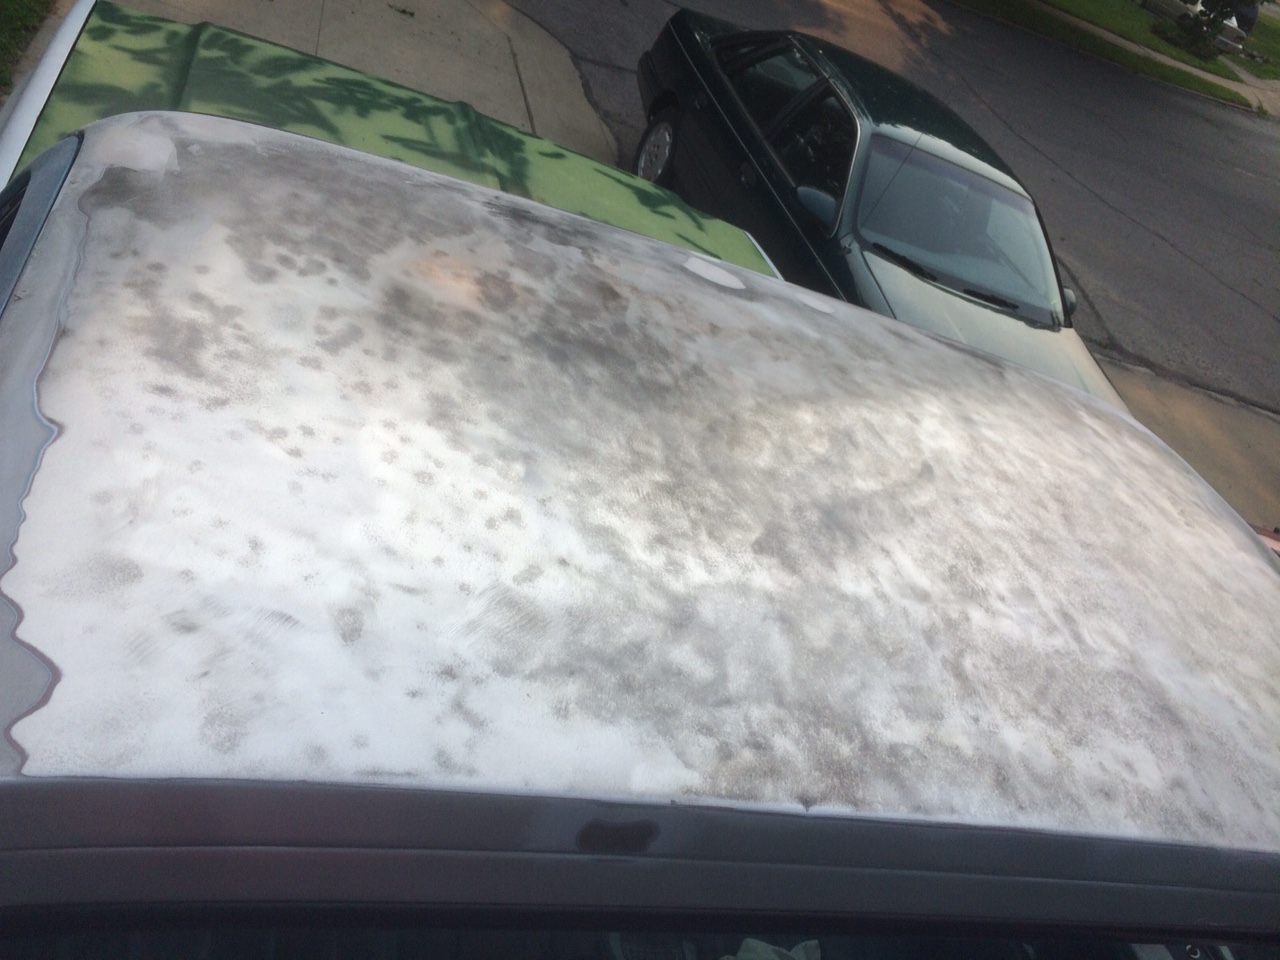
Then I layed on some white Rustoleum primer. I haven't tryied the primer yet on anything, I sprayed sandable primer on the other areas of the truck but this time I didn't care so much about little scratches - it's just the hood where no one can see it...

Clearly this project is not even close to being done.
Up next I take on the suspension and tires, phase 5 of this project.