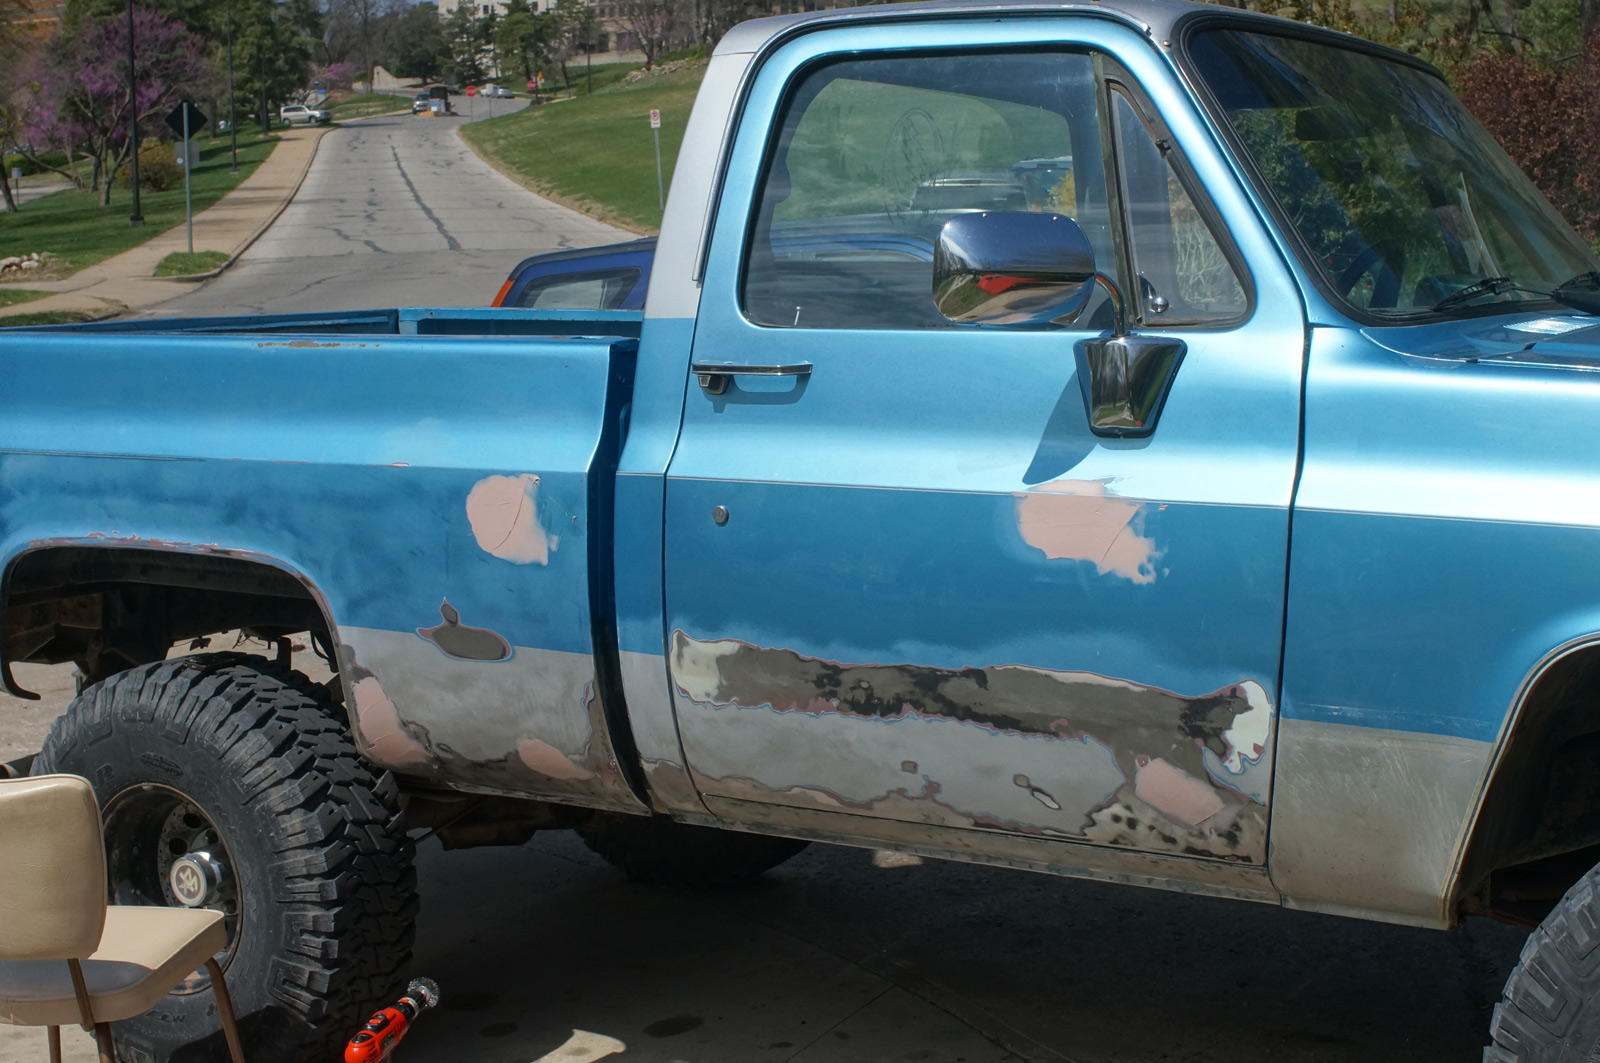
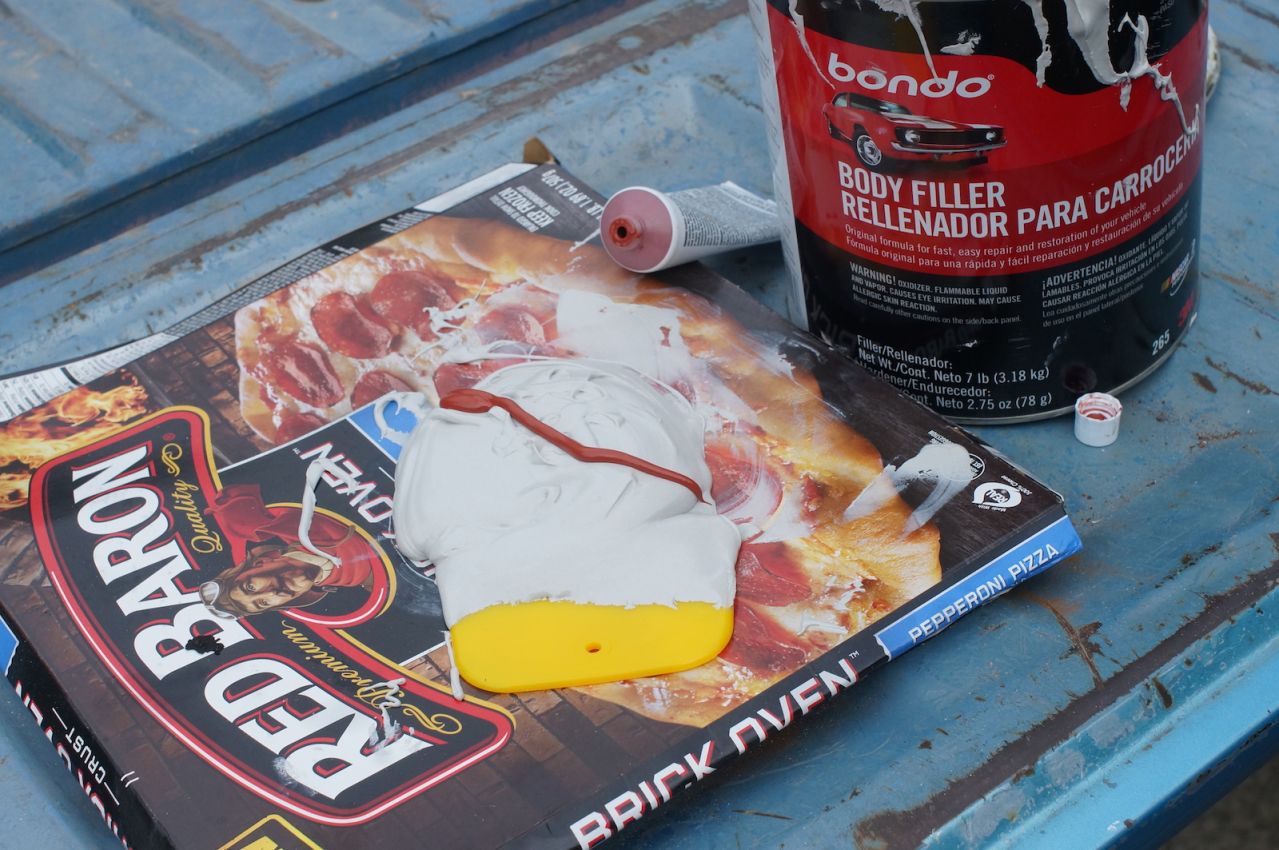
Phase 1 is finished. Time to get started on the body work and rust. Bondo, sanding, bondo, sanding, bondo, sanding, bondo, sanding.....
This is my first experience with body work. Please do not consider anything I do in this article to be the correct way to do it.
The door locks came off super easy.
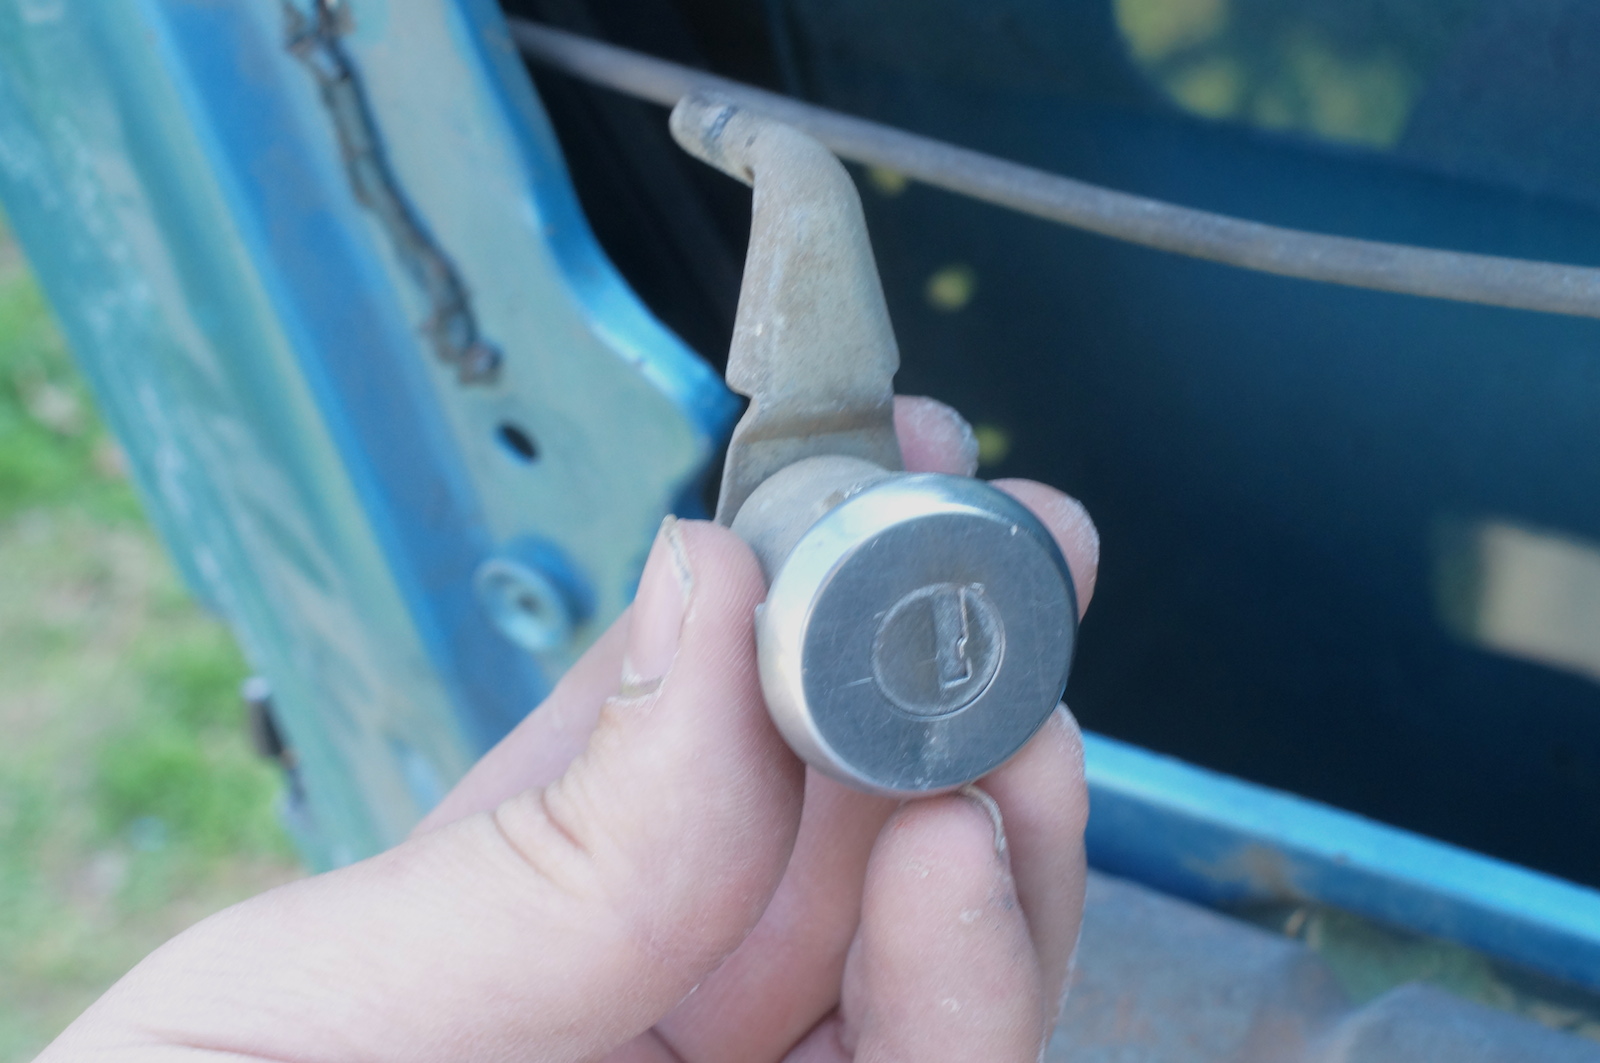
But I first tried to use a screw driver to pry off the clip that holds it agains thte door. Bad idea. It sprung off and straight into the glass and chipped it :(
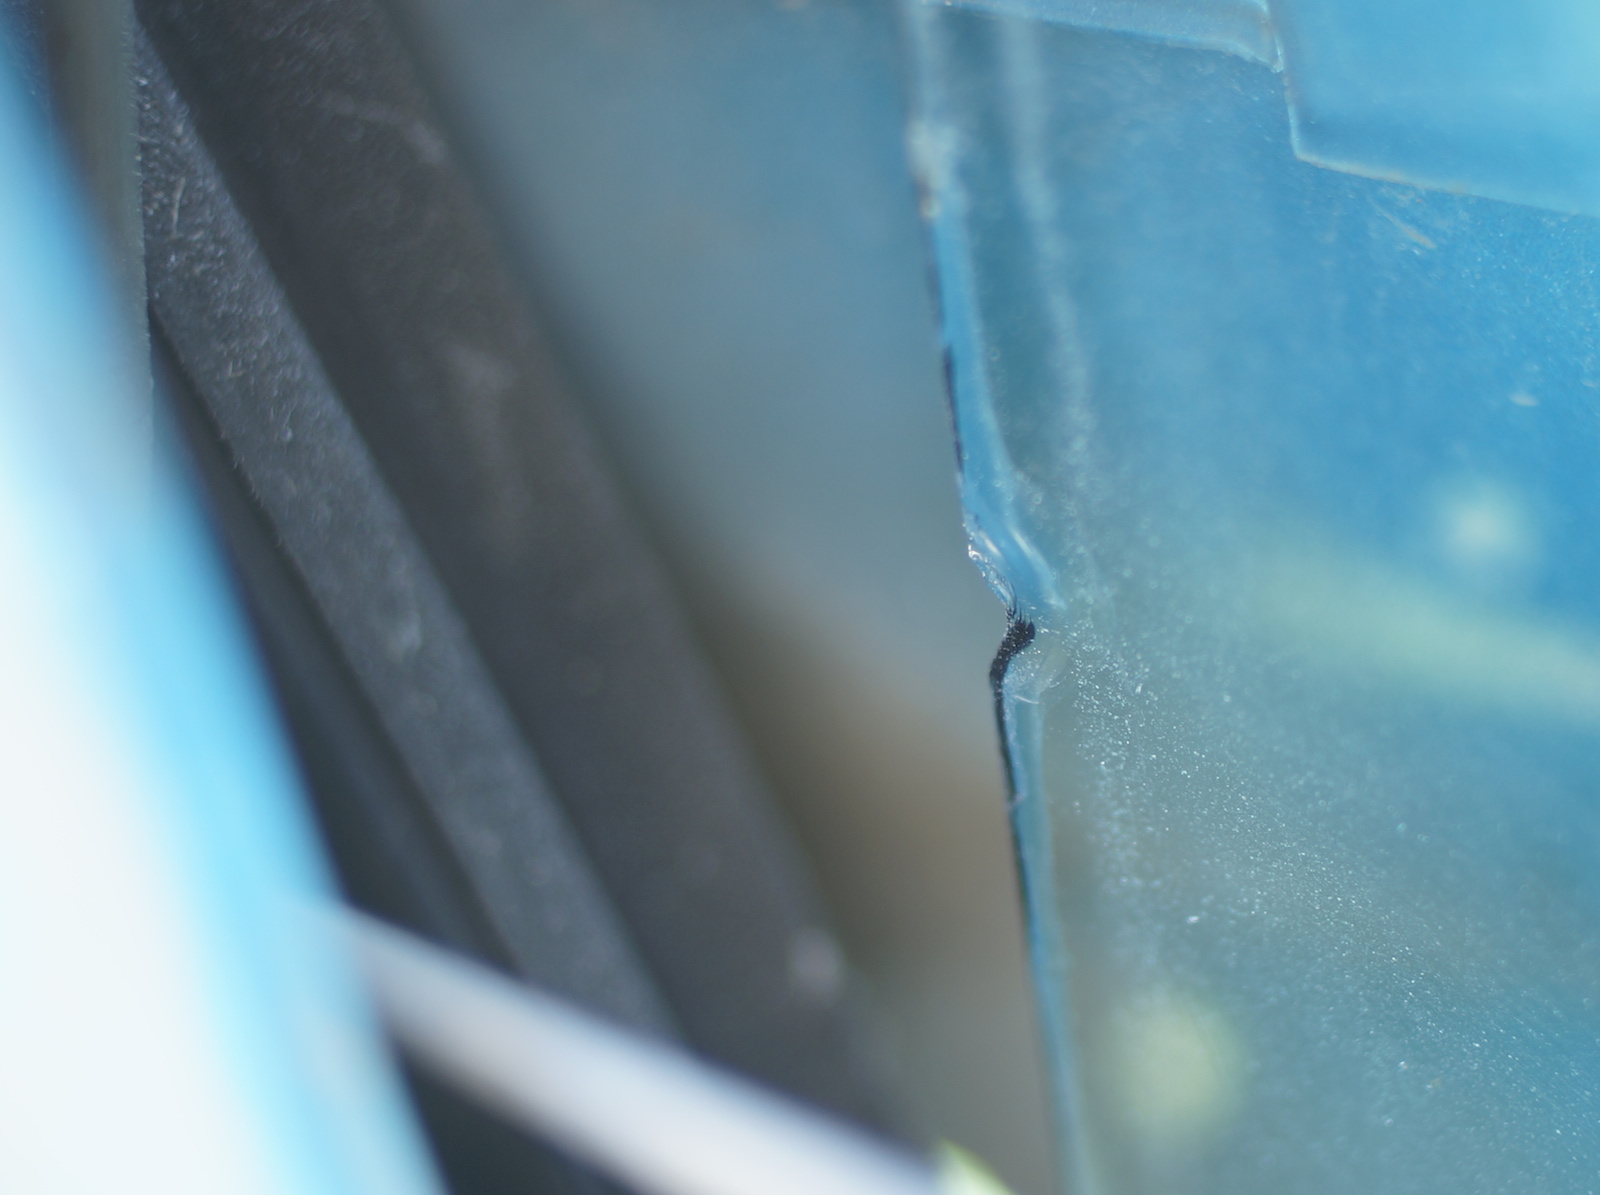
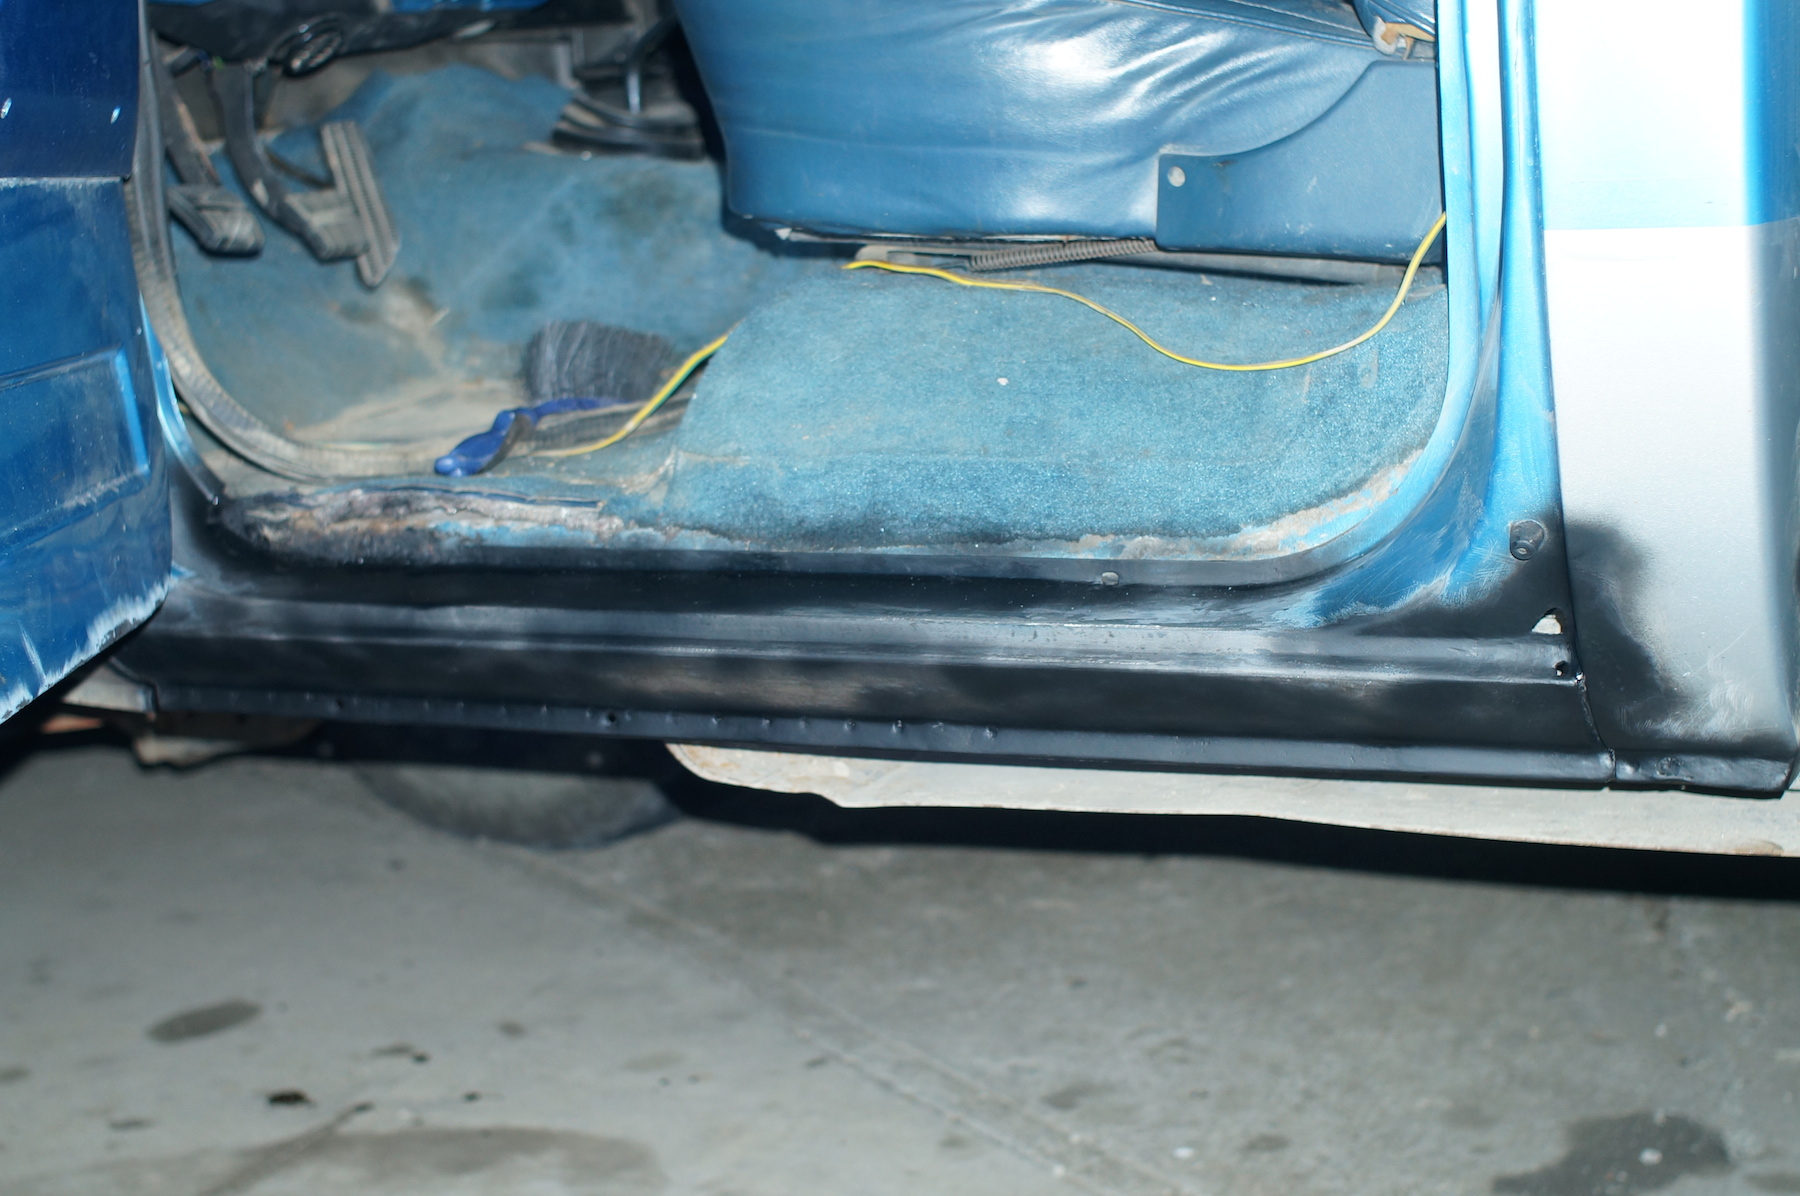
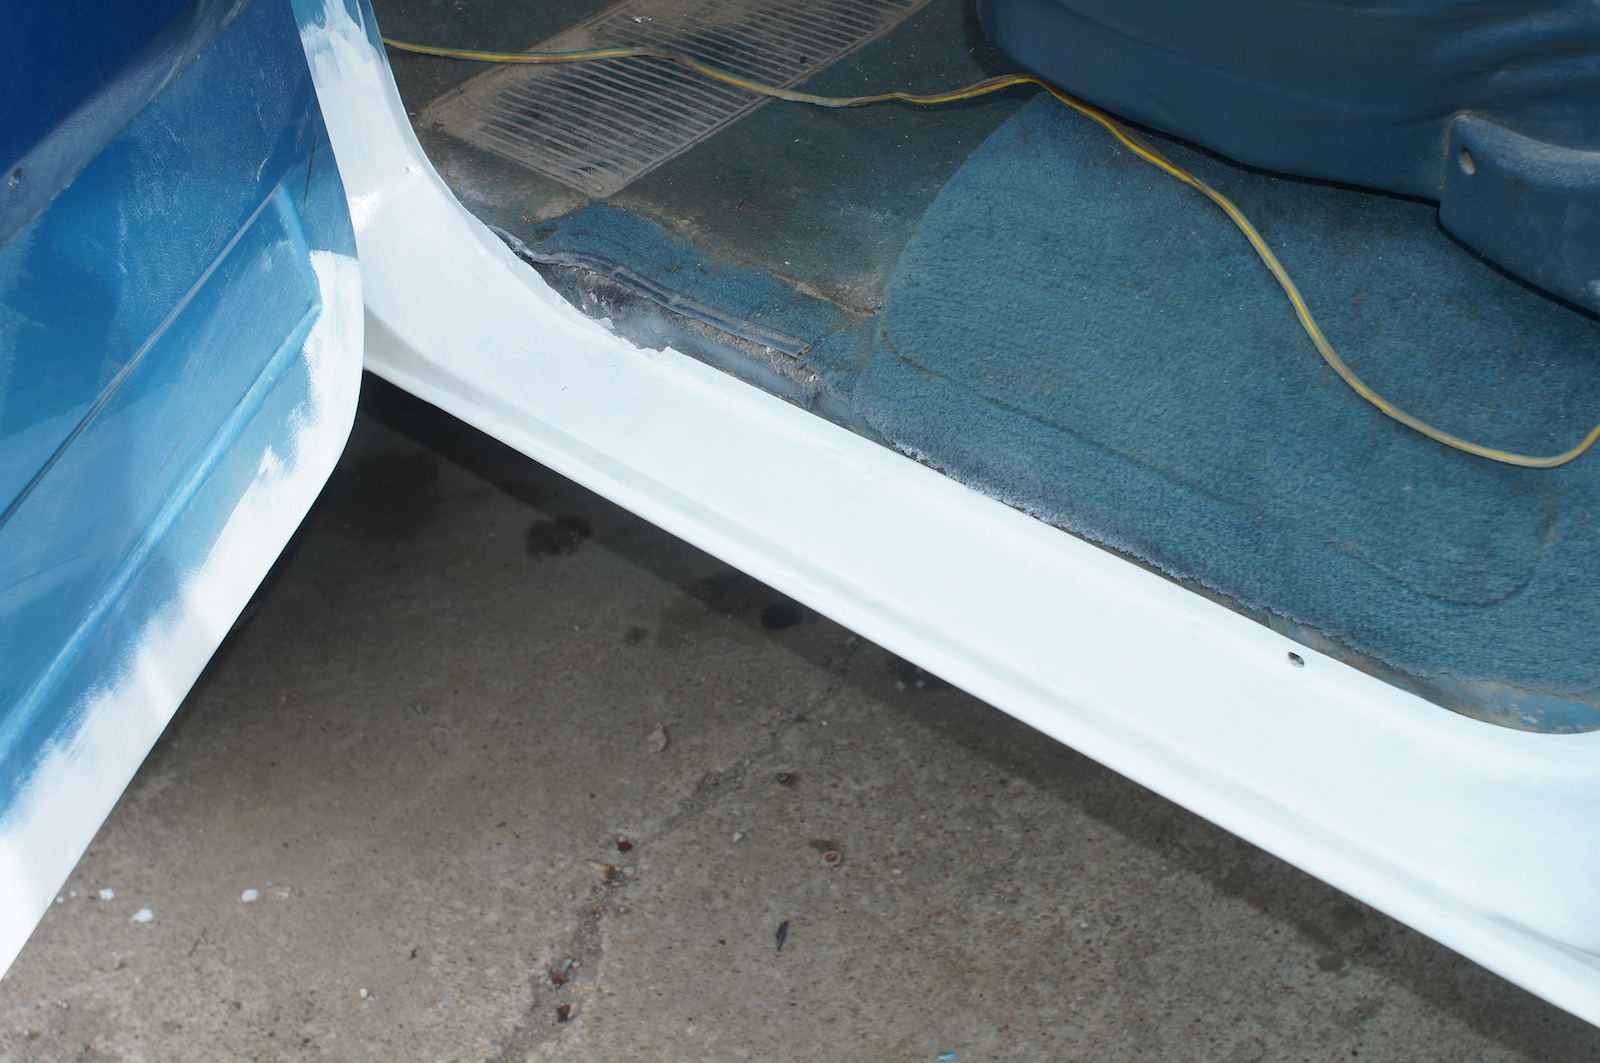
My troubles got a little worse when I pulled back the weather stripping.

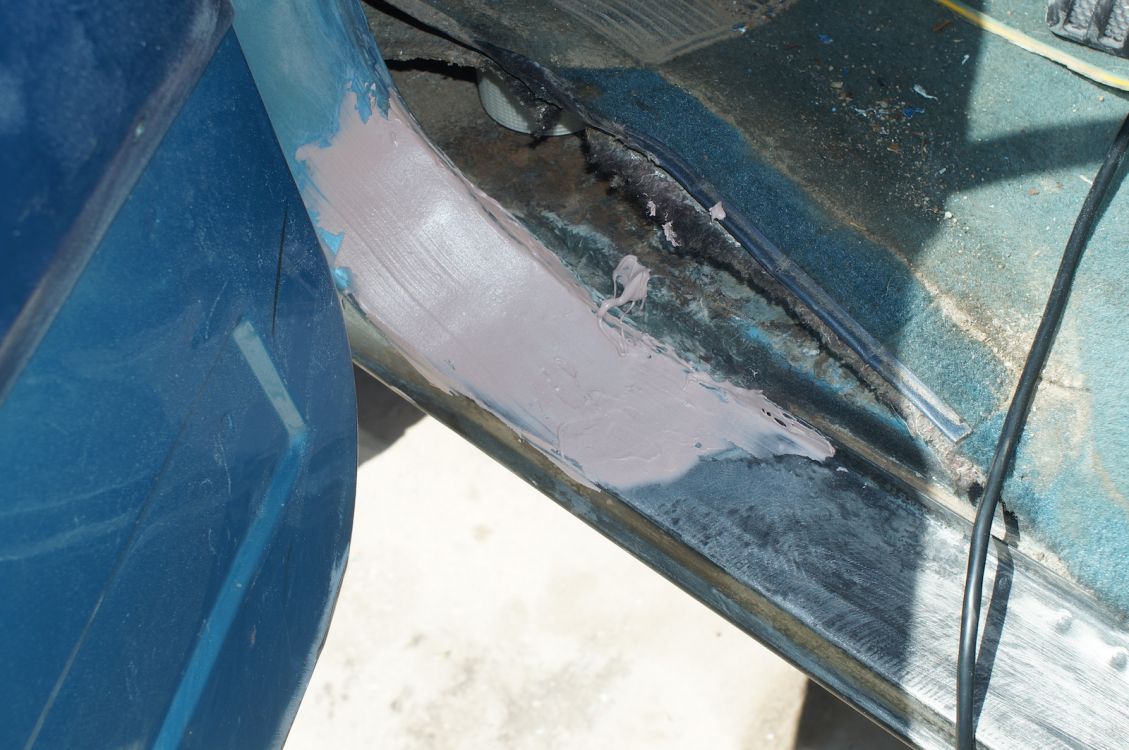
After sanding and grinding as much as humanly possibly, I used Rustolium Rust Reformer spray on any questionable areas.
And then sanded it such that the rust reformer was only left on the rusty depressions in the metal where the rust lived and where the rustoleum rust reformer had chemically bonded to it.
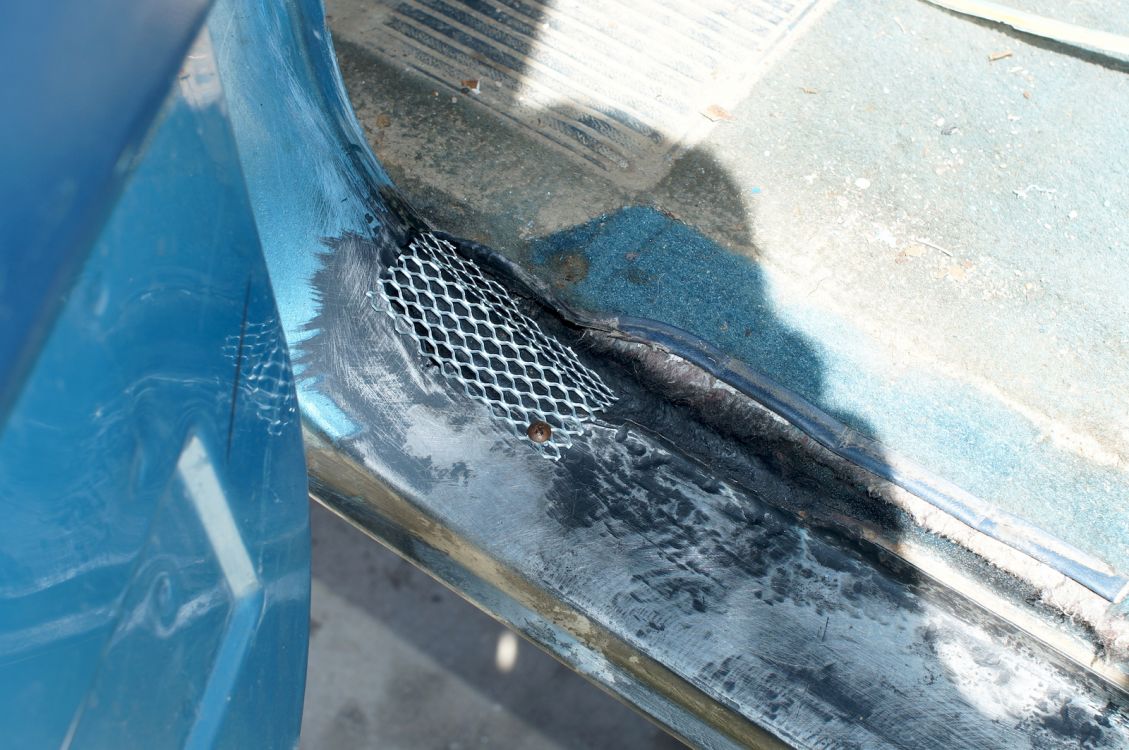
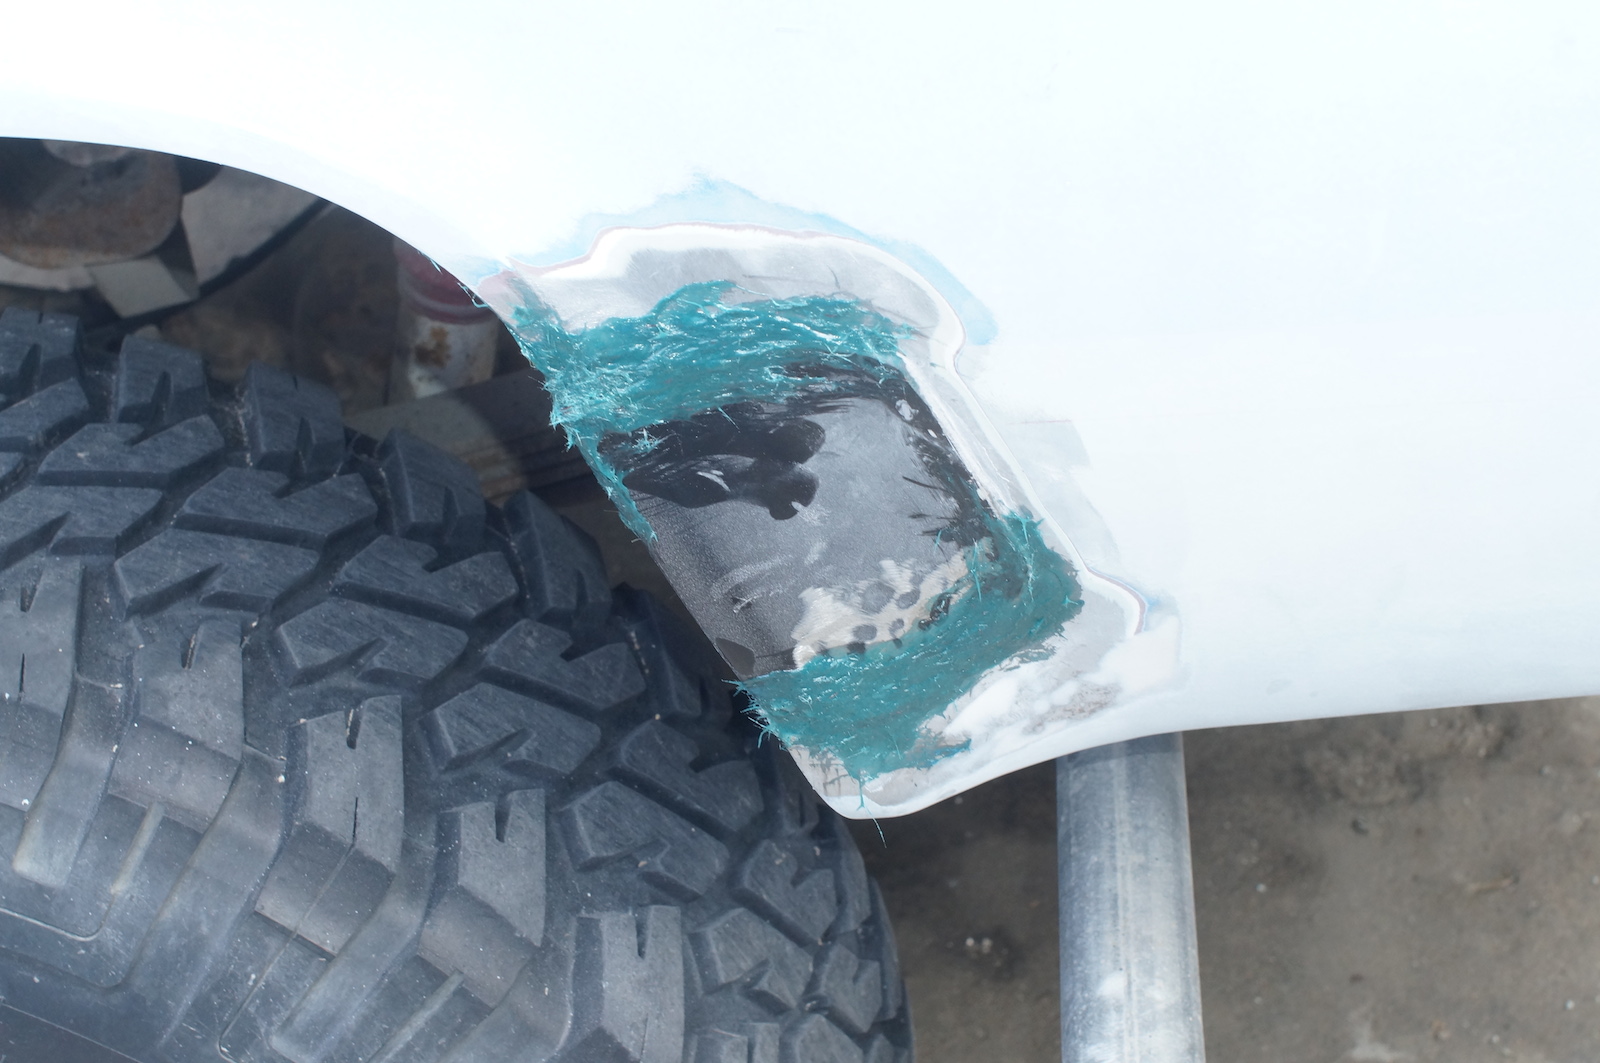
I could have made a patch panel and welded it in, but this way was a little easier. I used long-hair fiberglass bondo stuff and some aluminum mesh. Autozone sells a Bondo brand metal mesh for like 5x the price you can get it from any hardware store. What I actually bought was designed to be installed in gutters to block leaves and crap.

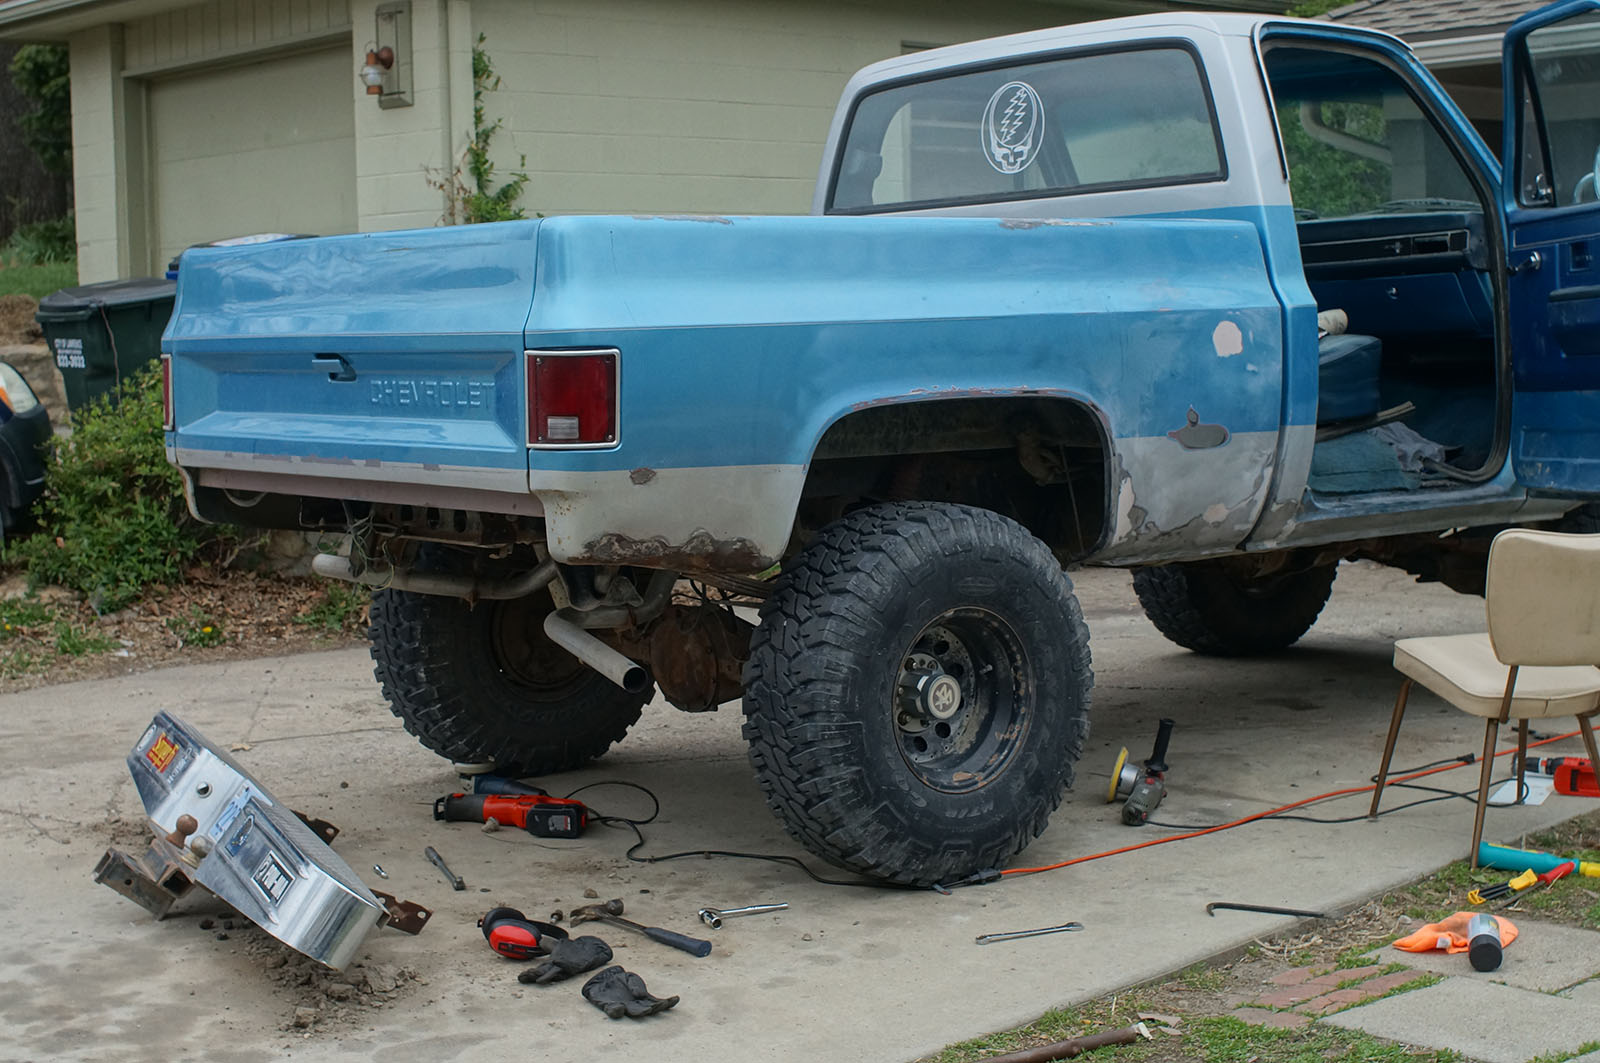
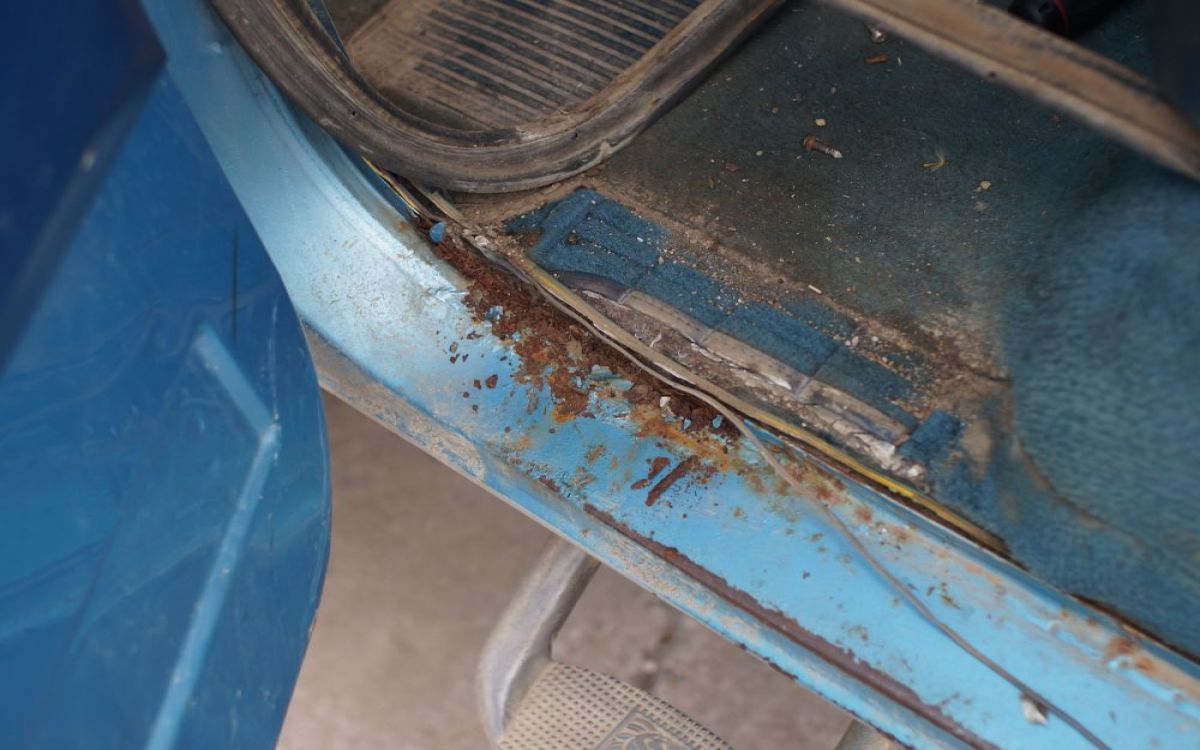
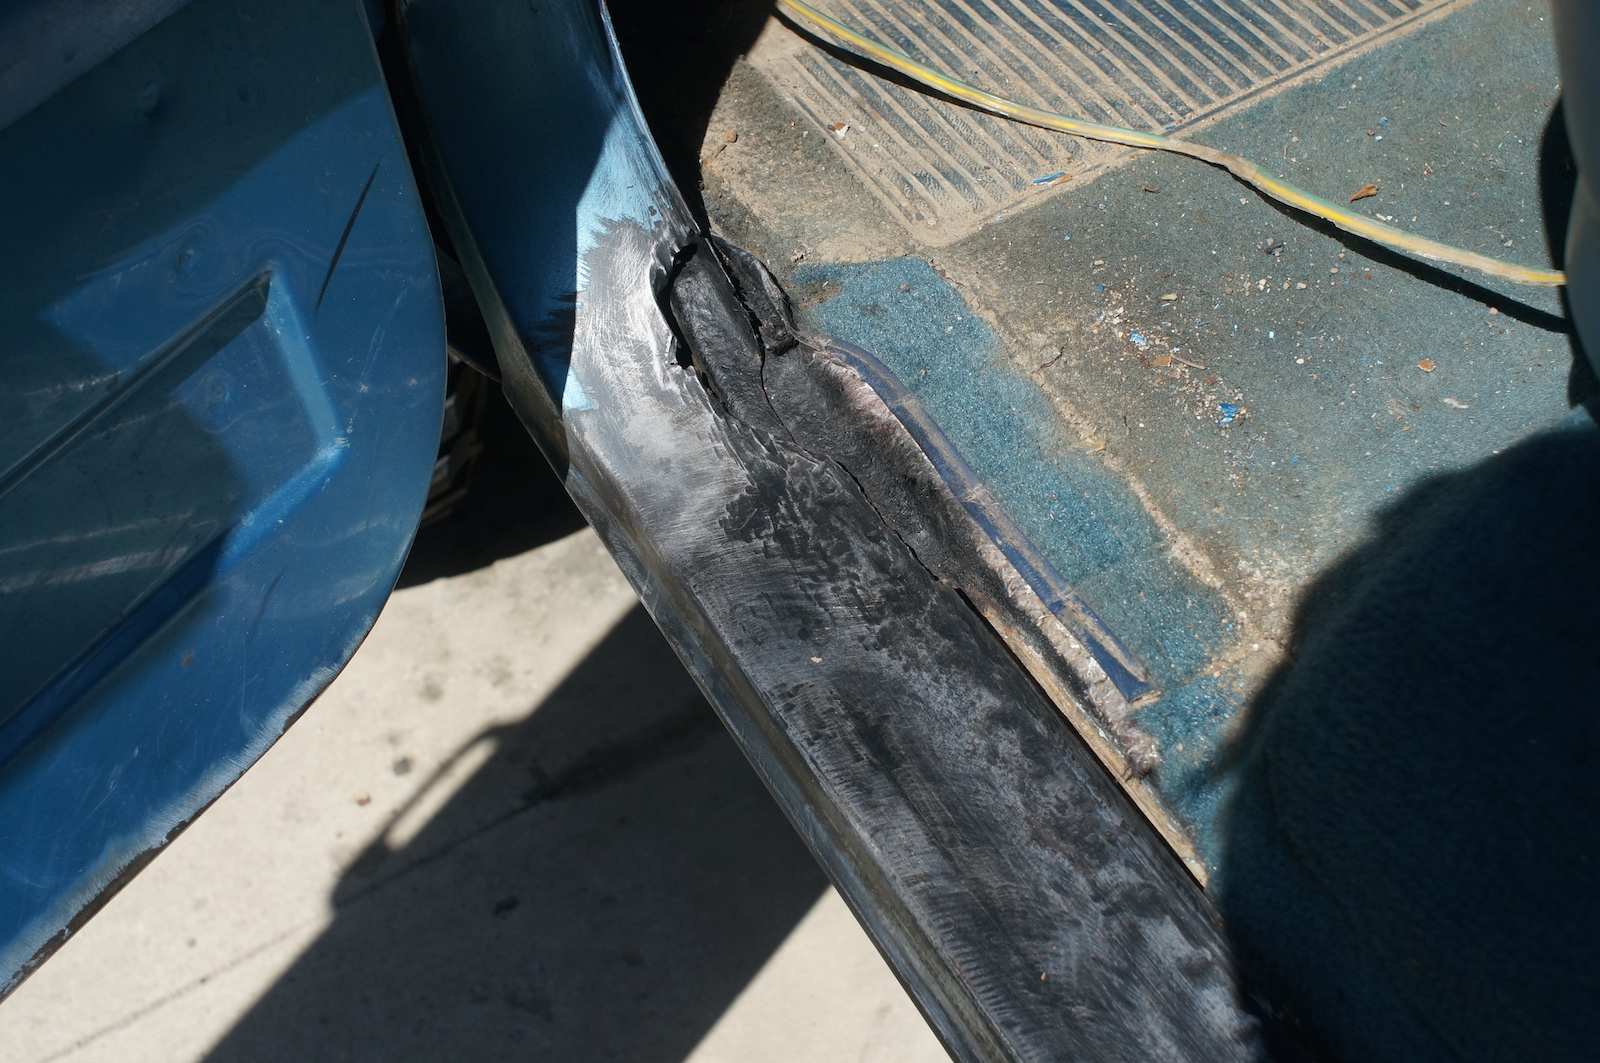
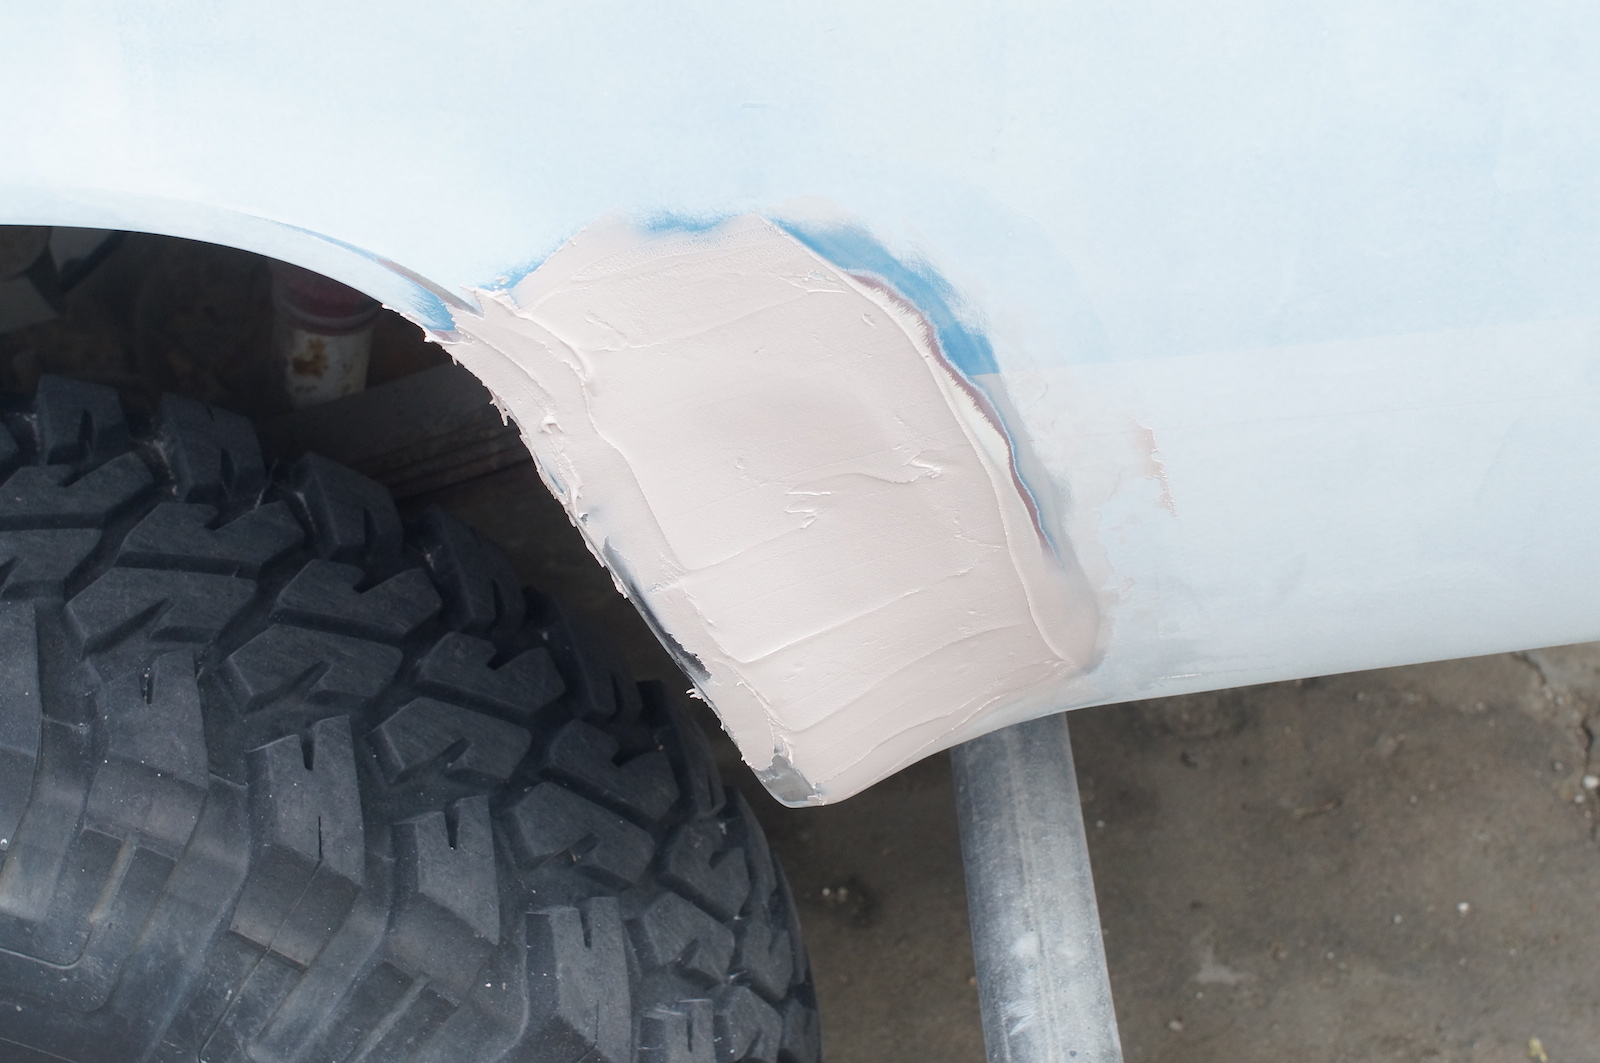
There was a much more severe rust spot behind the driver side rear wheel well.
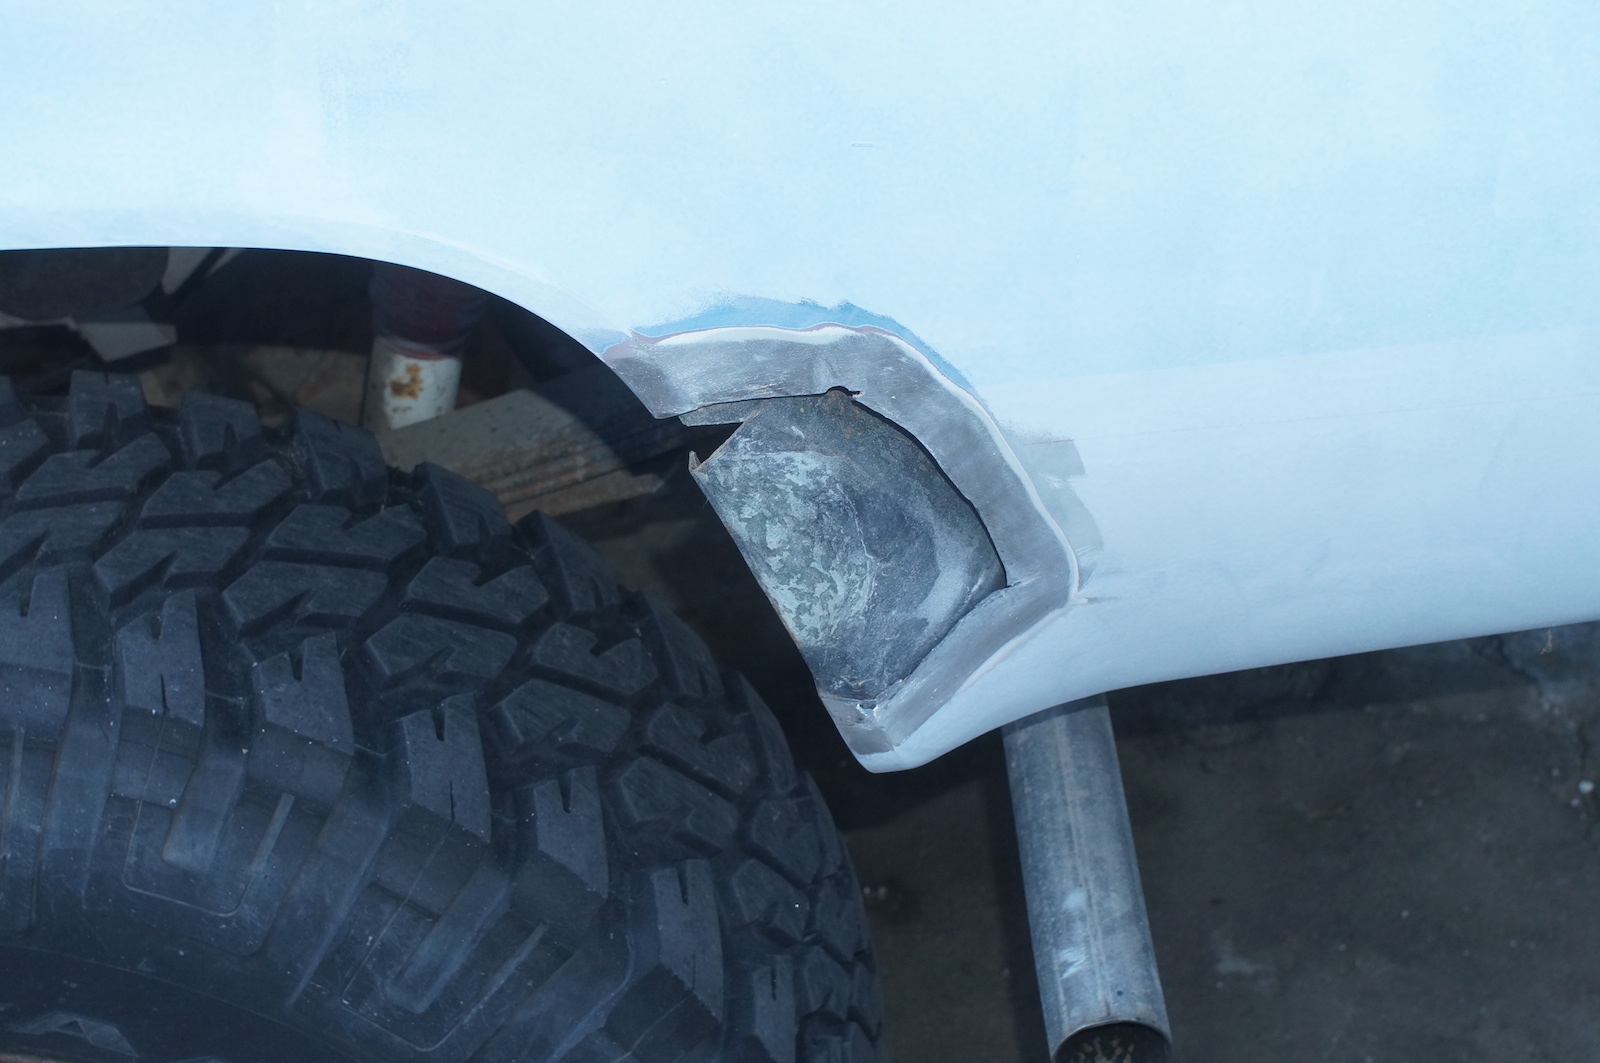
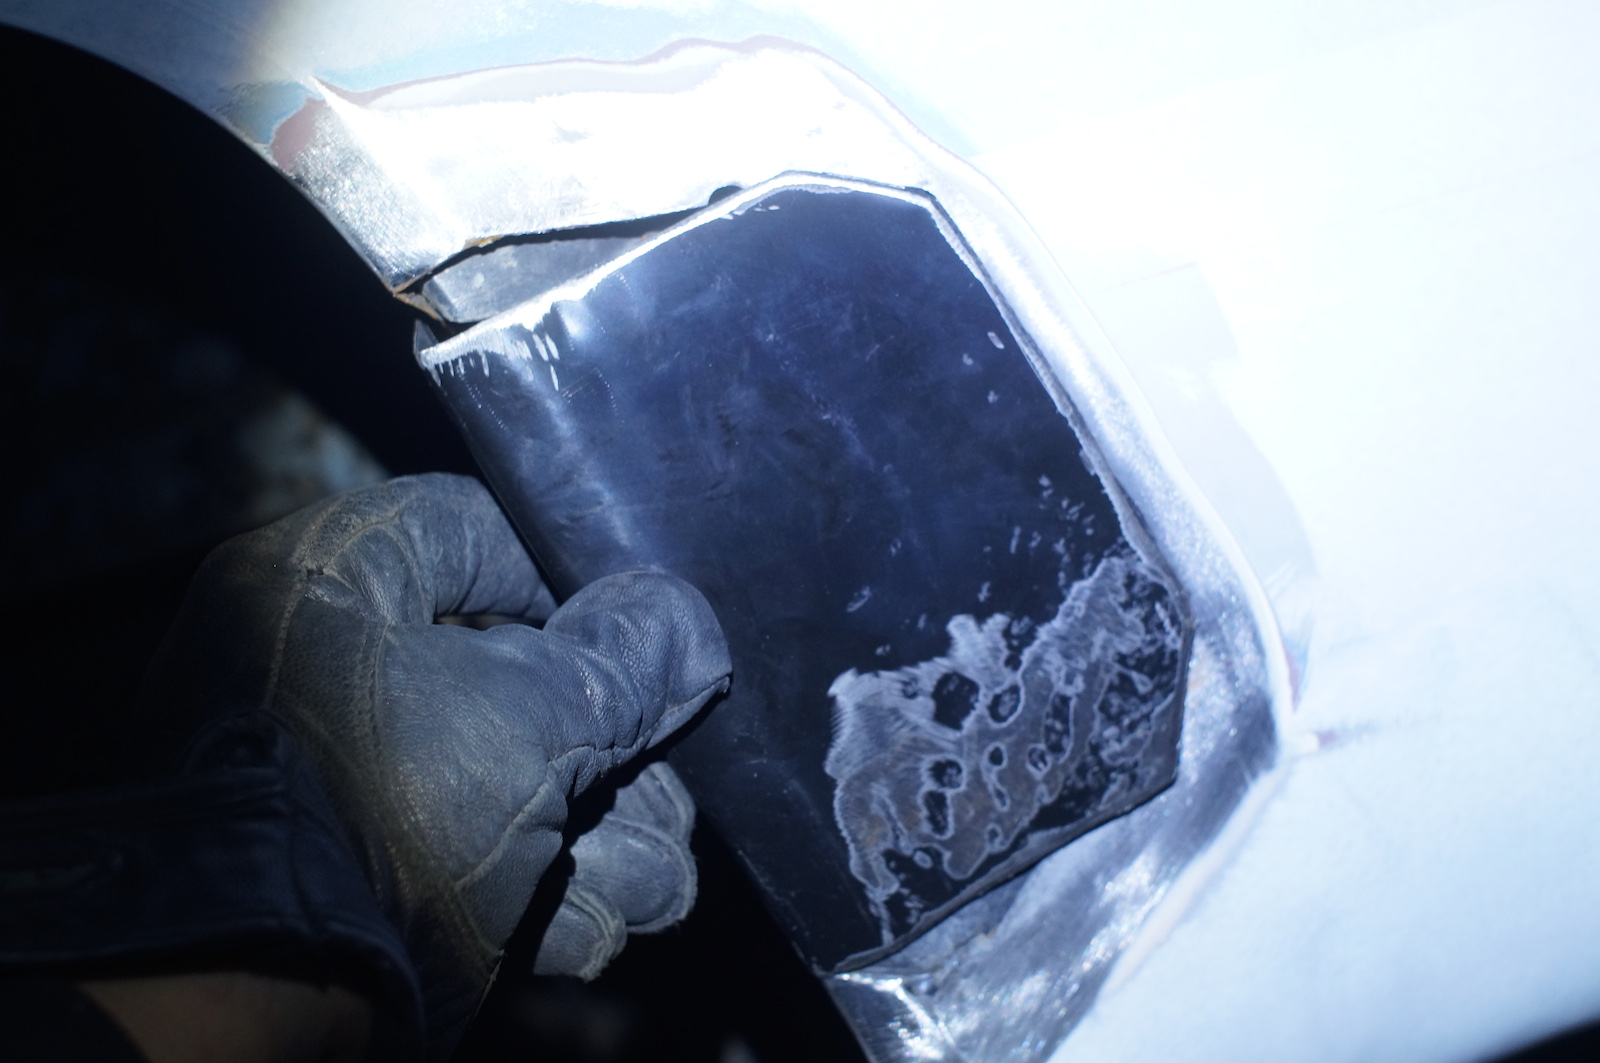
This time I made a patch panel out of steel. I could have welded it on, but...
...the only welder I could find to borrow was a flux-core, wire-feed welder. Everyone online said that these are no good for welding sheet metal because you'll either melt through it or warp the metal or both. (Not true, see Phase 2, Part 2).
So instead of welding, I thought I would try this body panel adhesive stuff that "high end body shops" use (according to their youtube vids). I bought the Norton SpeedGrip 06420 because it was the cheapest on Amazon ($35, still pretty damn price!). However, it needs a special applicator gun. But that costs a whooping $65! So I went looking at a local place called the "Bargain Depot", you can image what kind of the stuff they sell. To my amazement I actually found a heavy-duty epoxy applicator gun, for only $30.

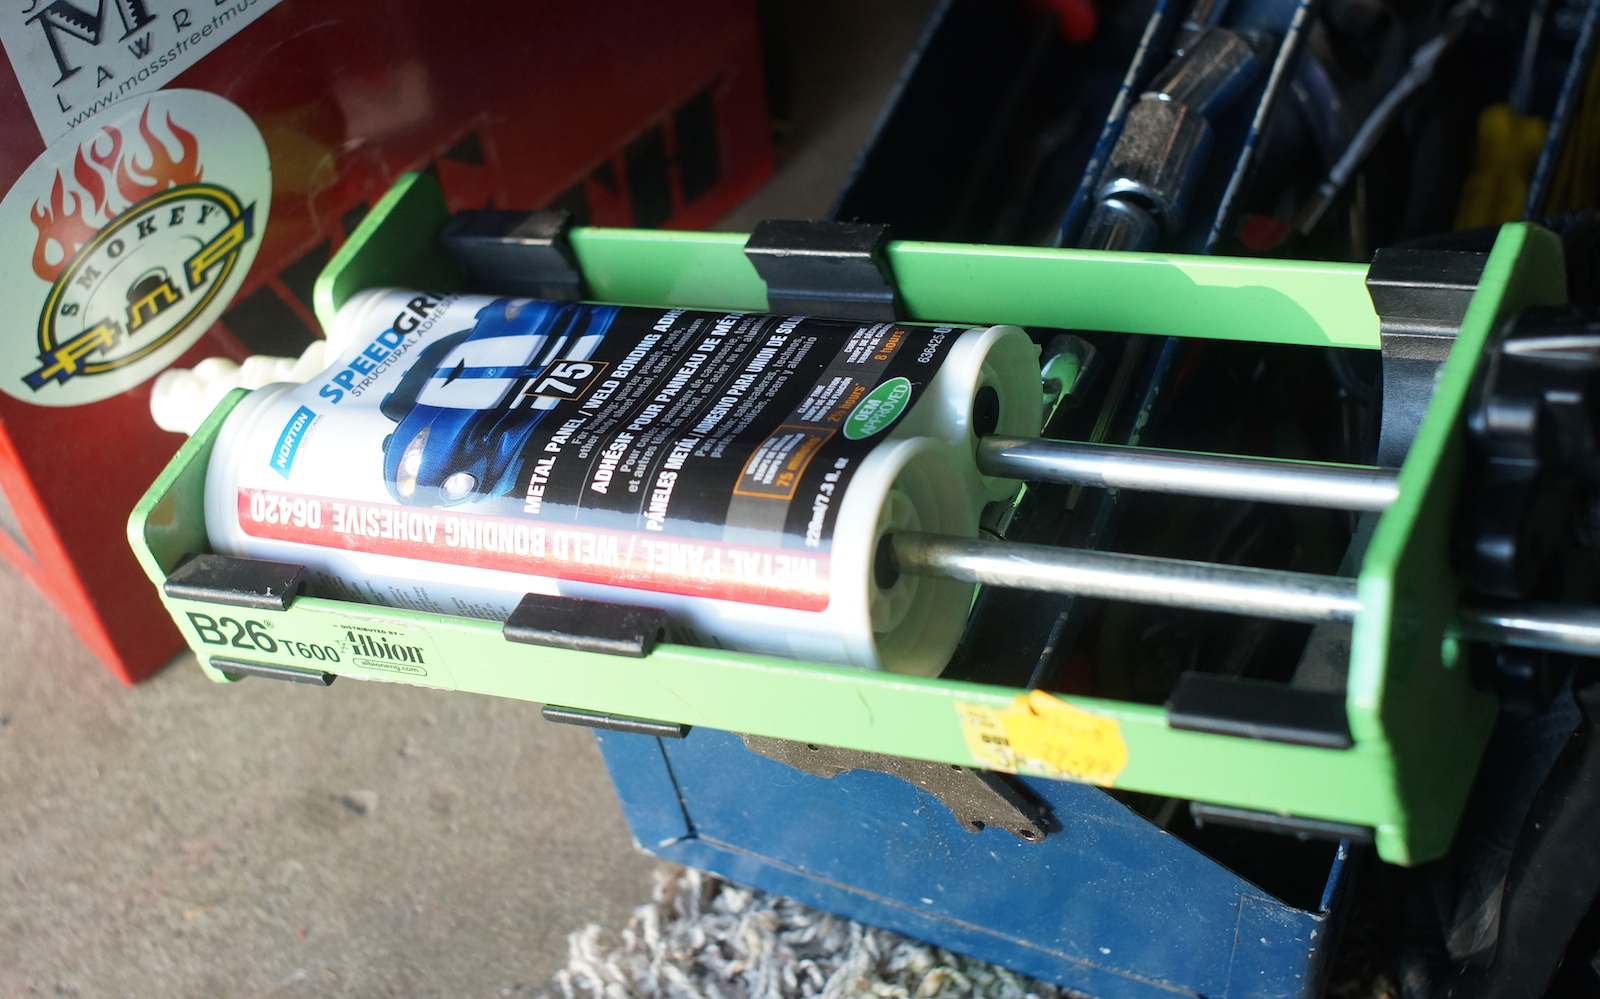
Terrible idea!!
After only a few pumps, the modified rods that push the adhesive tubes in, well they totally fucked it up.
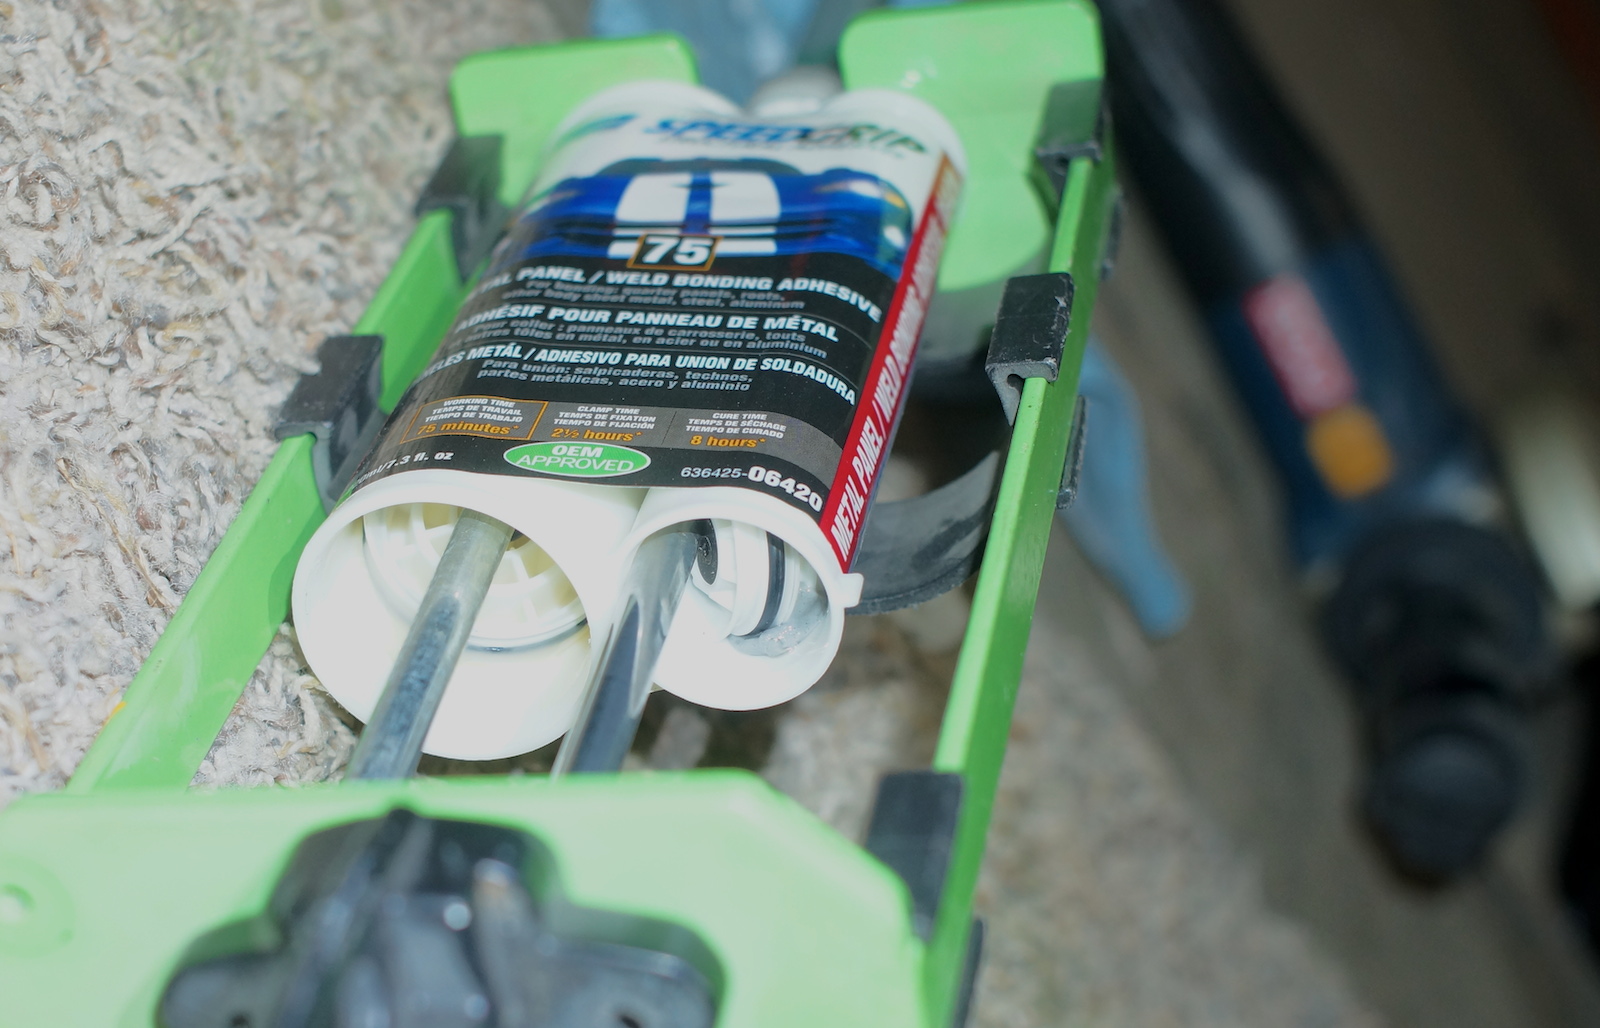
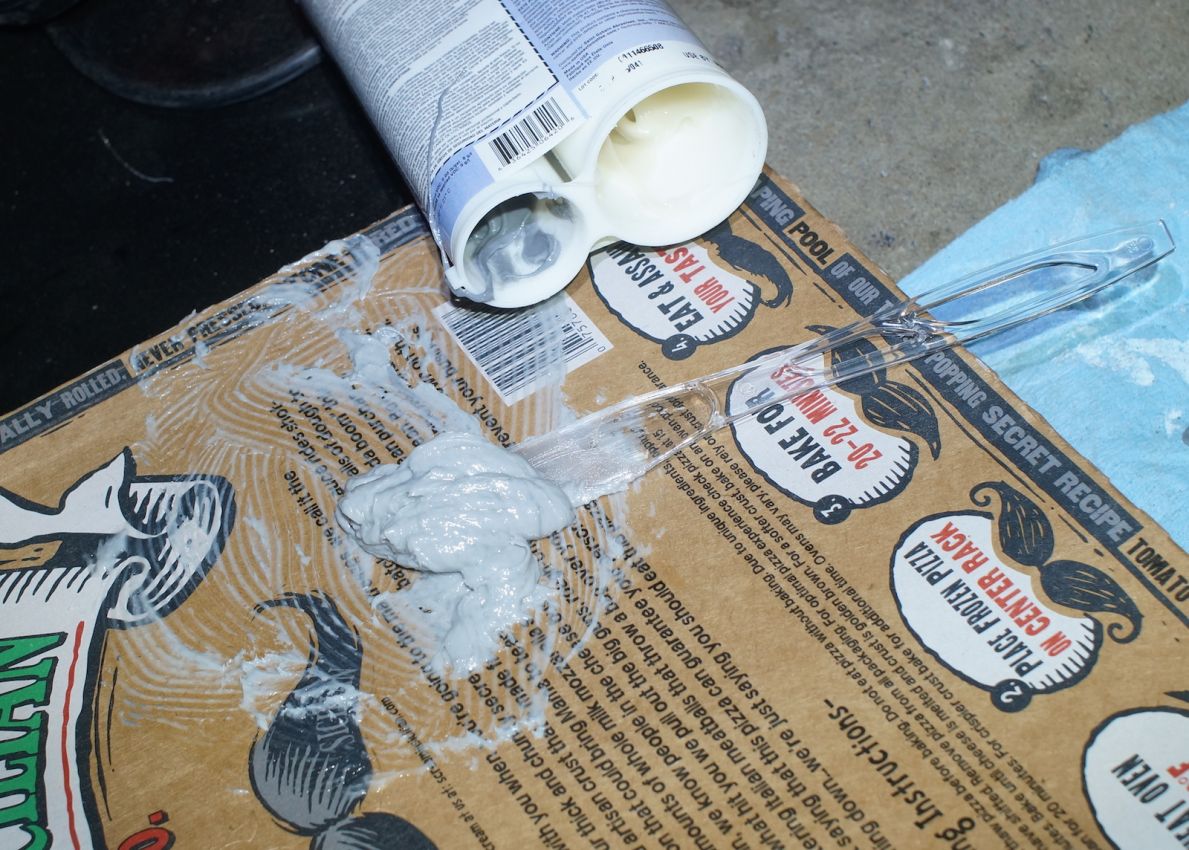
So I did it the old fationed way, dig out the goopy stuff out of the tubes and mix it together on a pizza box.
Then just apply it all over both sides fo the sheet metal (lap pattern). I used high-powered magnets taken out of computer hard drives to hodl te patch panel in place. It worked really well.

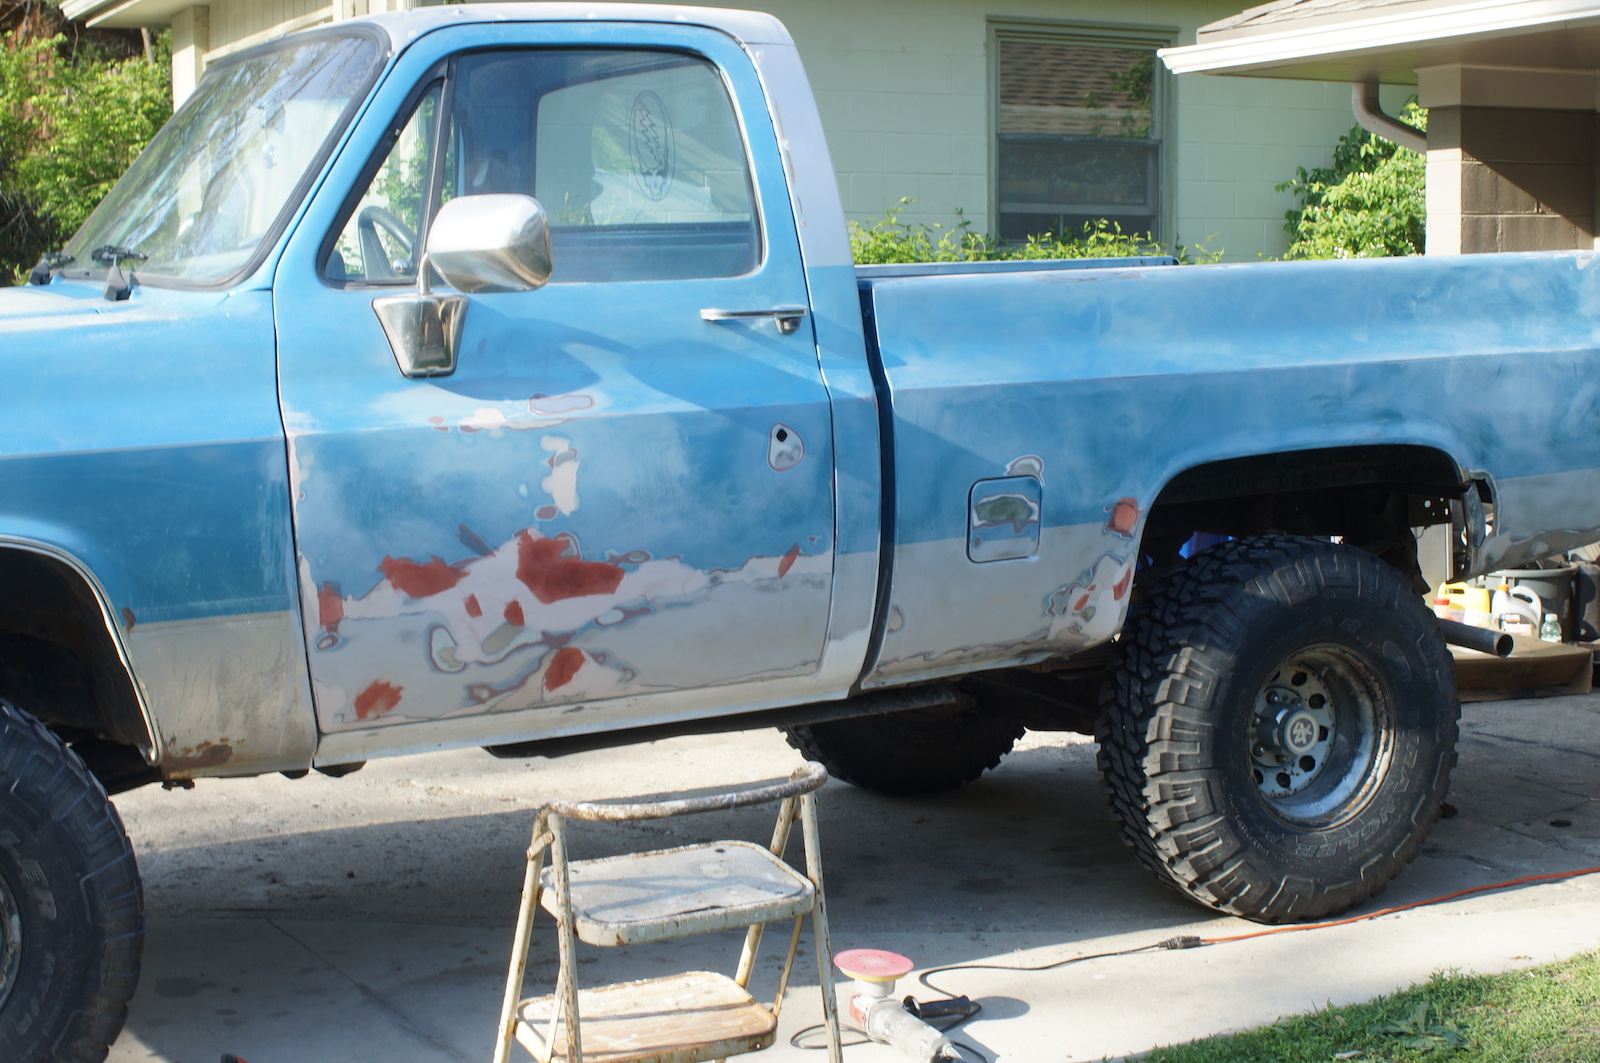
Another day, another pizza box filled with bondo....

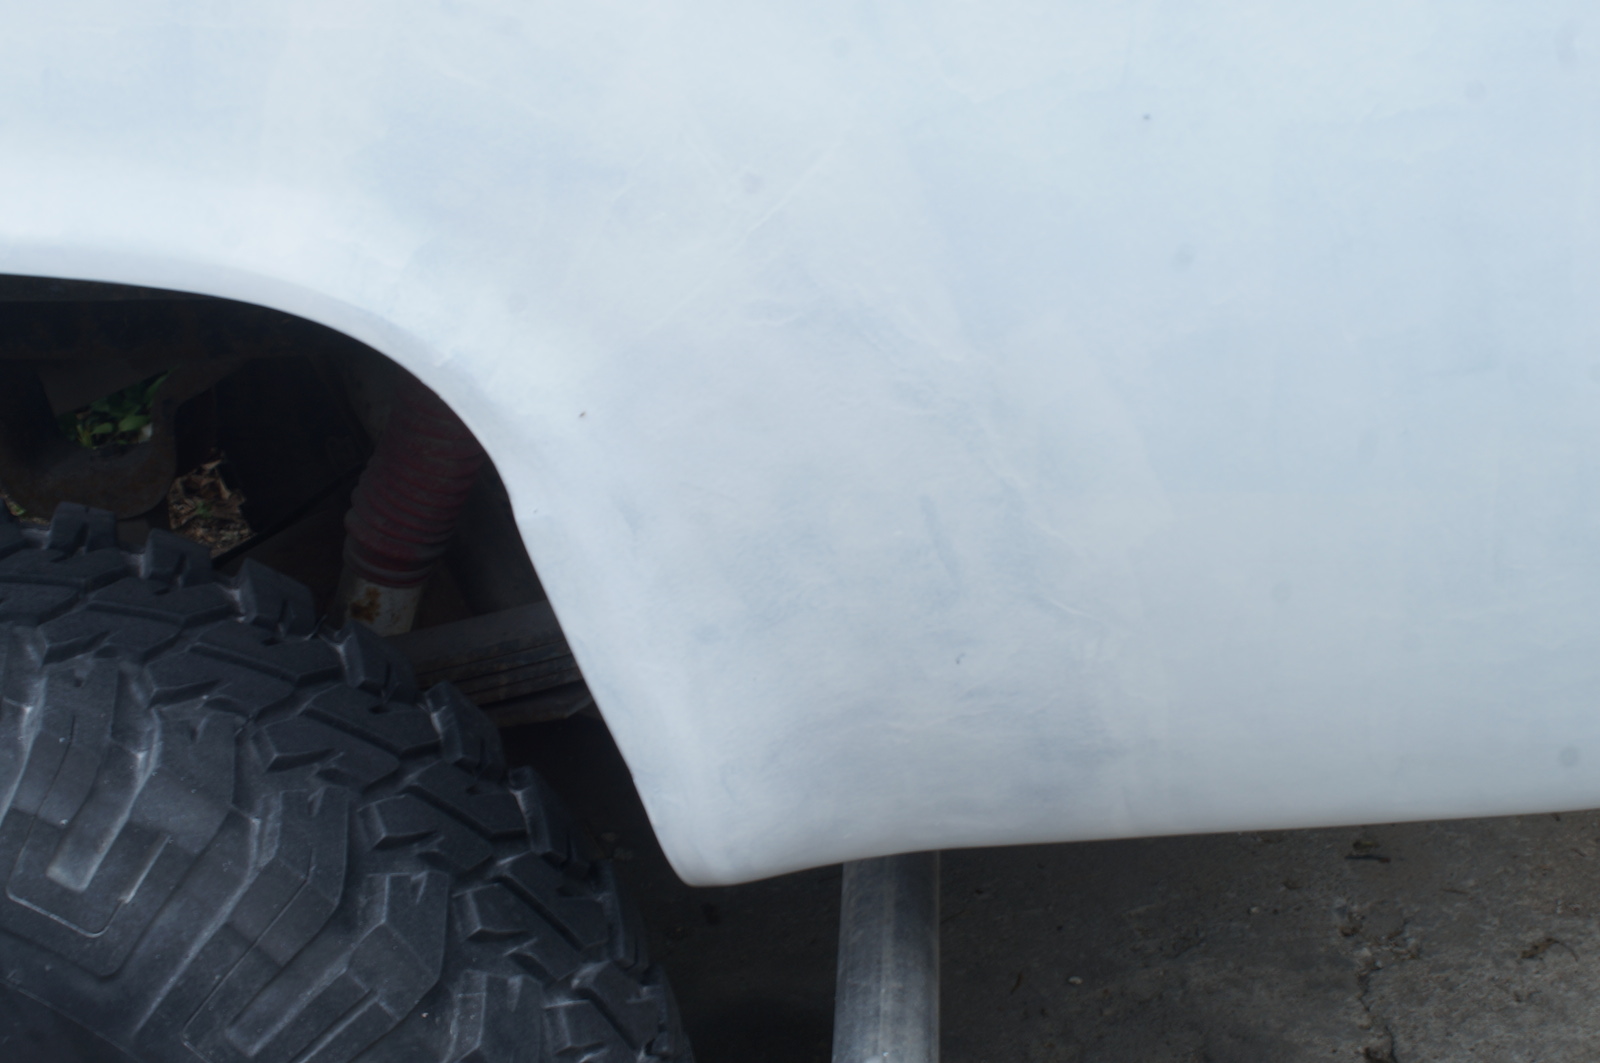
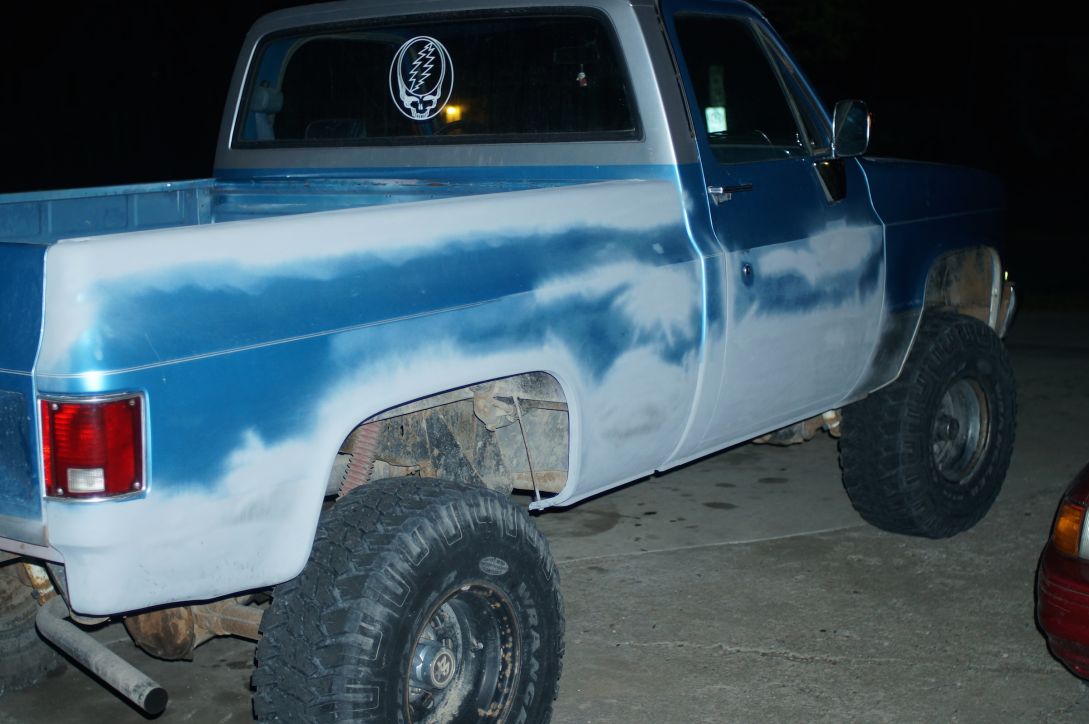
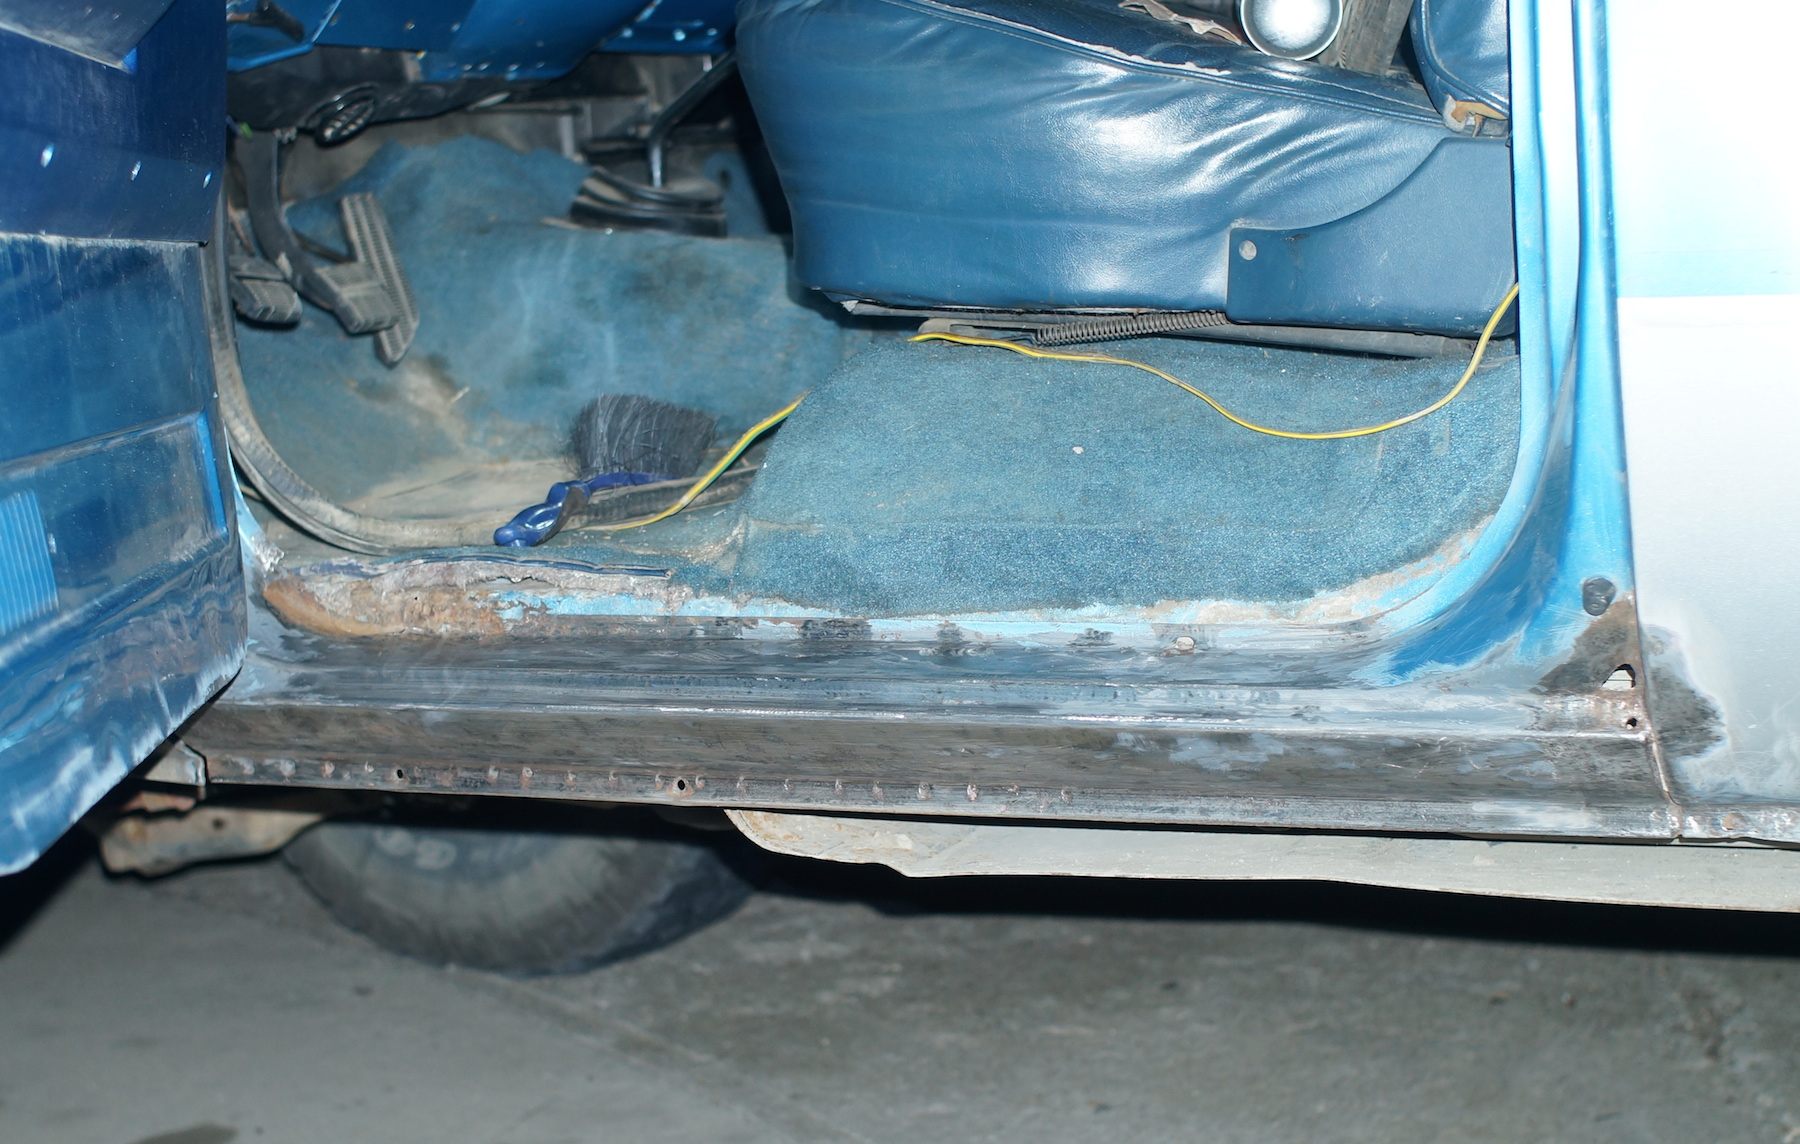
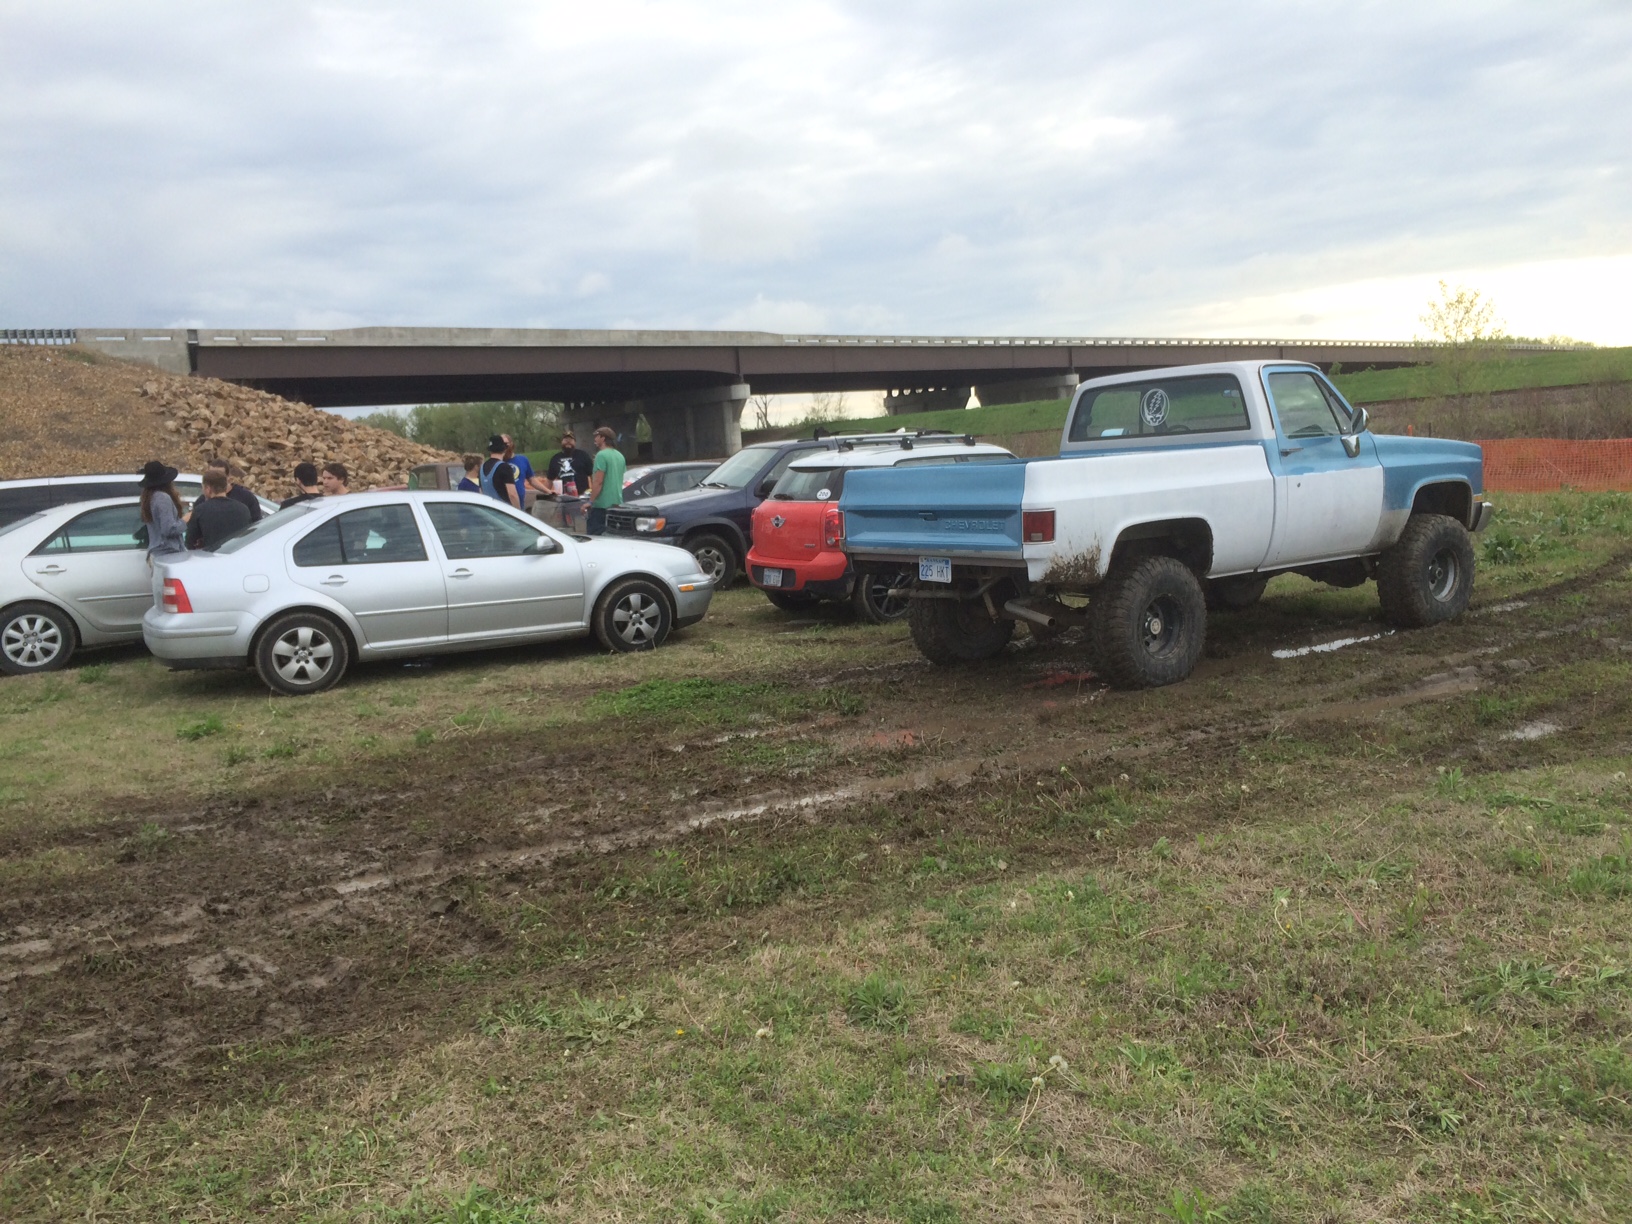
Keep in mind this is my daily driver. I'm just rocking this weird two-tone paint job for a few weeks, lol.
Here's a sneak peek at Part 2...
