![]()
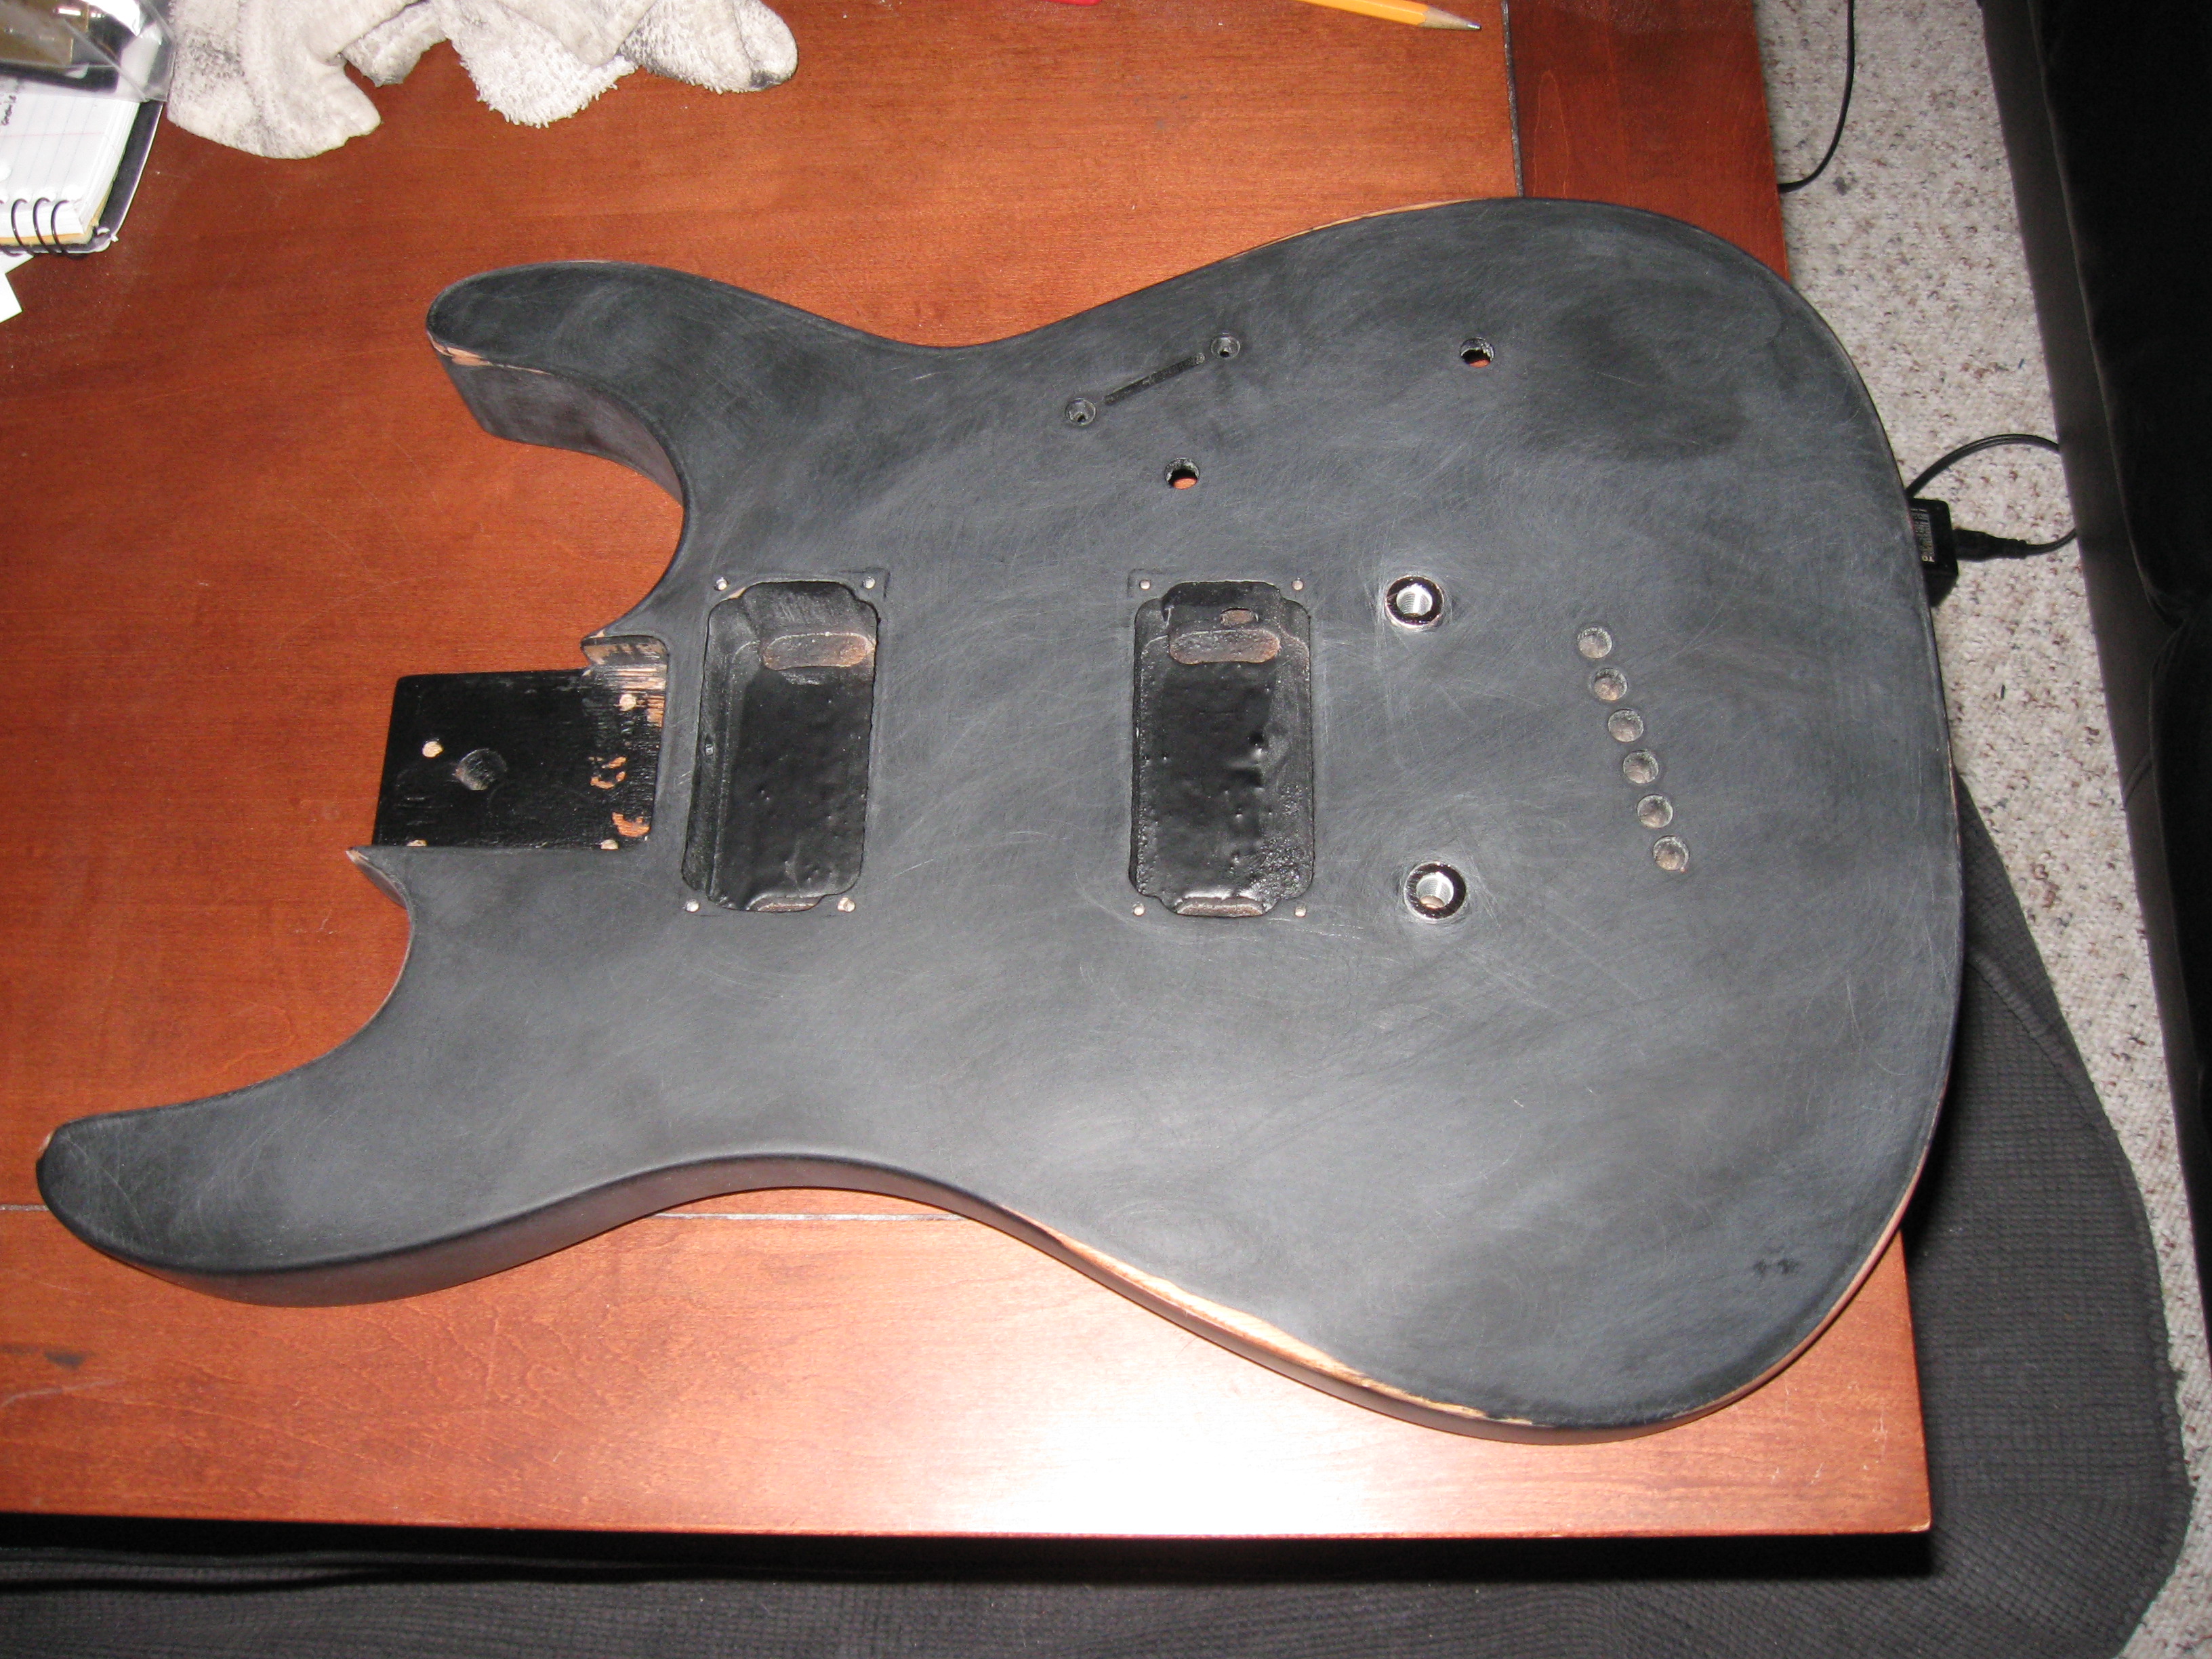
While it was one of my most admired possessions in middle school, the first guitar I ever owned had seen better days. It originally came in a satan black finish, but became shiny in all the normal wear spots which made it look terrible. And it's all around just a lame guitar to me now. So.. time to reinvent it! Here's how I did it... First I took it all apart. The hardest part during the tear down process was getting the studs that hold the bridge out of the body. I tried a few different tricks but in the end I had to use pliers (plastic tipped pliers would prevent scarring). Here it is looking all lame and after I took it apart:
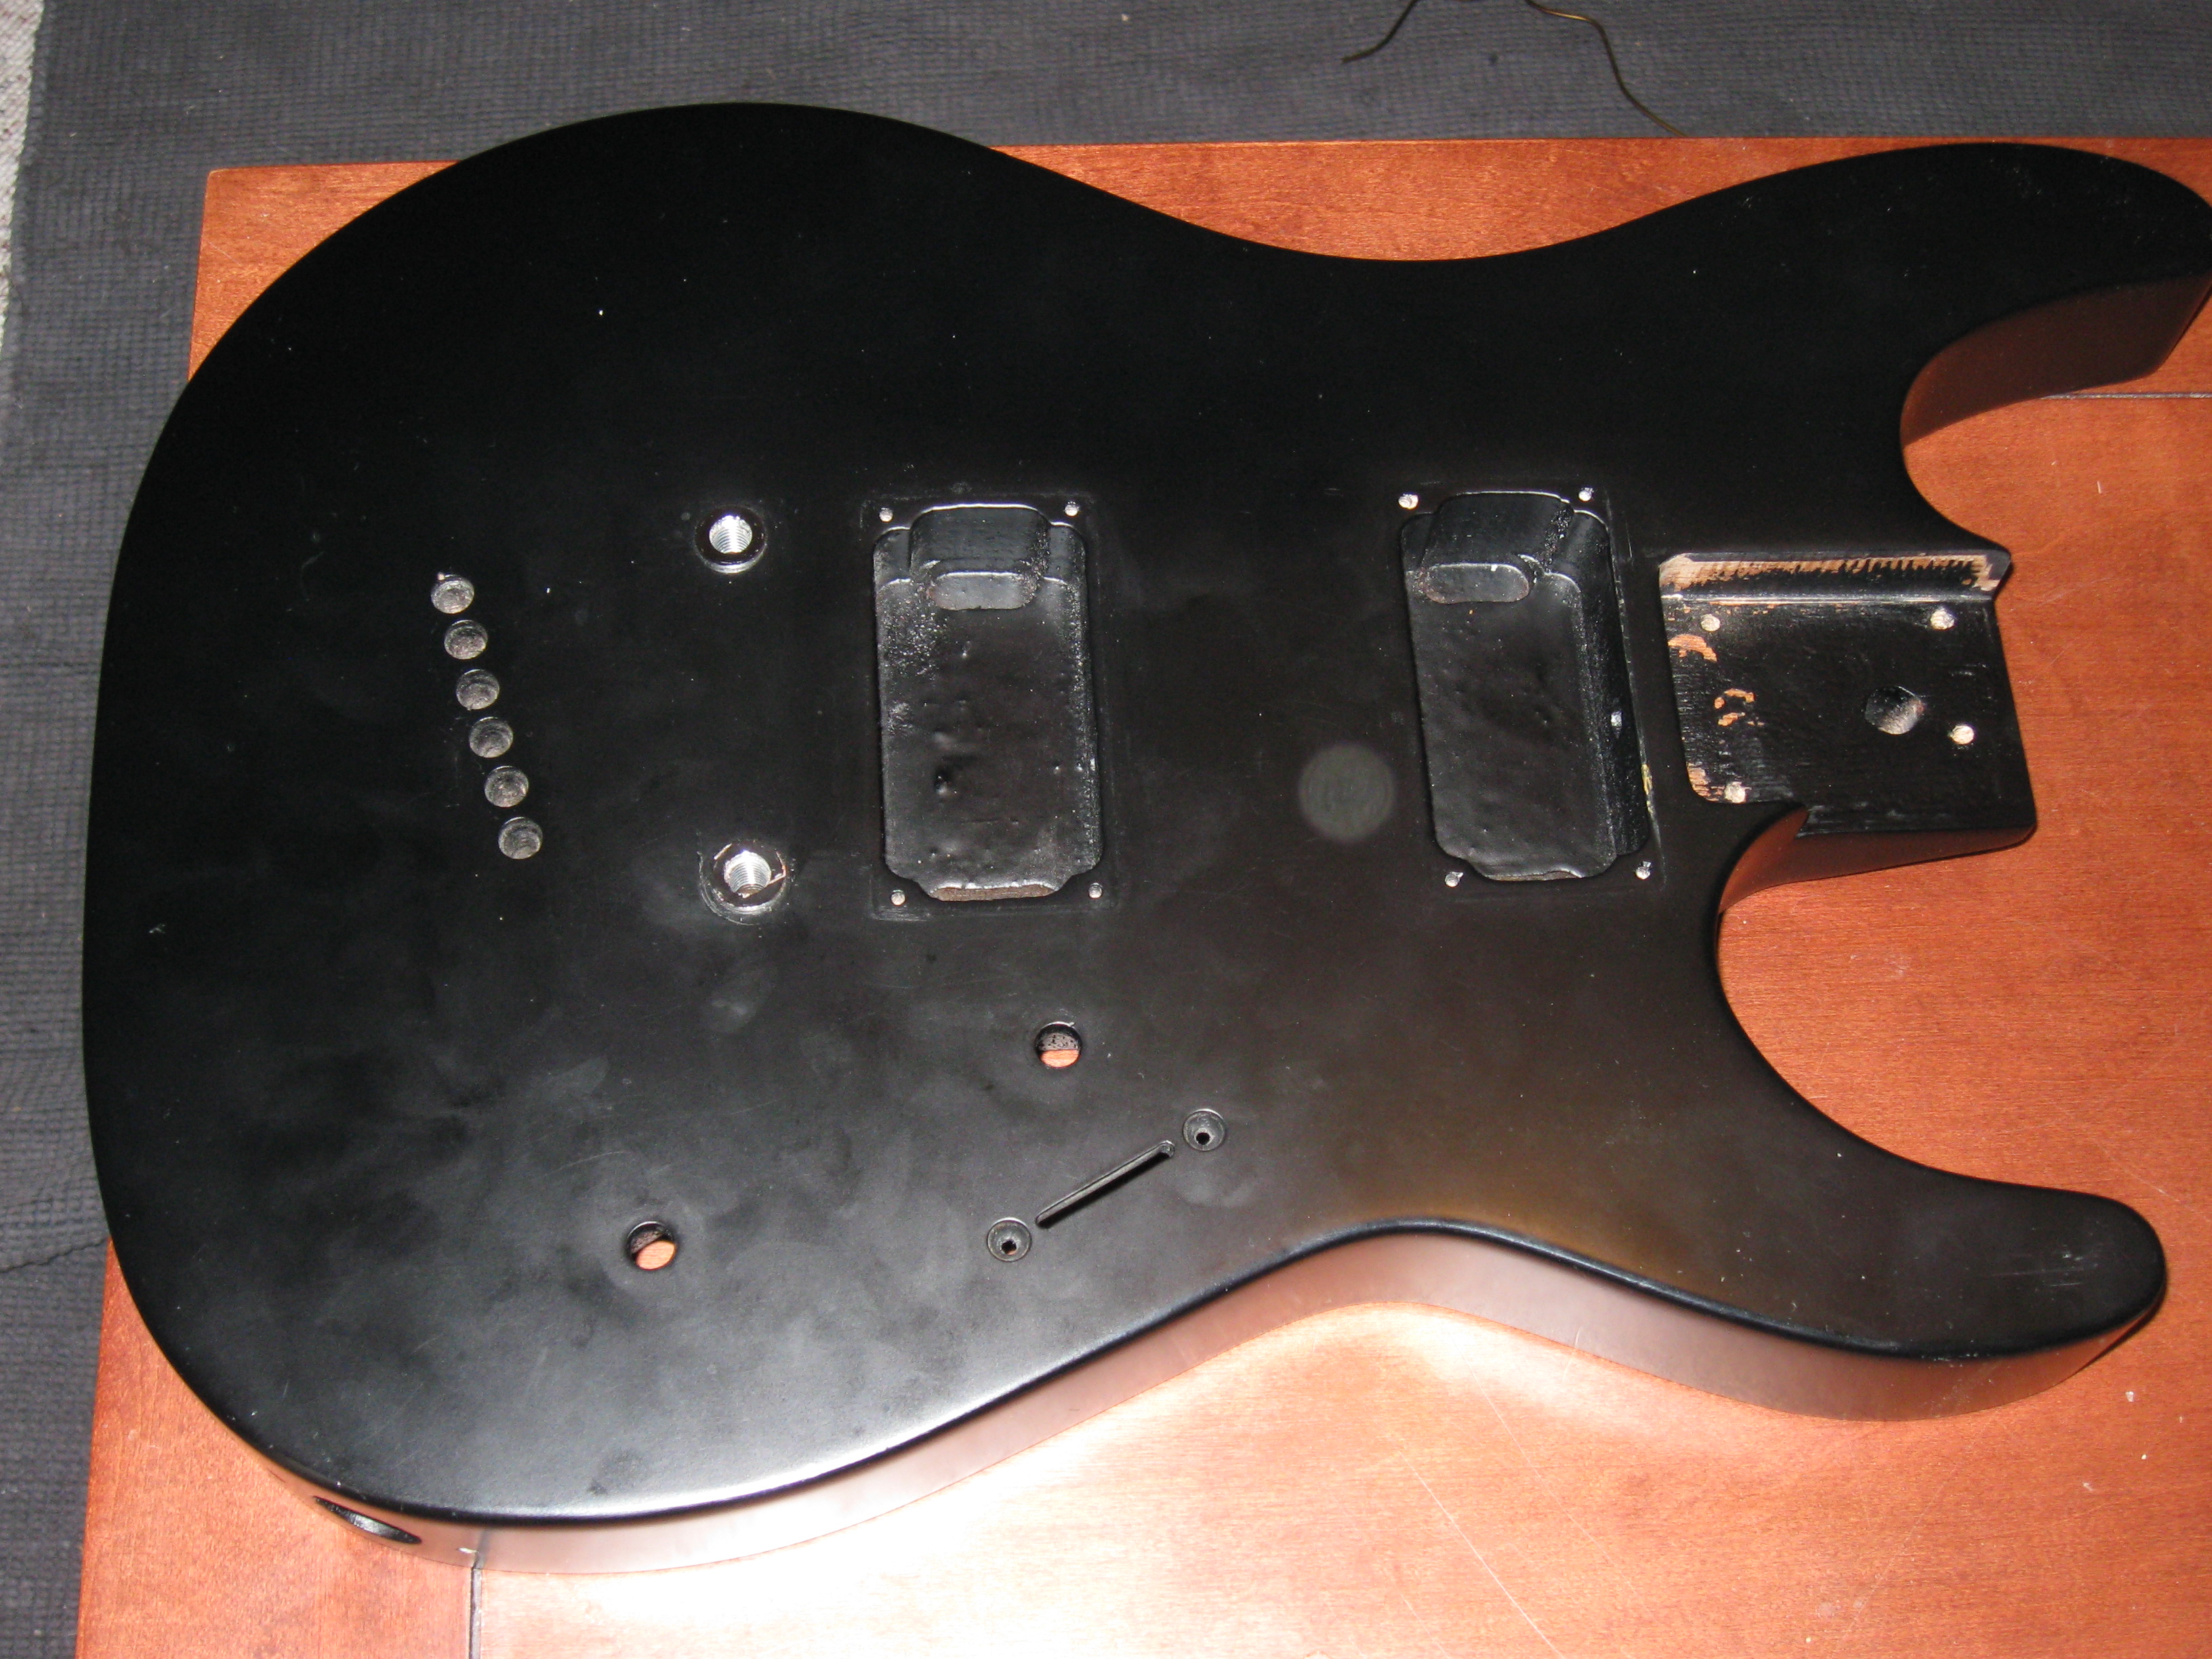
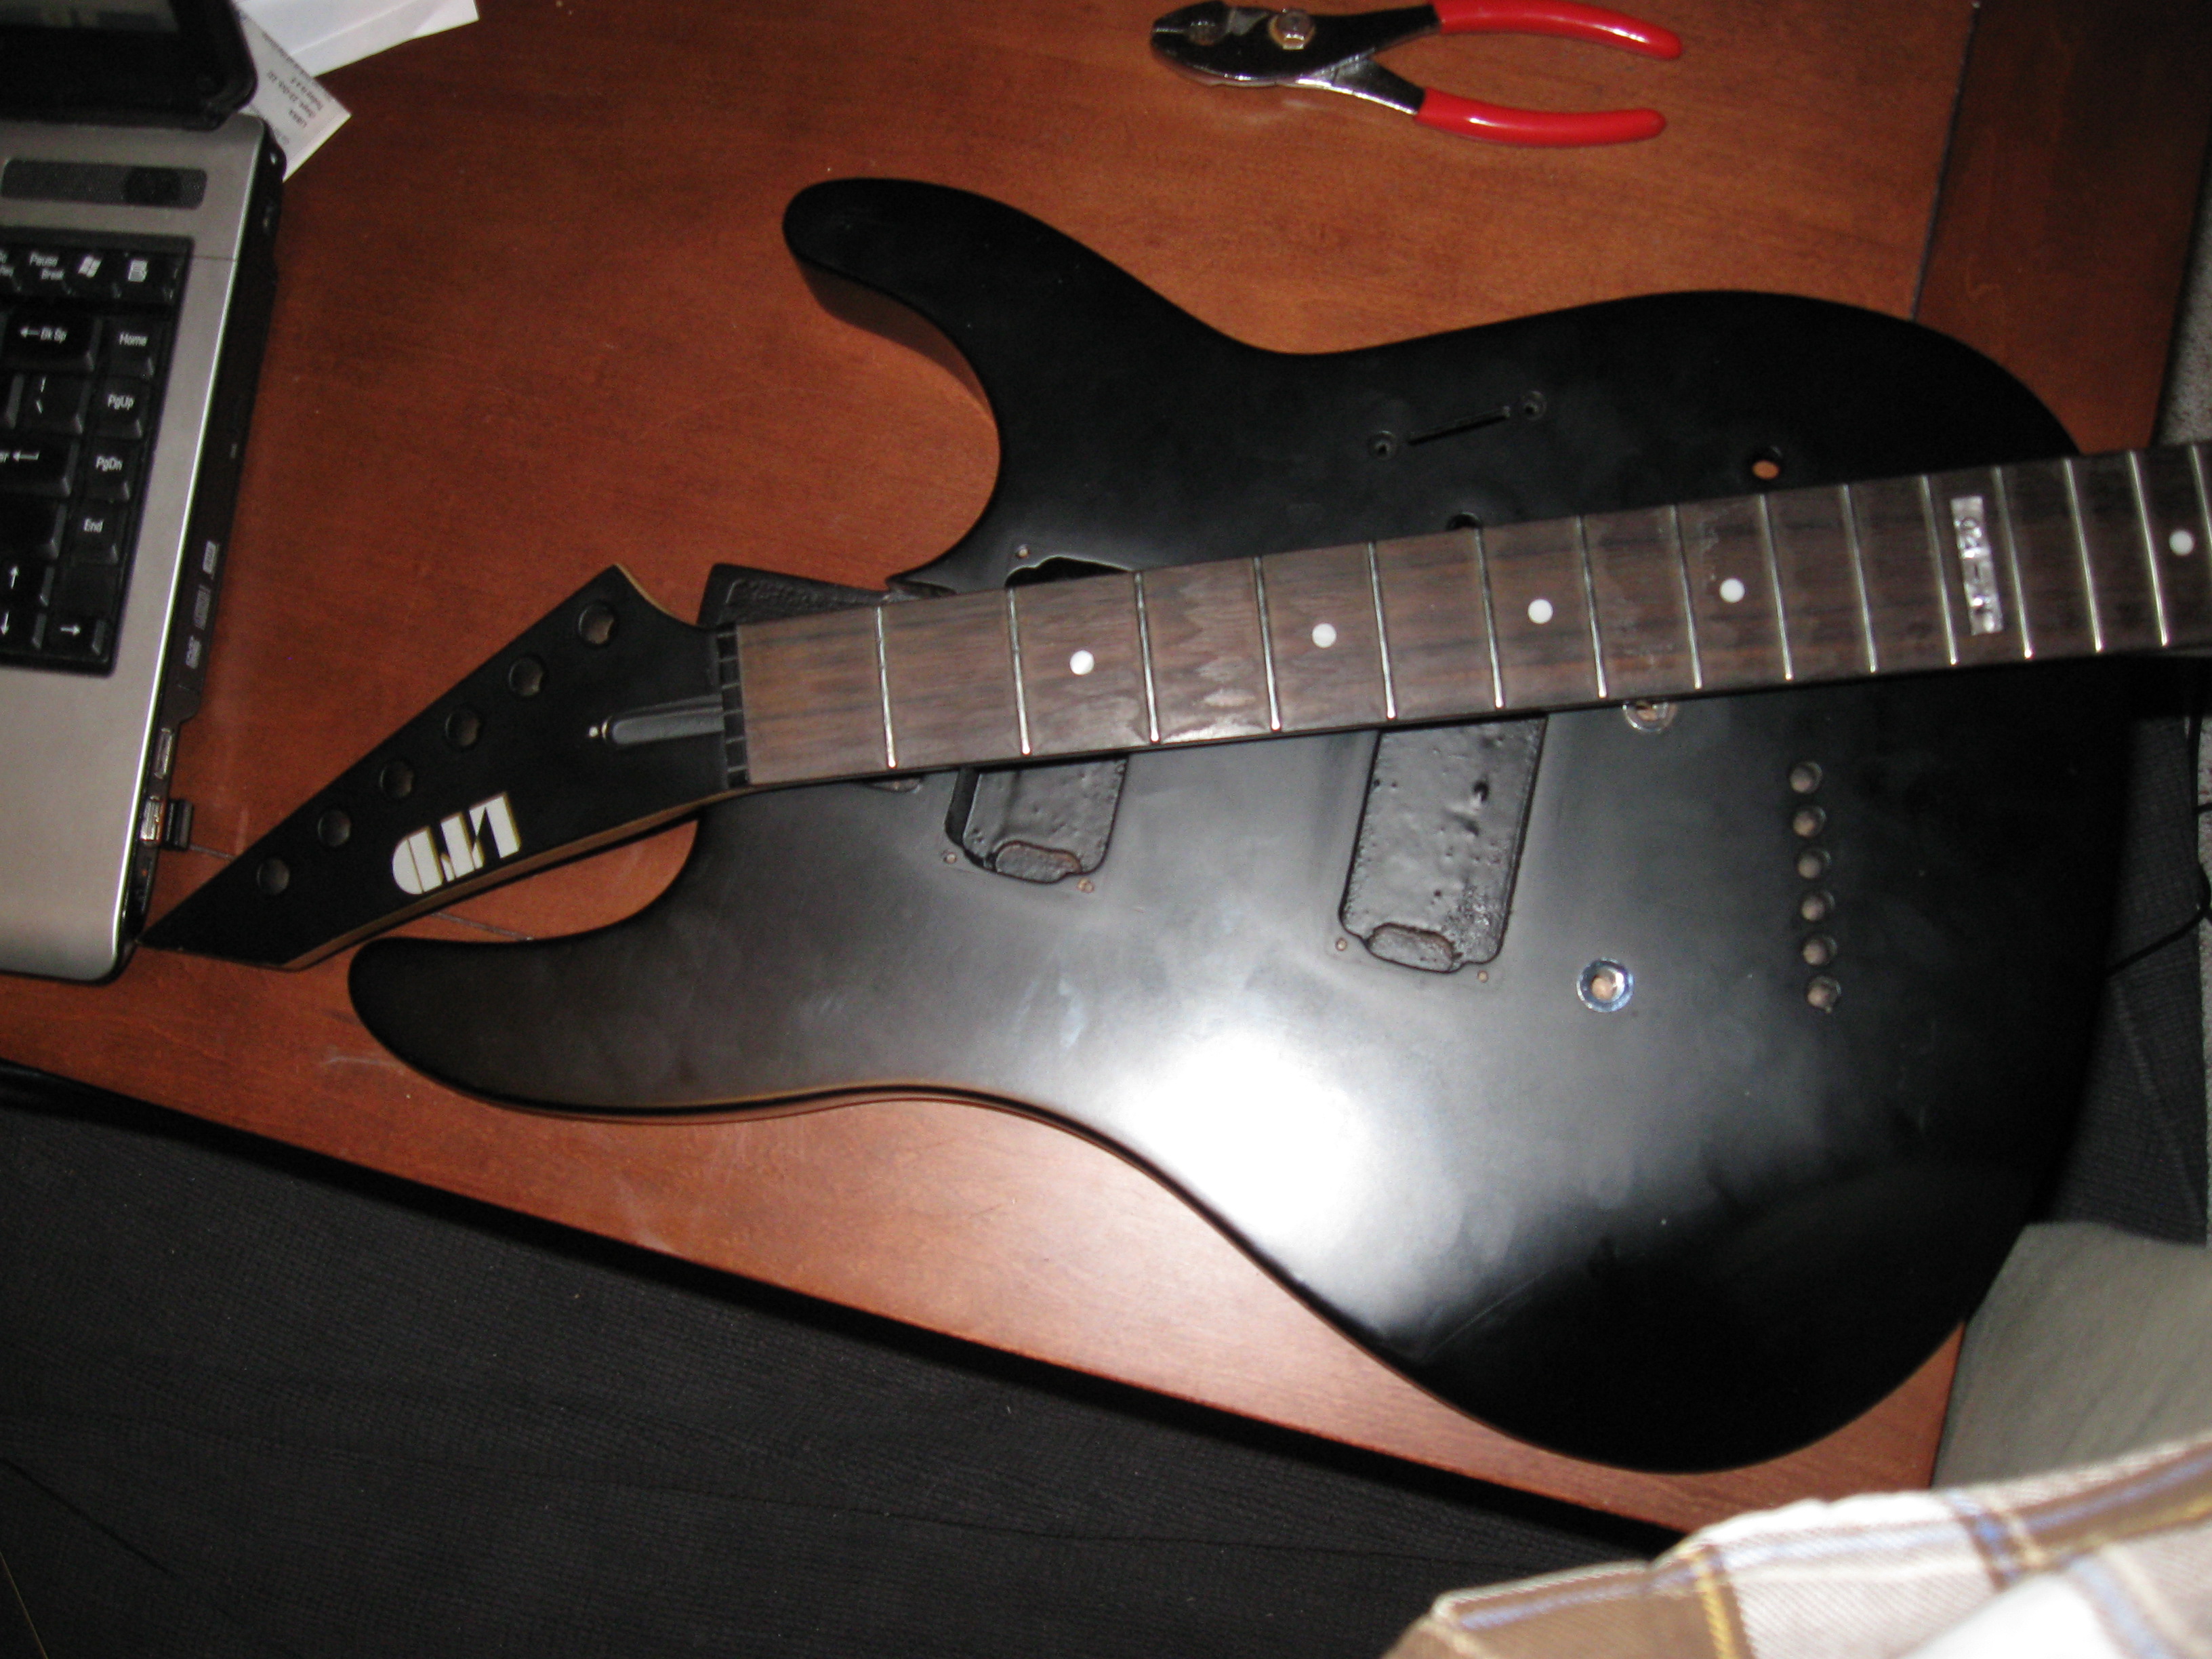
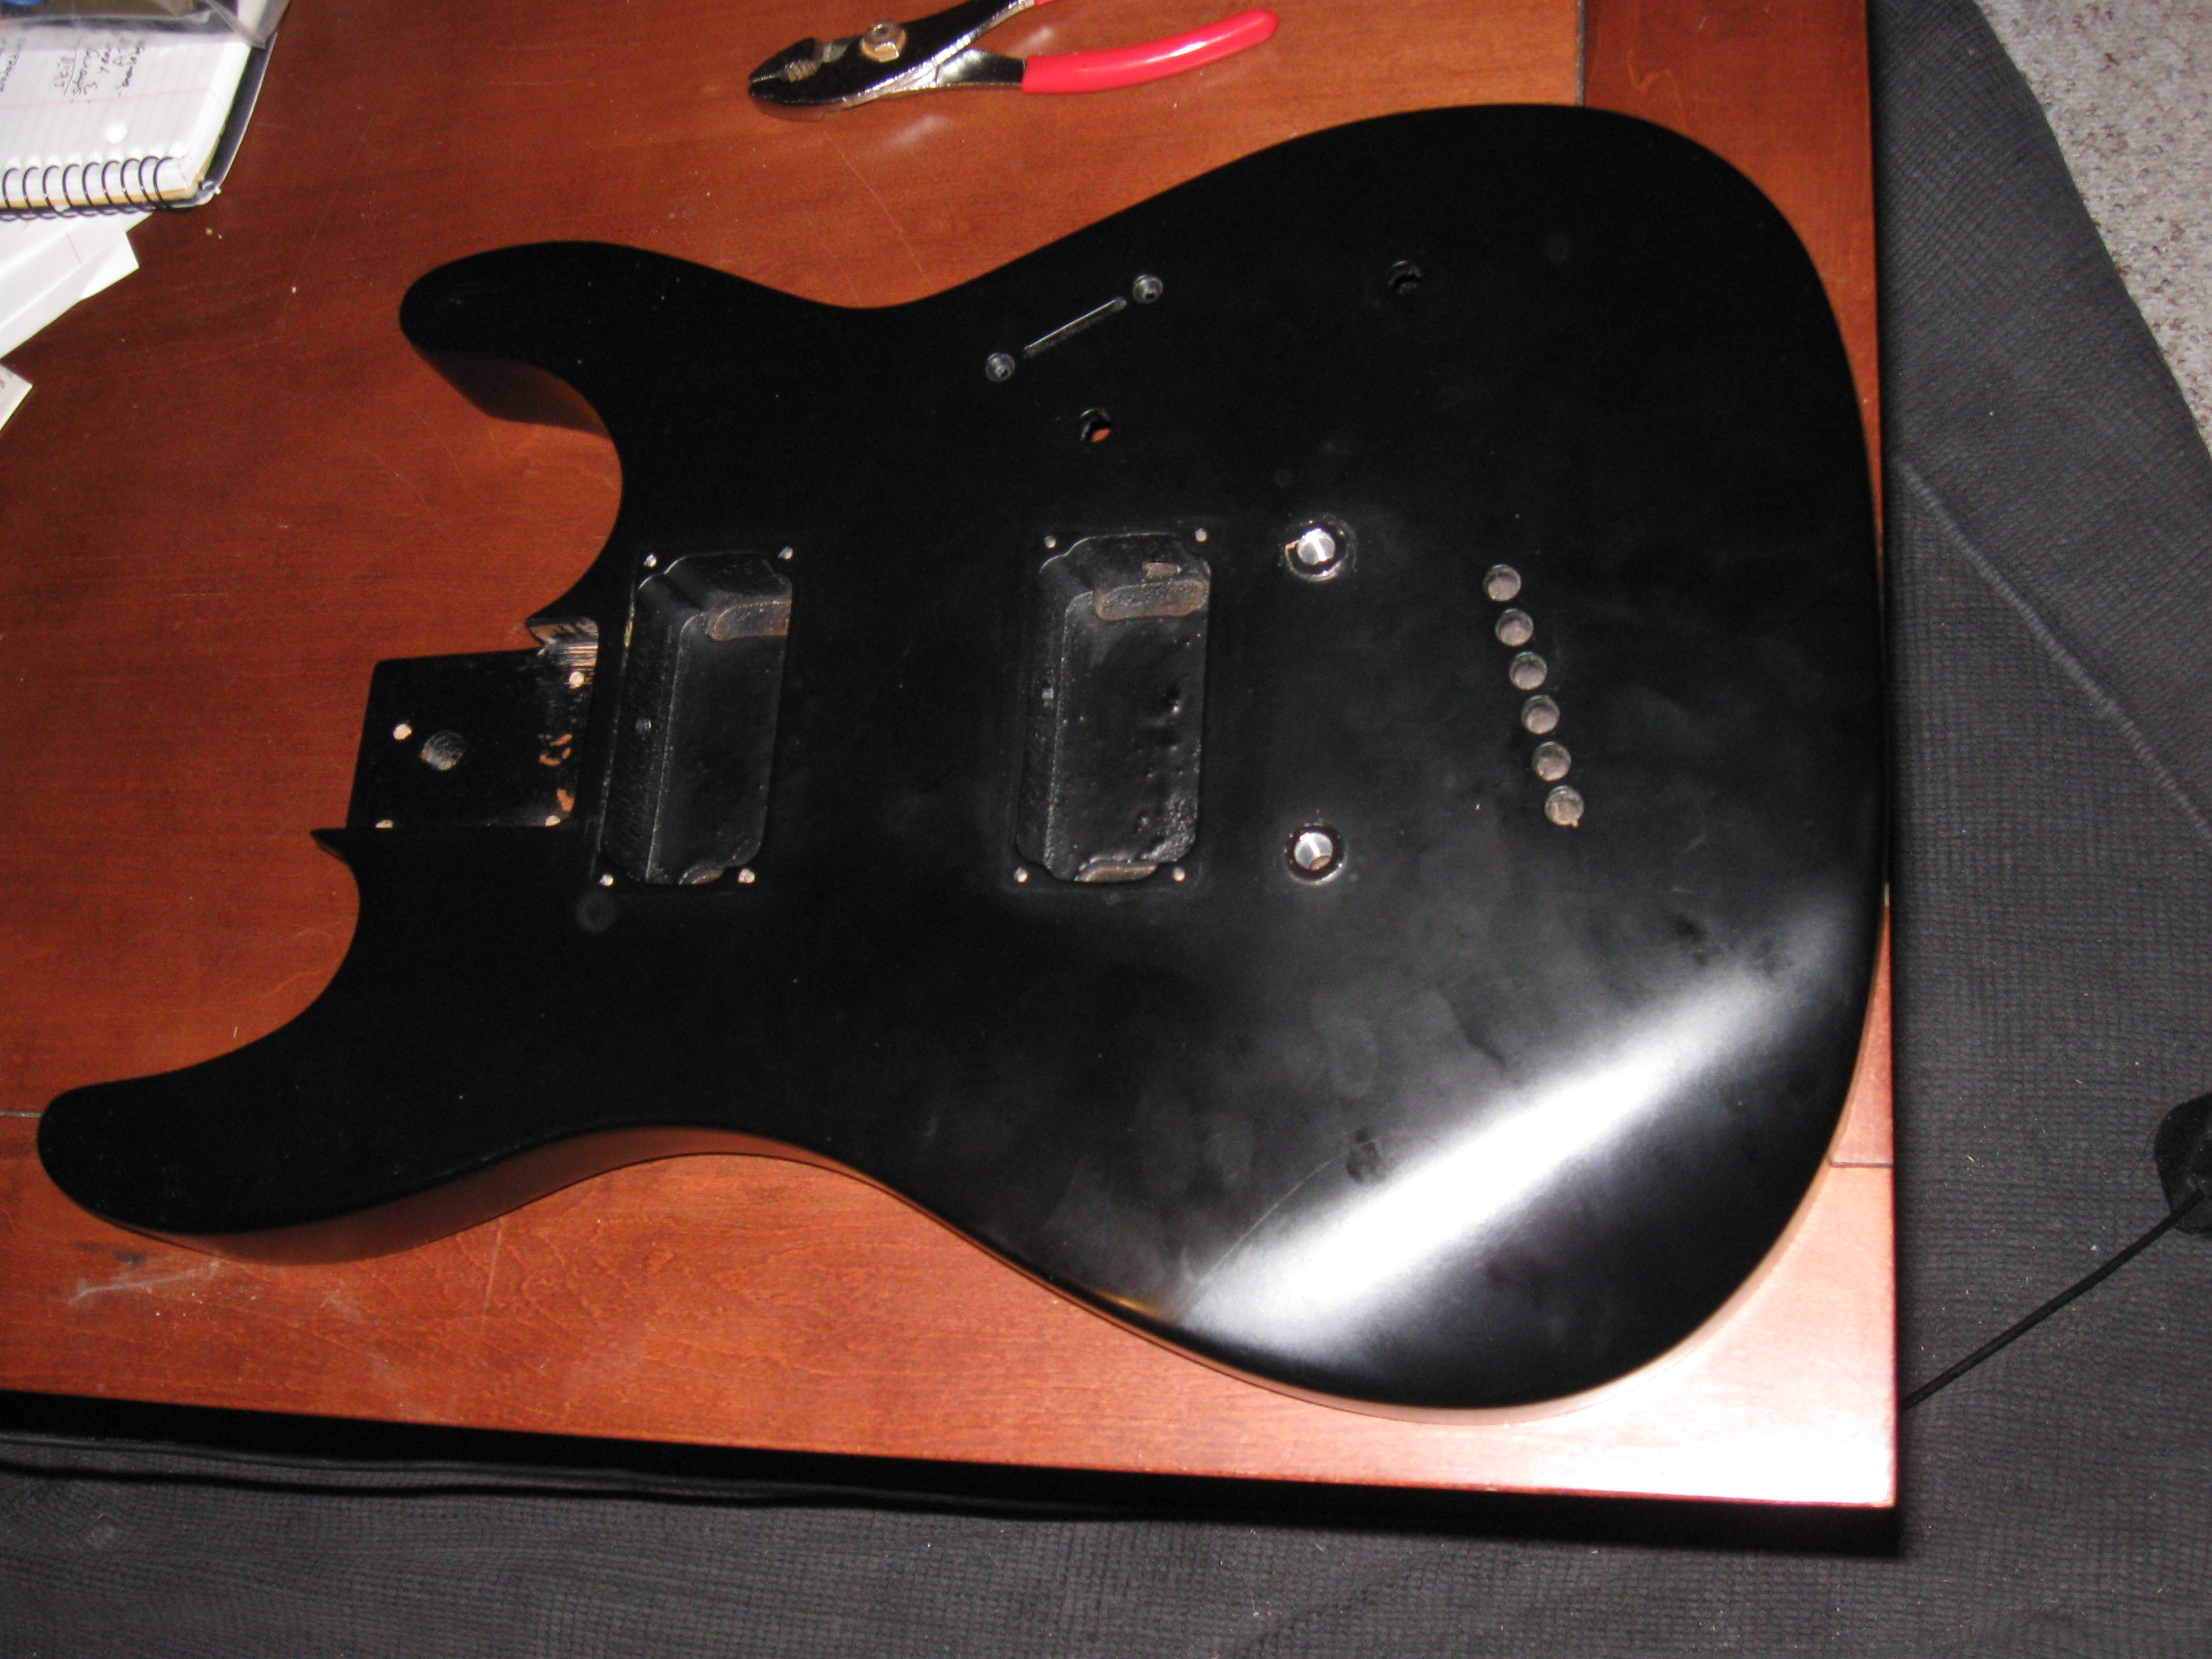
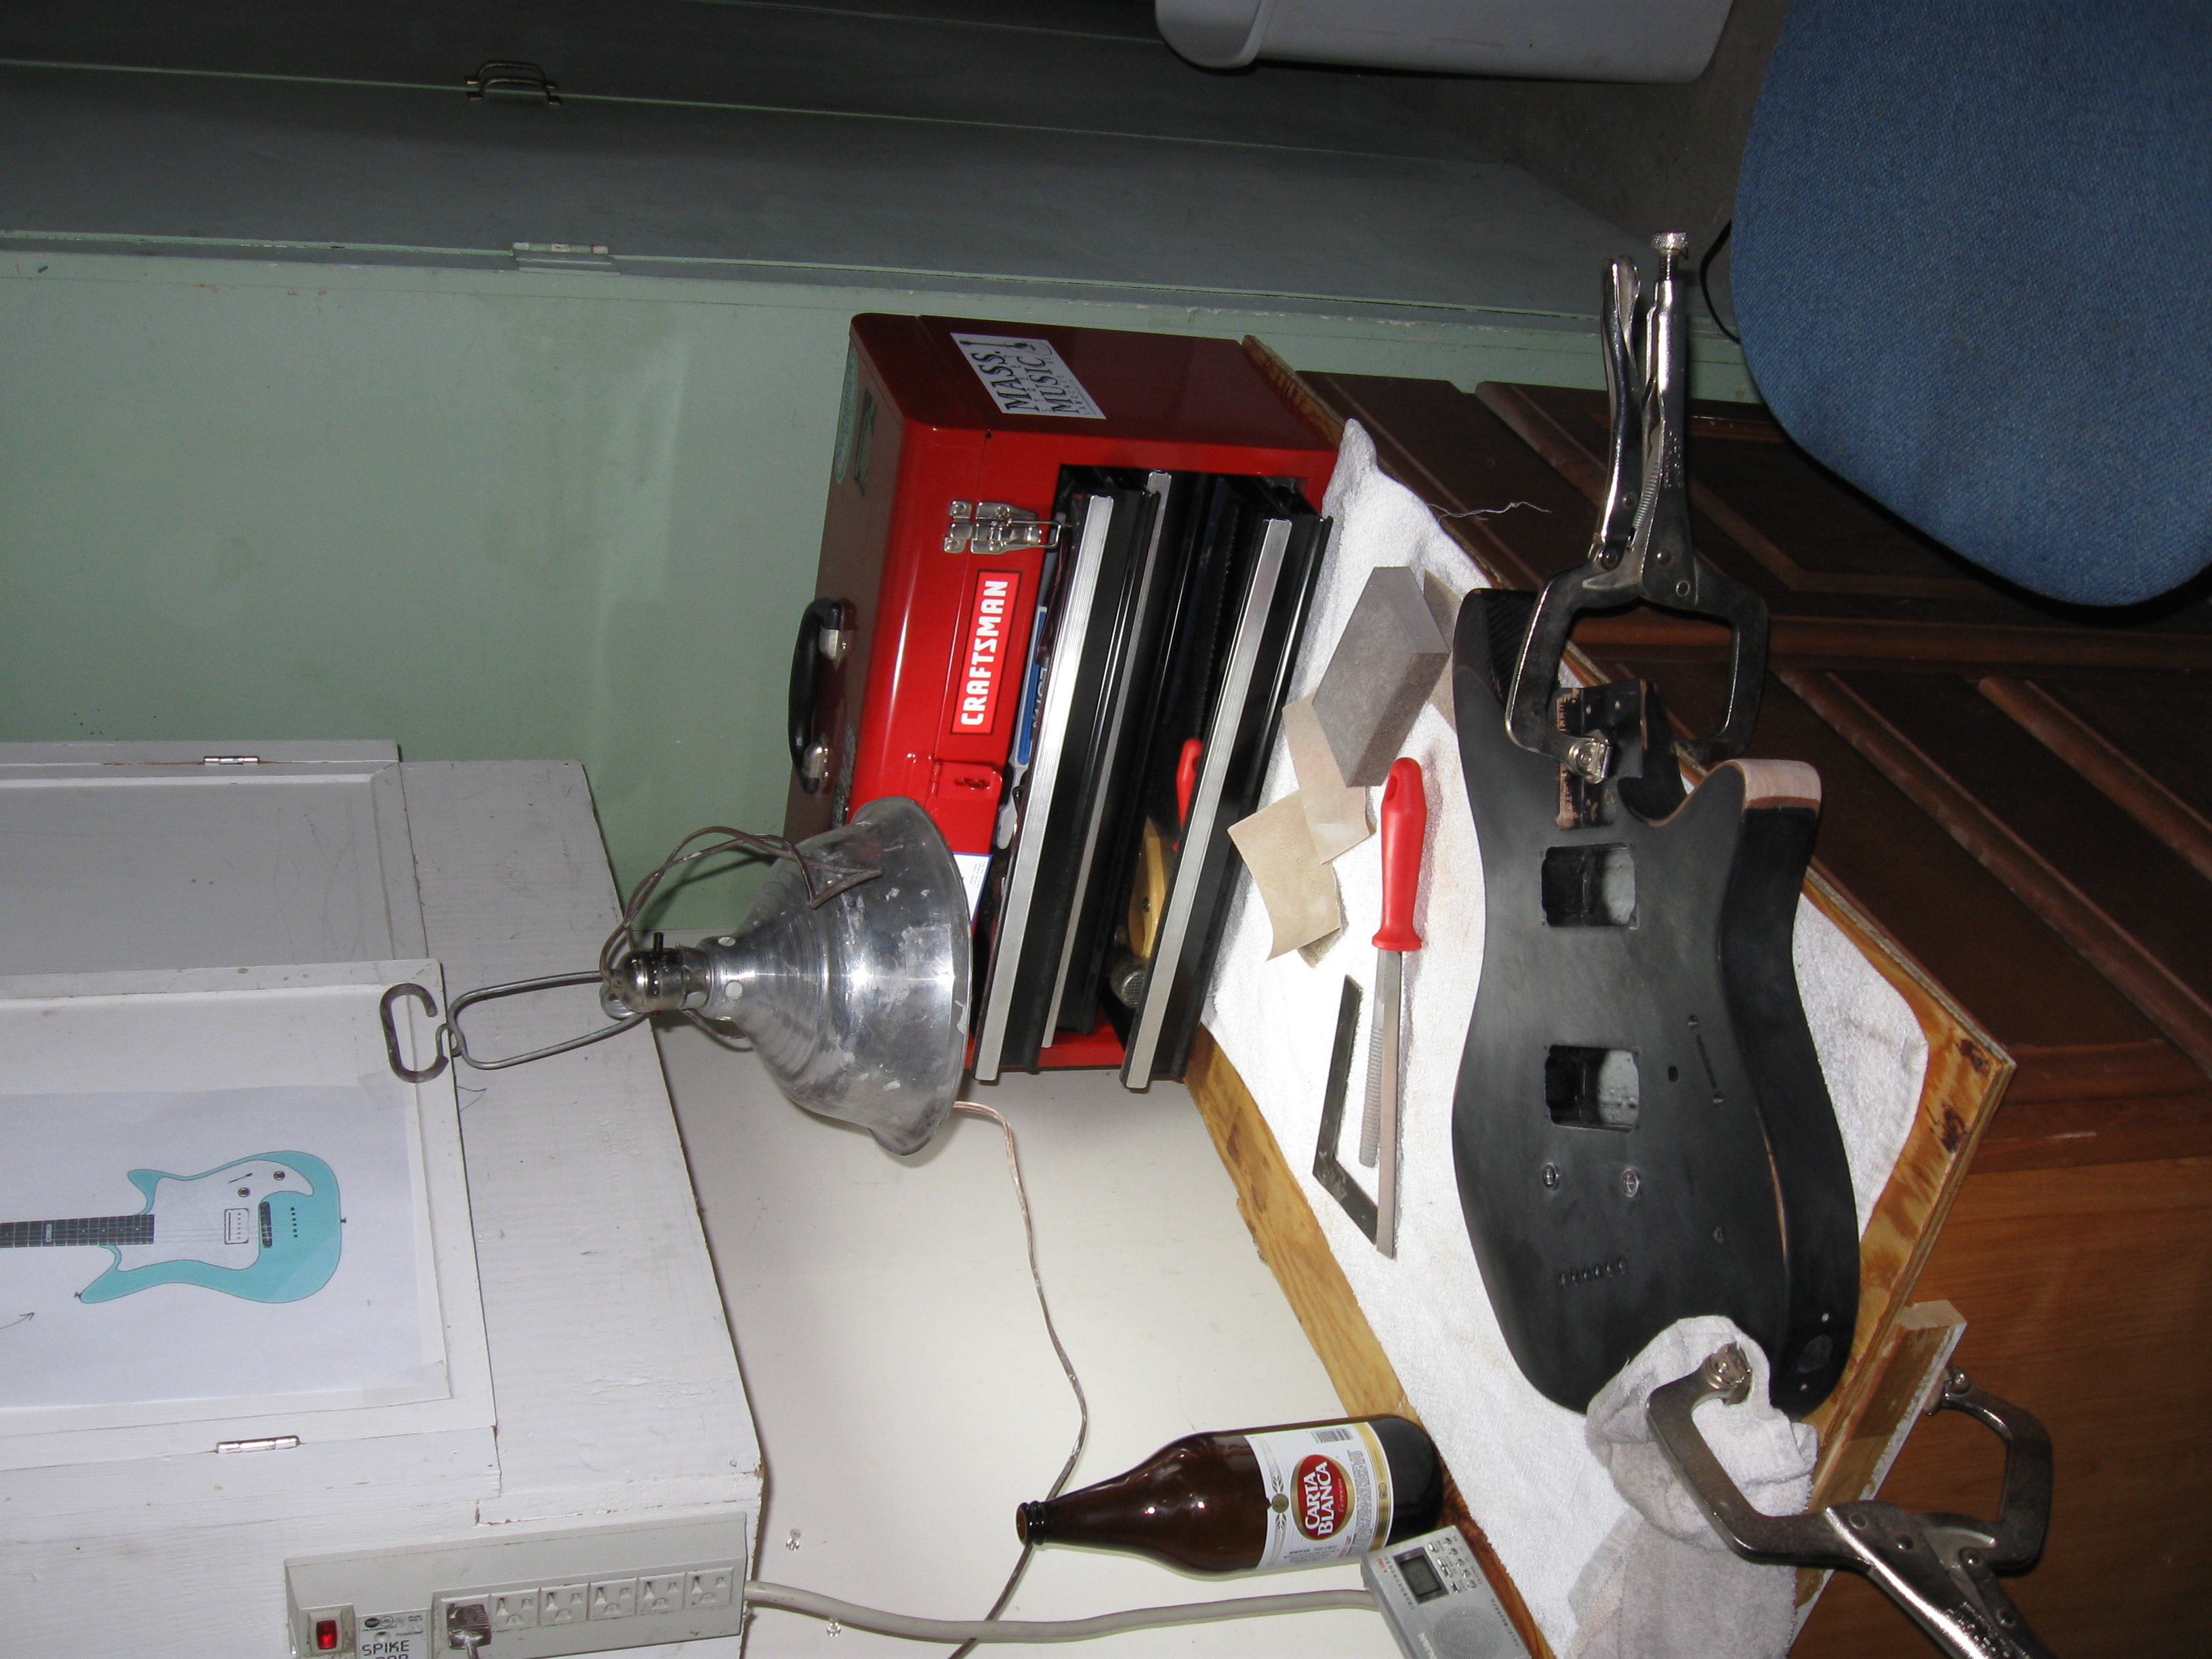
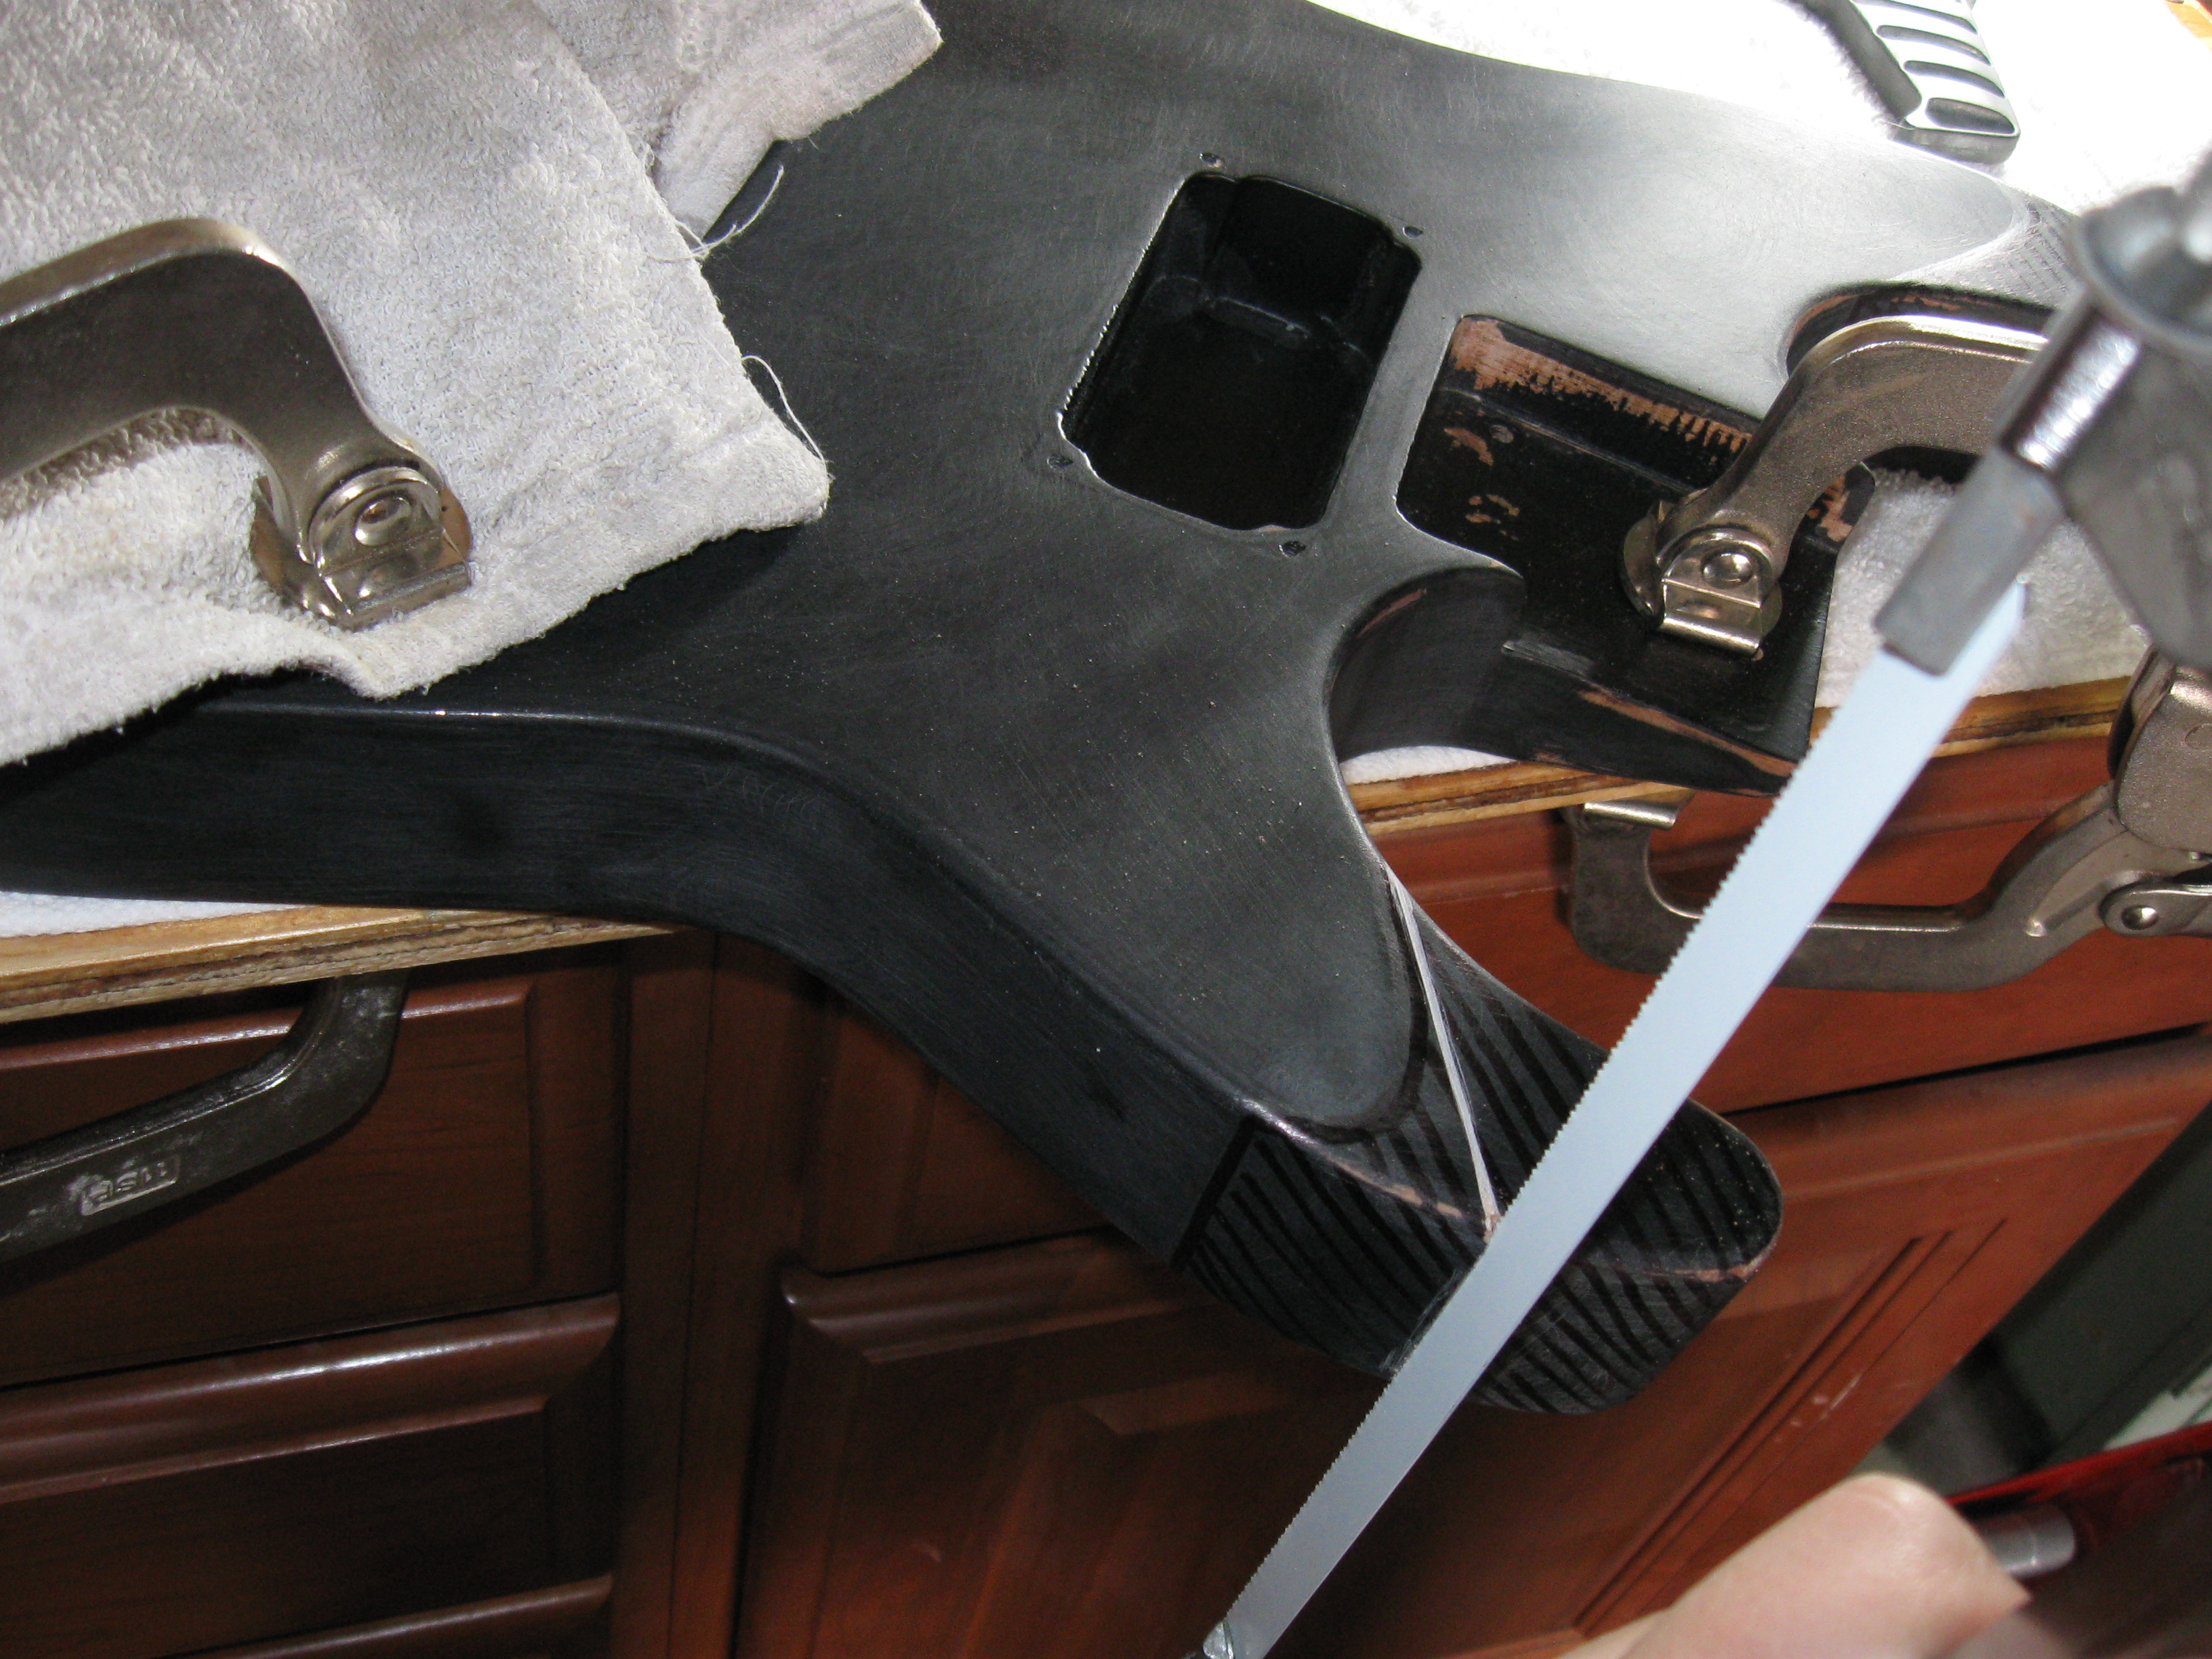
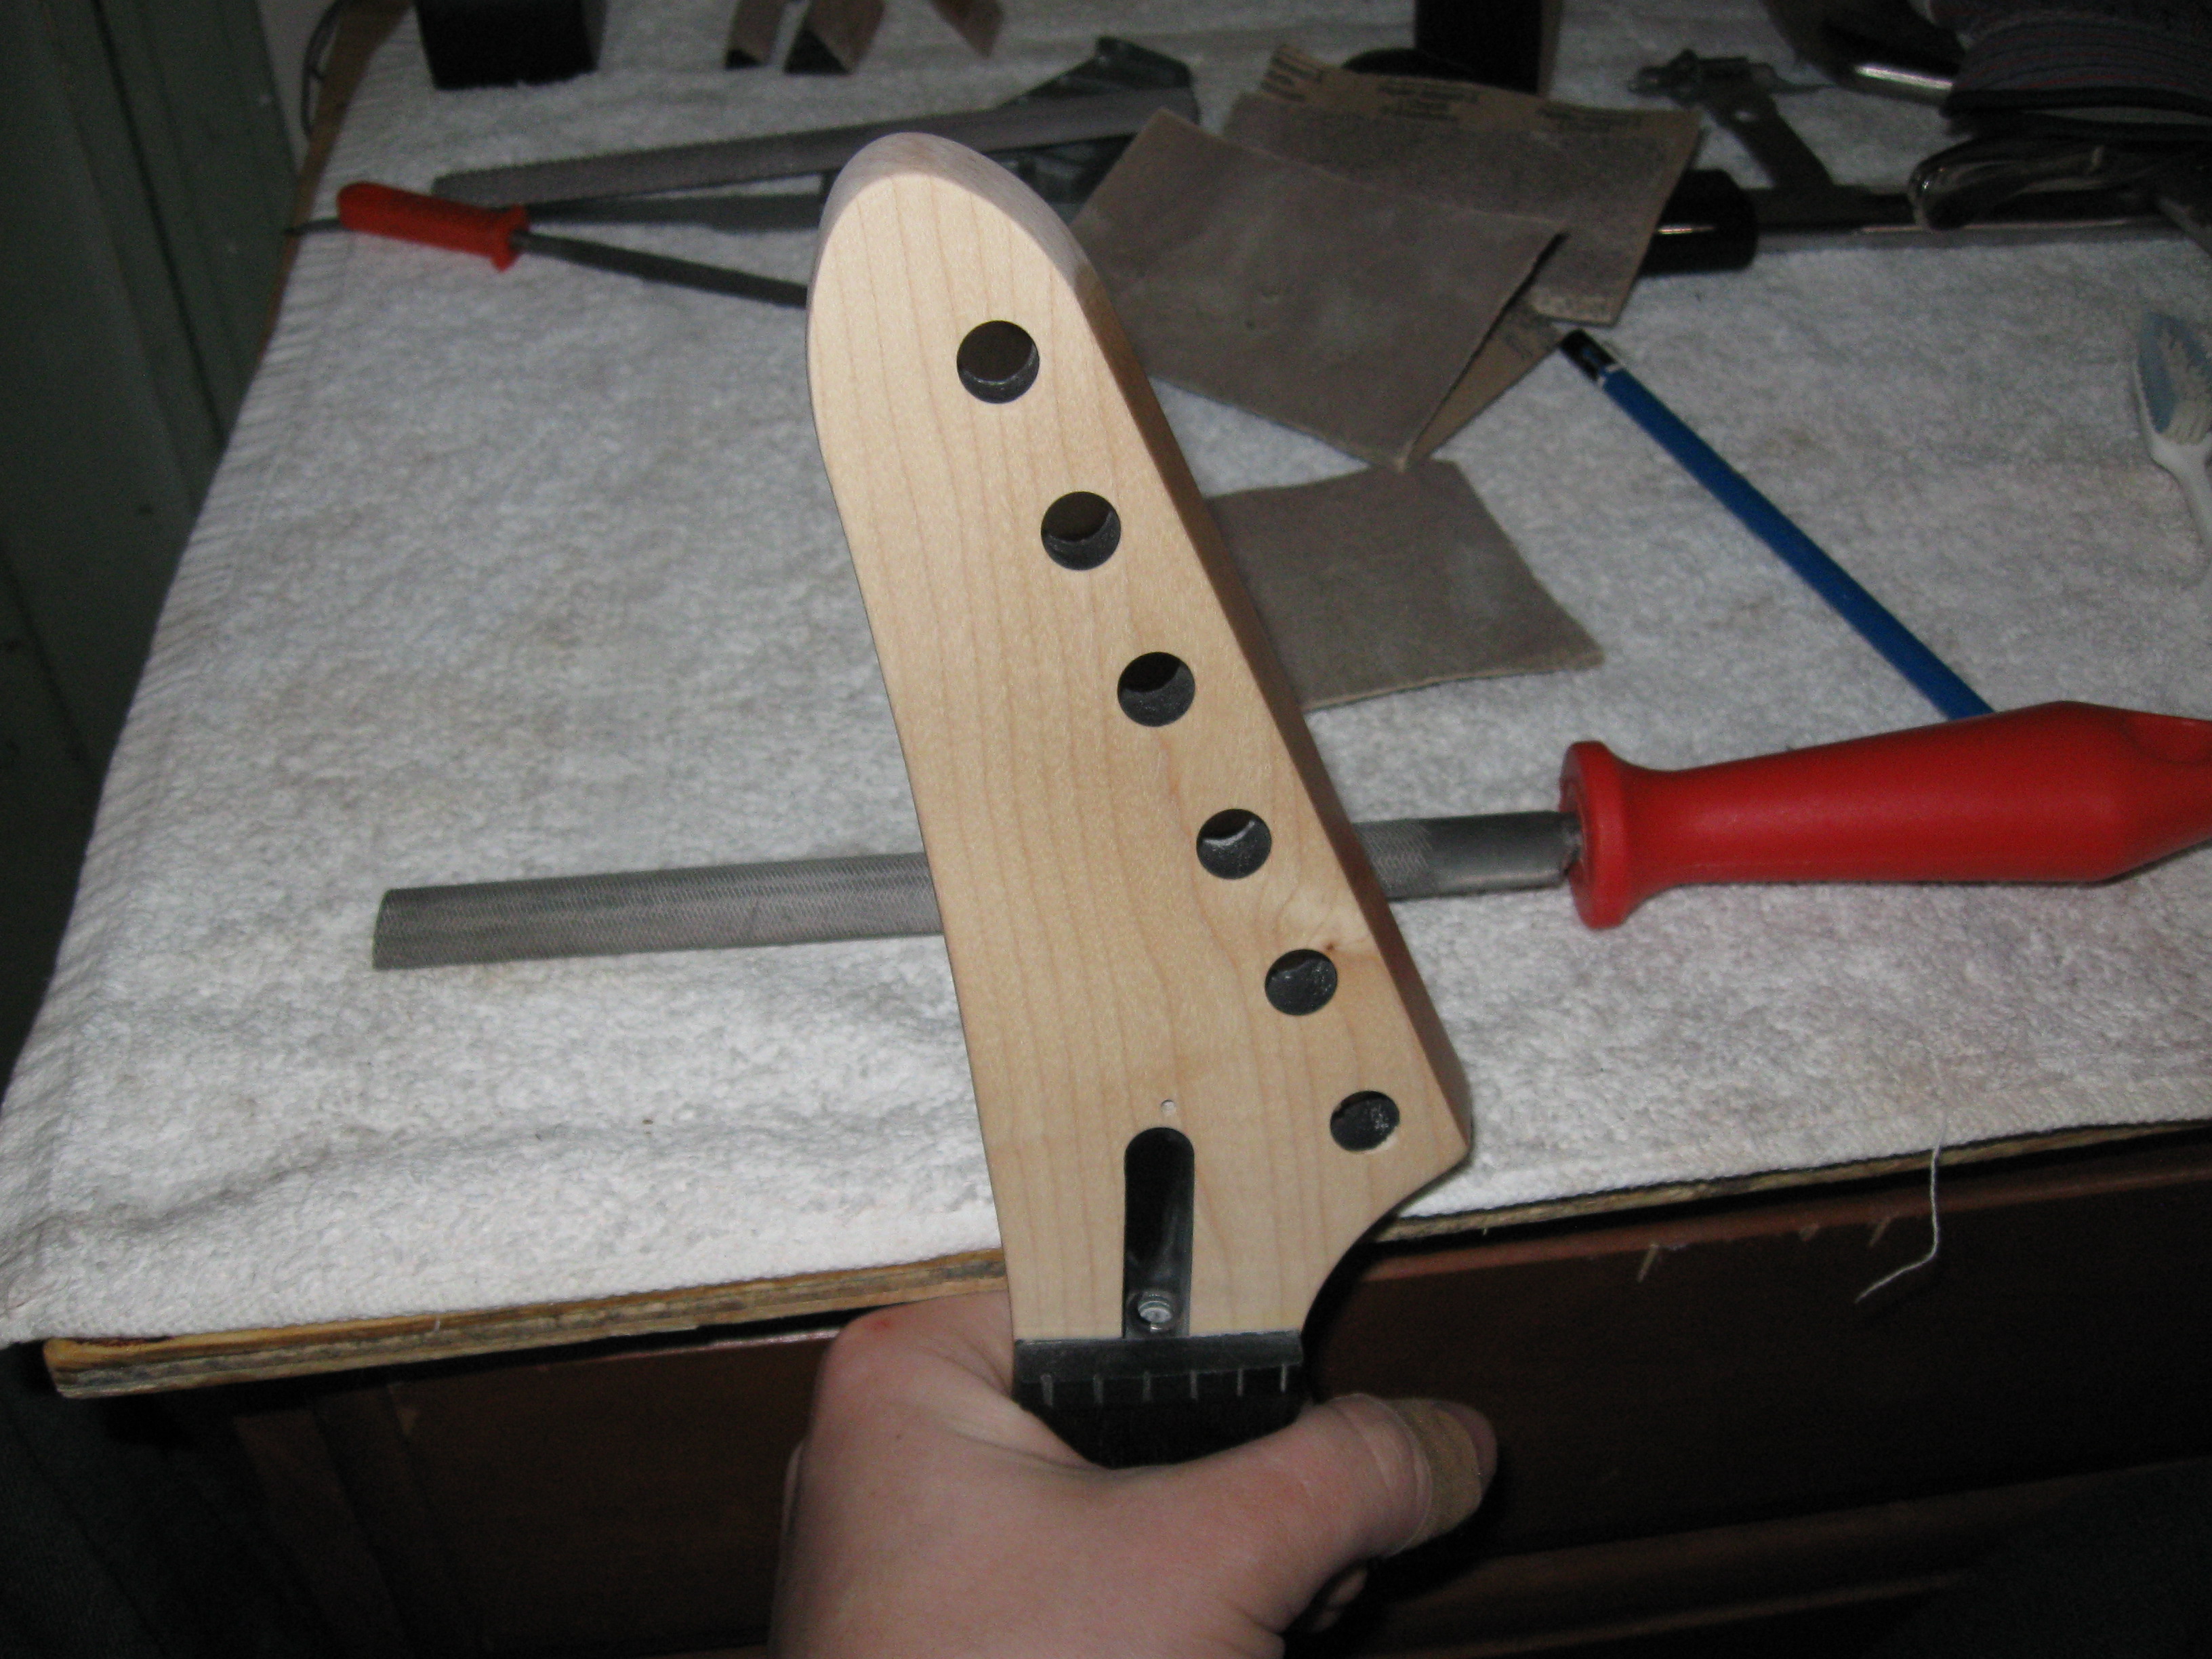
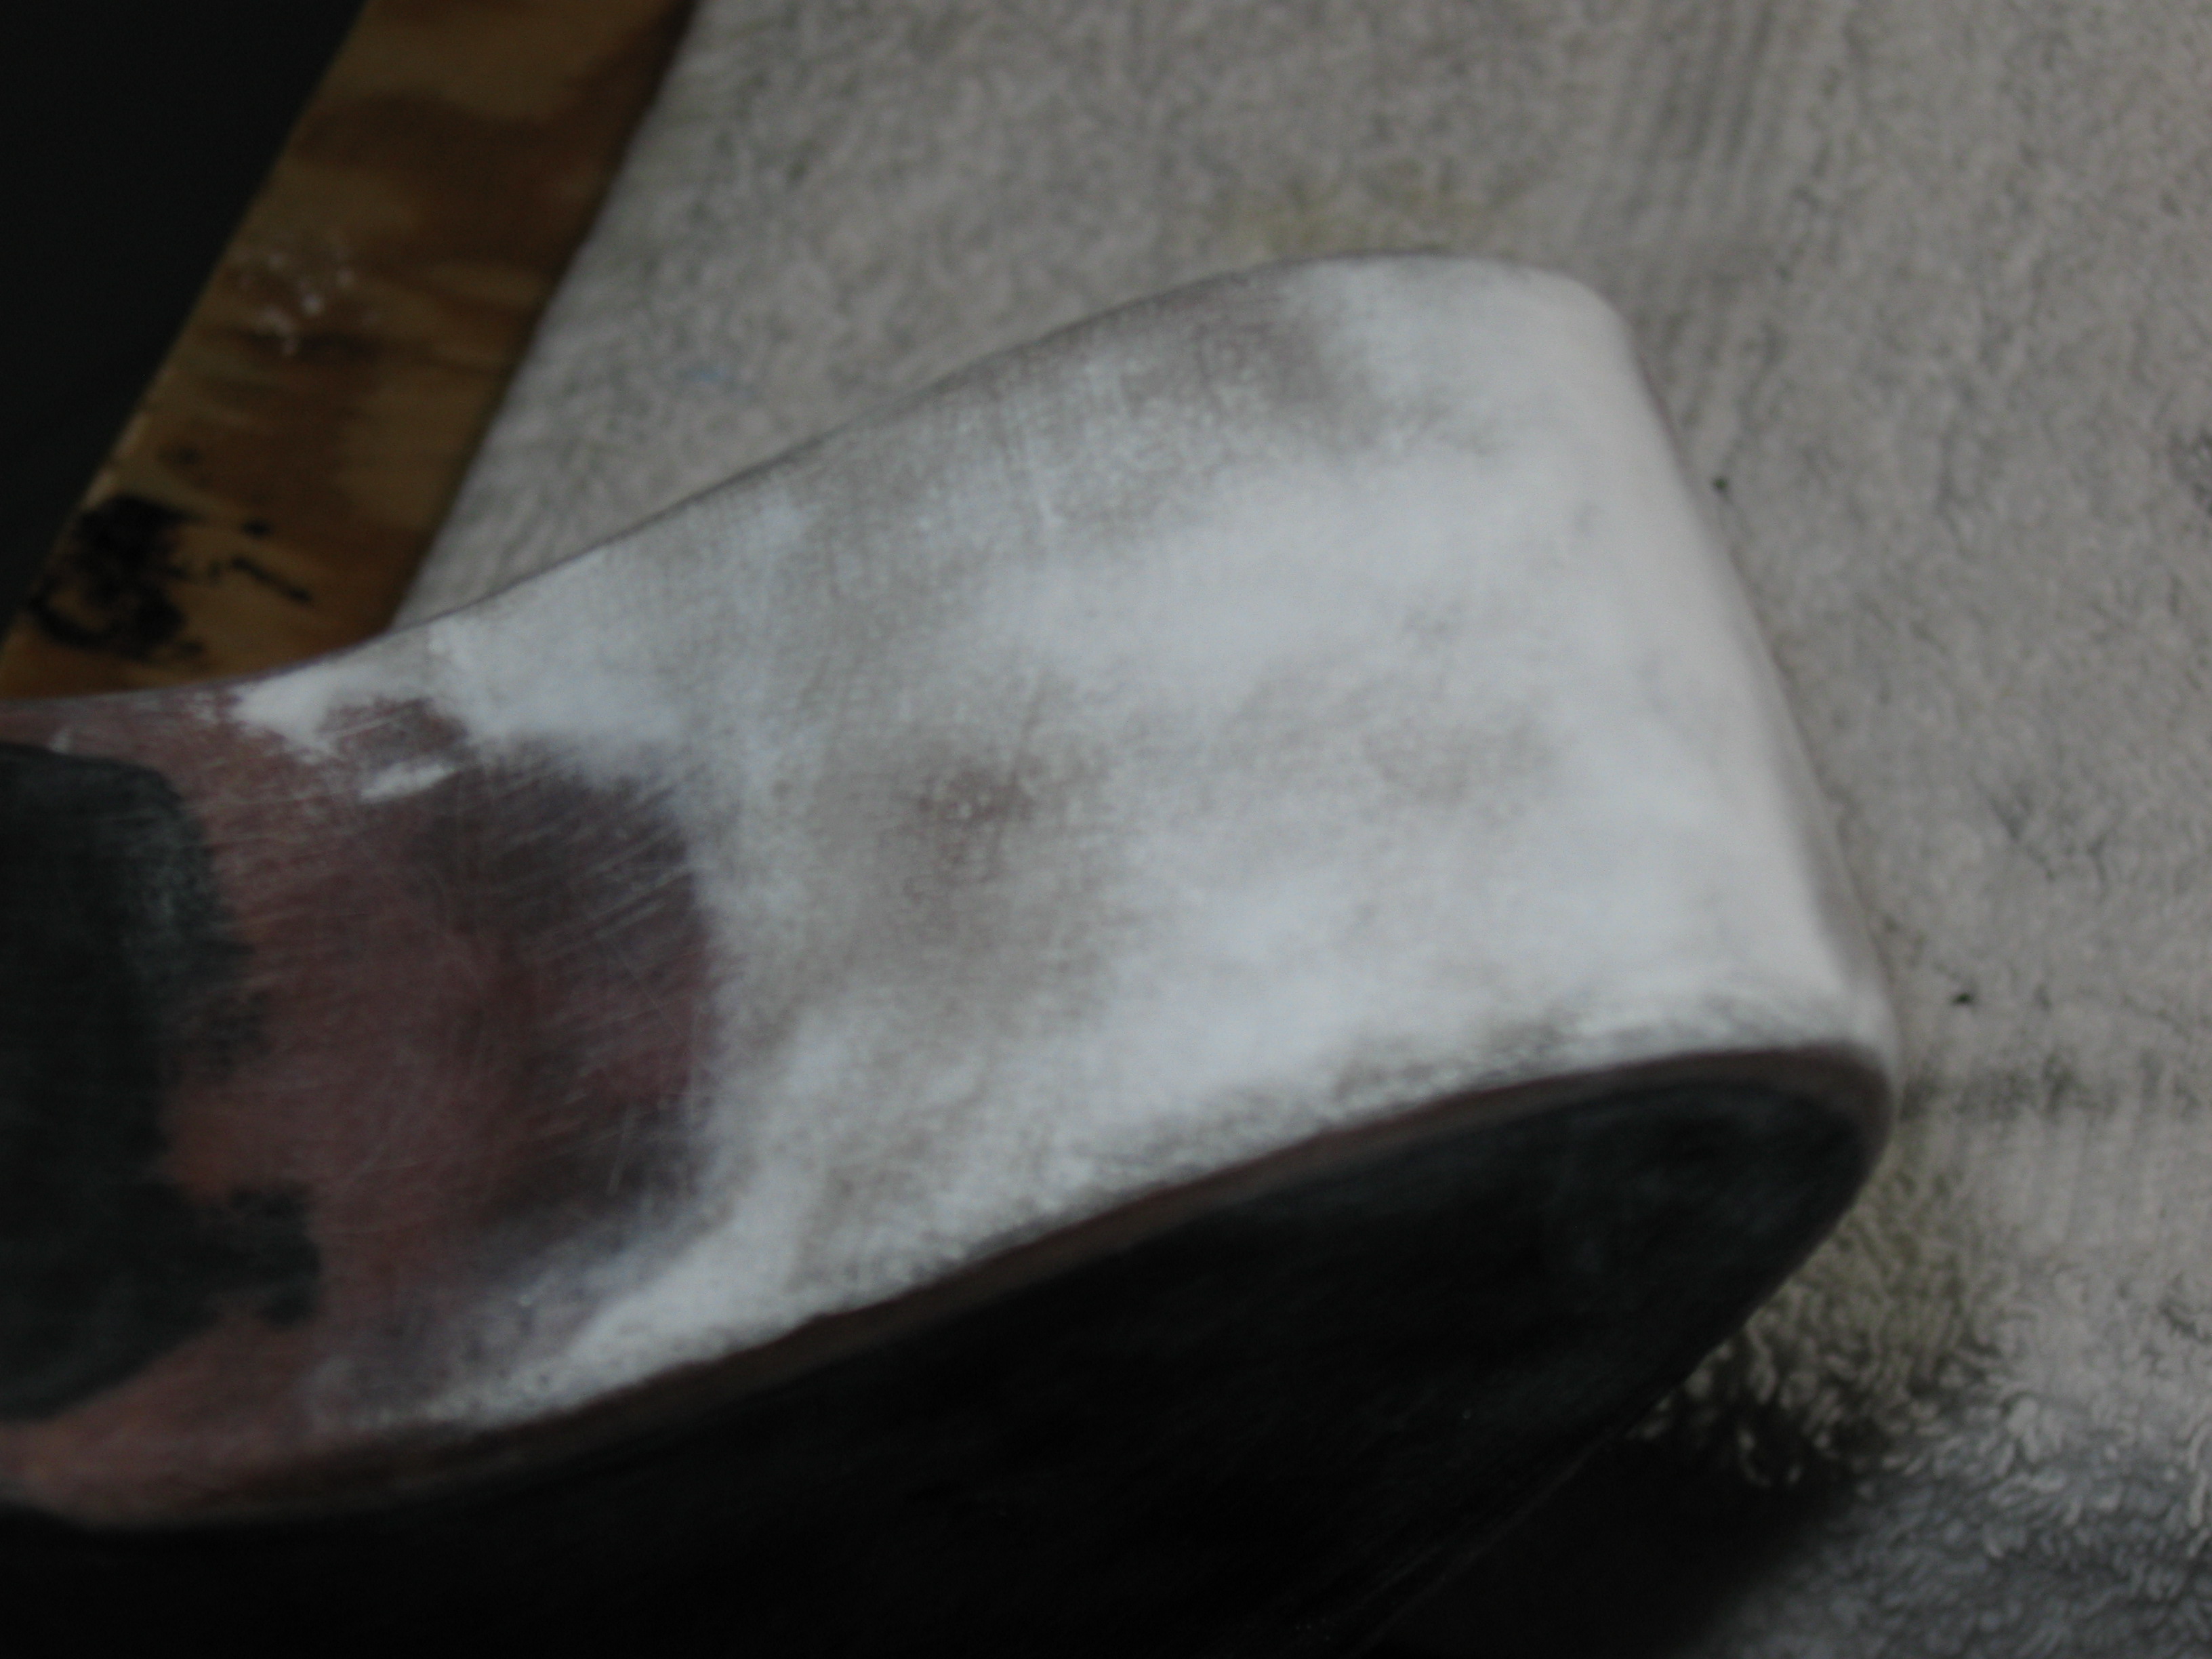
Next I prepped the body for new paint. I didn't bother removing all the old paint, that stuff is as thick as a asphalt and as hard as dried cheese at the bottom of the frying pan. But I didn't just repaint it. I also wanted to reshape the body—those cutouts that scream "wannabe metal band" just had to go. The design I was going far was that of a 60's Danelectro (more on that later), so I started hacking off the tips of the "horns". The headstock got the same treatment too.
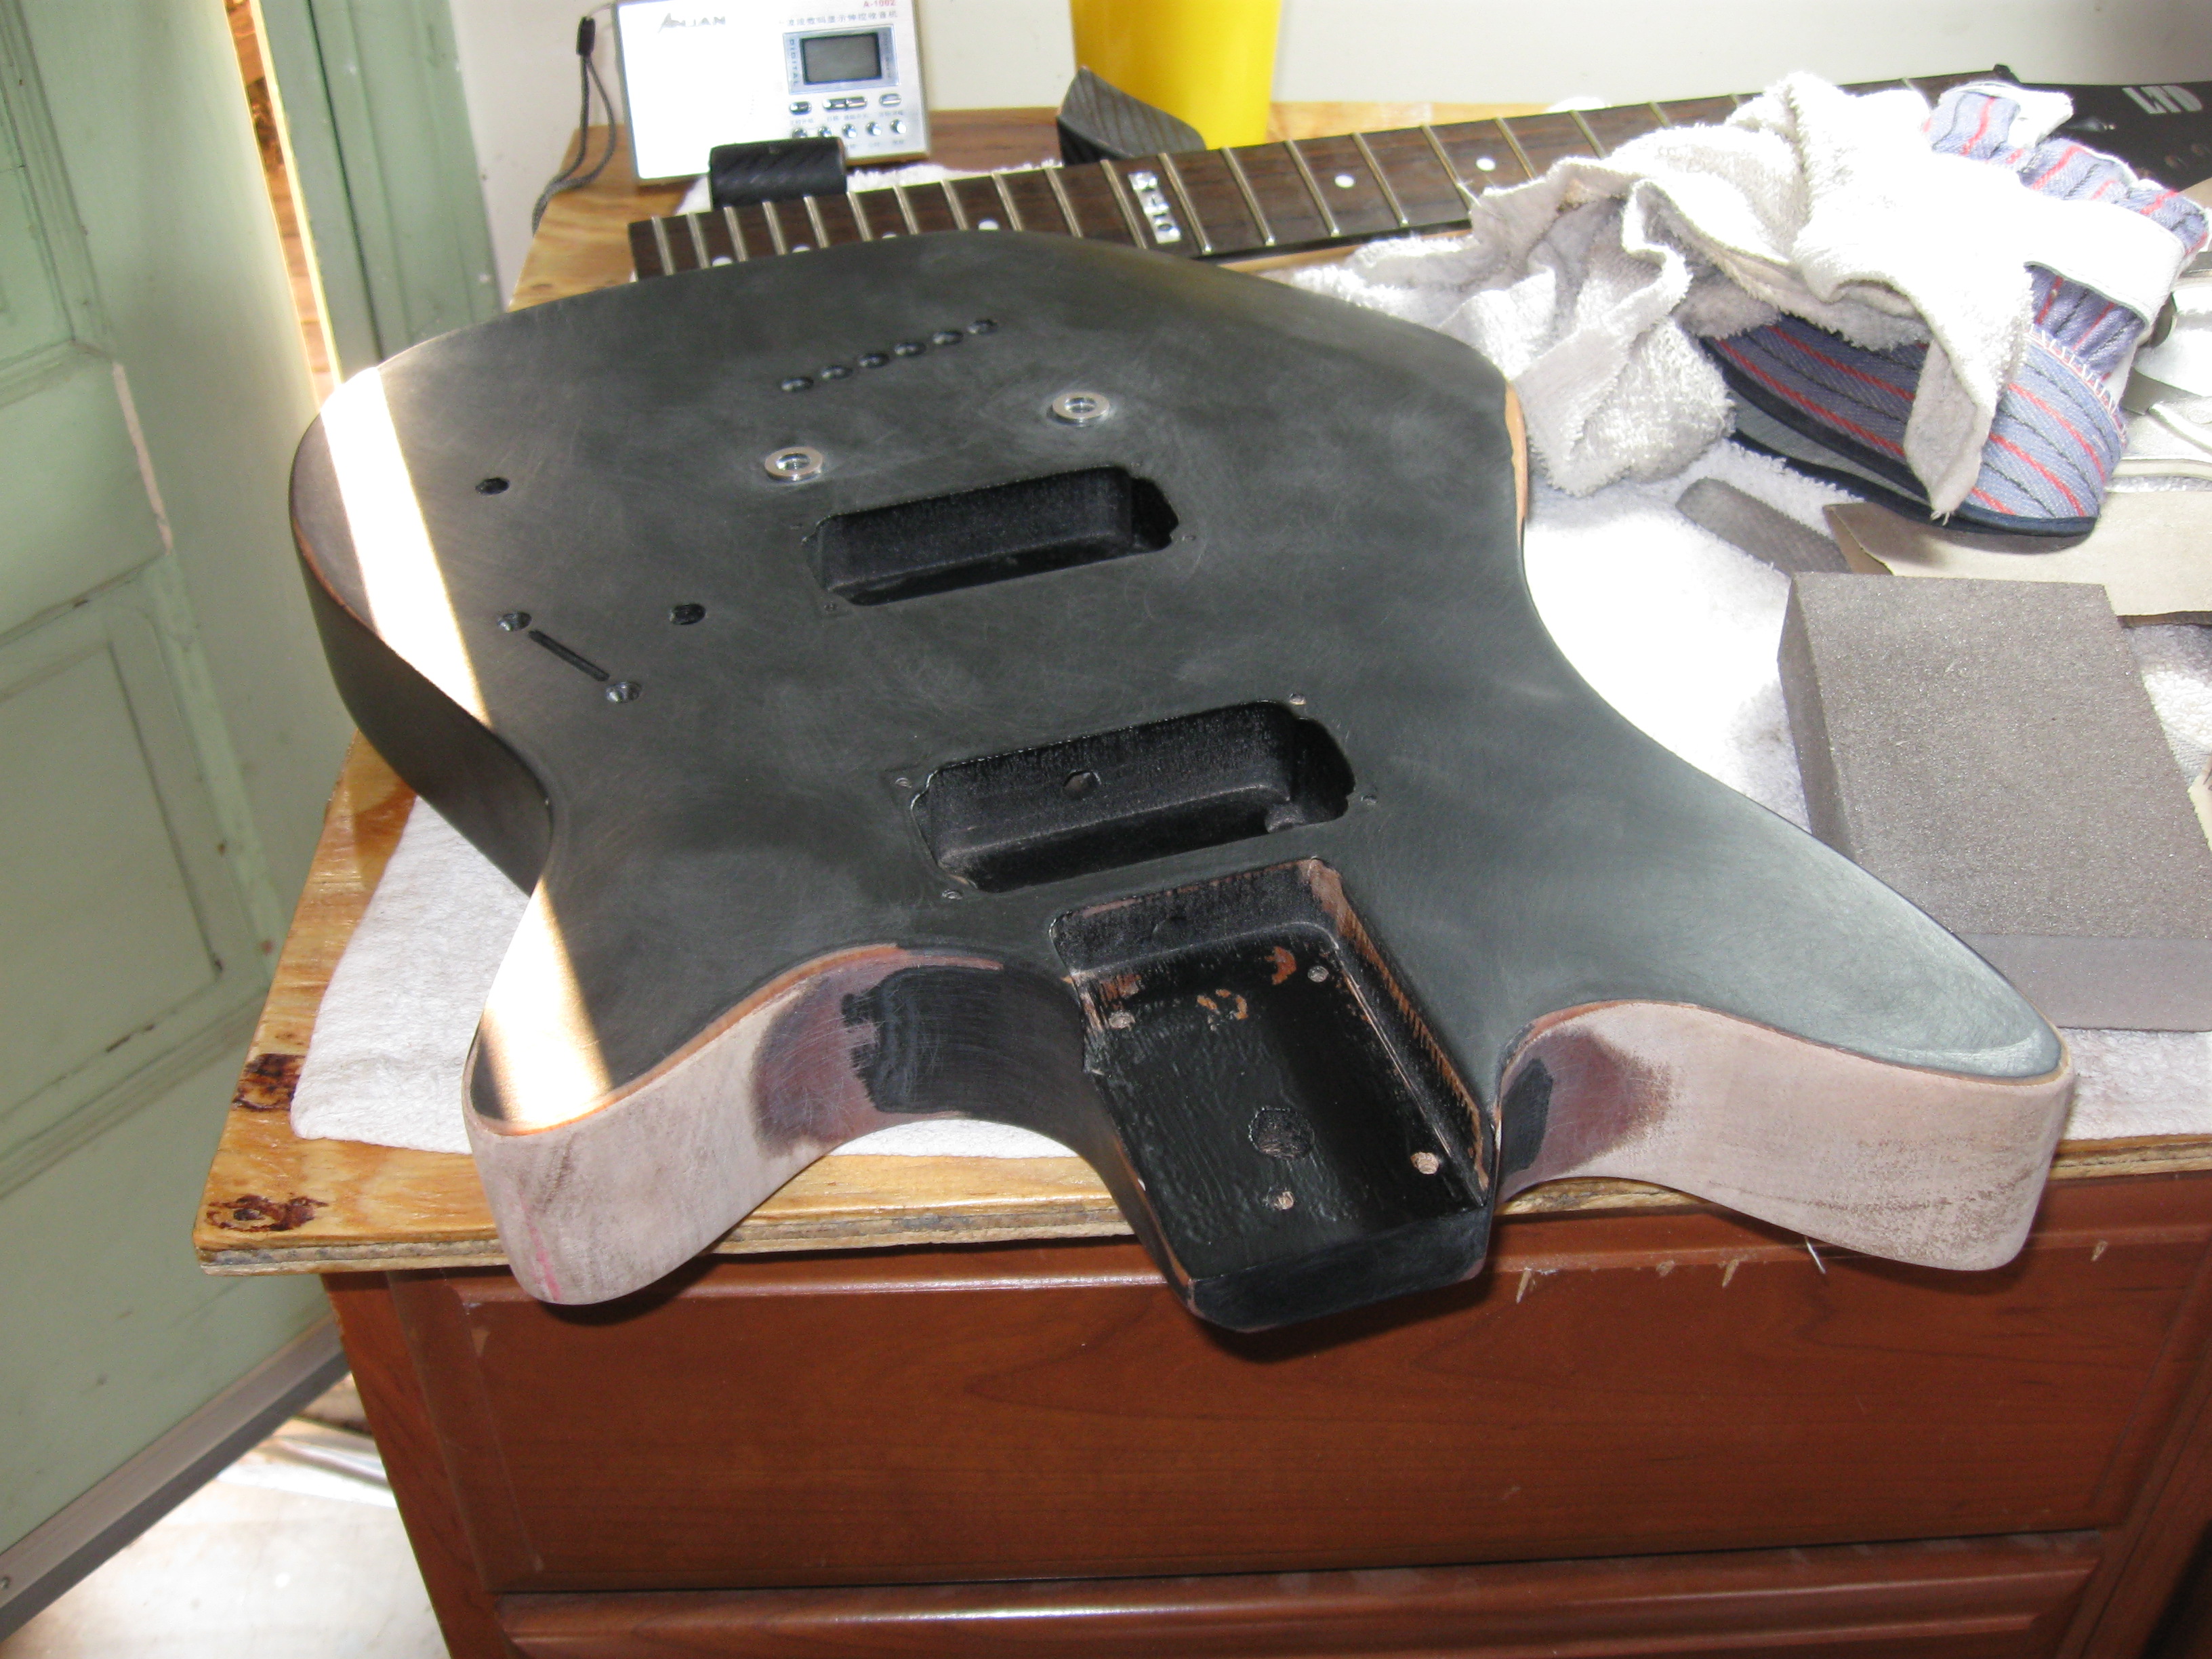
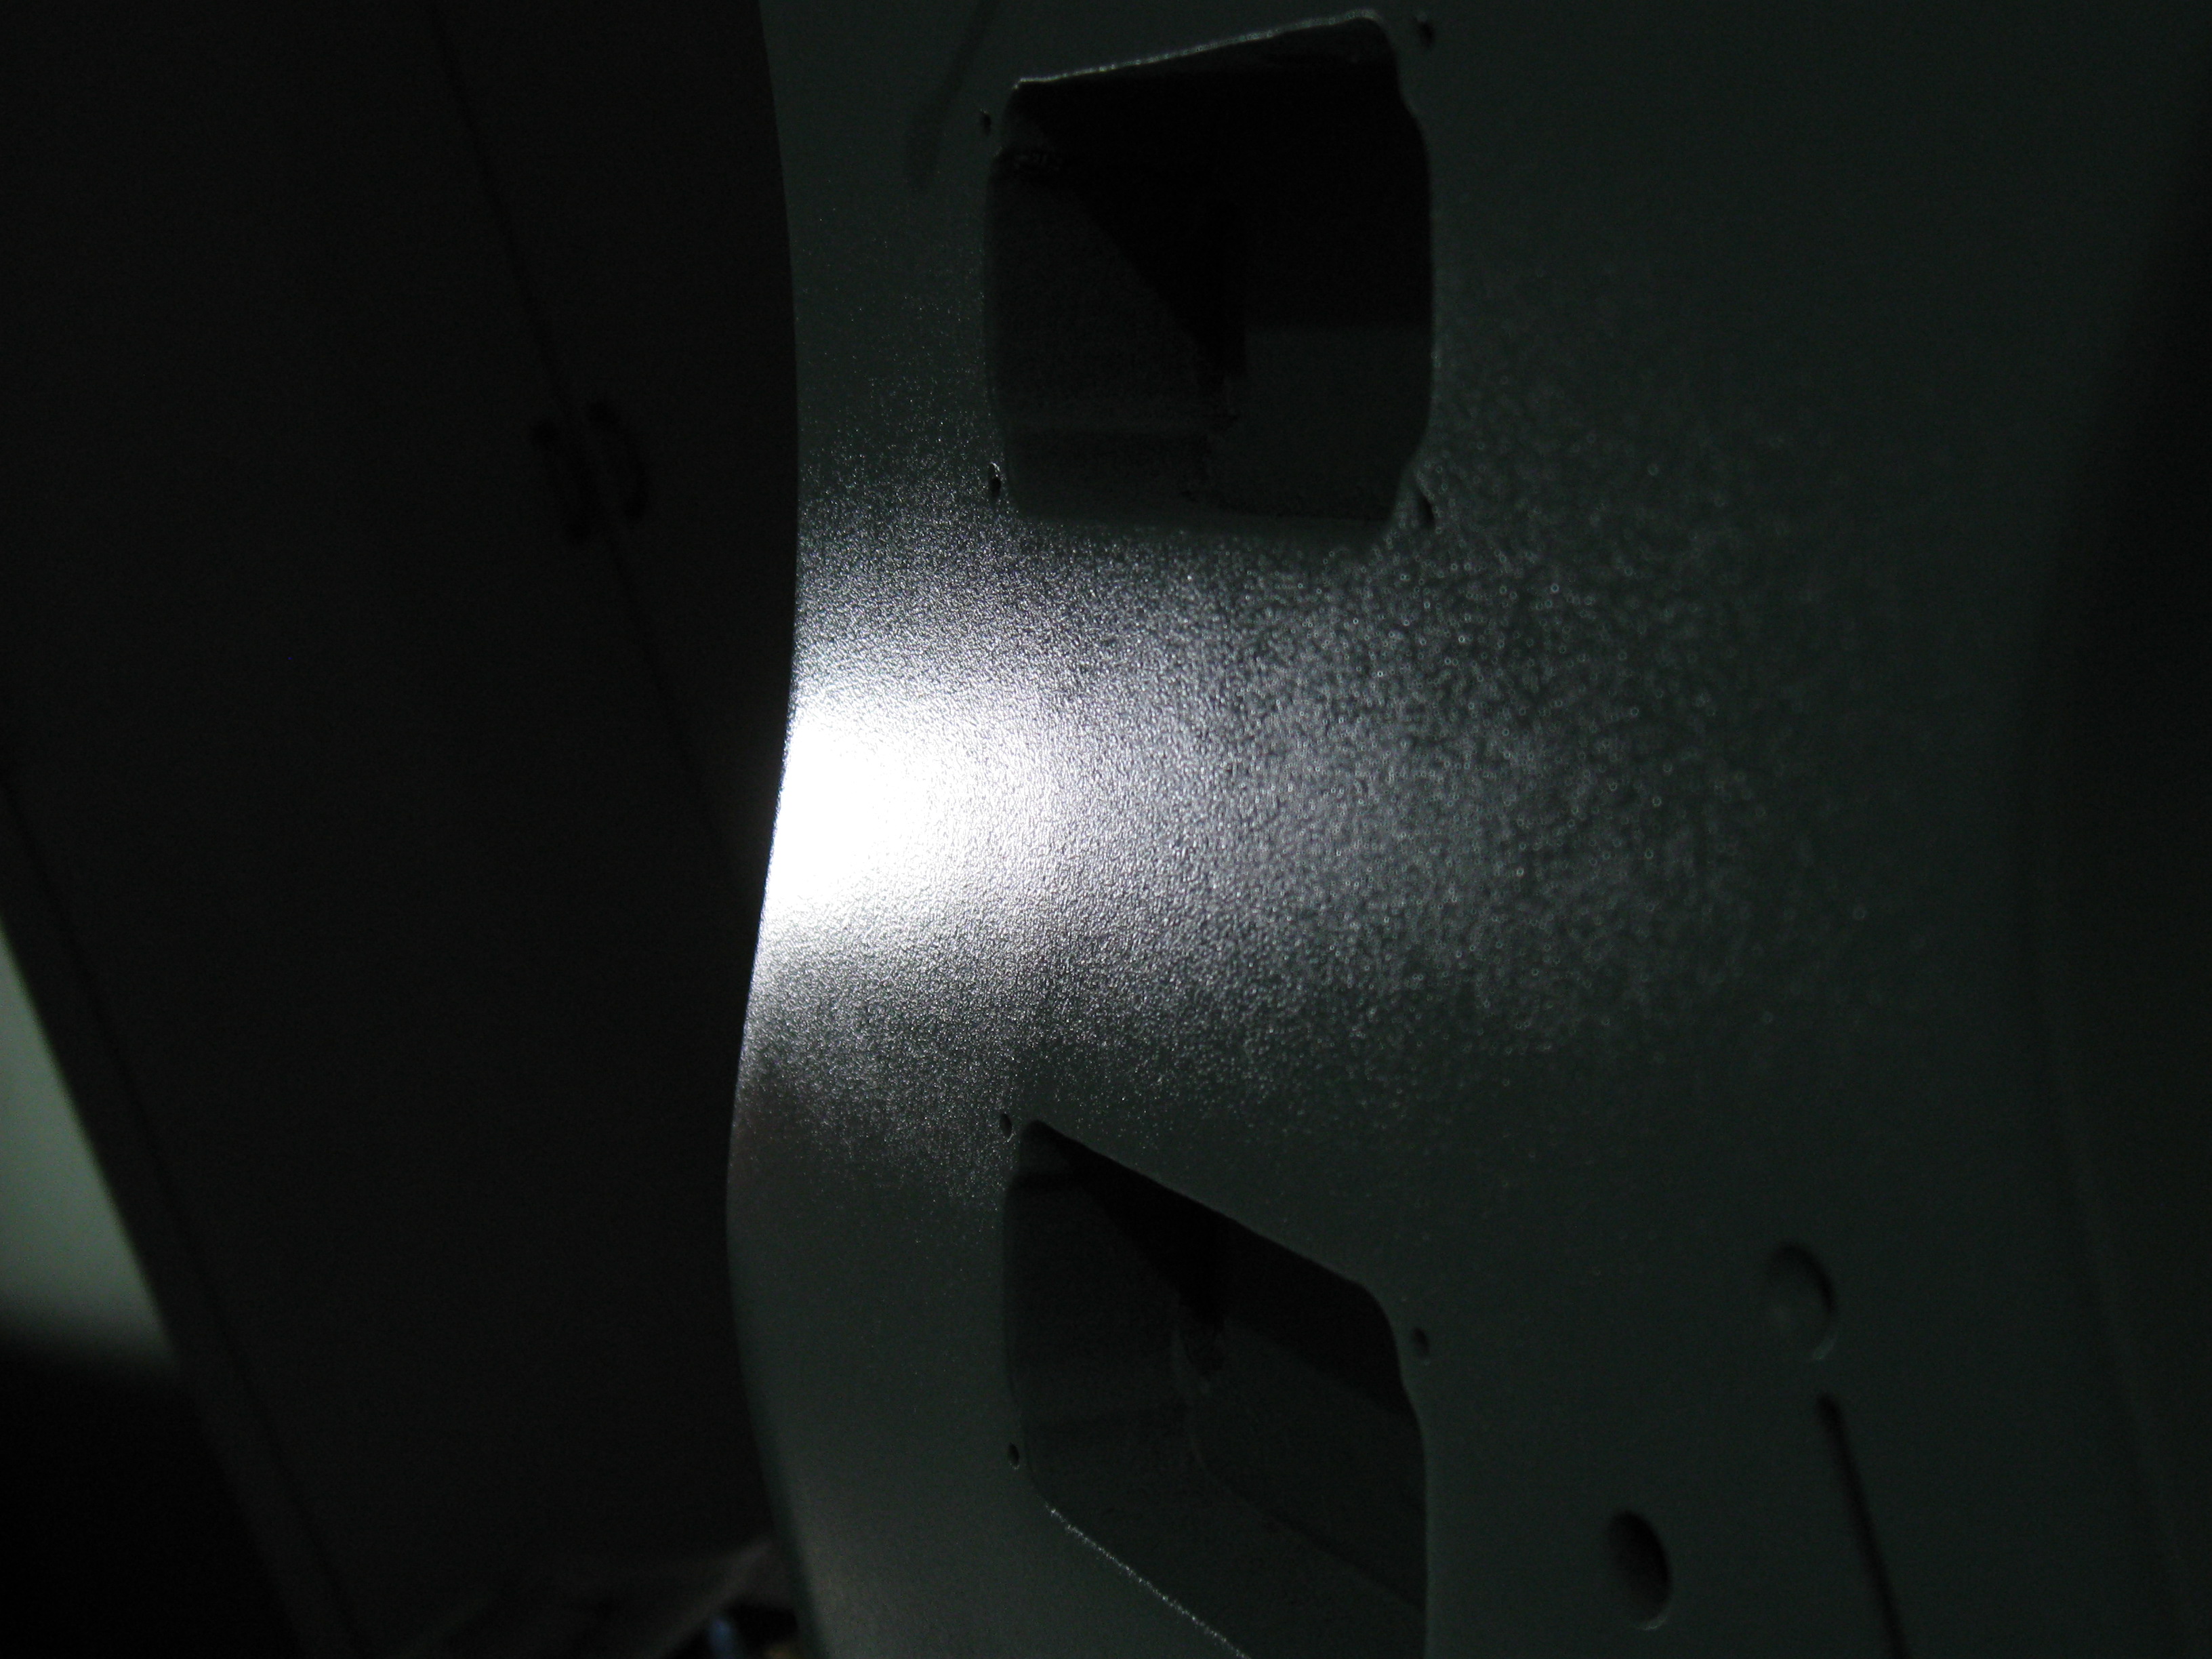
Next I filled the grain that was exposed with wood grain filler and sanded it, then sanding sealer and sanded it with 300 grit sand paper, then sprayed the entire guitar in nitrocellulose primer from Amazon.com and sanded it smooth with 1000 grit.

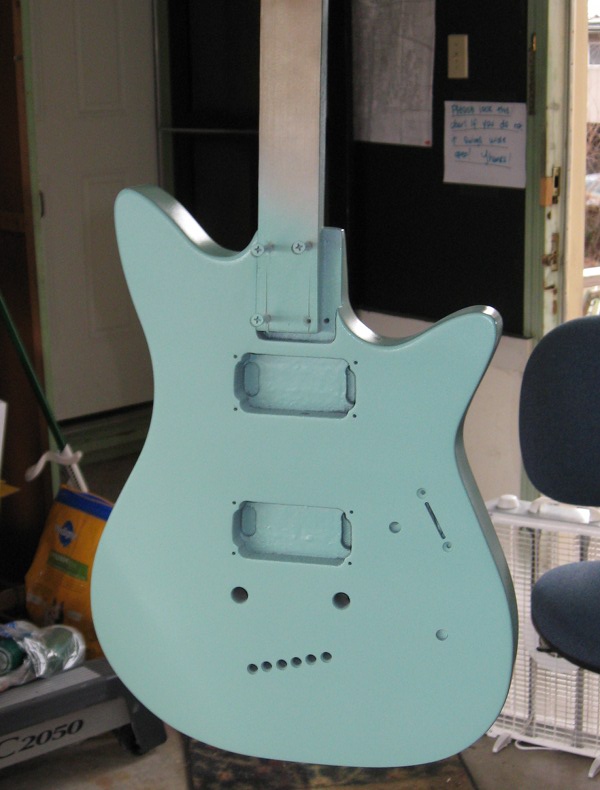
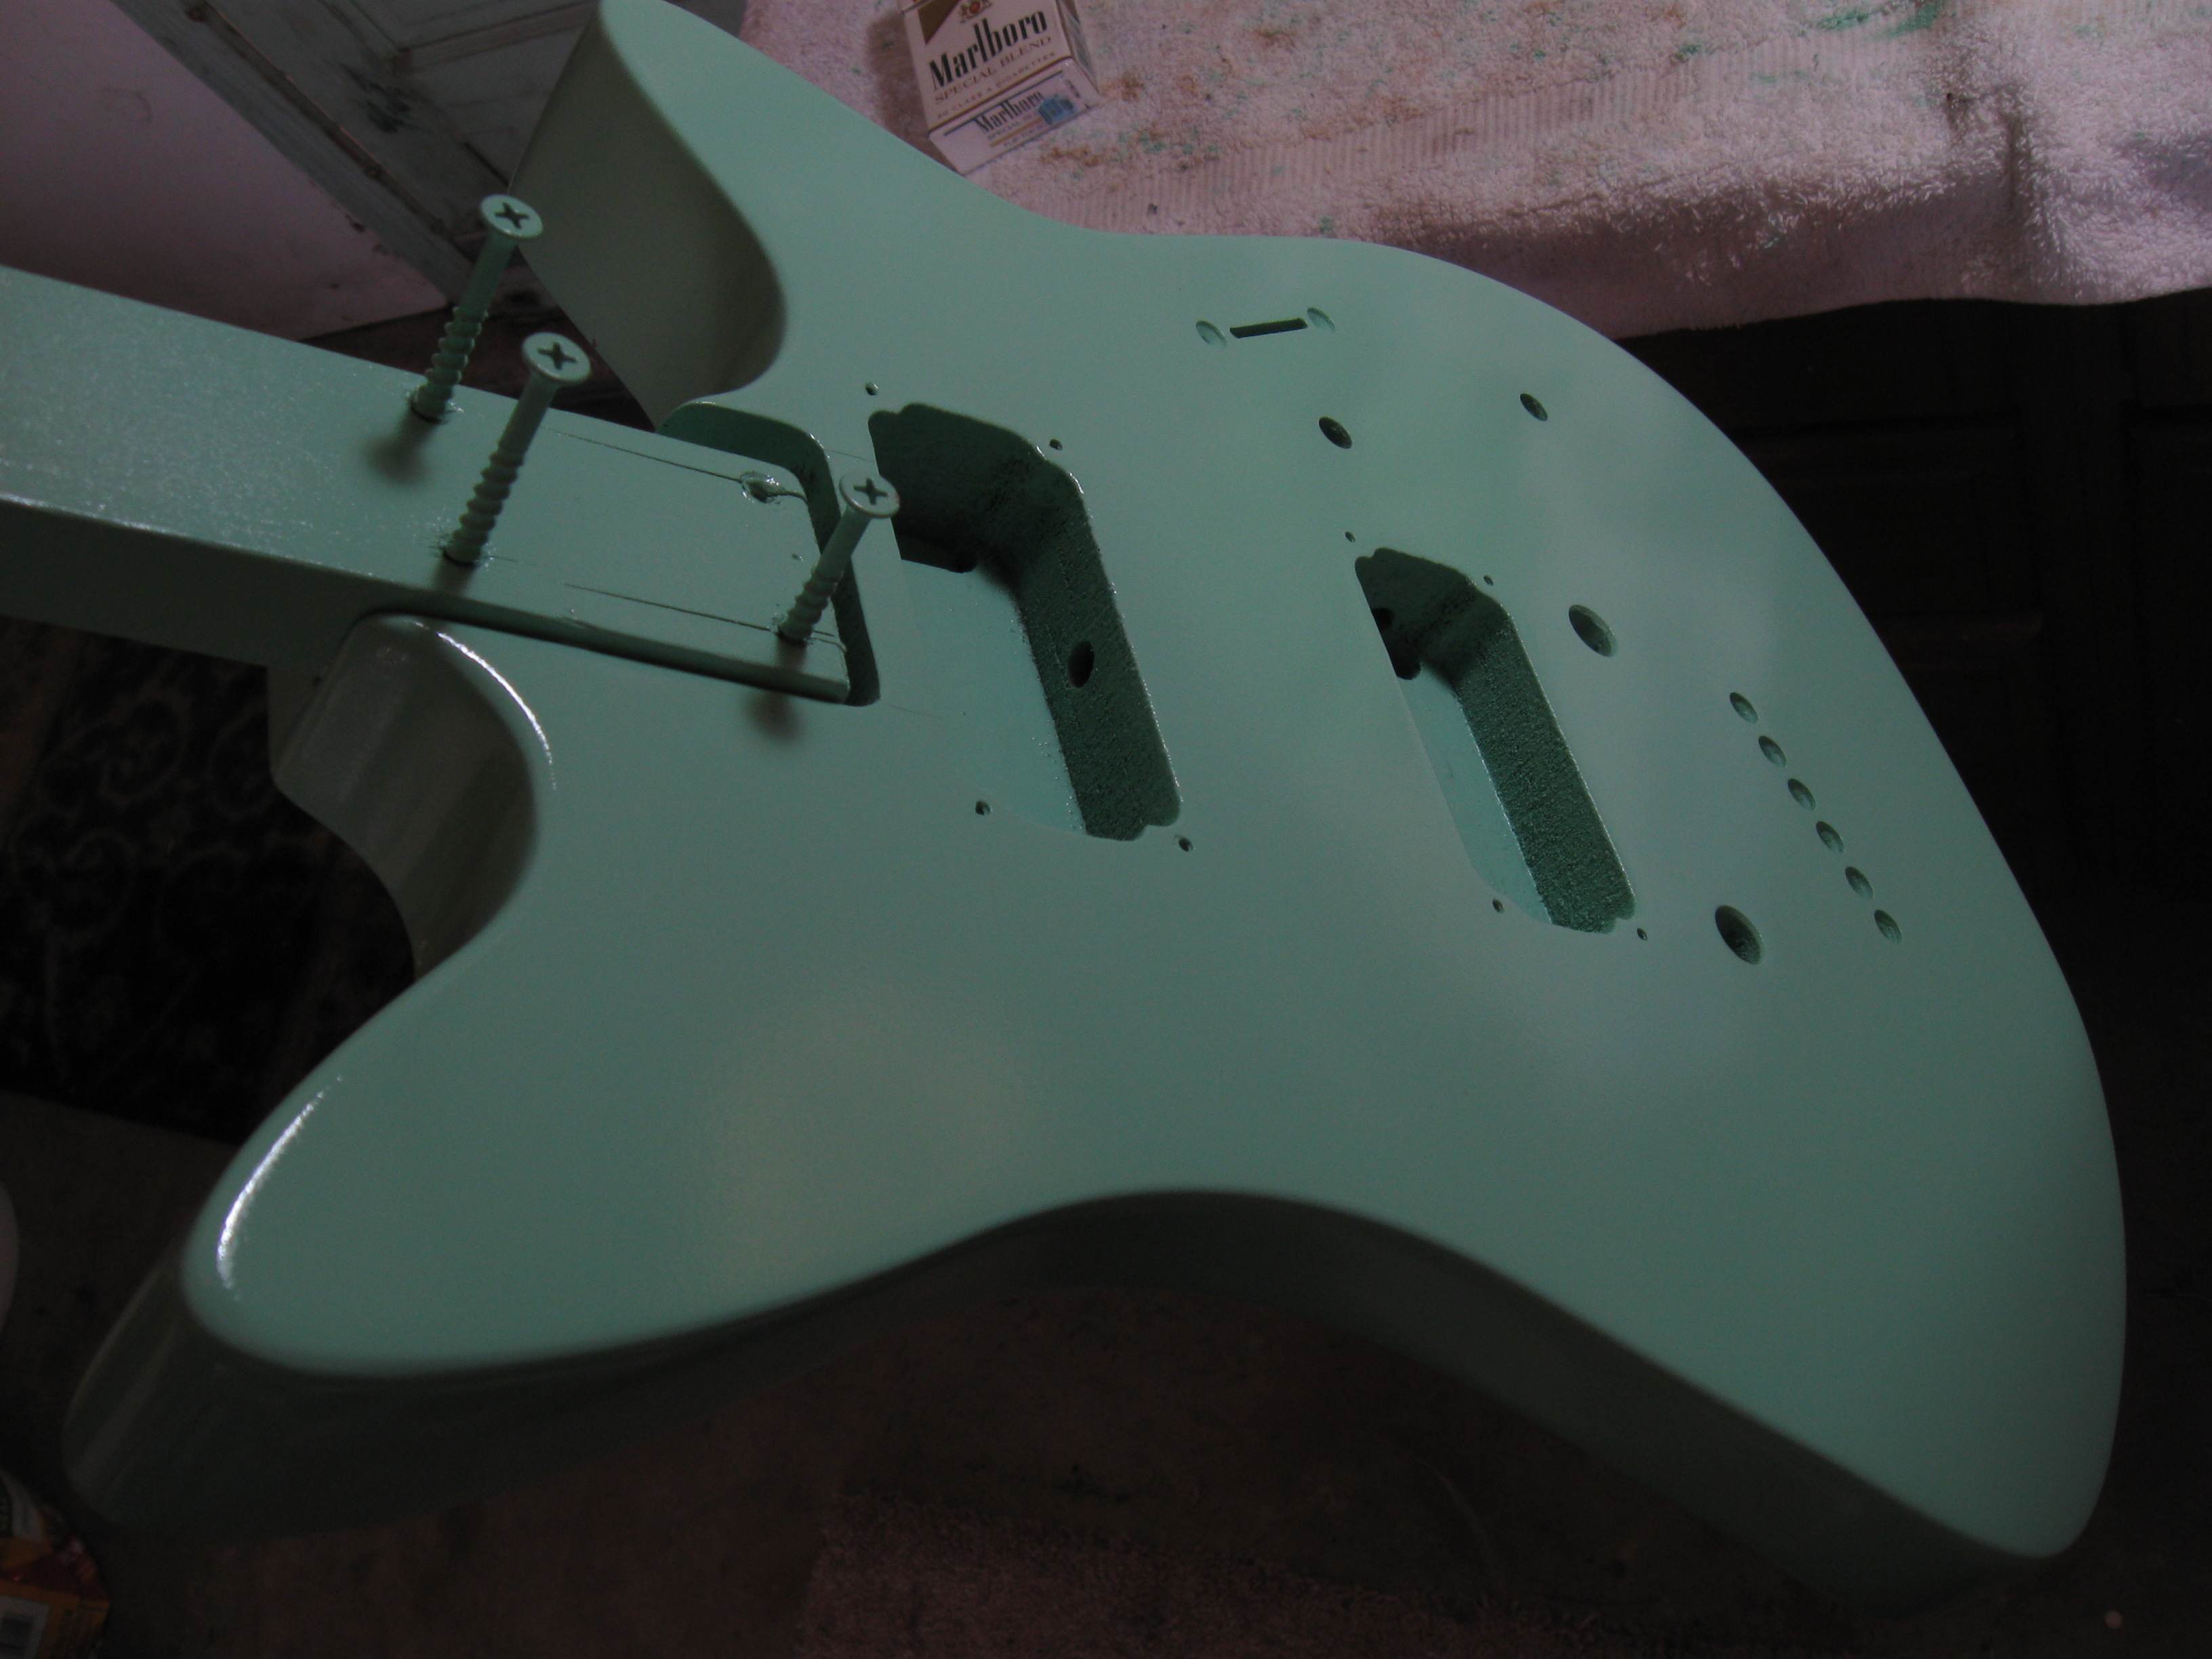
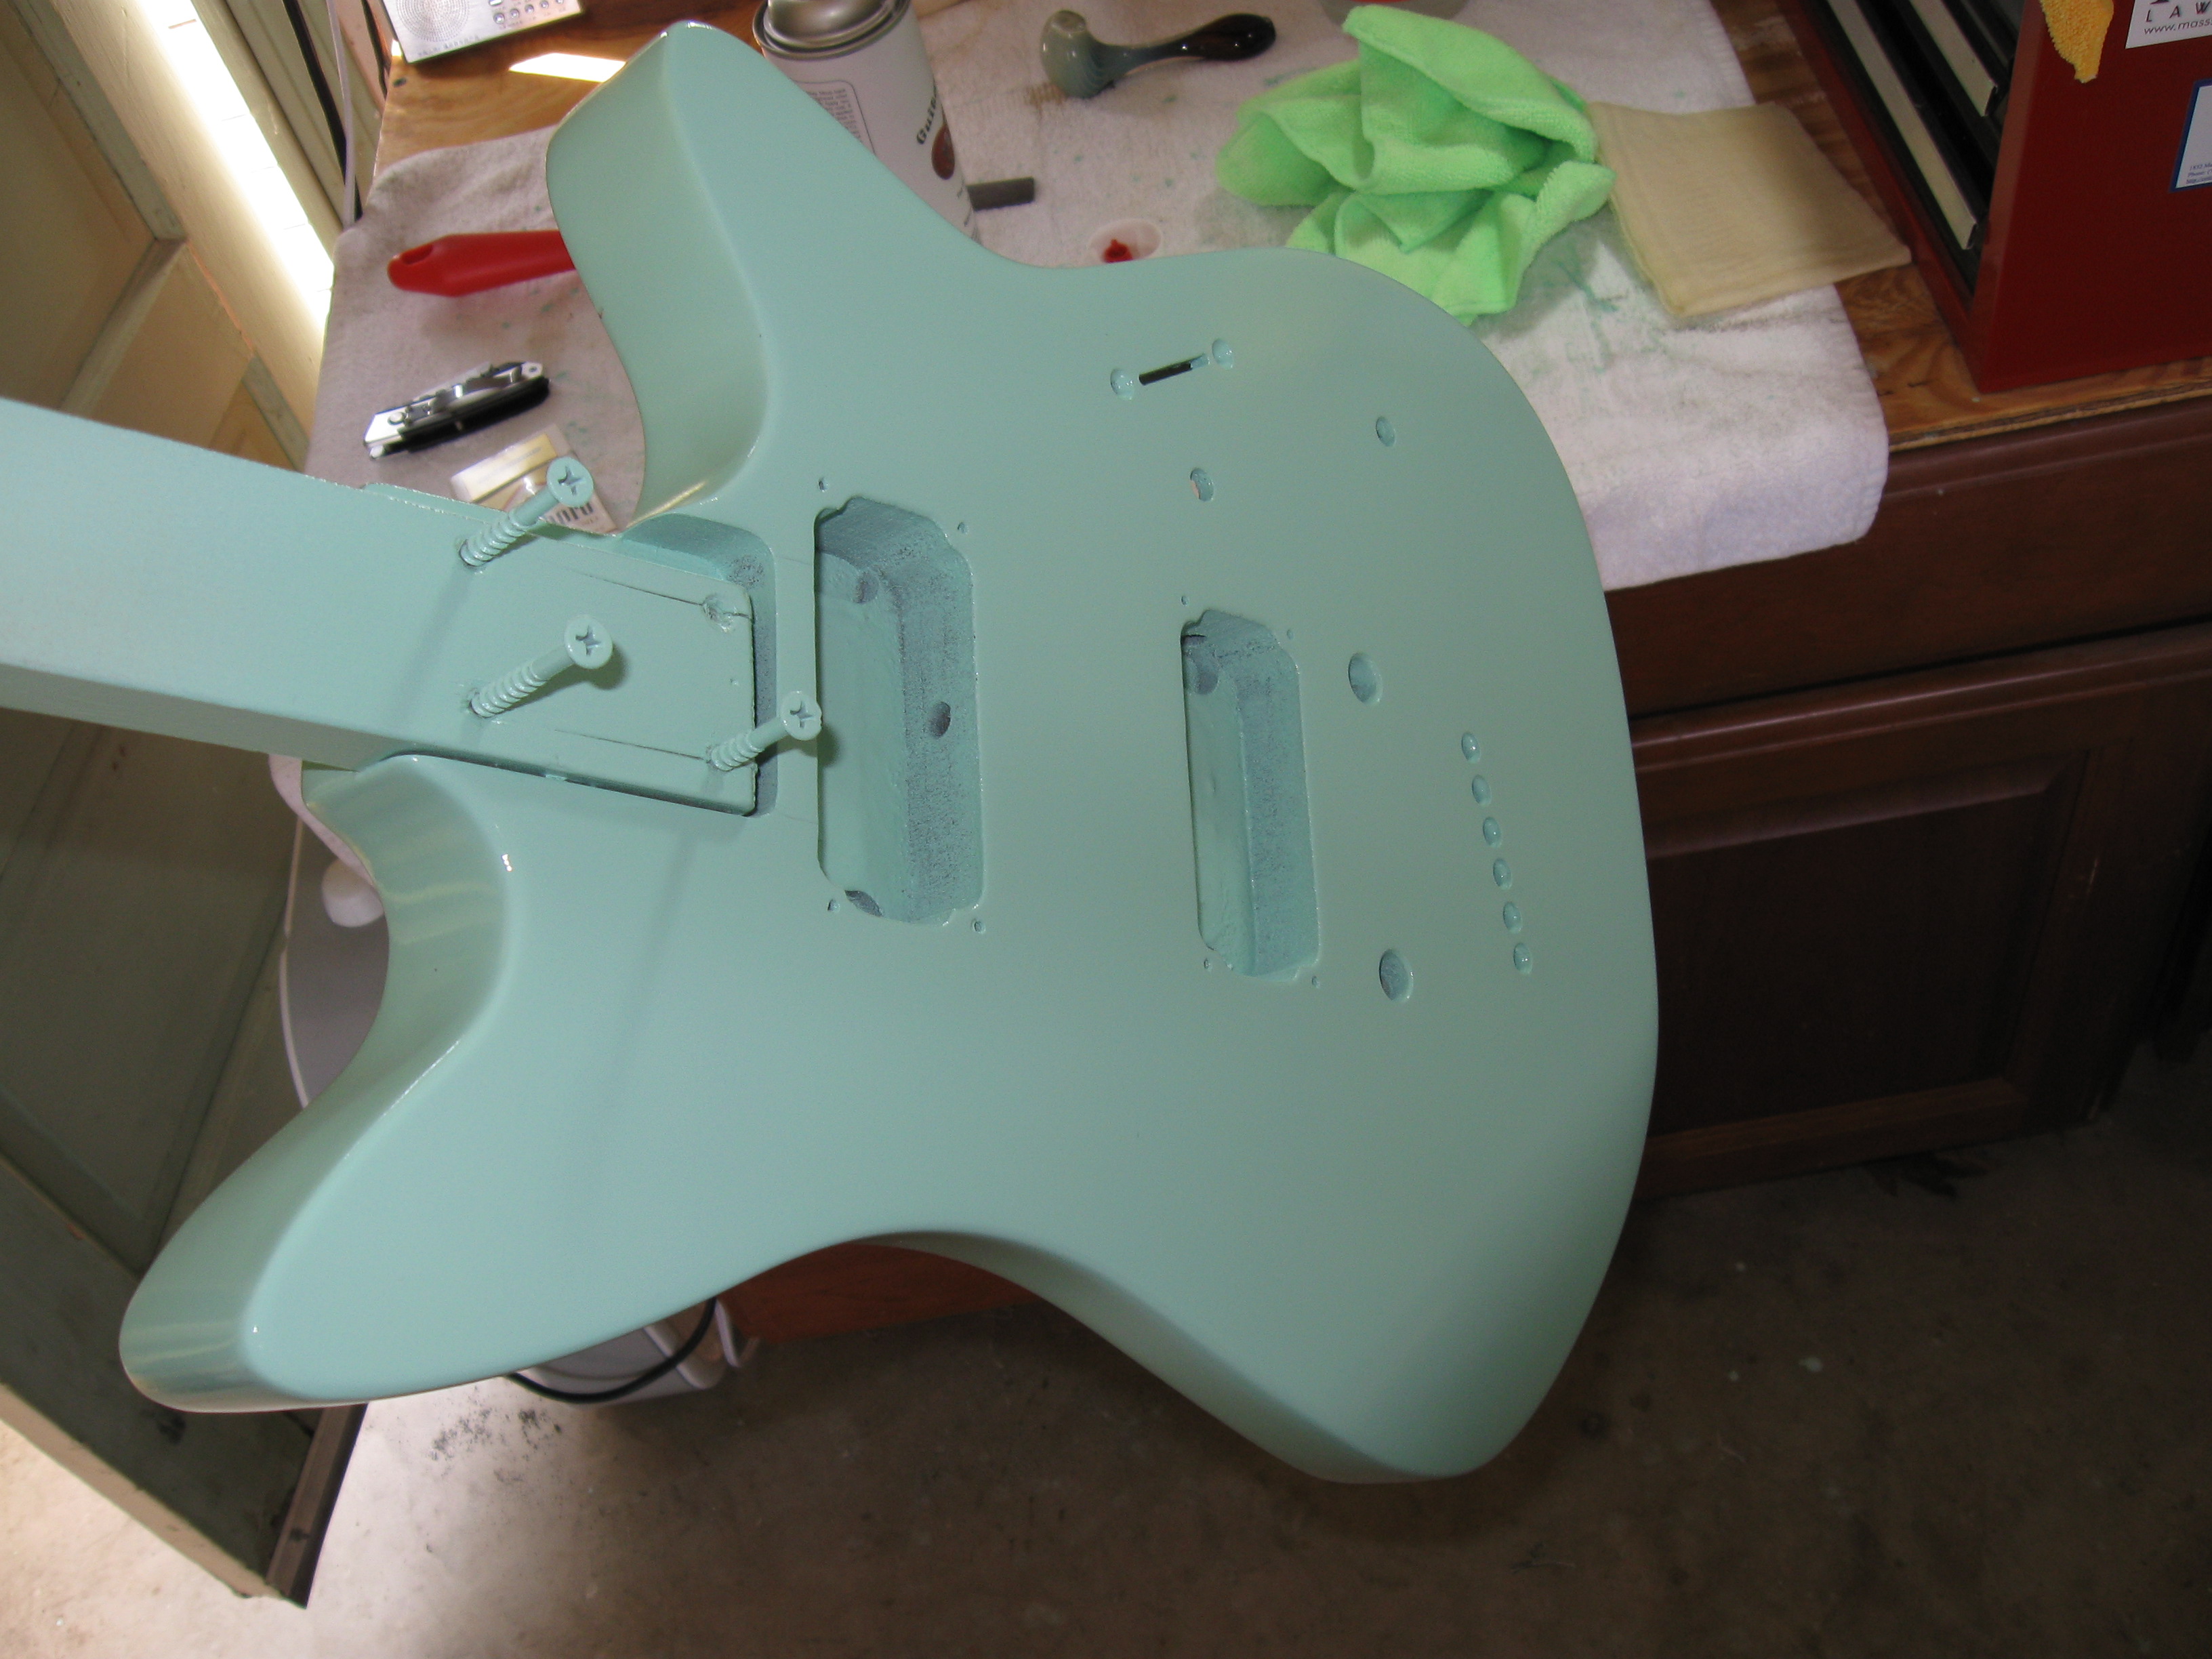
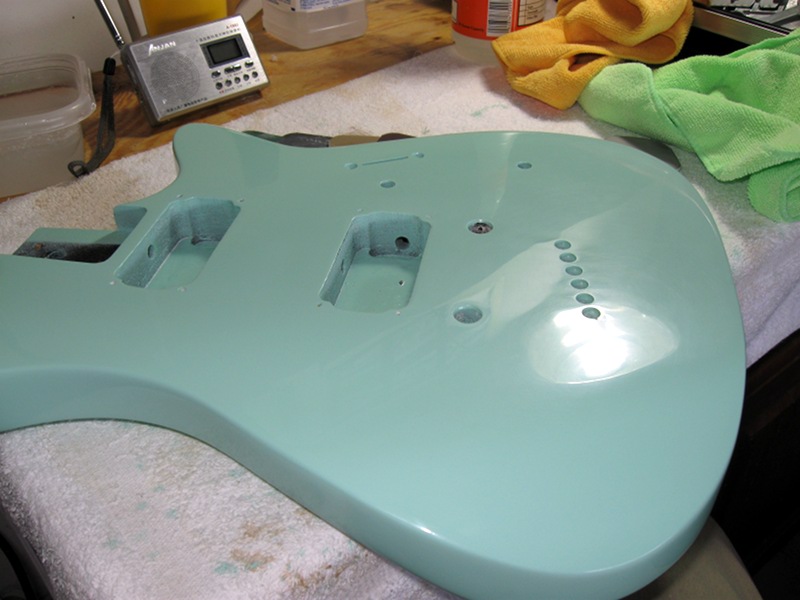
The color paint is nitrocellulose based and was purchased from retrench.com who provided a quality product. It's the Fender Surf Green and is designed specifically for guitars. You must apply it in very thin coats, the first 3 being extremely thin. Do three coats the first day, three the next, and three more a third time for a total of nine coats. Then wait a month for it to harden before even touching it. Yes, I said a month. Give it a light sanding with a high-grade sandpaper and water. I tried so hard not to sand through the color and into the primer, but it still happened in a few spots, especially the corners.
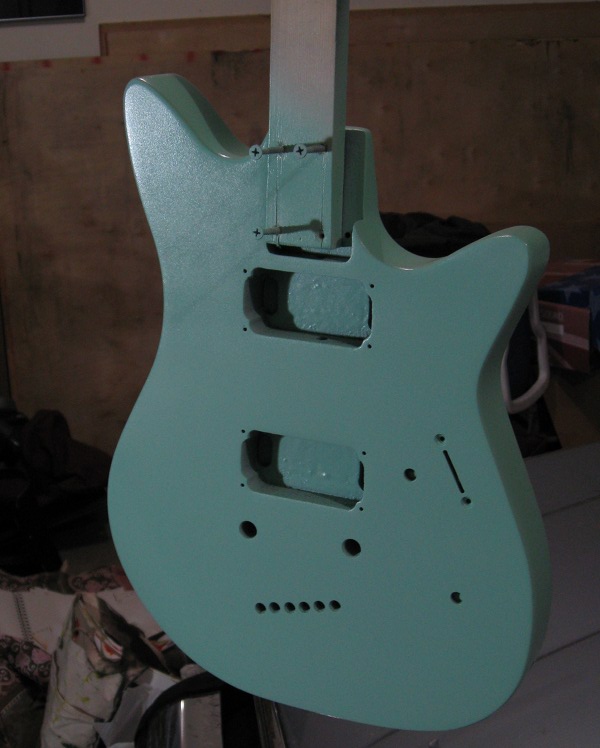
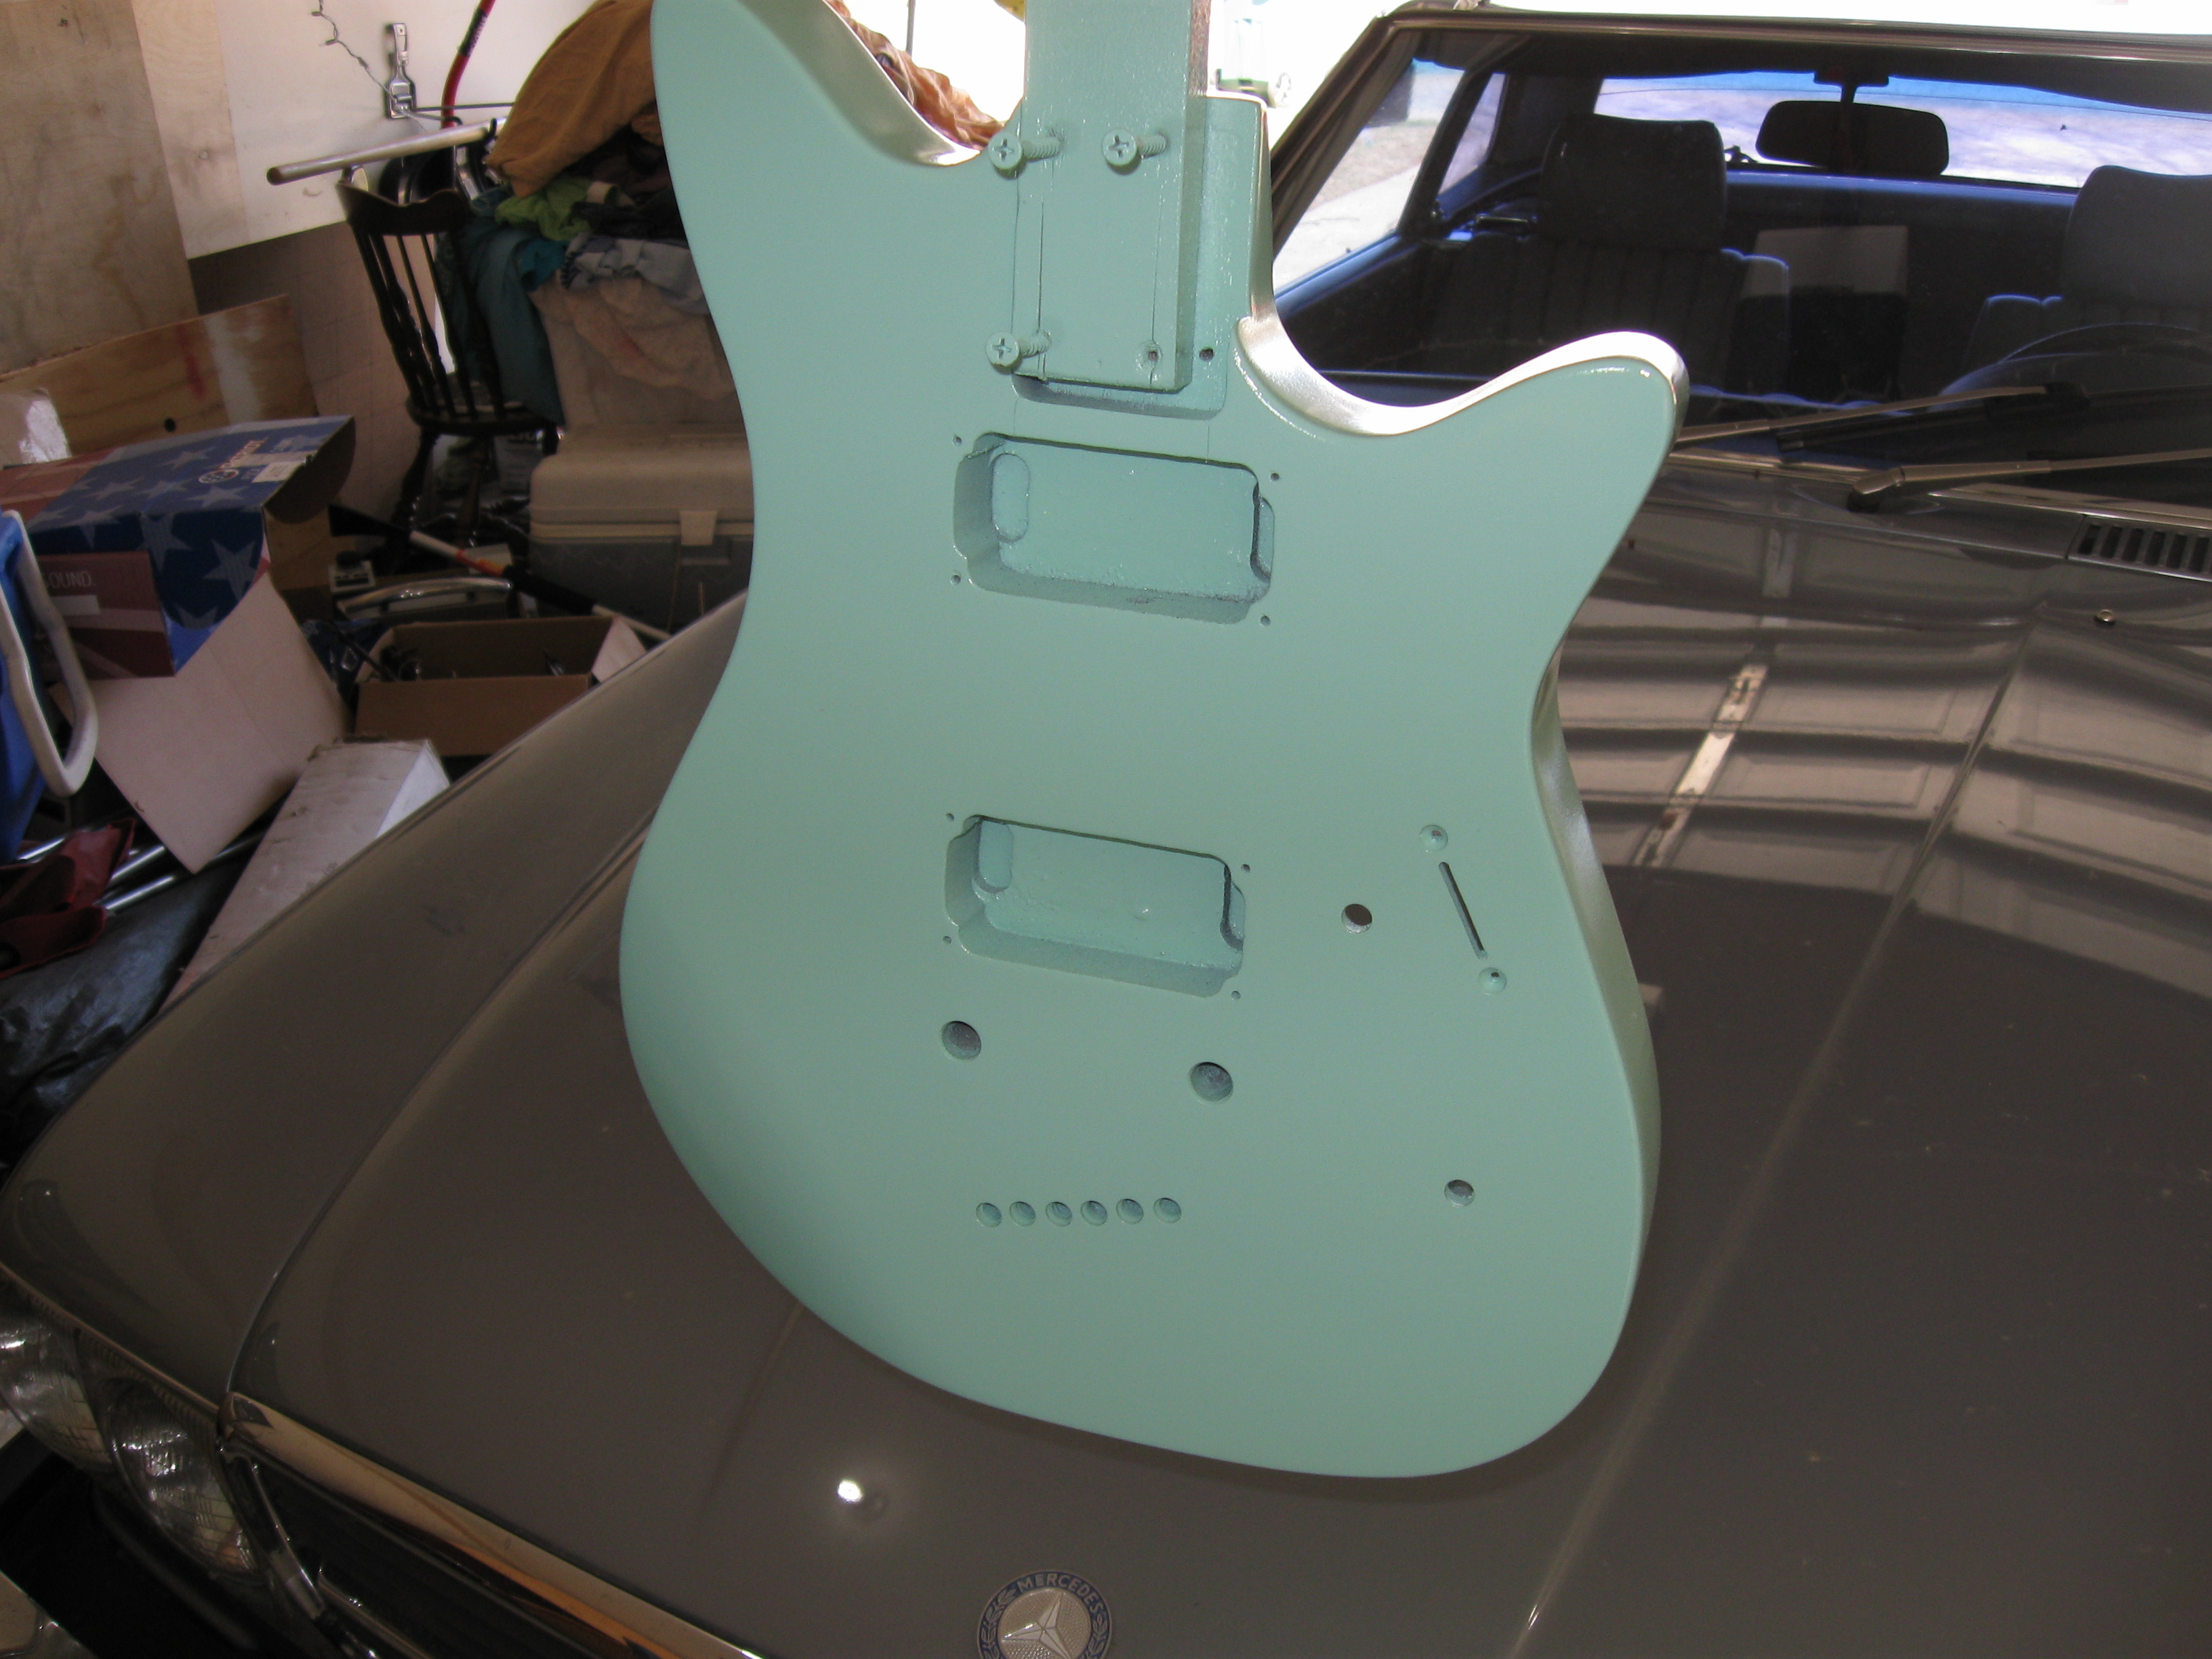
Now I was finally ready for the clear coat. Same process as the color: three coats the first day, three the next, and three more a third time for a total of nine coats. Then wait a month.
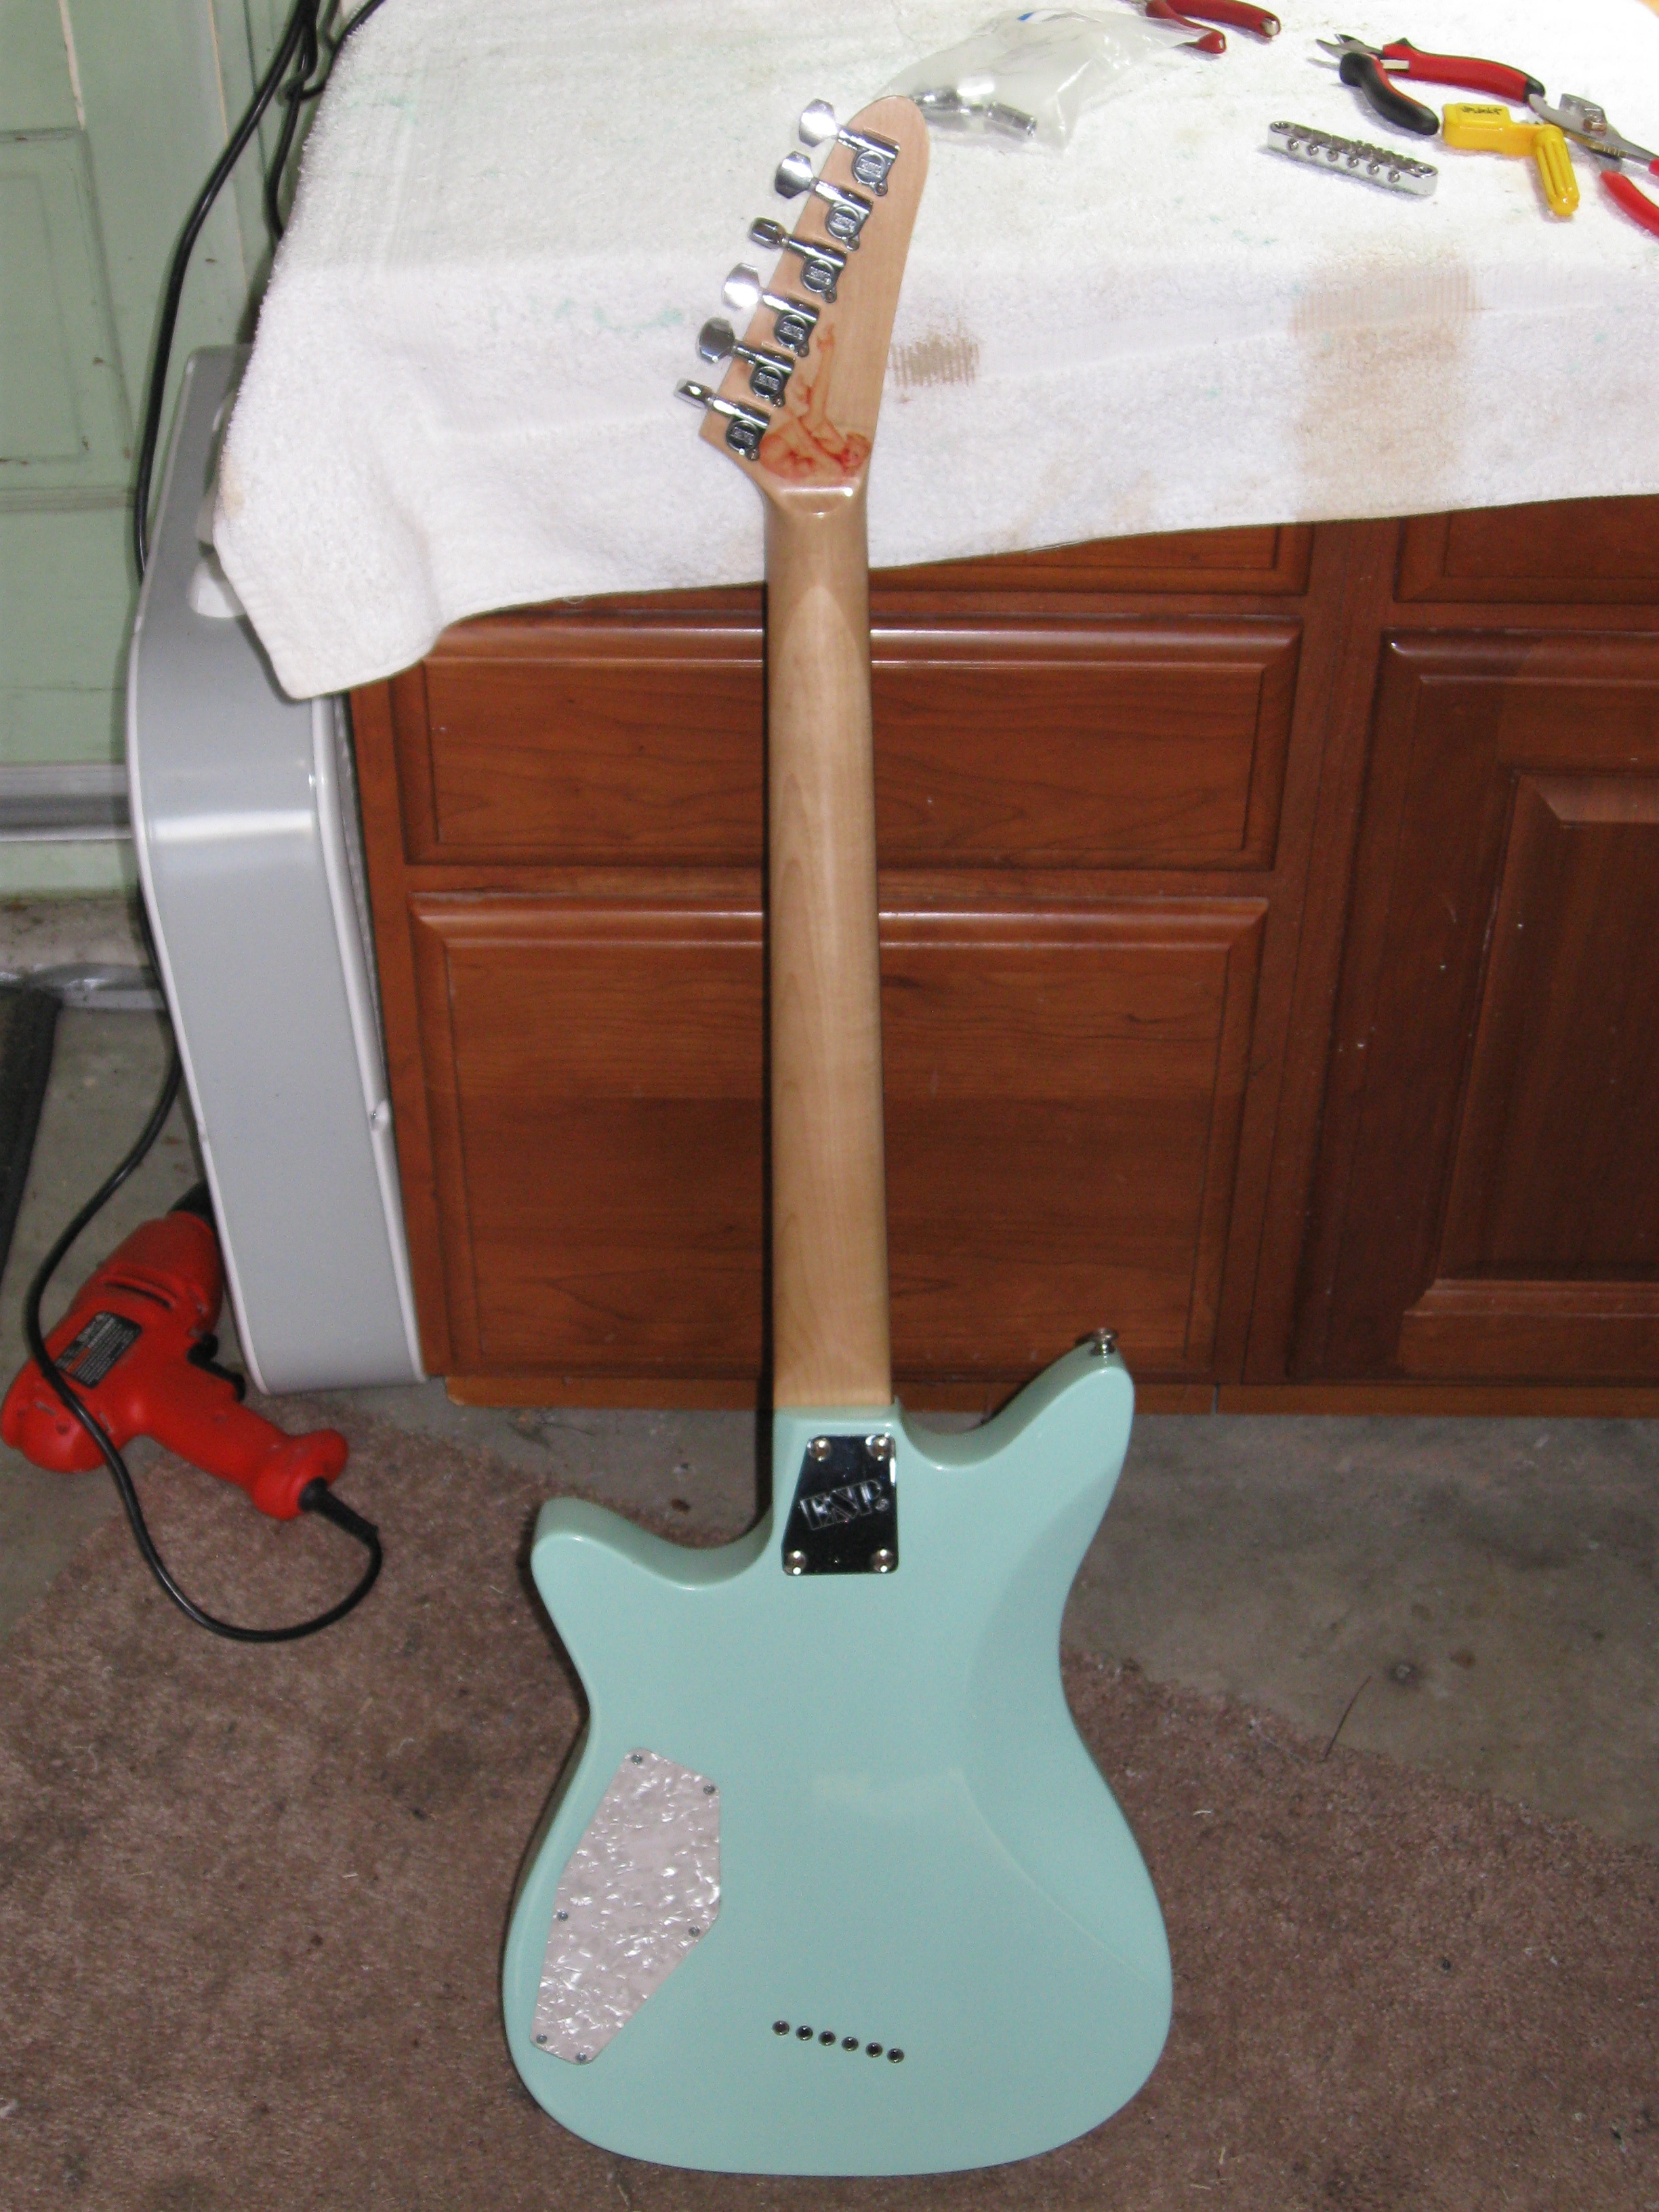
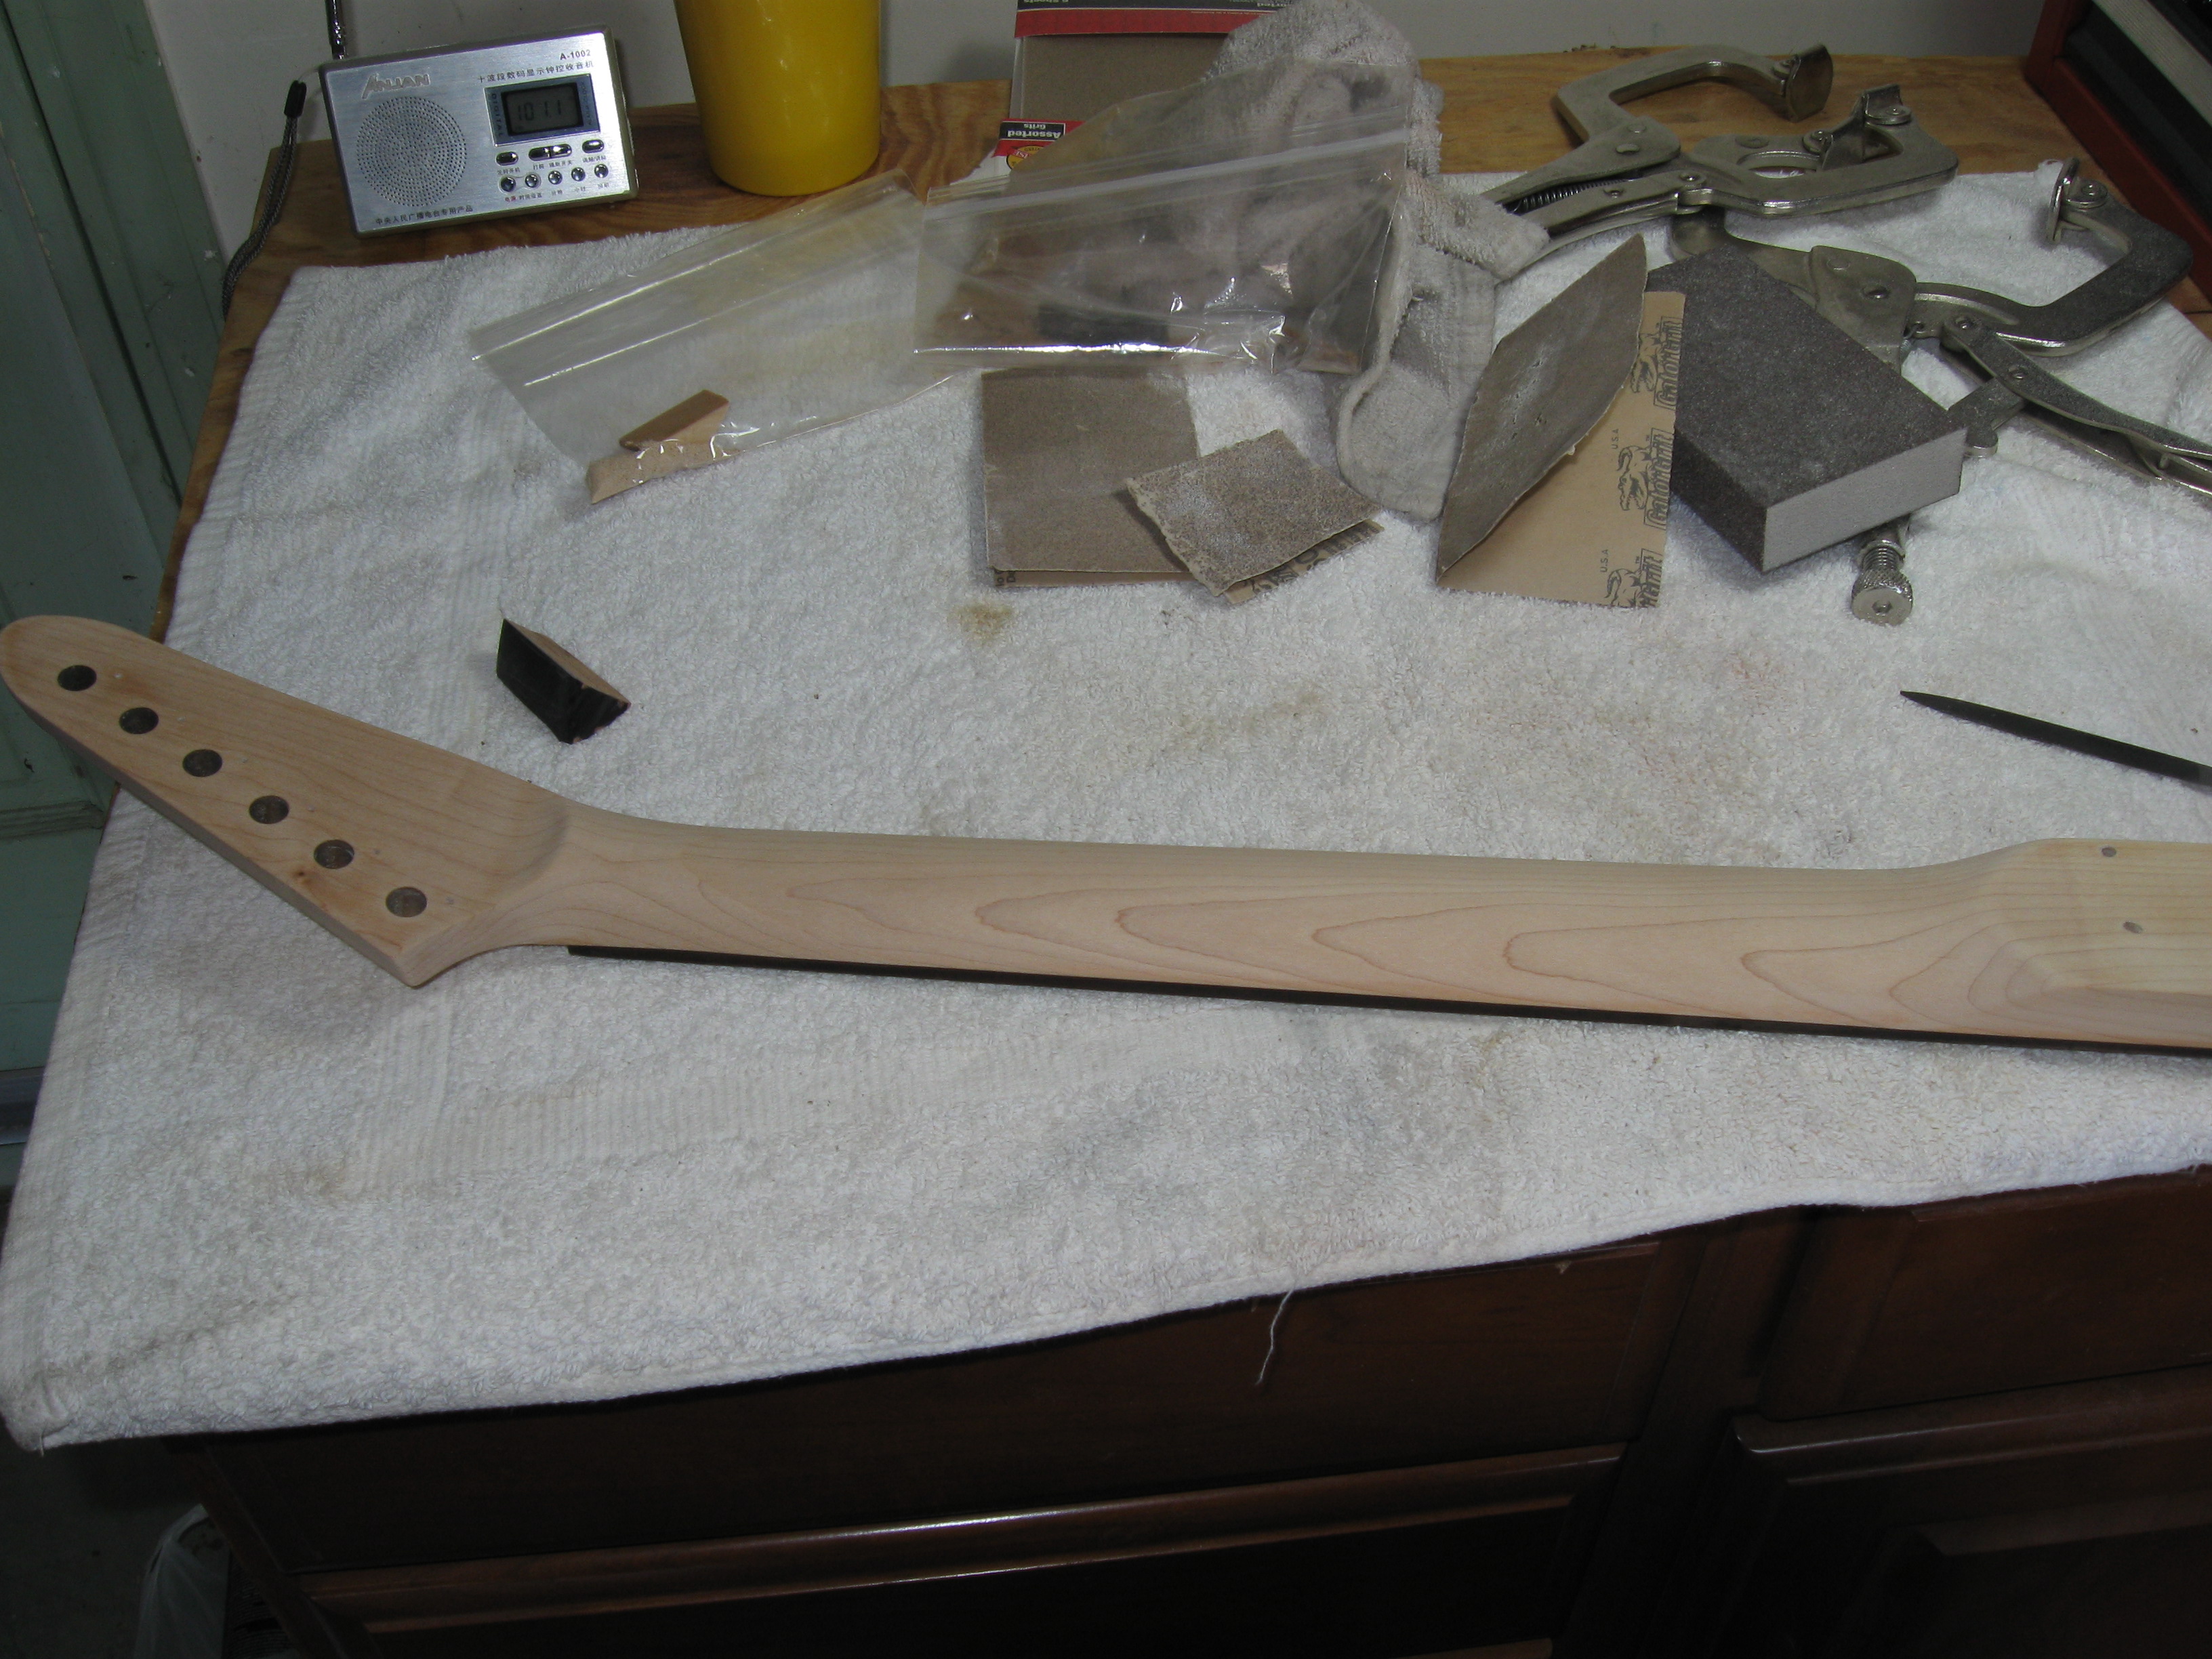
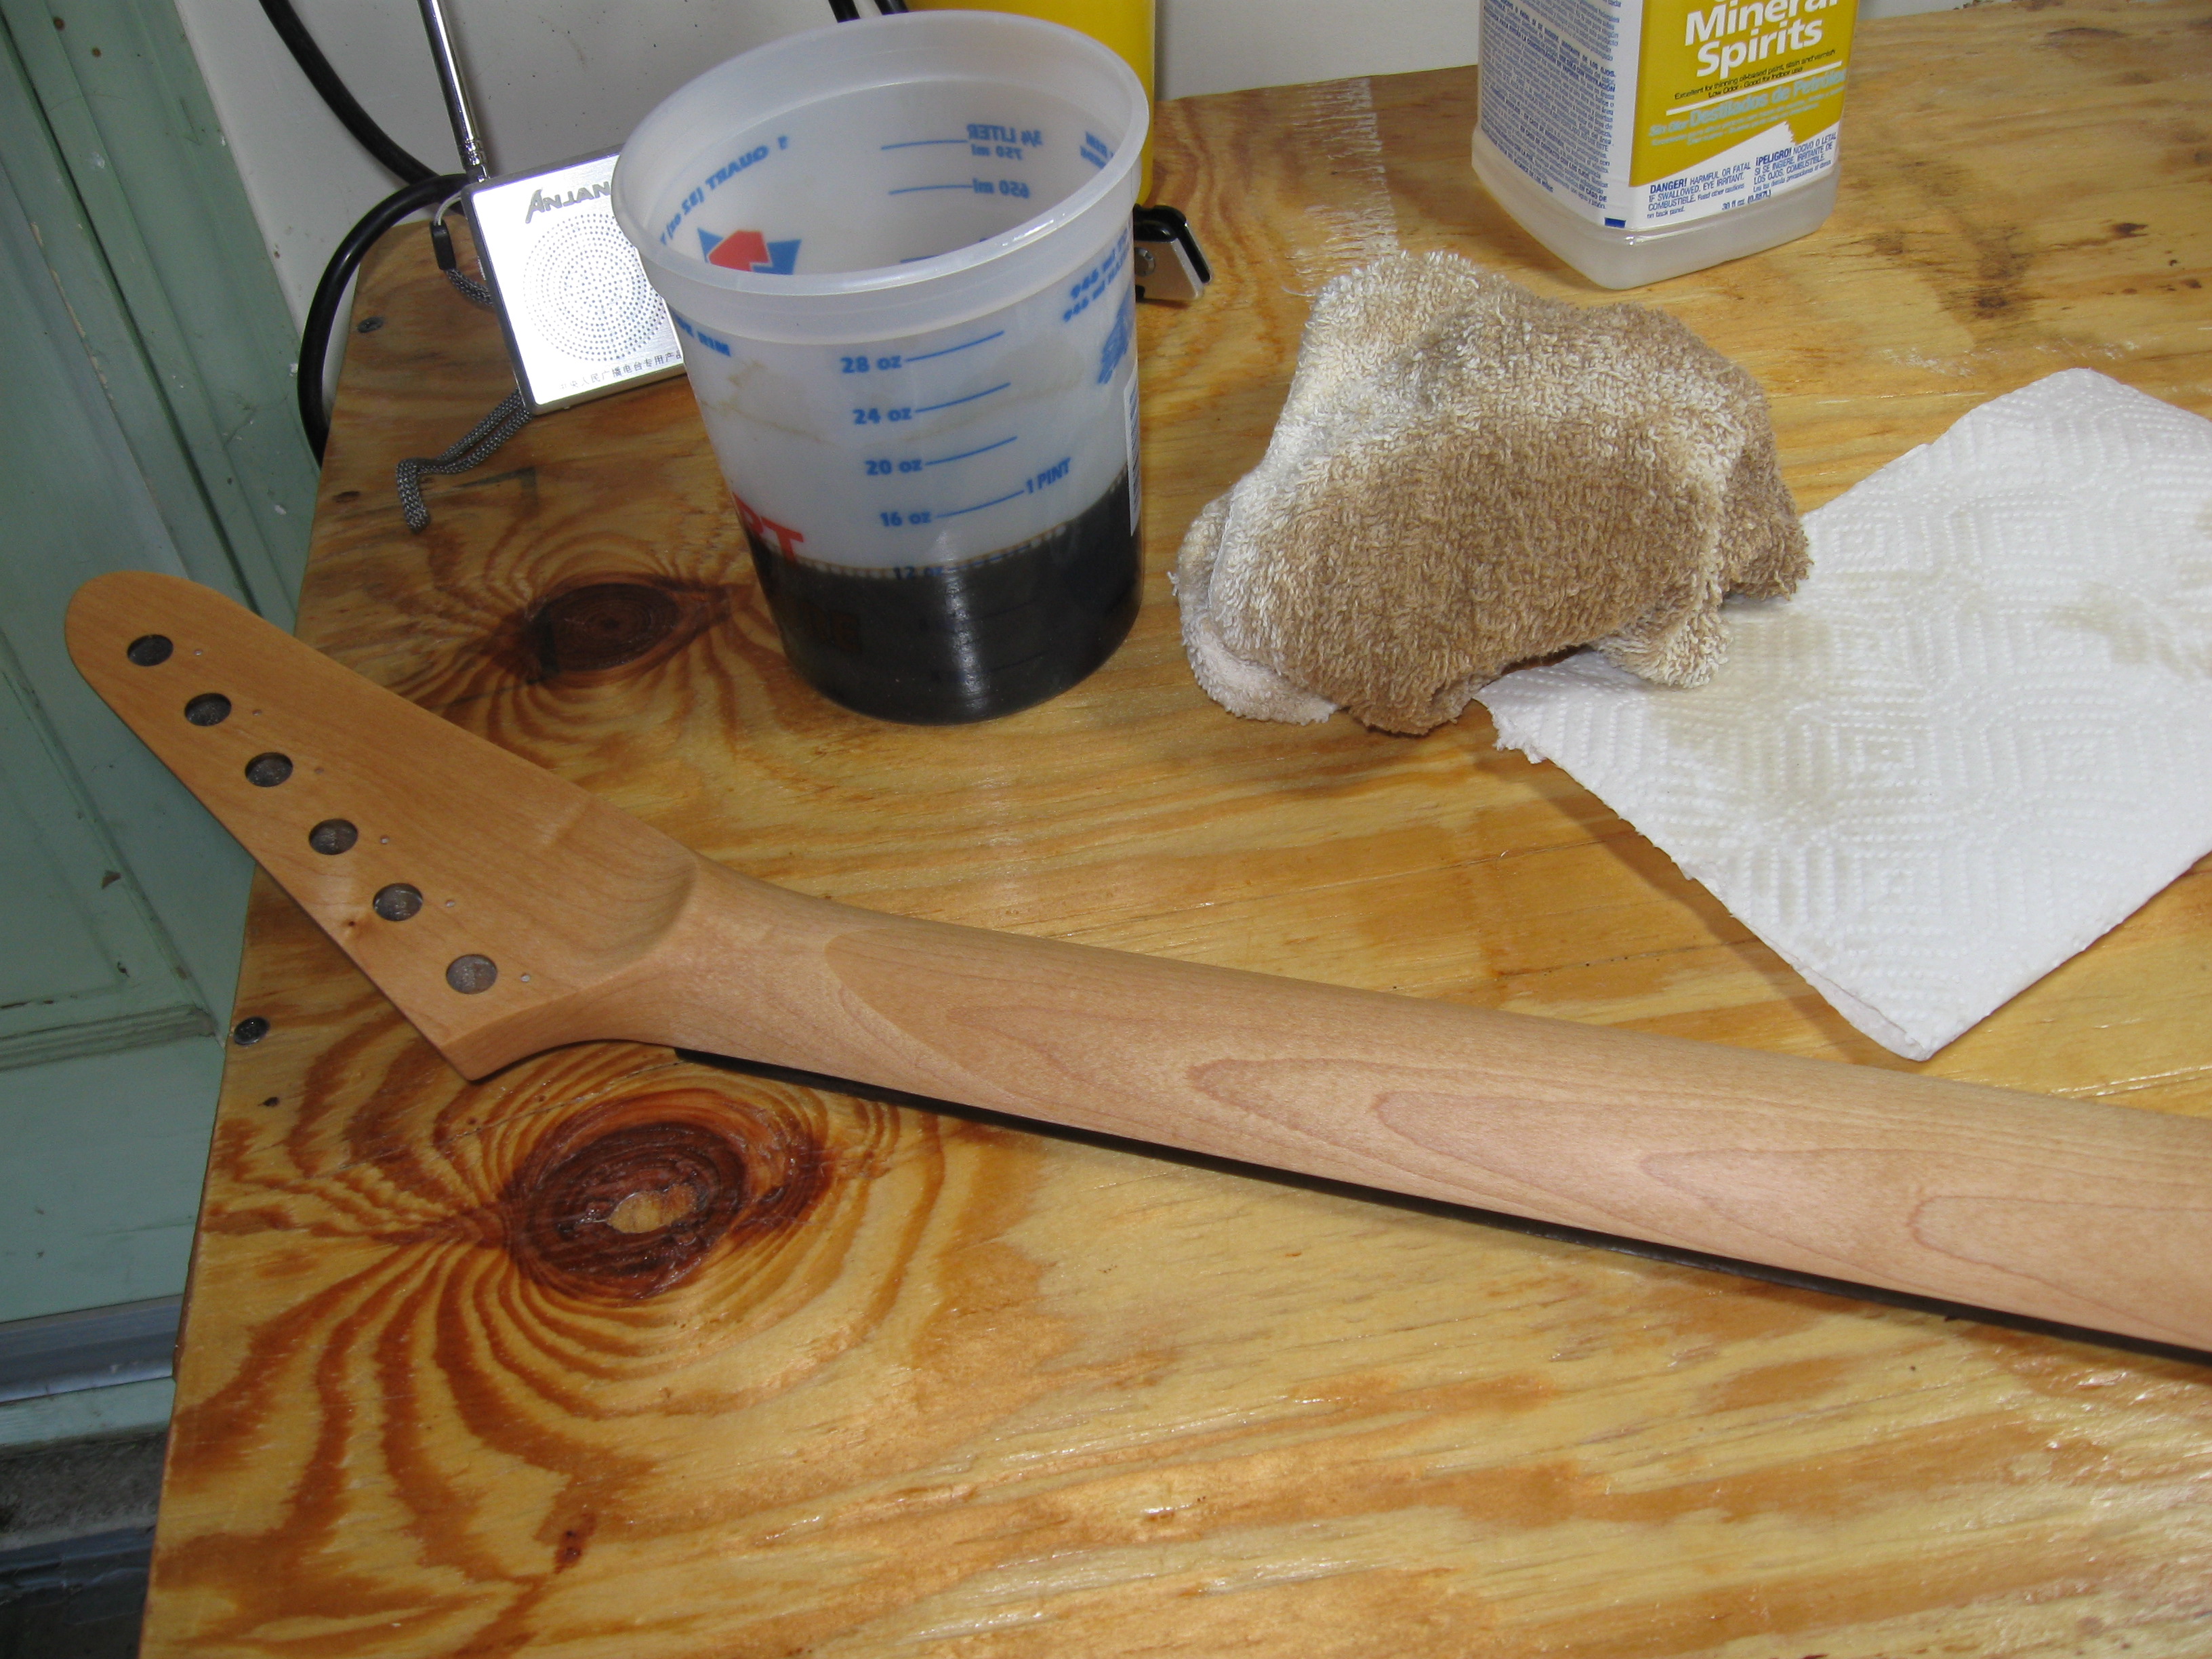
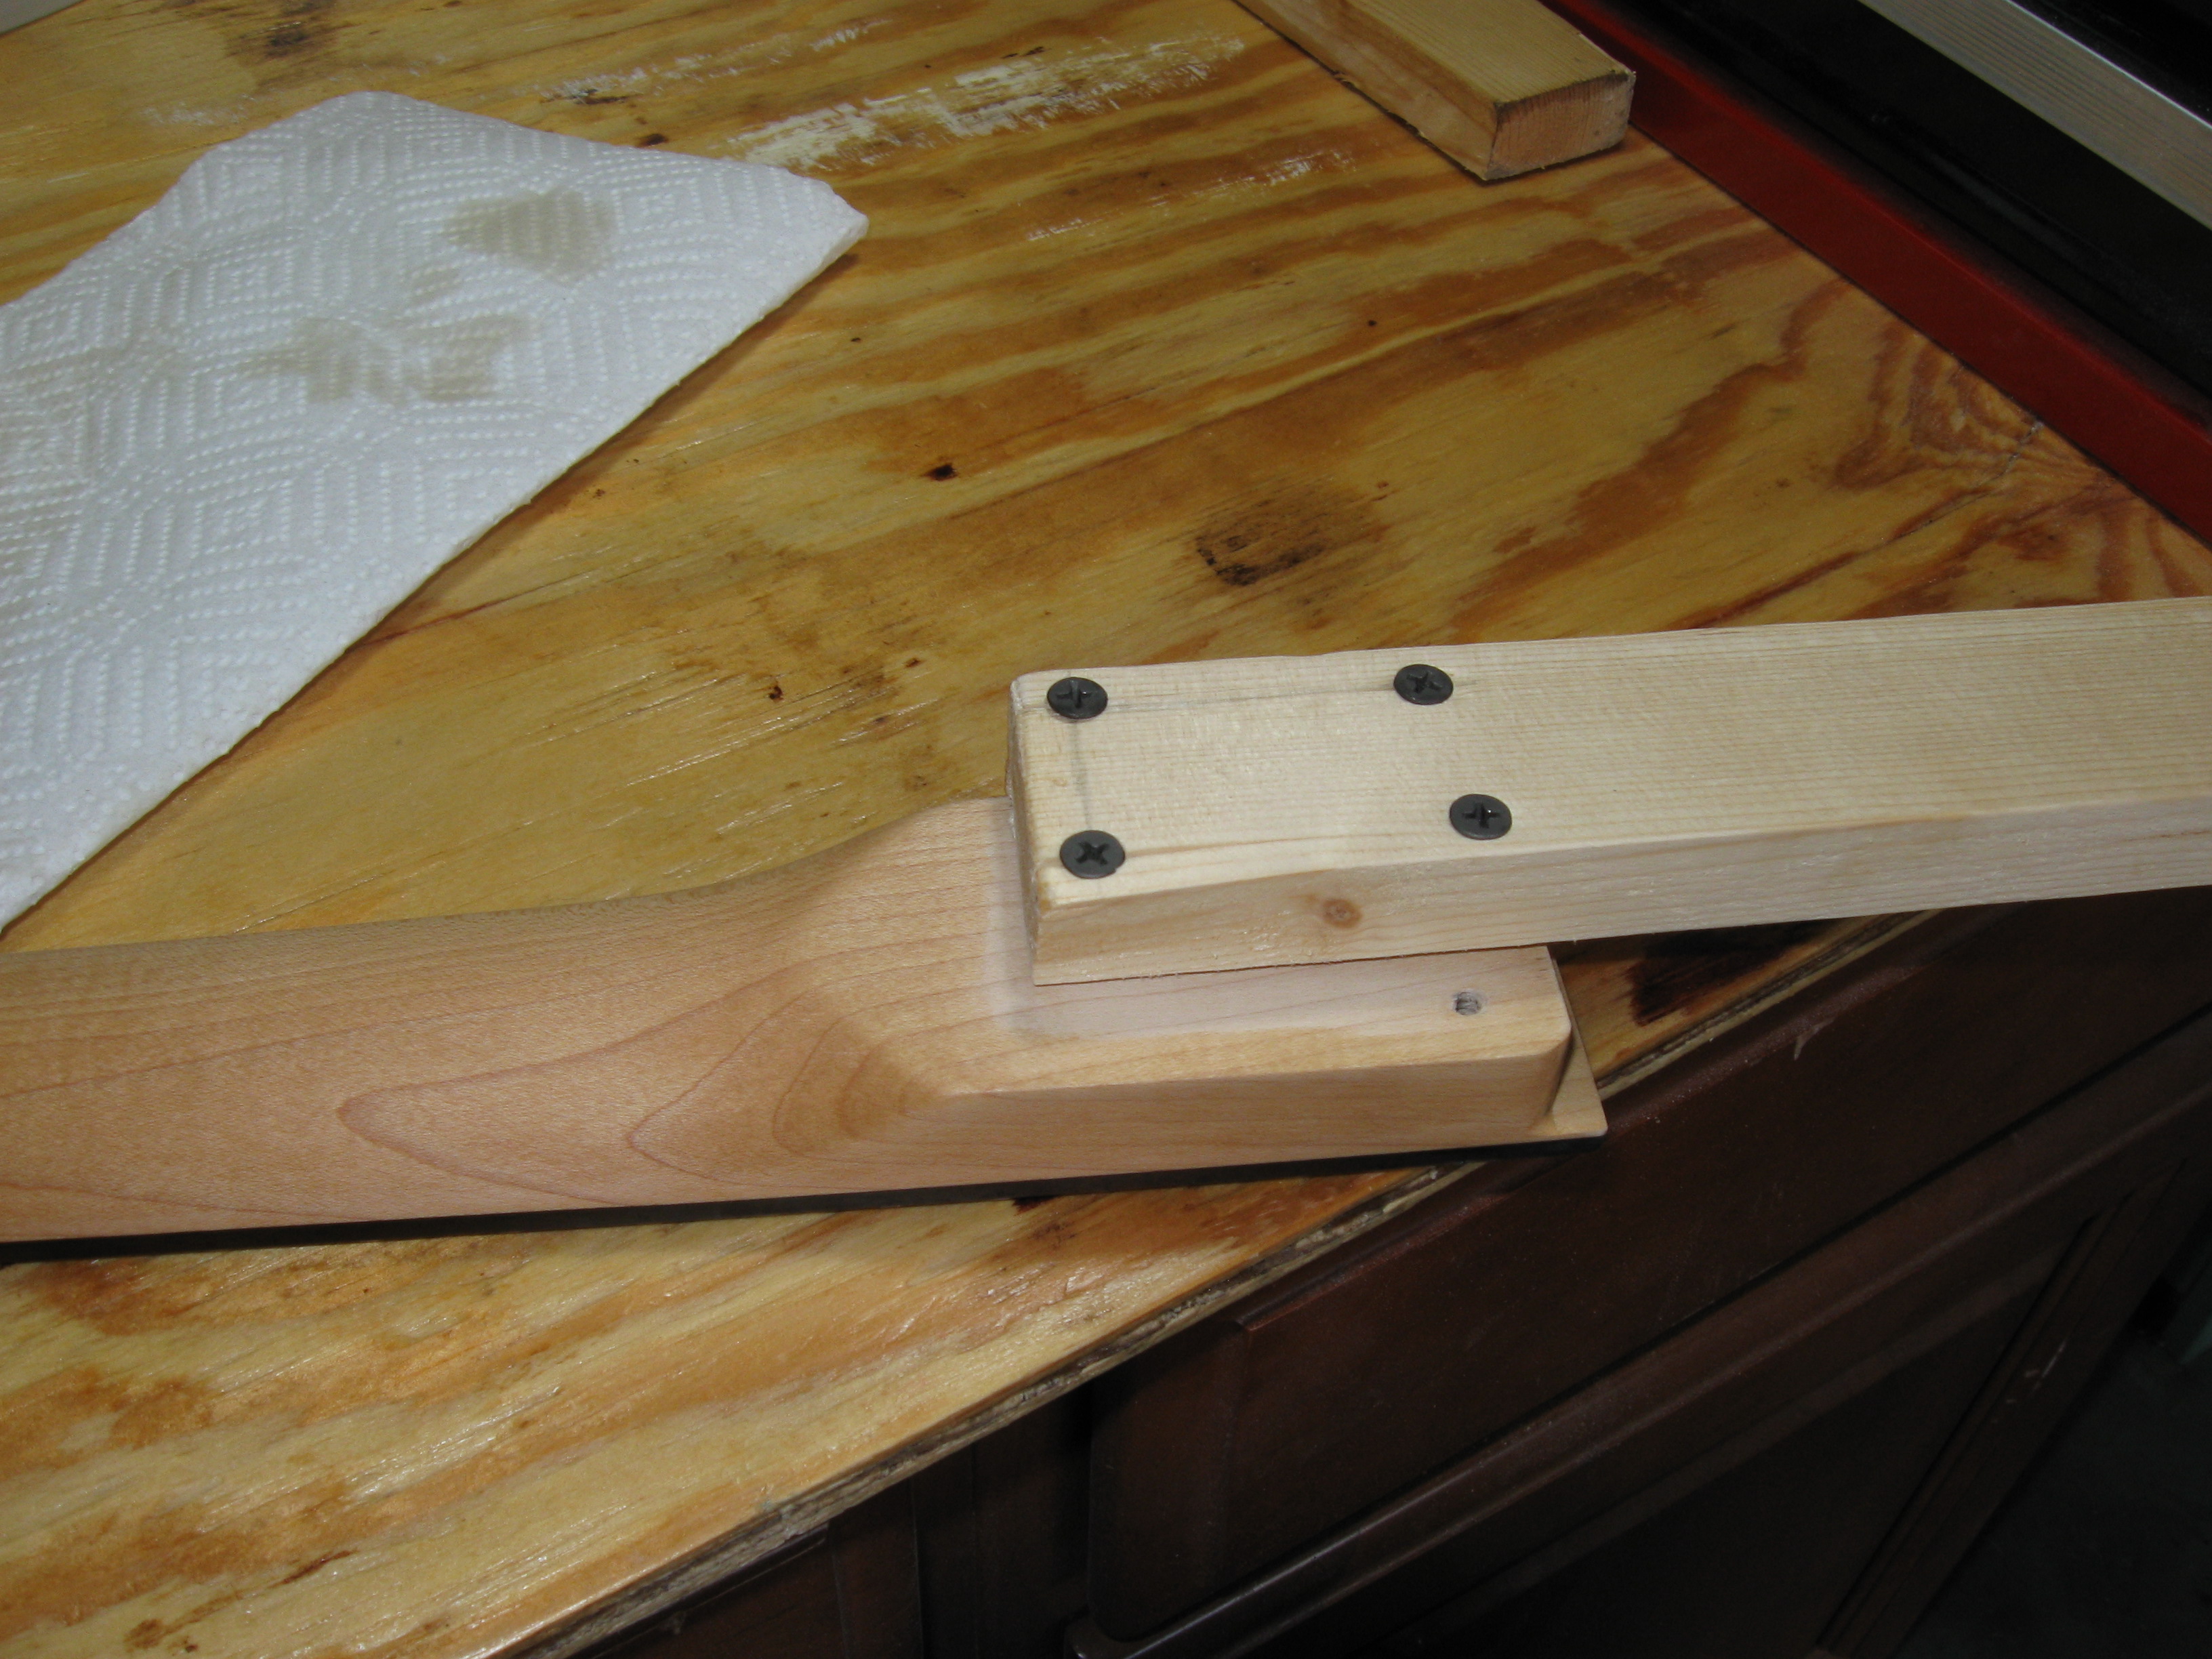
On to the neck now. I sanded off all of the clearcoat. Then I wiped on some oil-based stain, oak colored IIRC, and thinned with mineral spirits so I could achieve the exact shade I was looking for. The clearcoat on vintage guitars has a yellowing hue to them because the nitrocellulose yellows over time. Nitrocellulose is in-fact what I used for the clear coats as well as the color, so it will yellow a bit over the years, especially if you leave it in the sun.
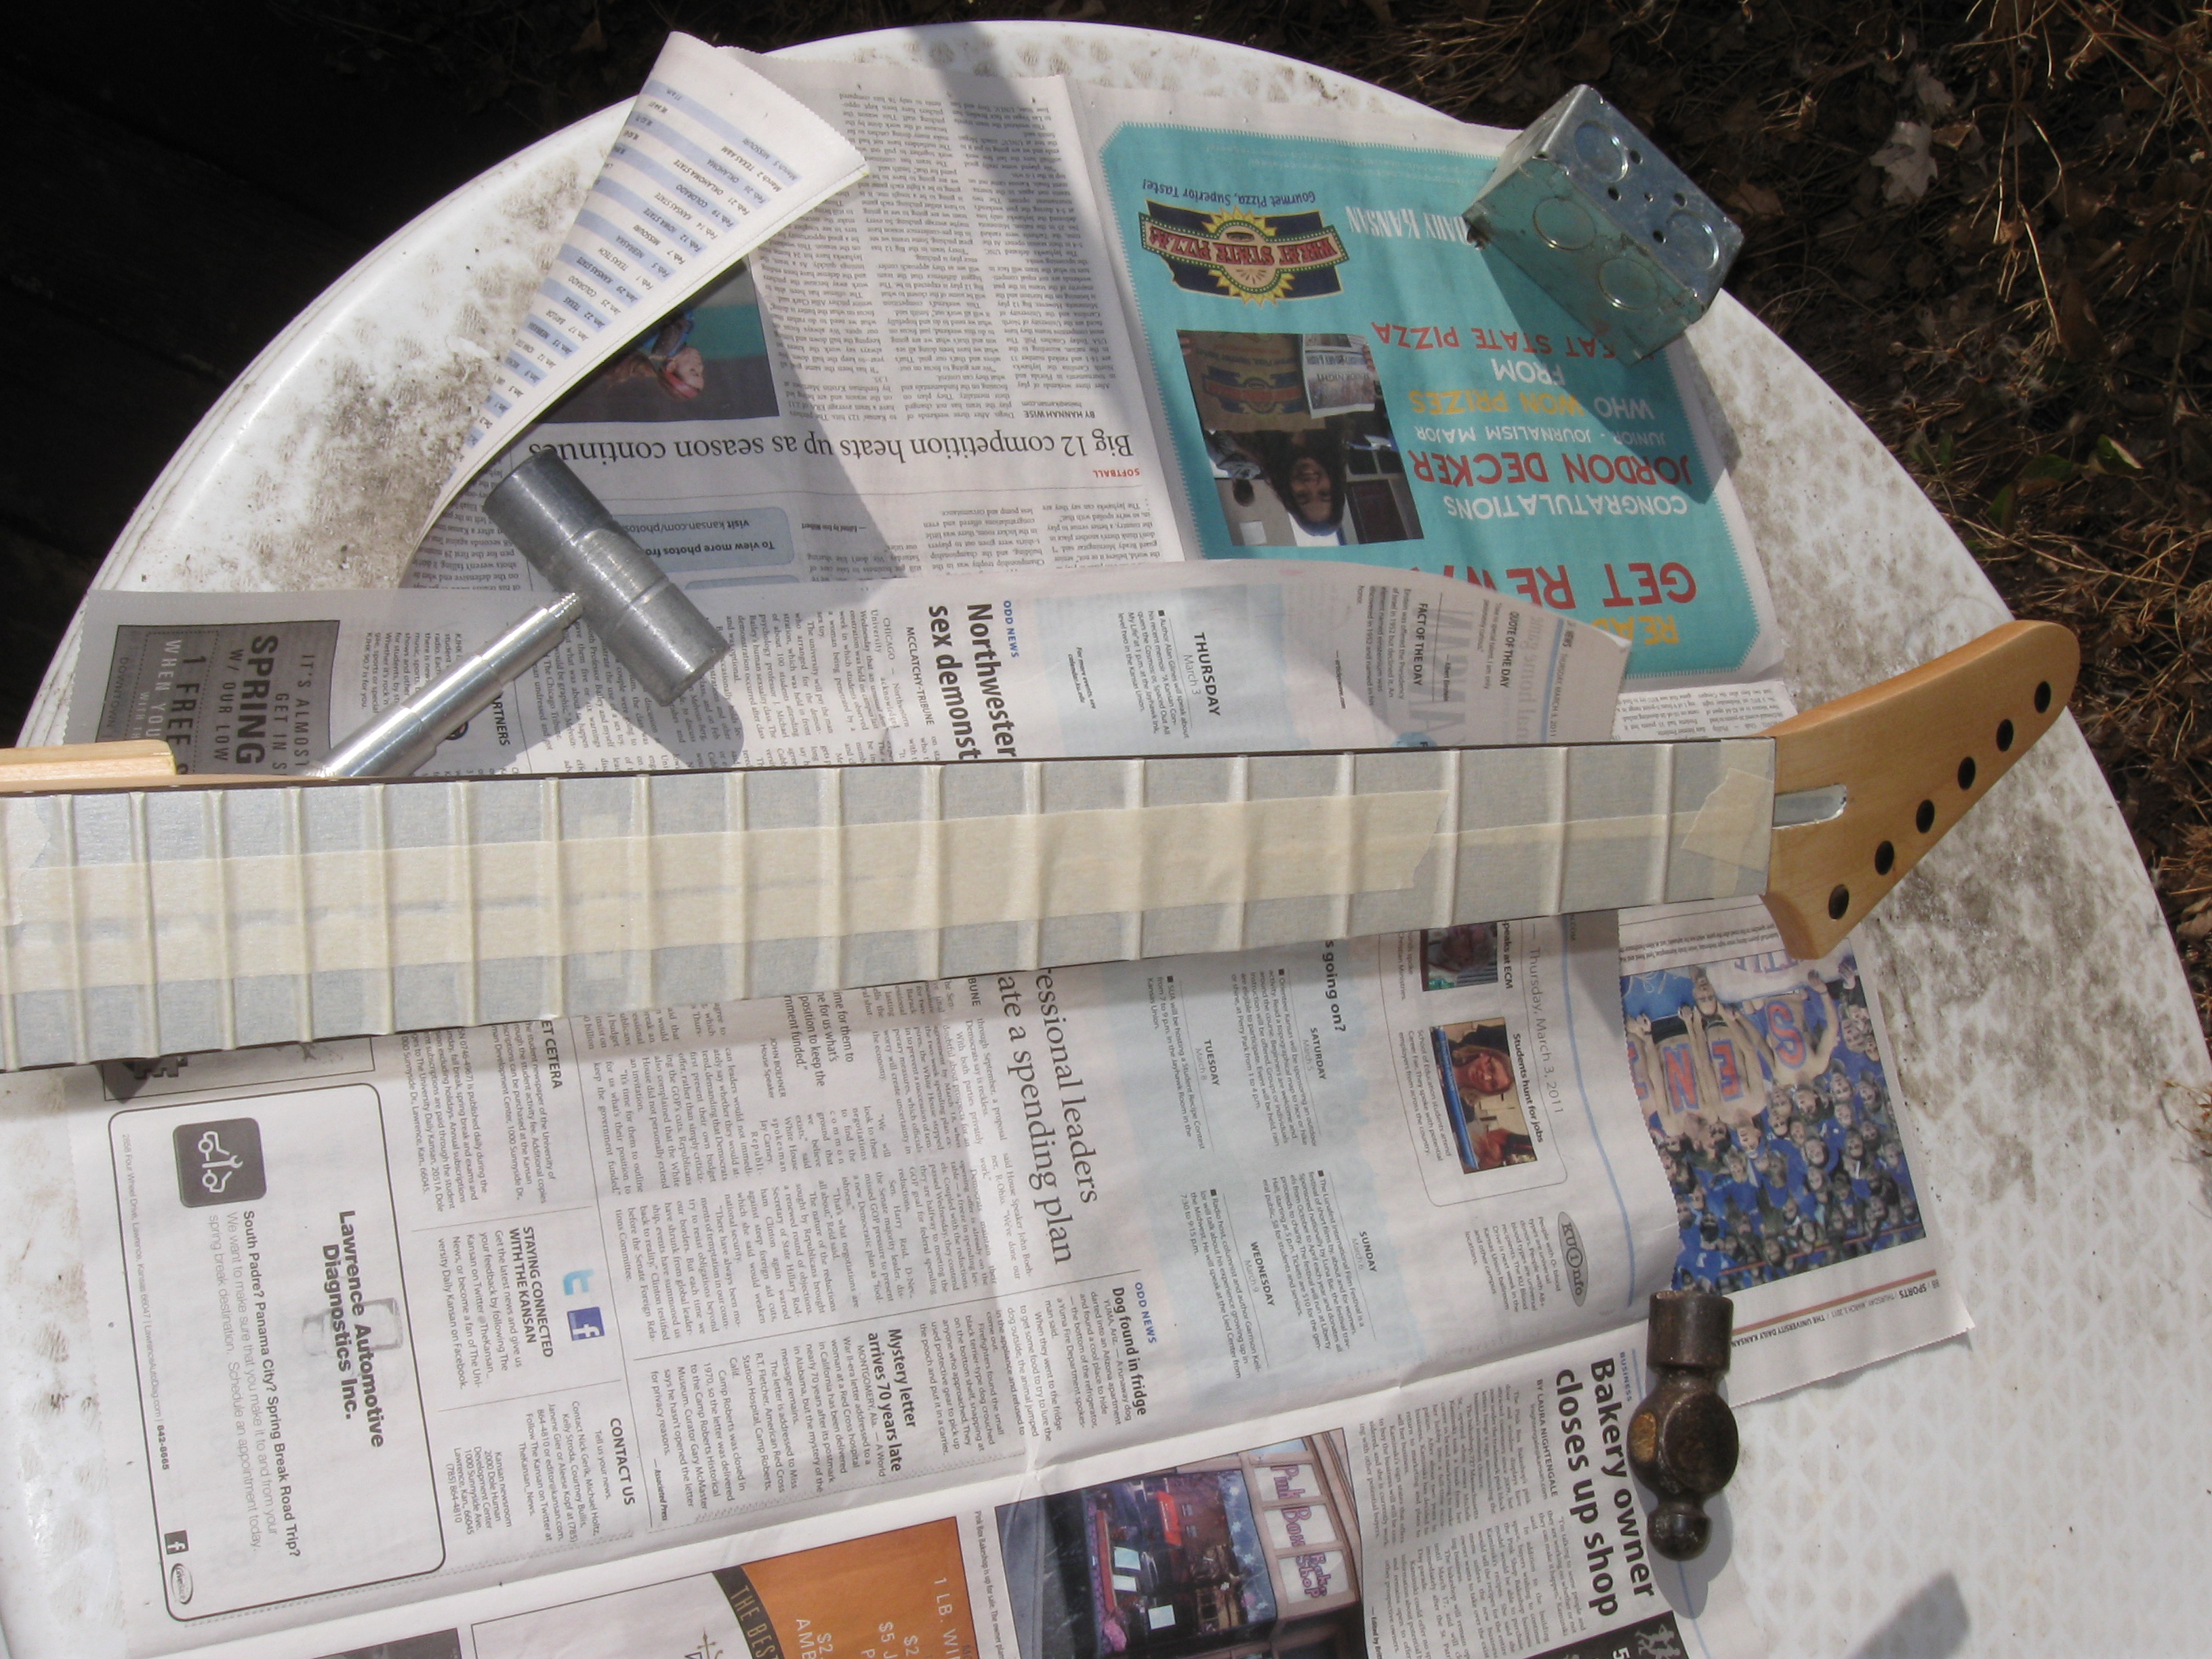
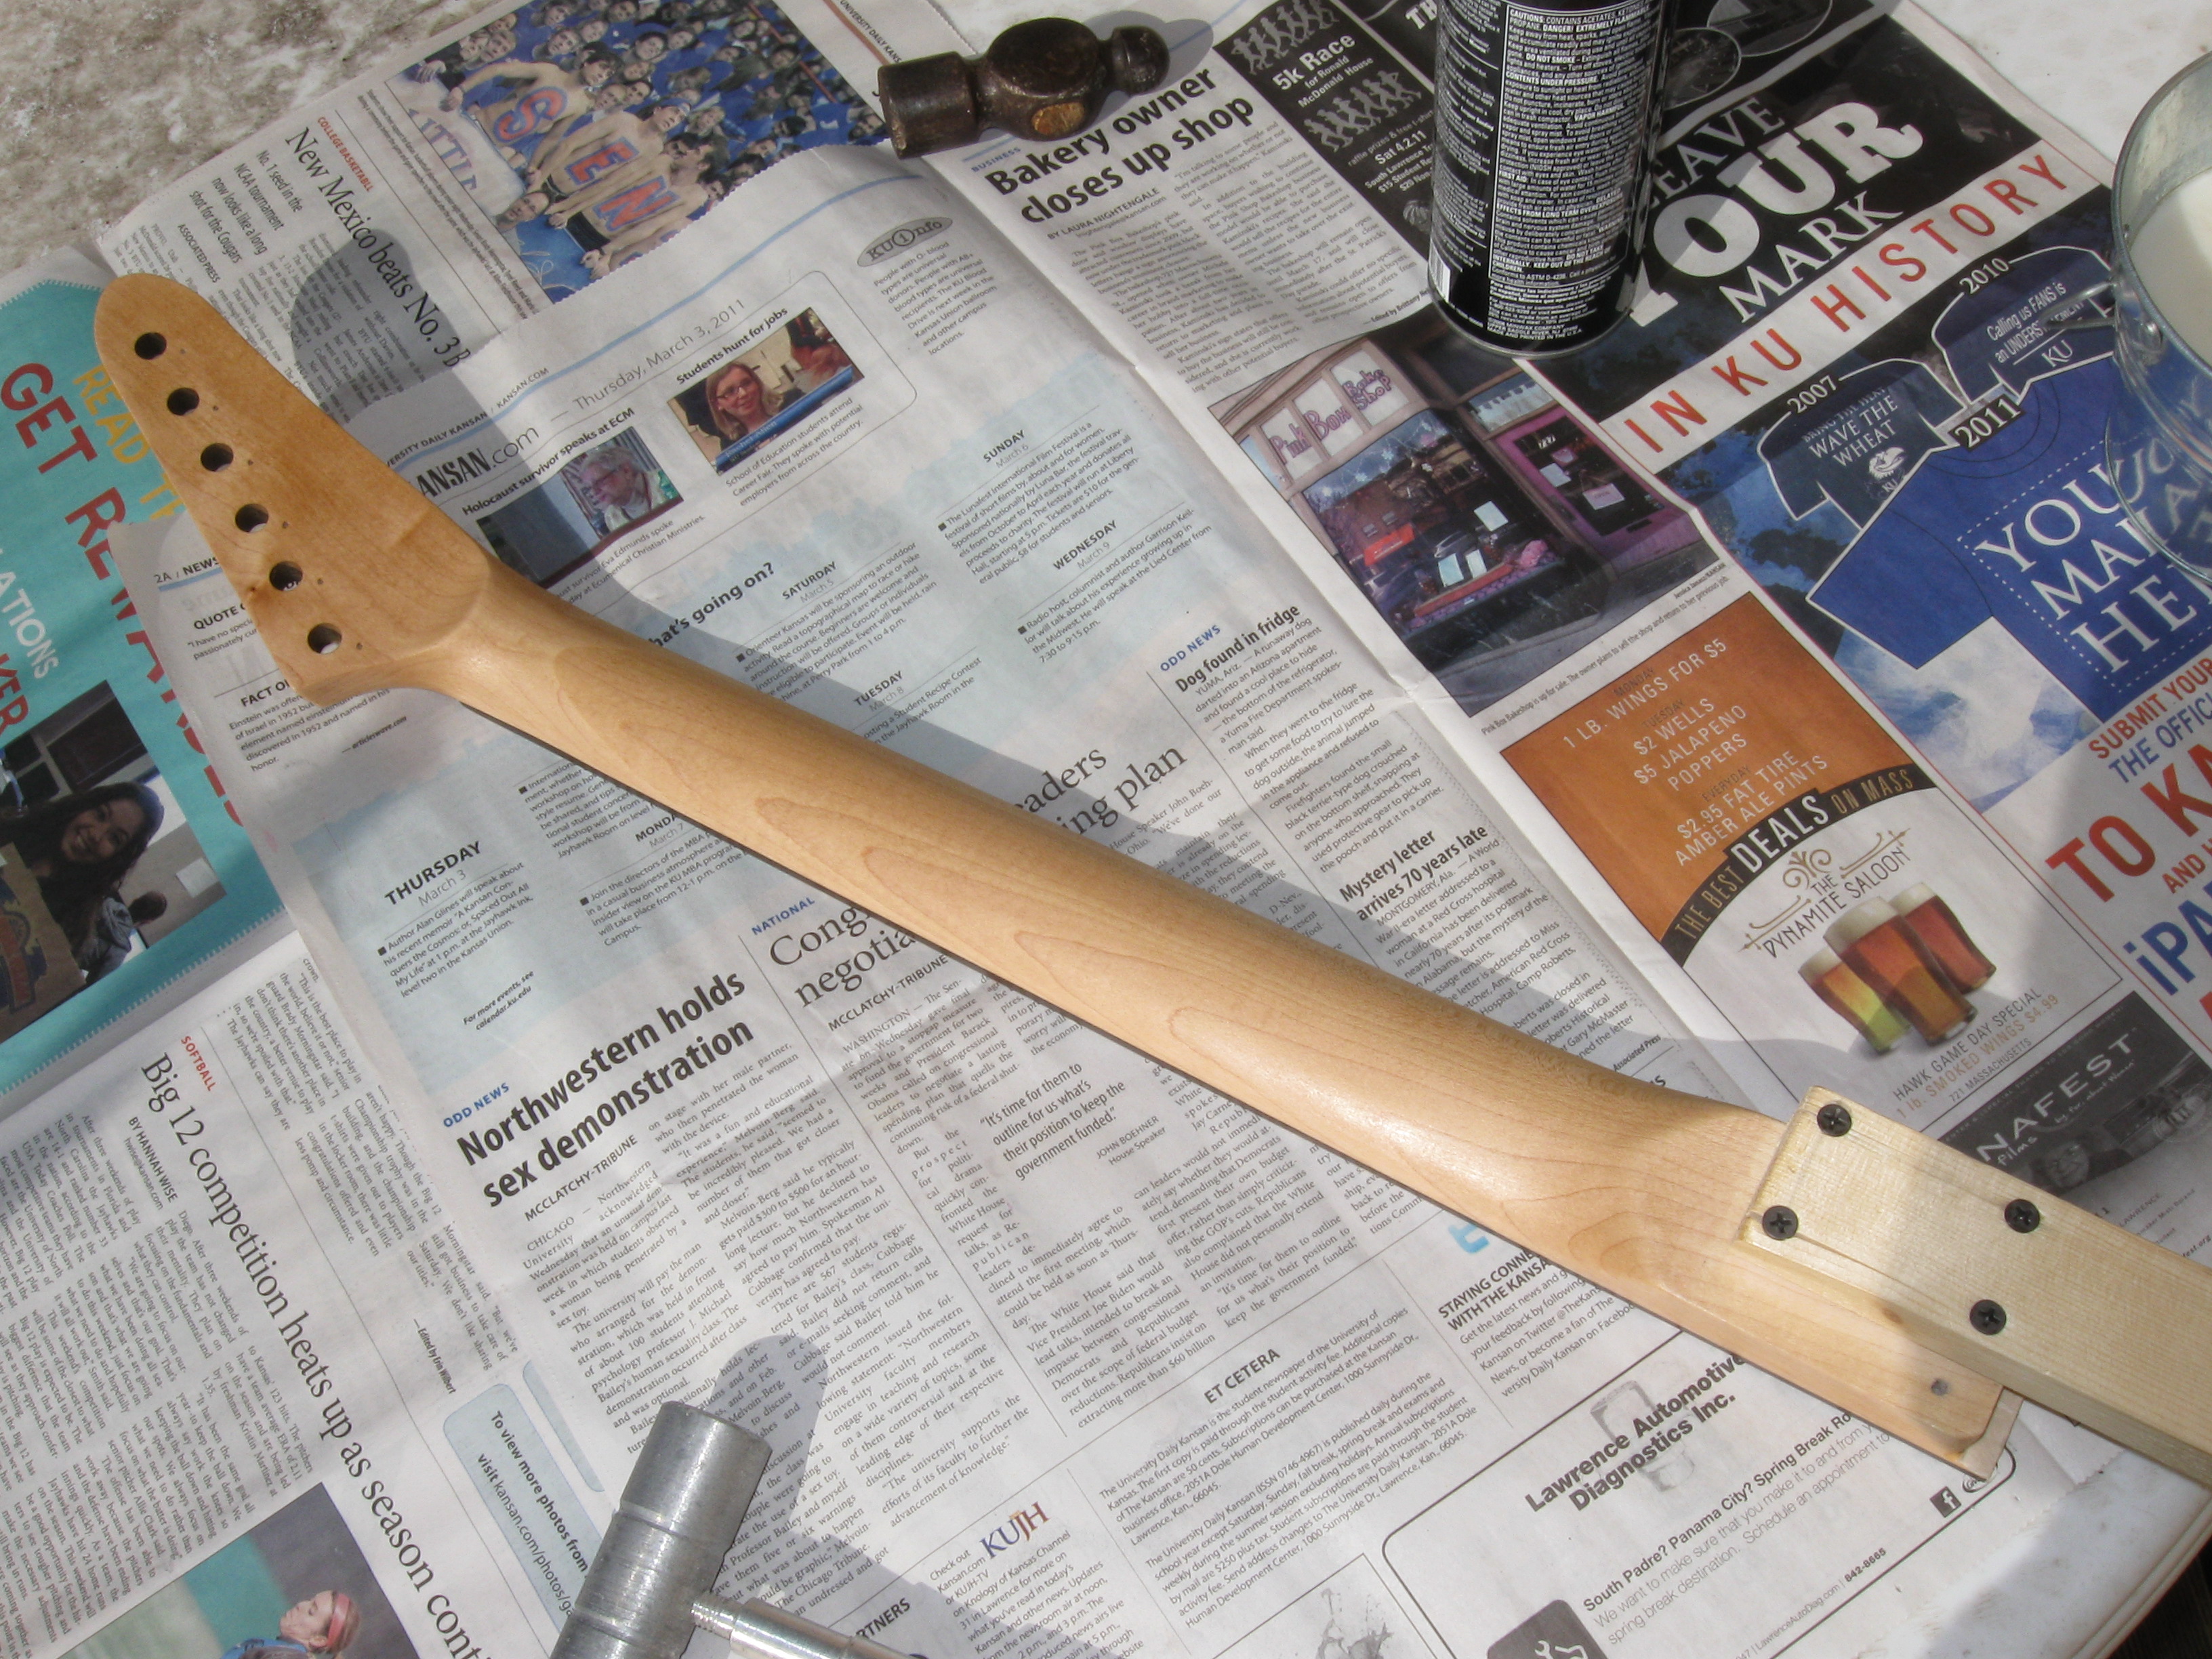
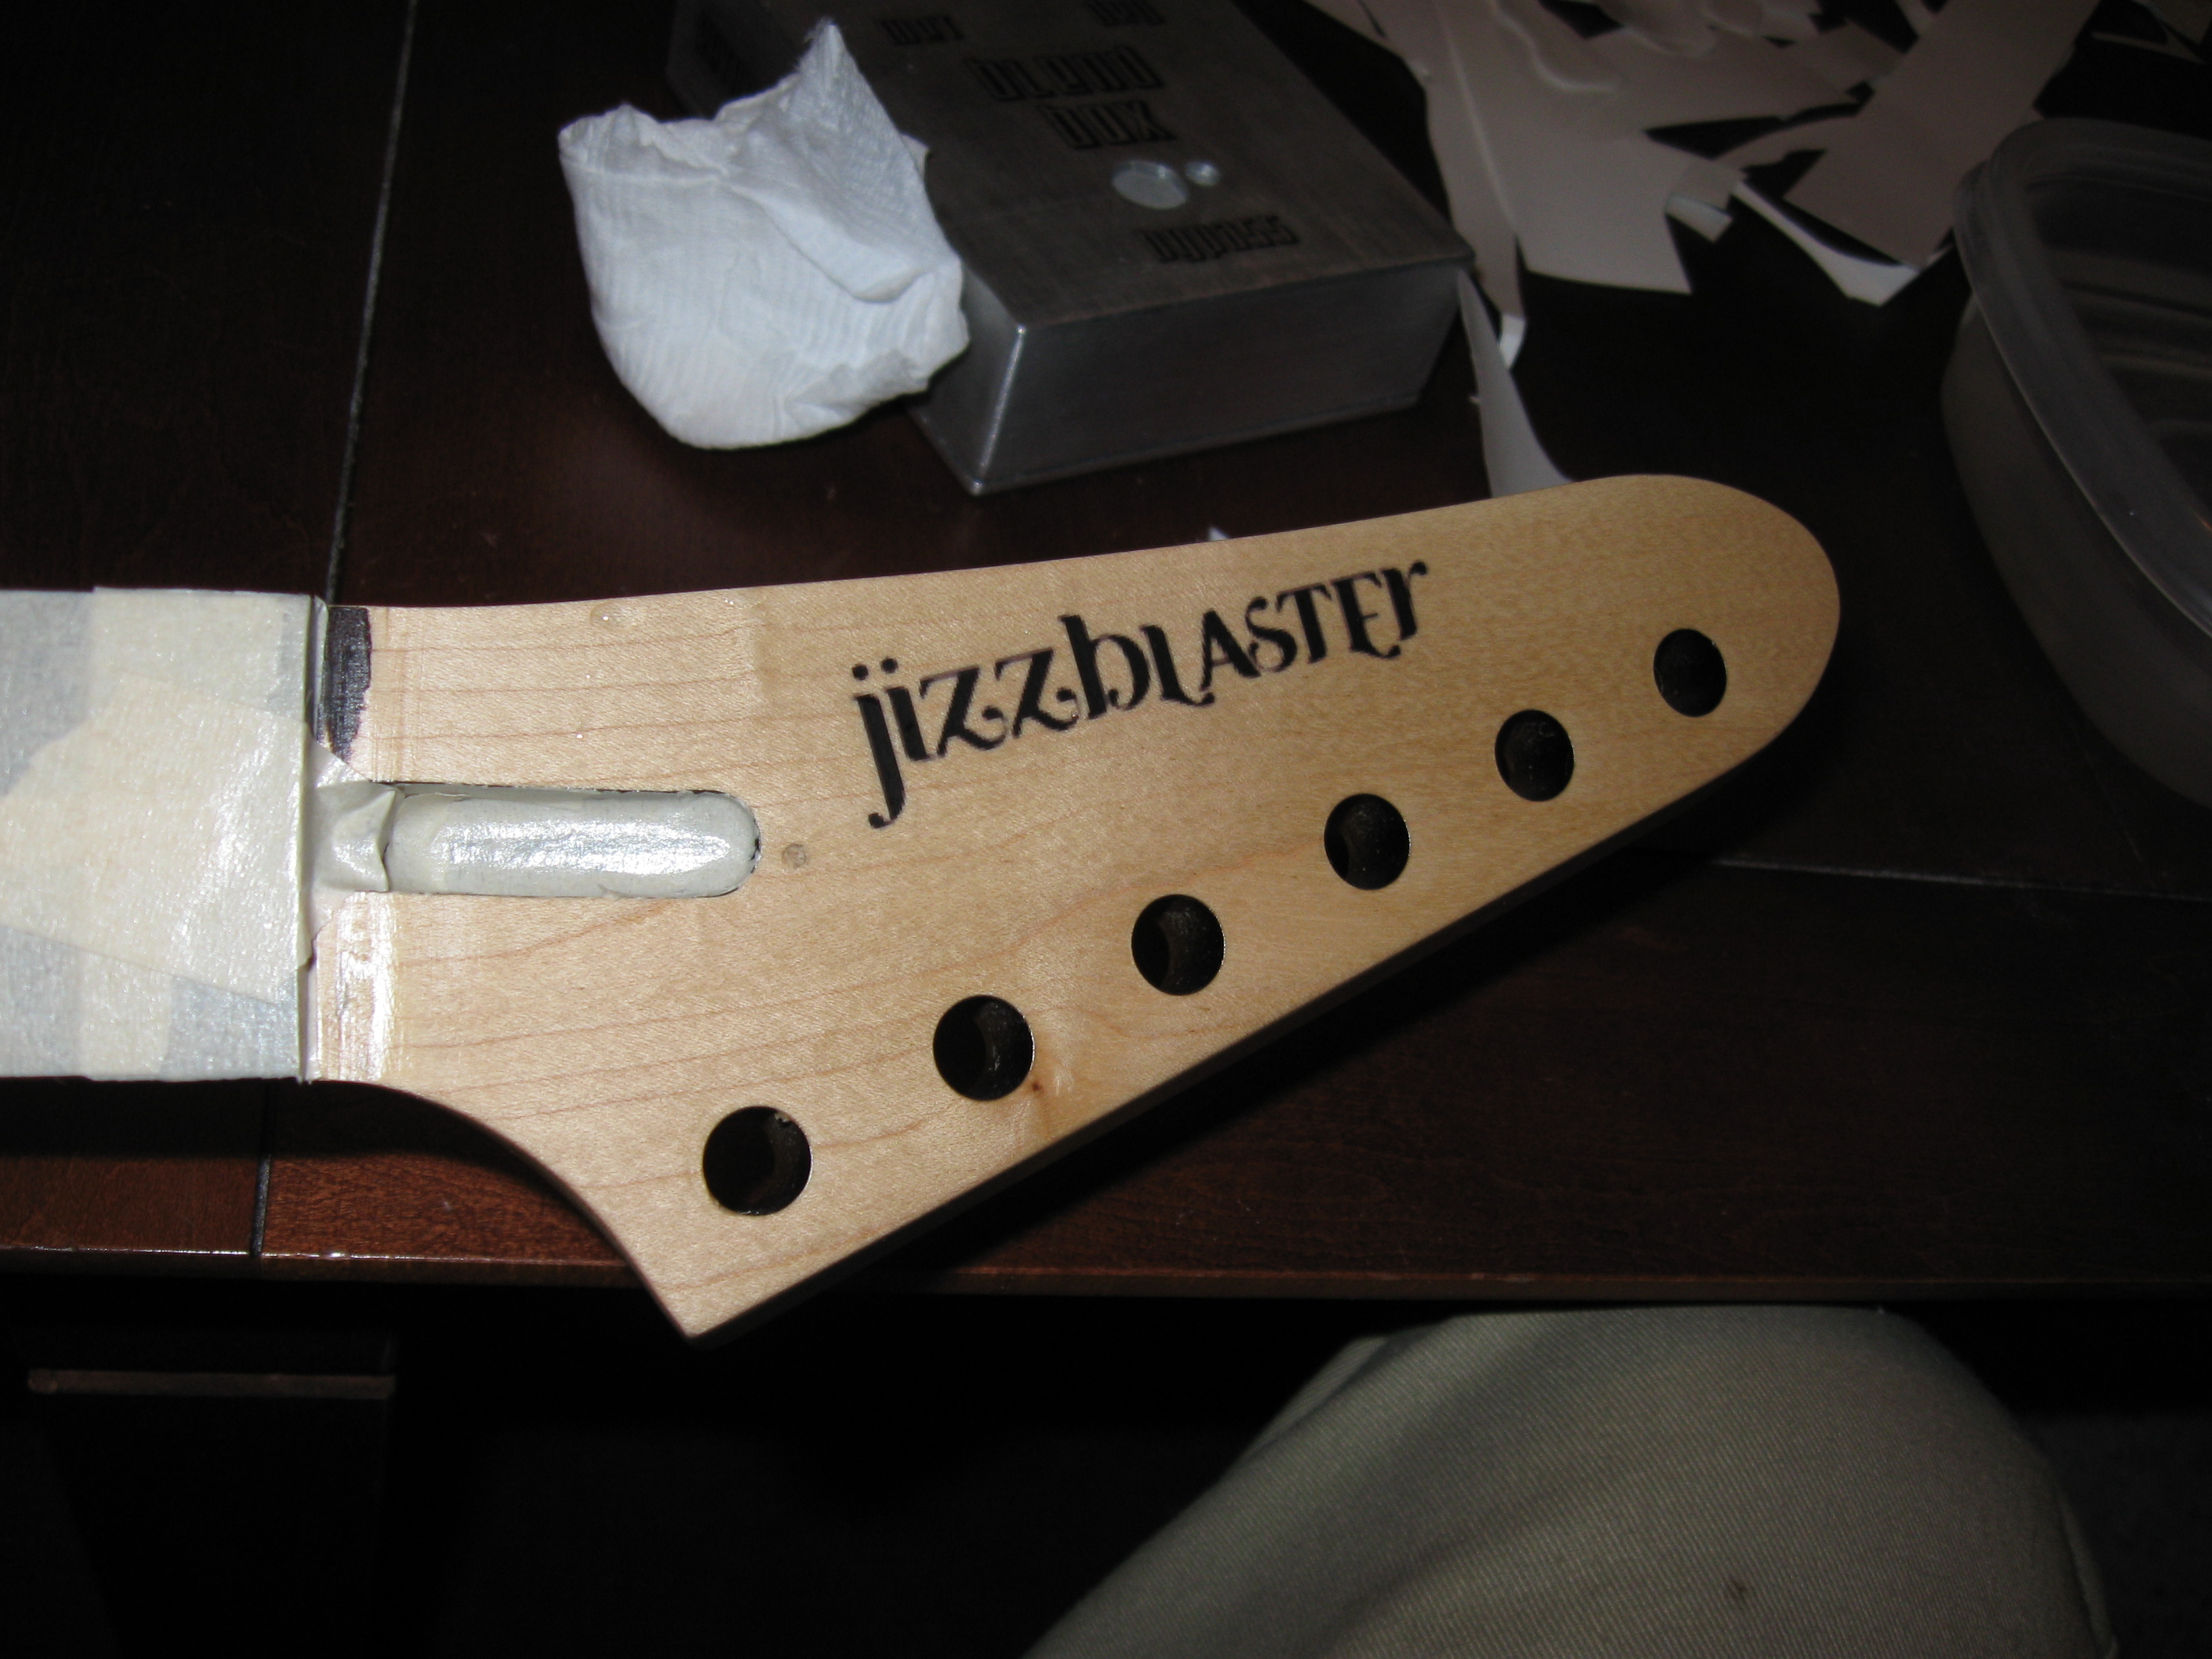
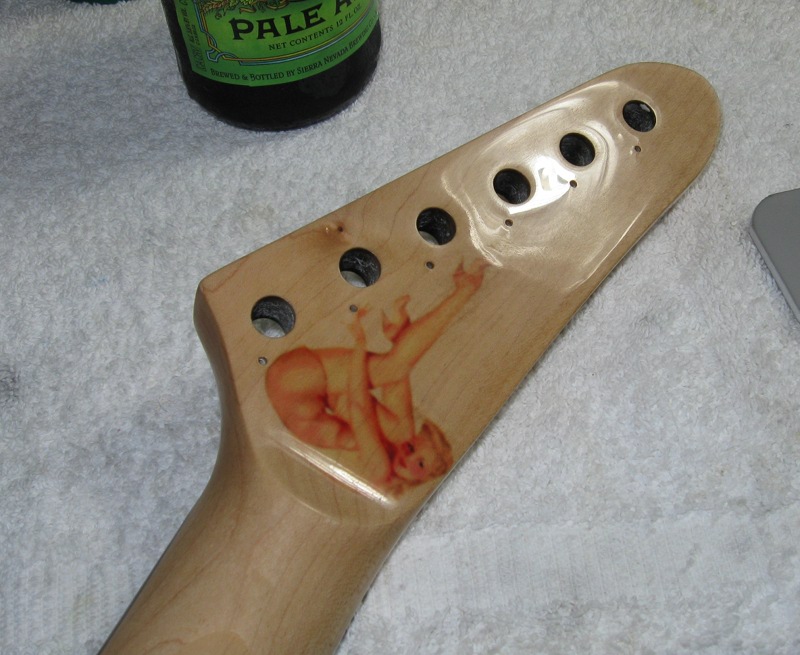
But I didn't stop there. This guitar needed a name. Remember how I said I wanted it to look like an old Danelectro? Well, the Danelectro Jizzblaster to be precise. I used water slide decals to create the logo, applied it over 2 or 3 thin coats of clear and under another 5 or 6 more coats of clear. I also added a pinup girl below the headstock. Yup, this guitar is going to be HOT! What you should know about water slide decals is that you must create you graphics for print, not screen, which means 150-300dpi. I hadn't learned this until after, so my logo came out a little blurry.
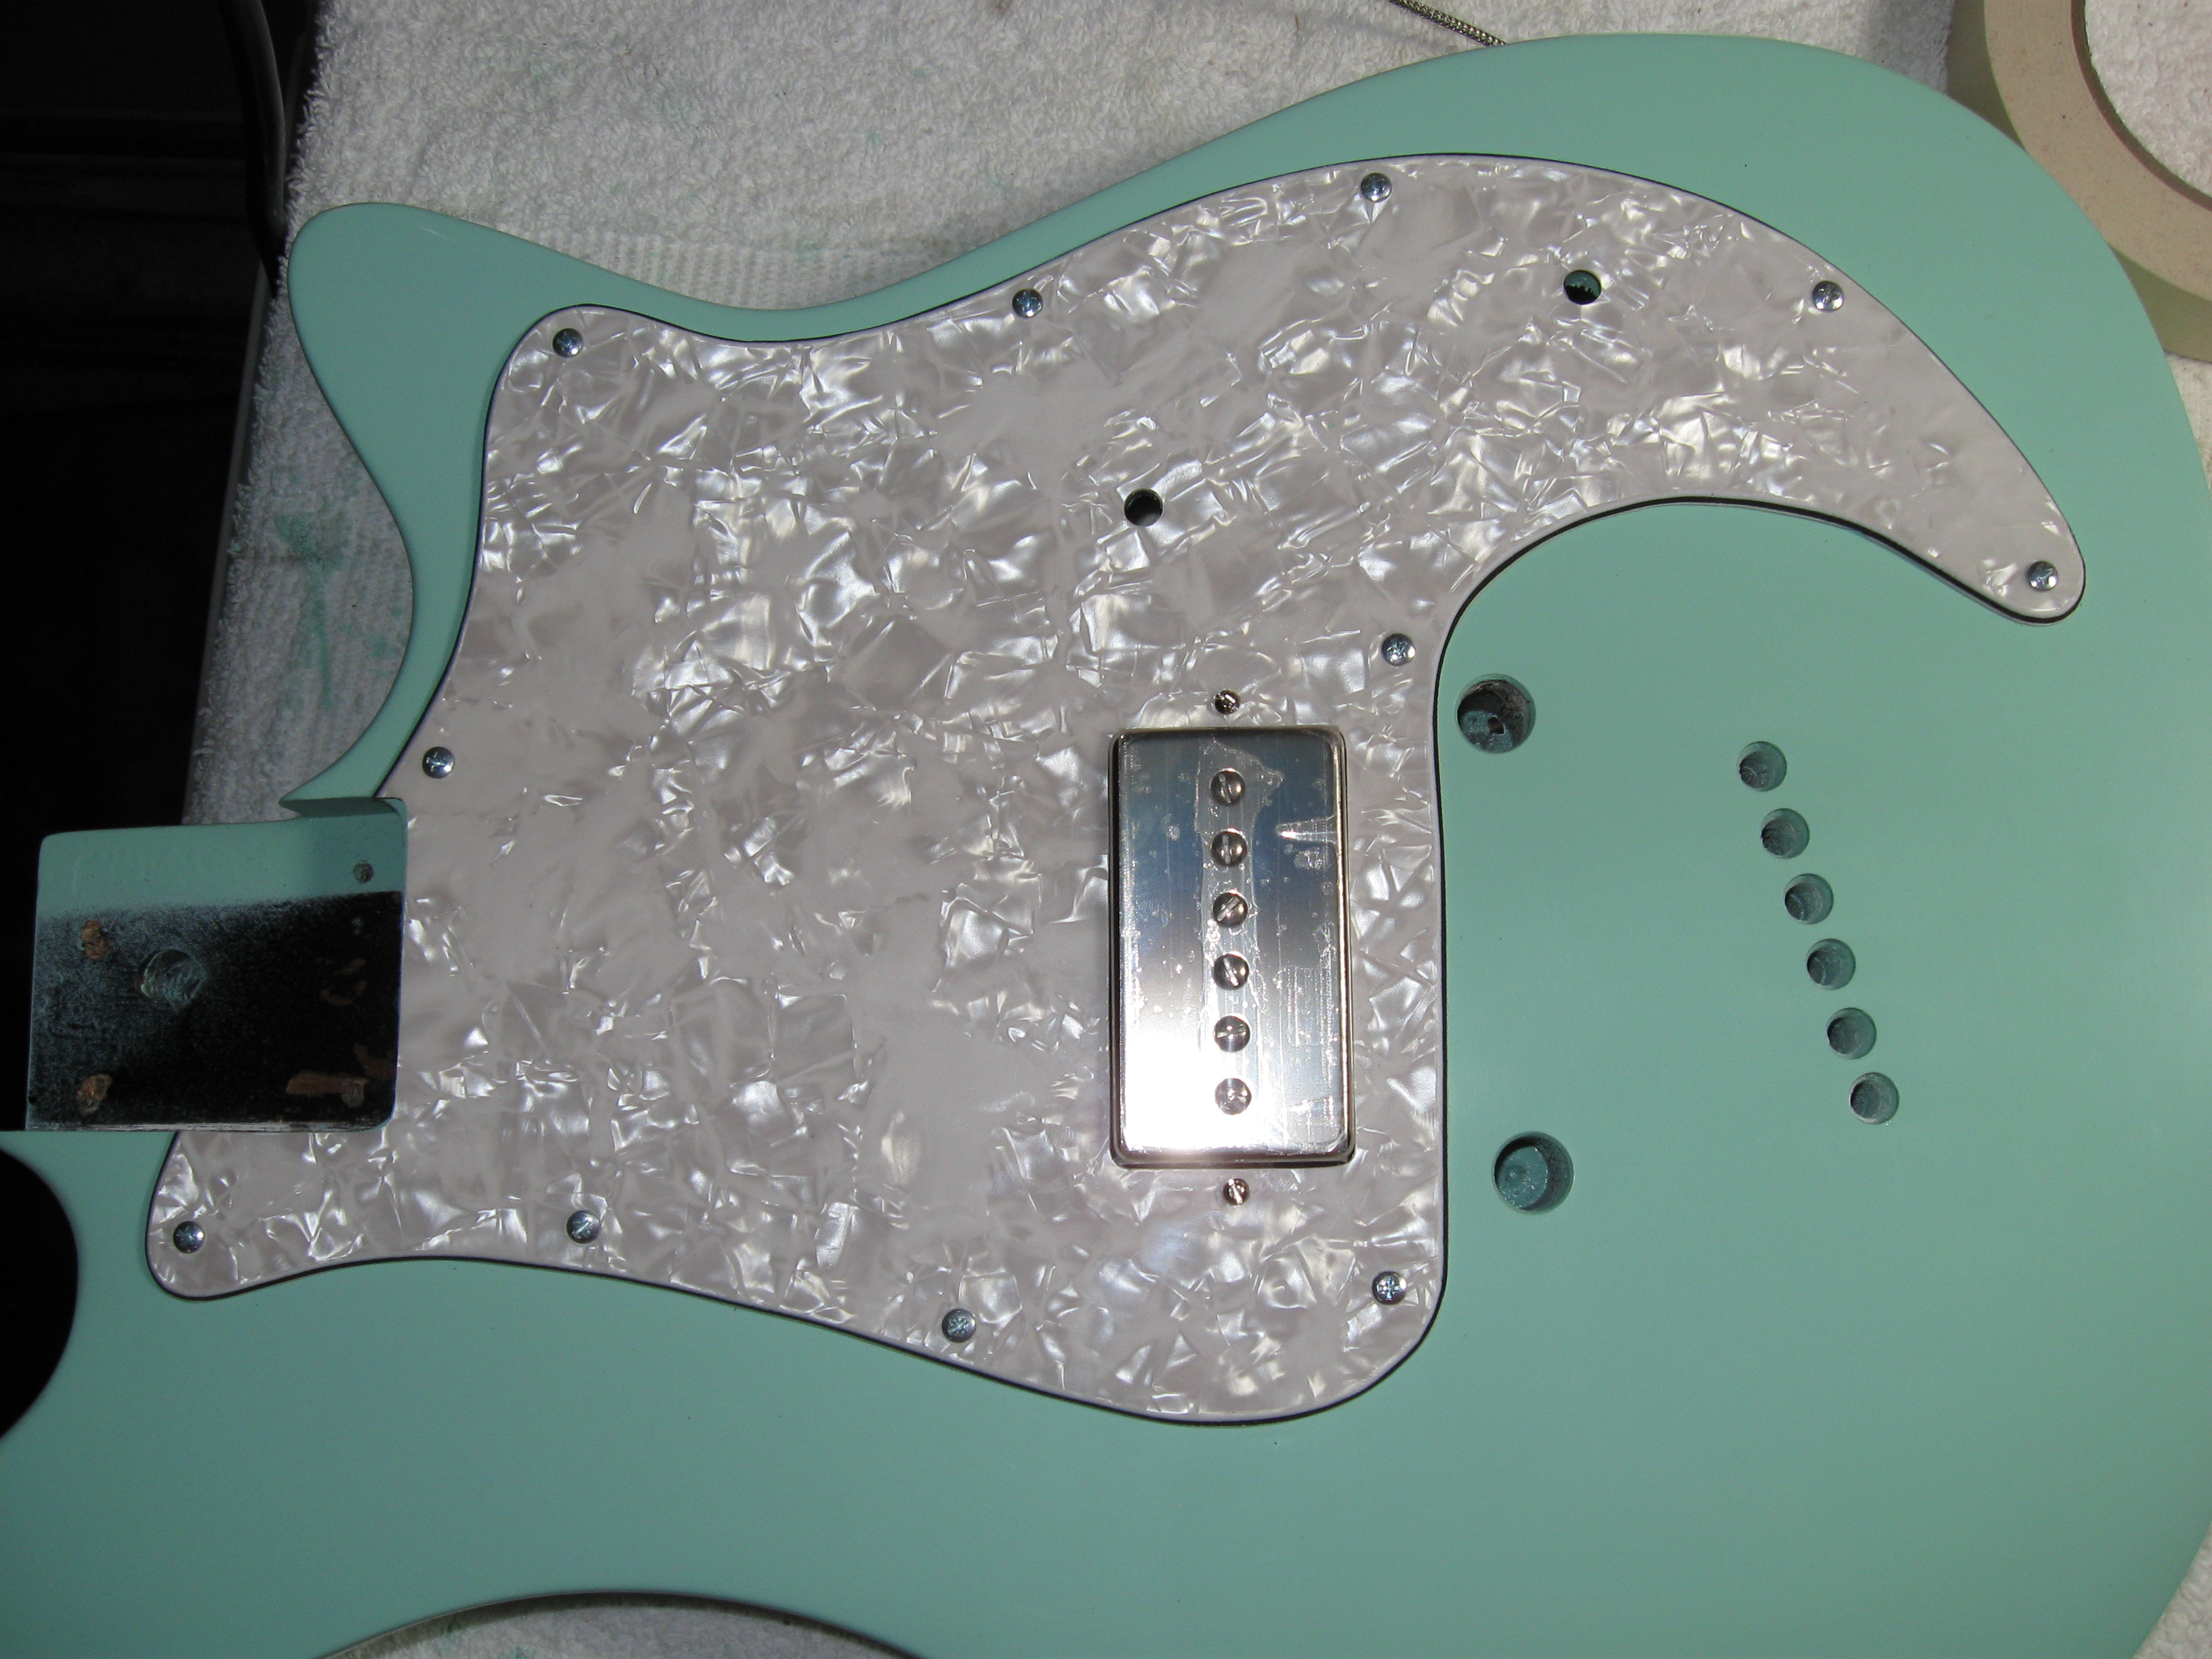
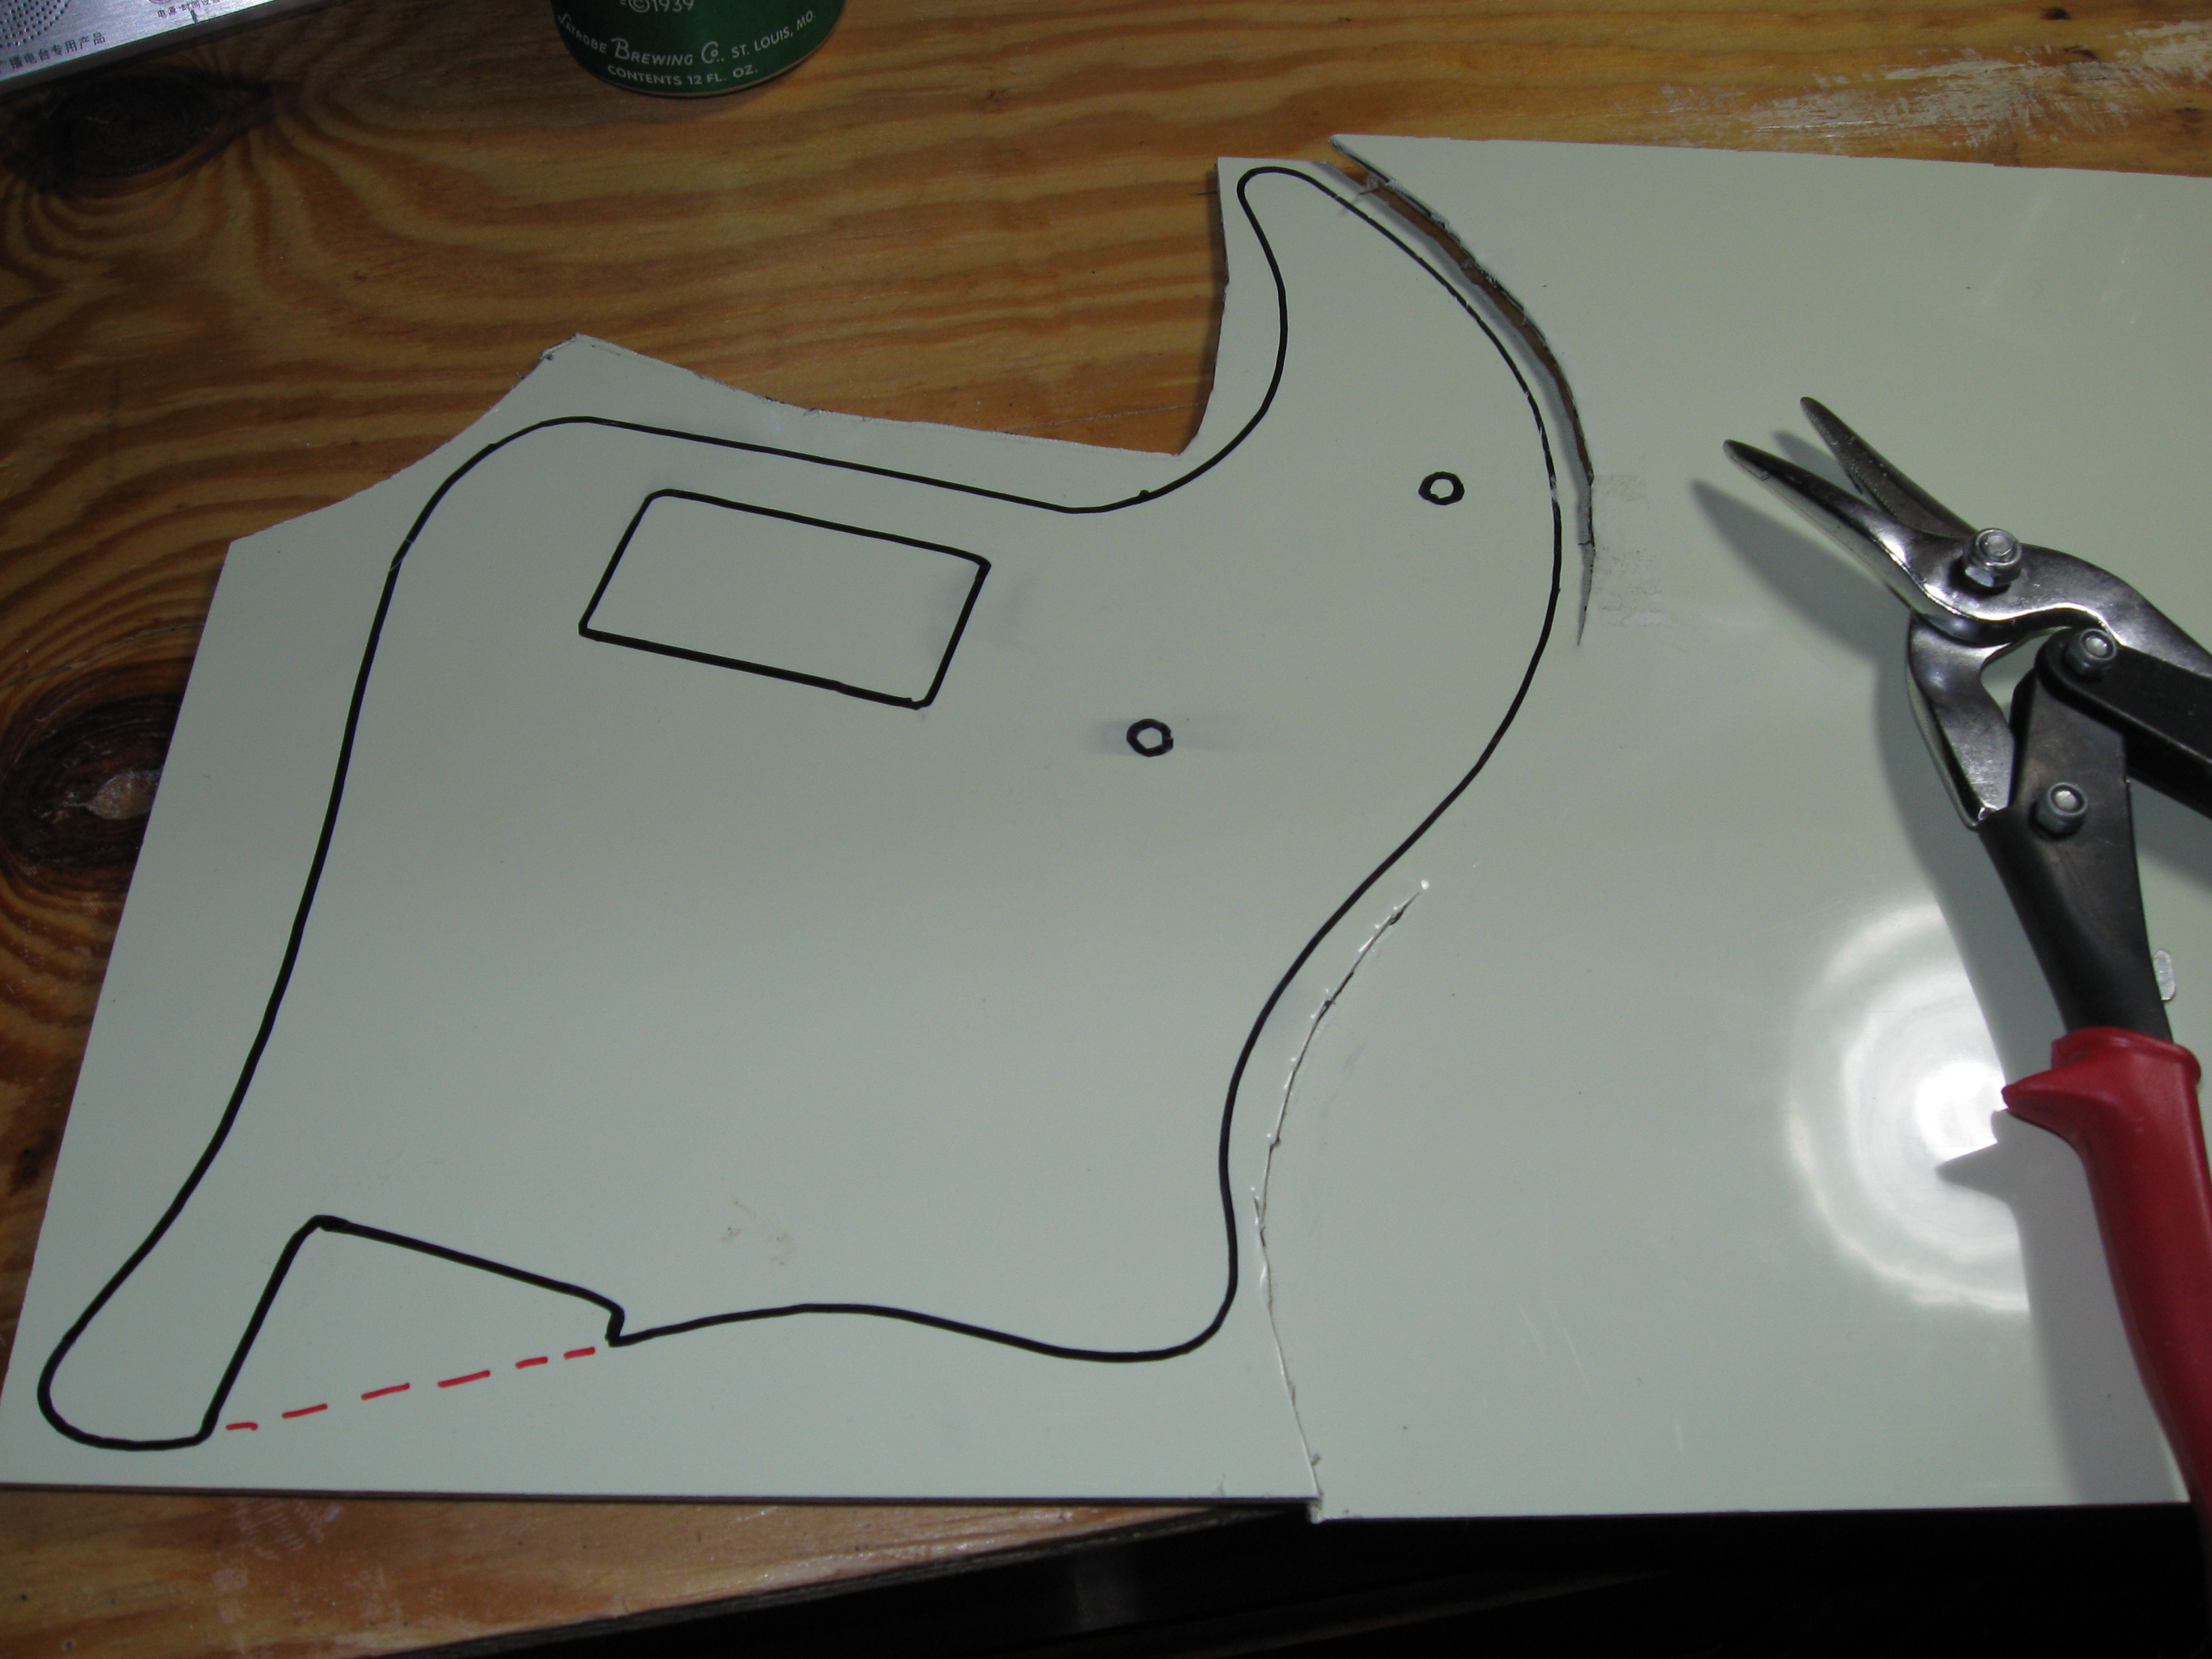
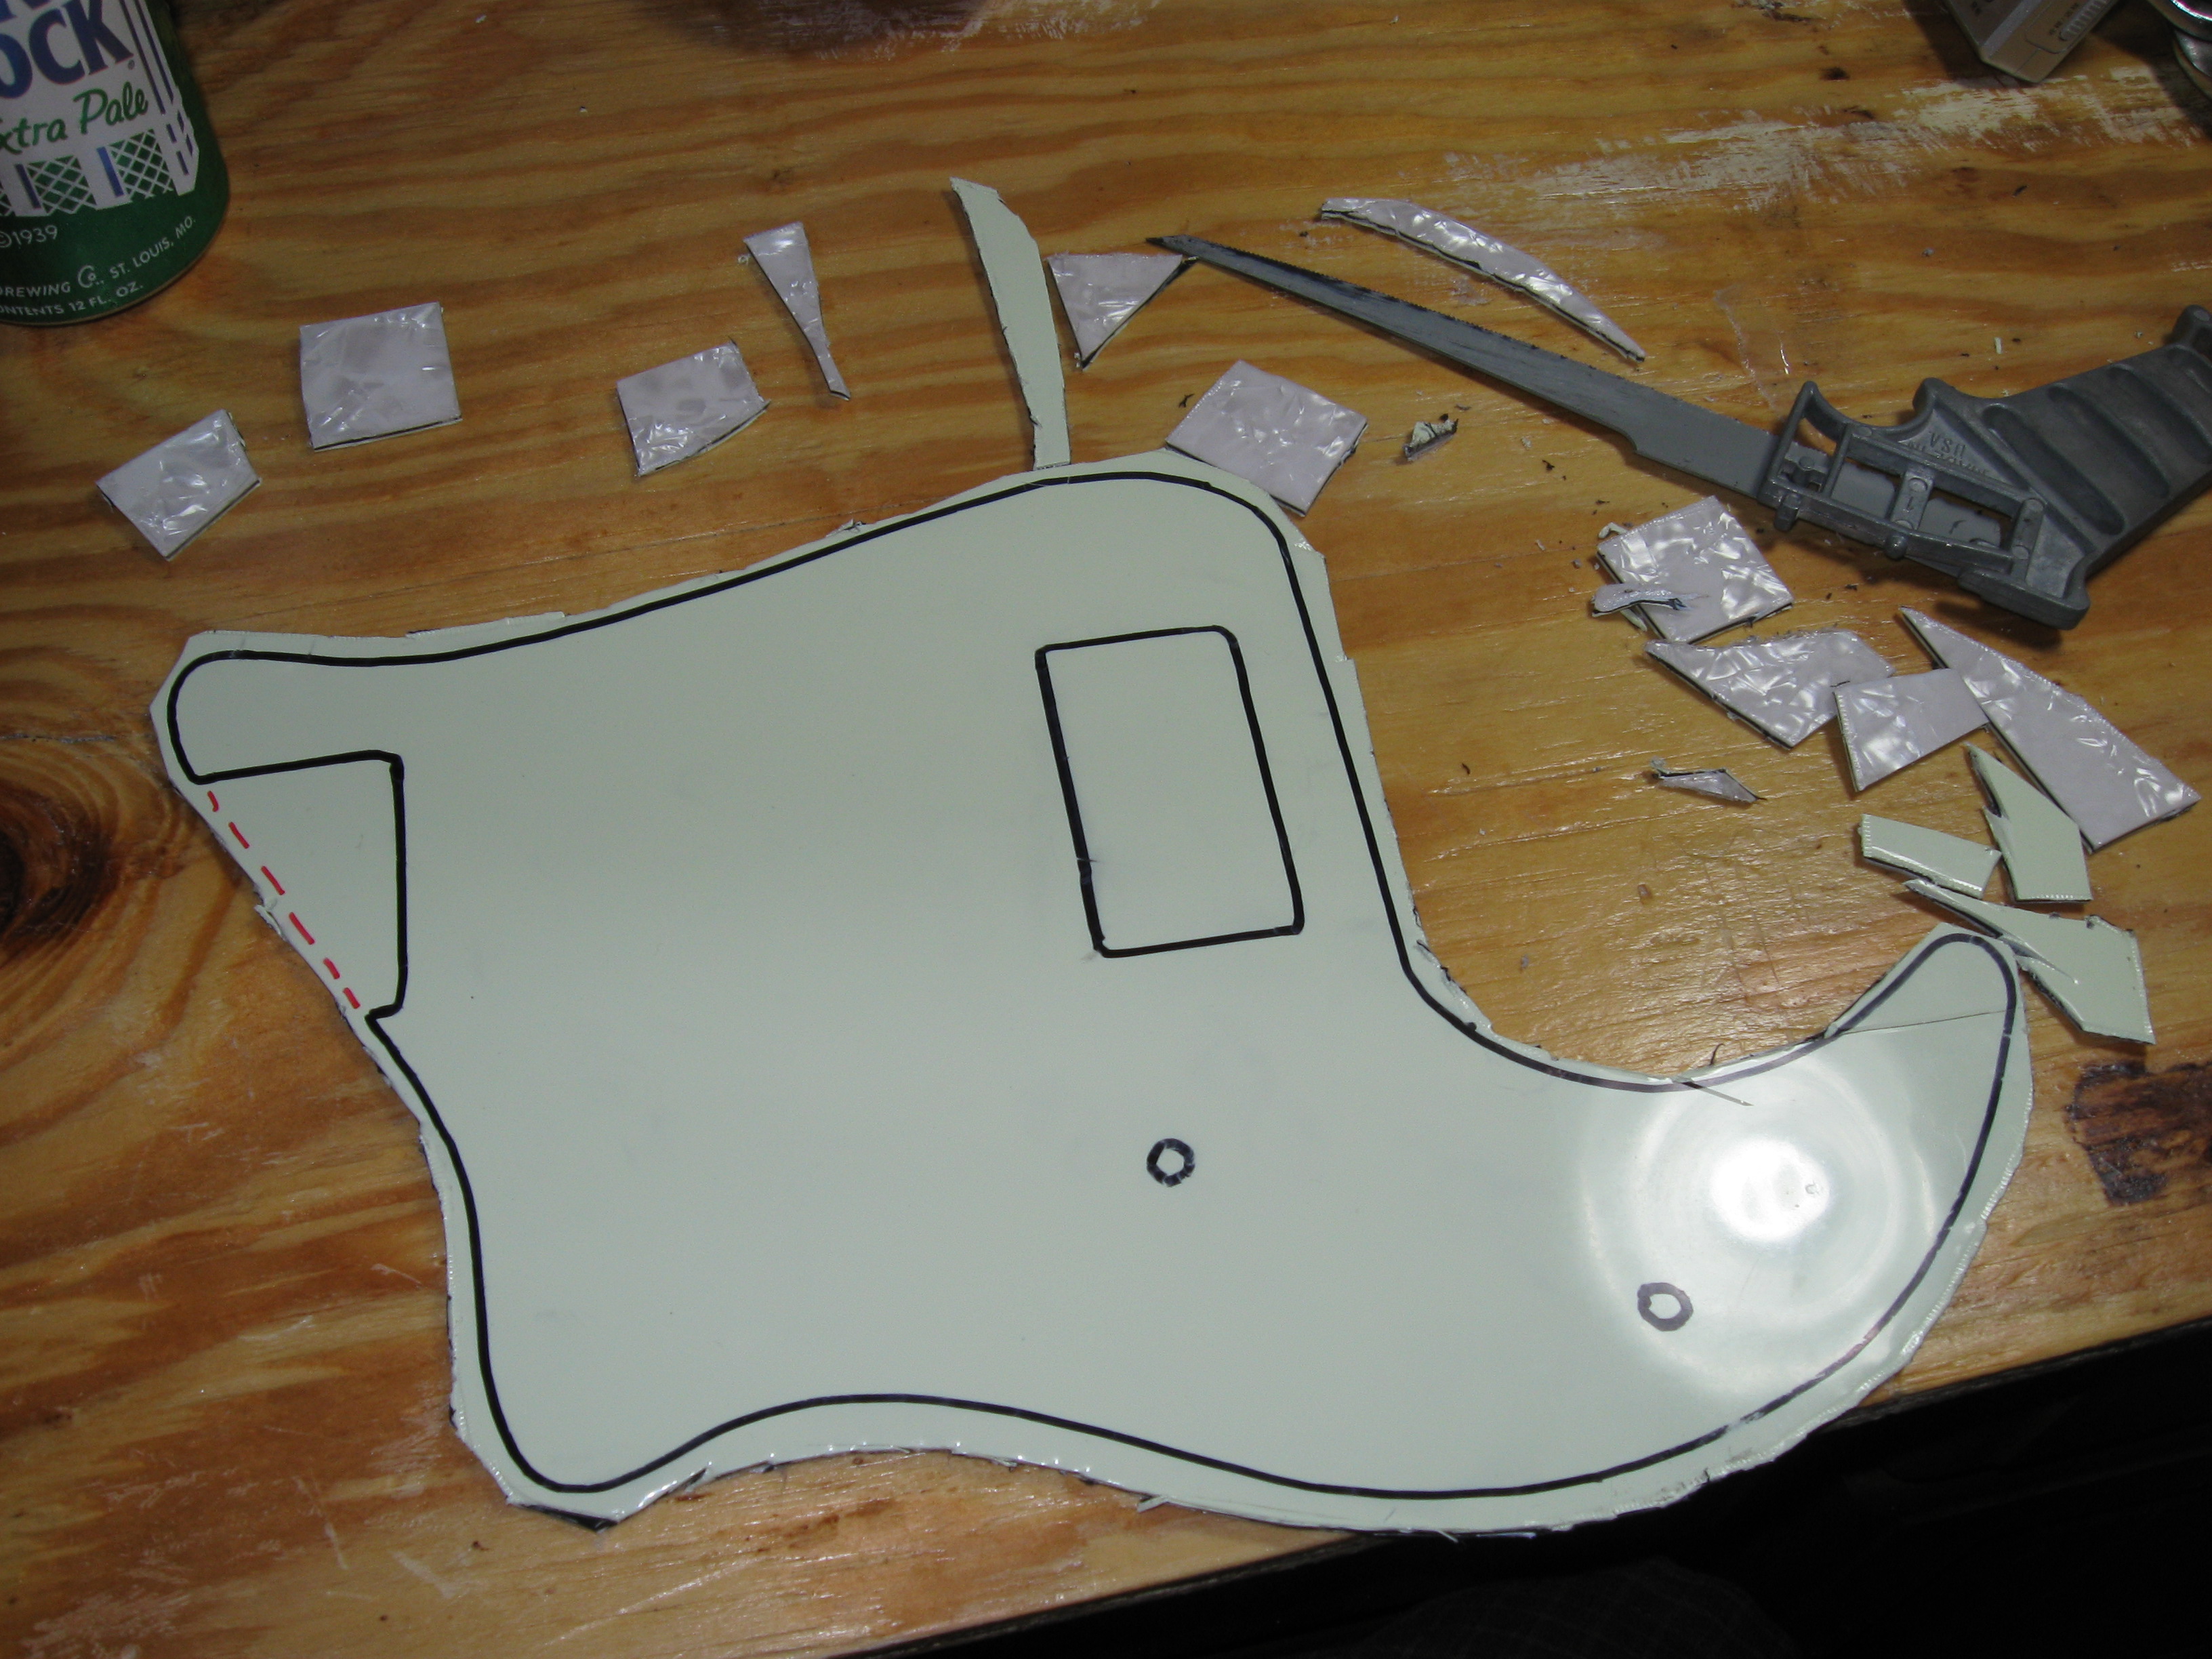
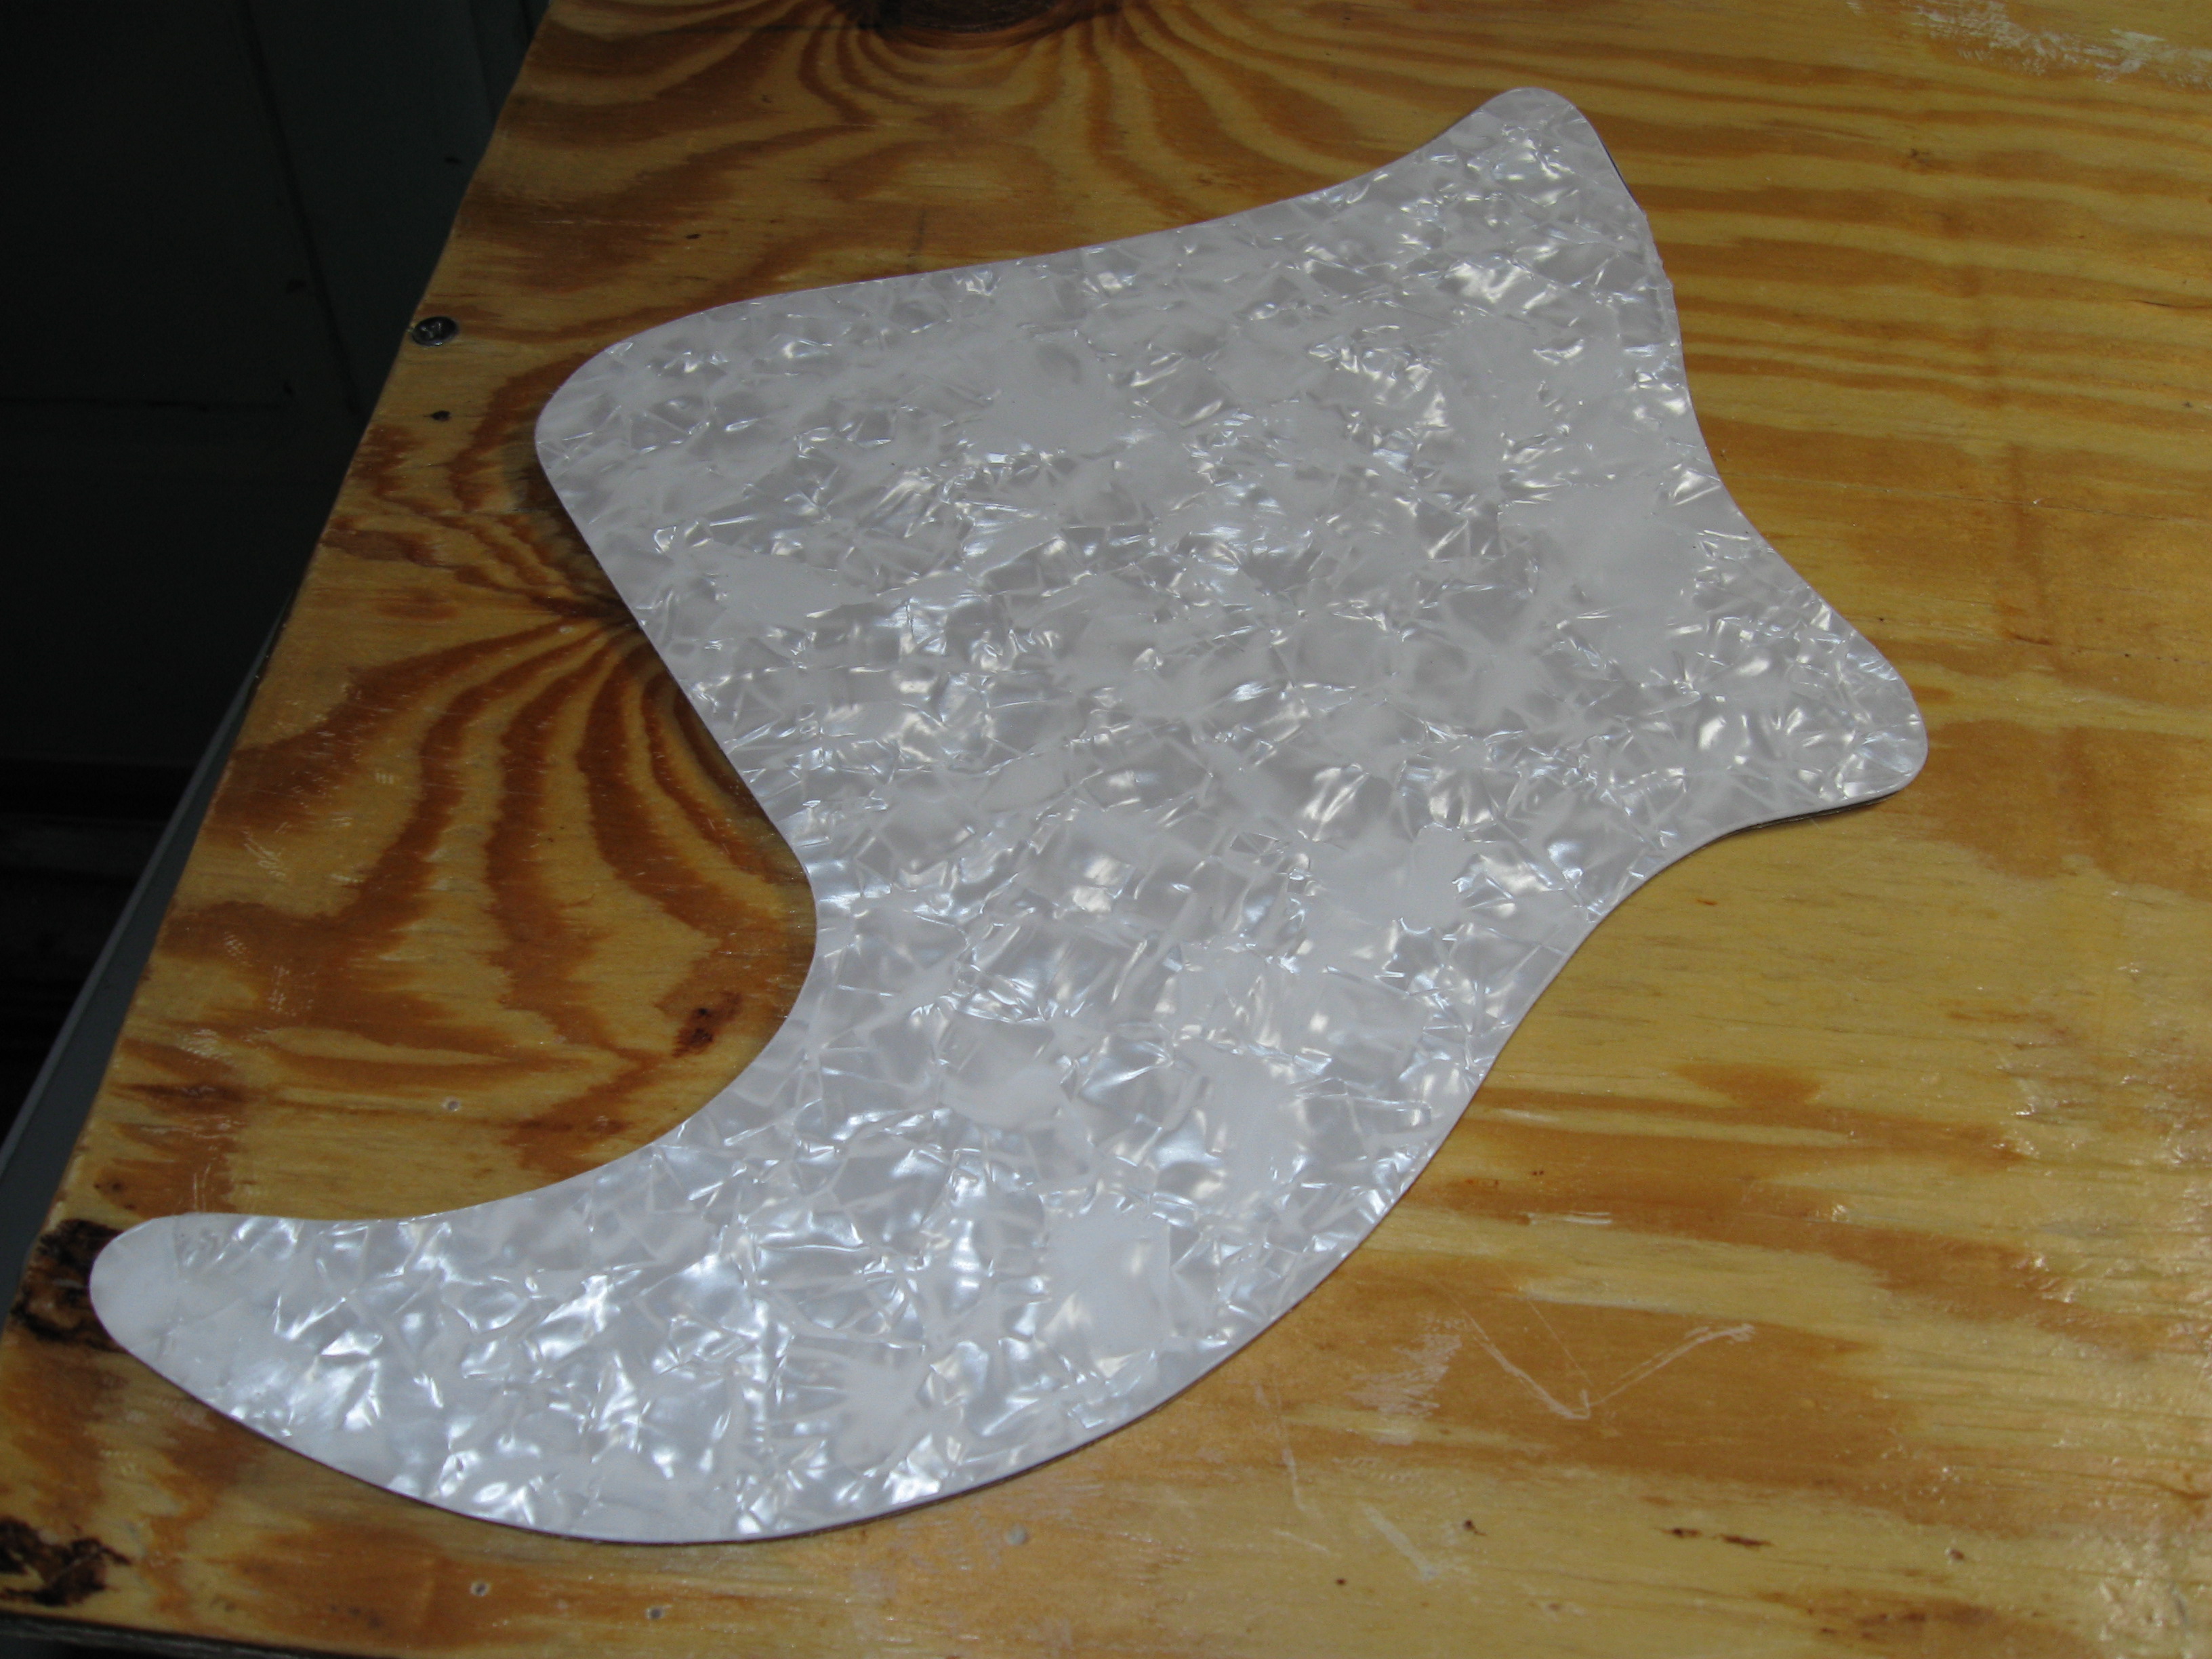
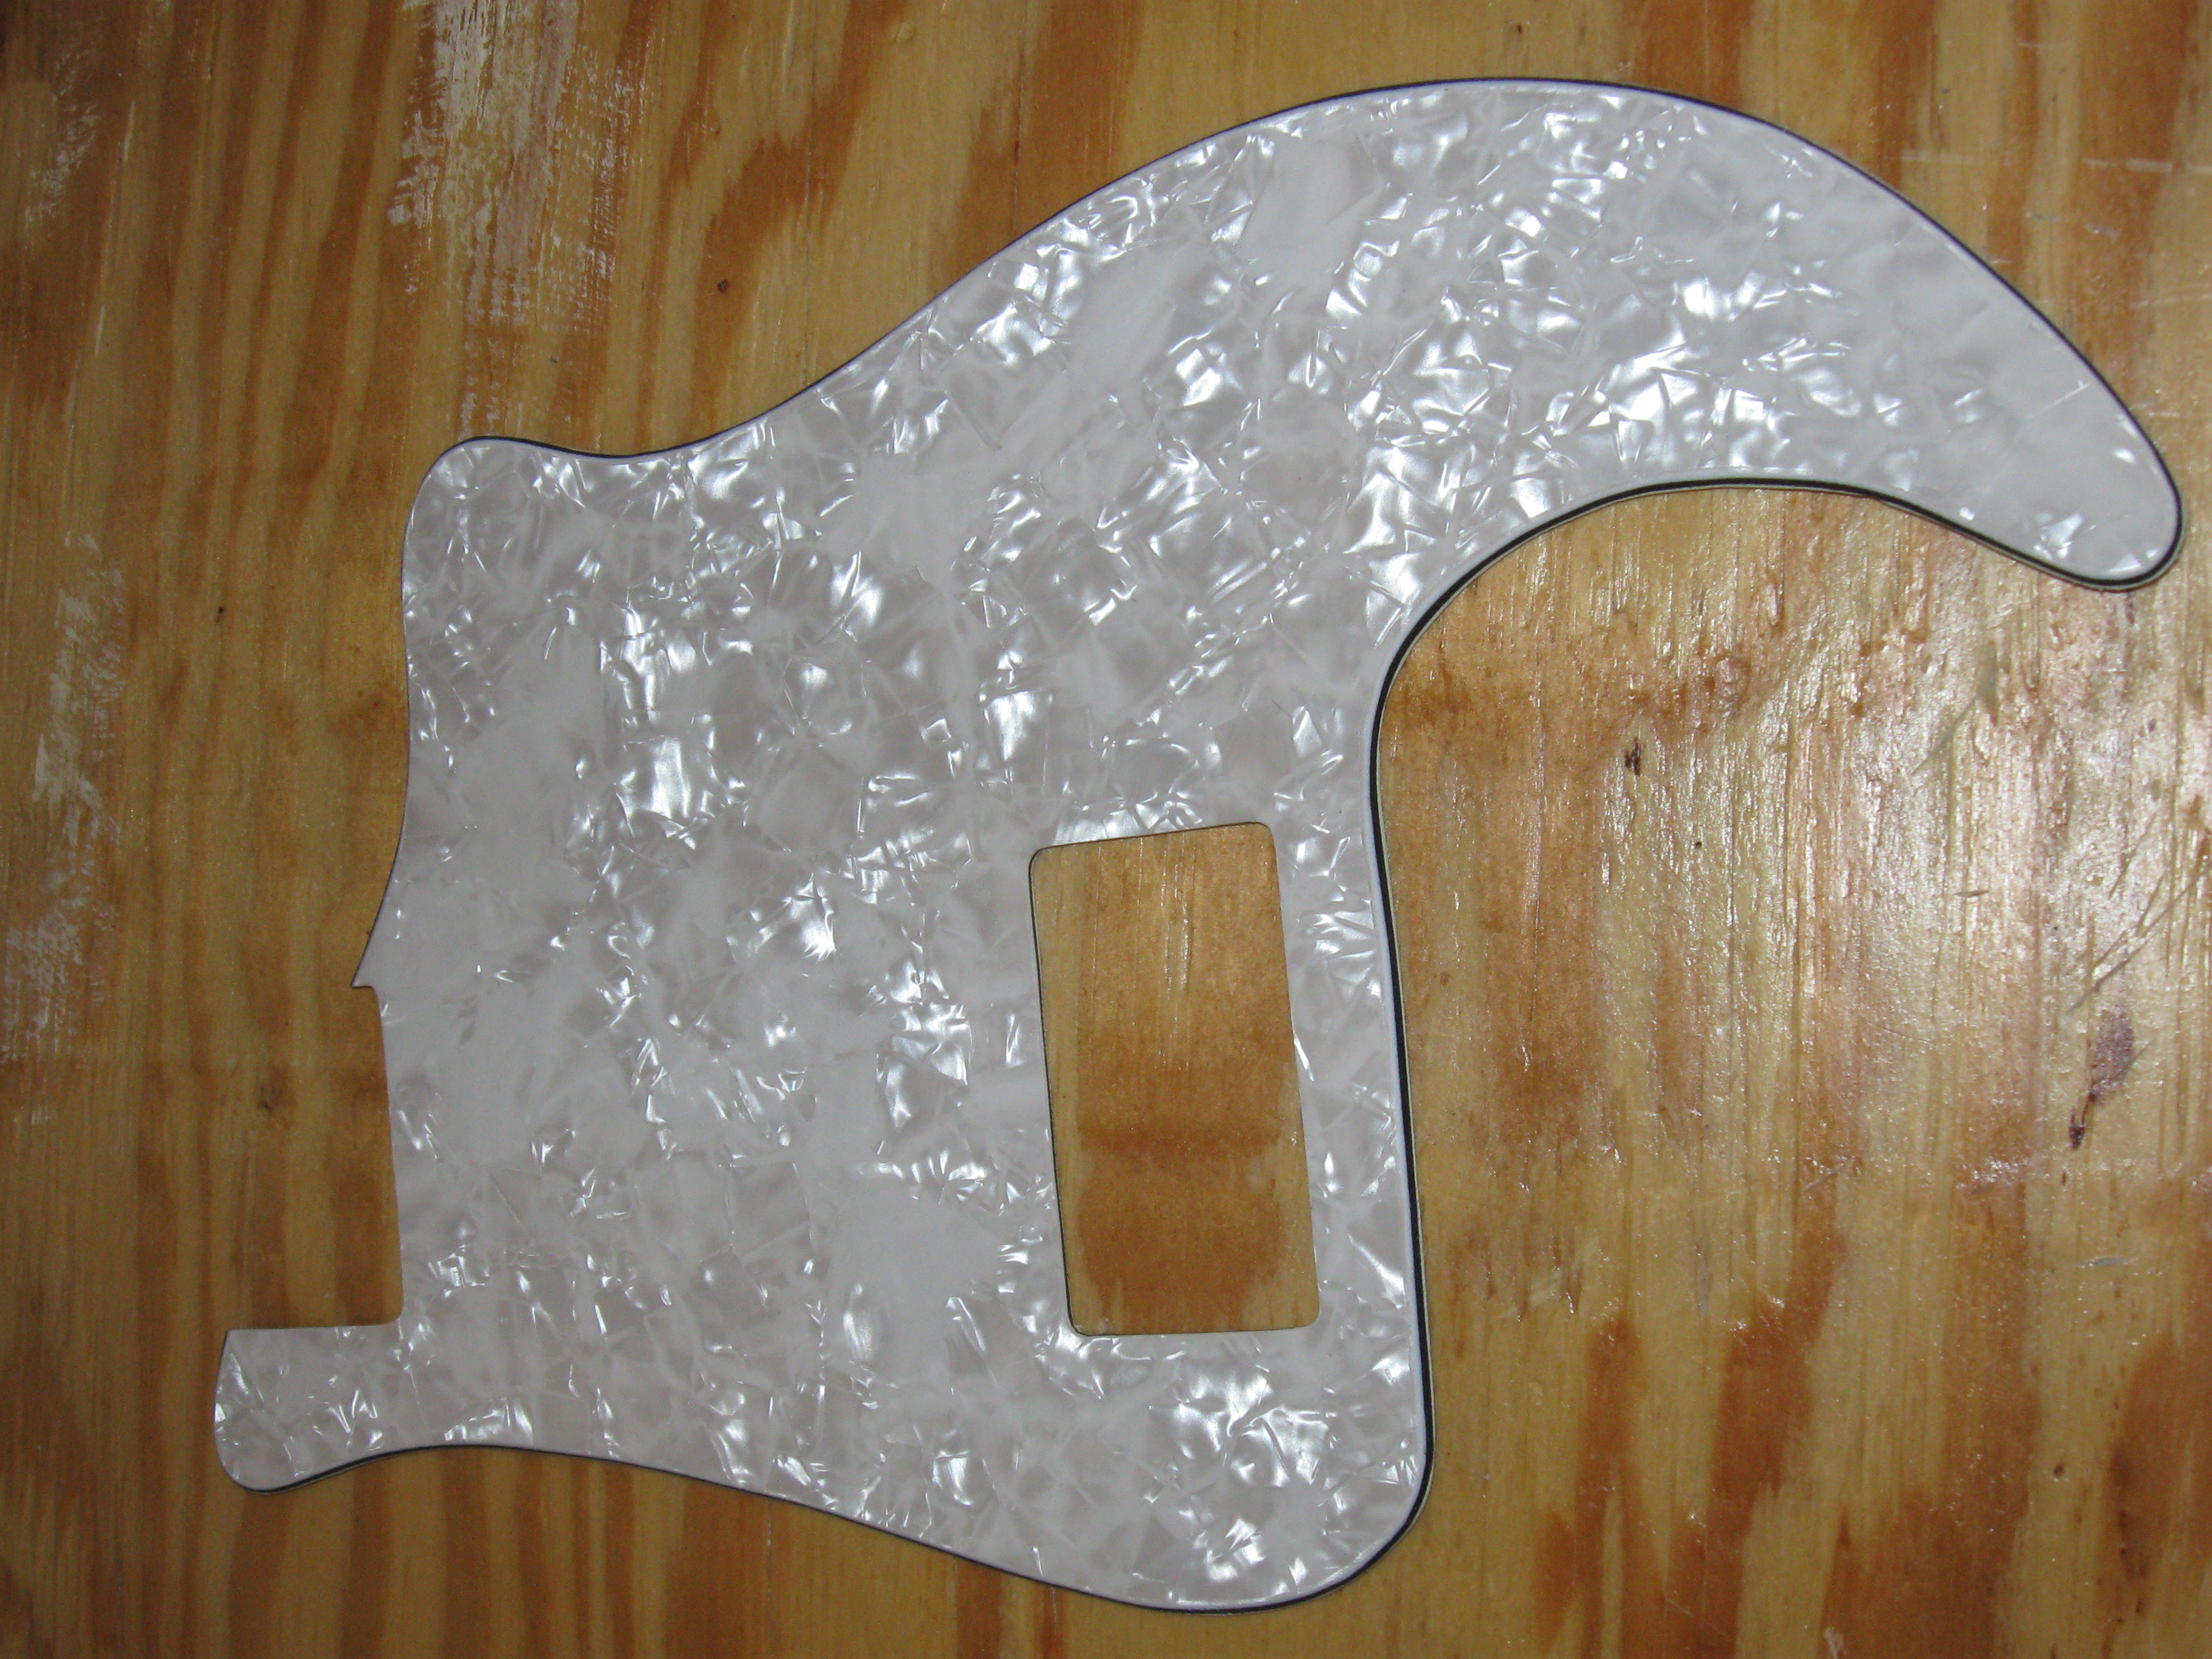
While the body and neck where drying, I got to work on a new pickguard. I choose a white pearloid blank from http://www.stewmac.com/ where I also picked up some hardware and finishing supplies. I made a template by placing paper over the body and rubbing a pencil over the holes. Then traced the design to the material and began cutting it out. However, I didn't have a bandsaw so I had to improvise. I used sheet metal shears to get a rough cut, then a little saw to get it a closer, and finally a series of files to get the exact perimeter I was looking for. Same process for the square hole for the pickup, but I started with 1/2" holes to get going.

Once the body and neck was dry I could begin the final sanding and polishing. As an alternative to buying an expensive buffing wheel, I used micro-mesh pads, also from Amazon. They won't get it as polished and it takes longer, but I was worried that, with my inexperience with a buffing wheel, I would buff through the clear. When using the micro-mesh pads, just make sure not to skip a single step.
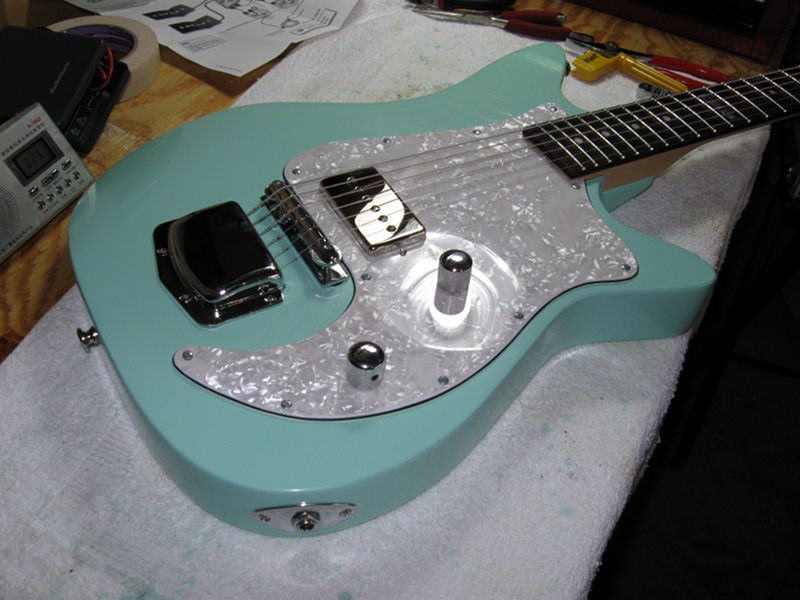
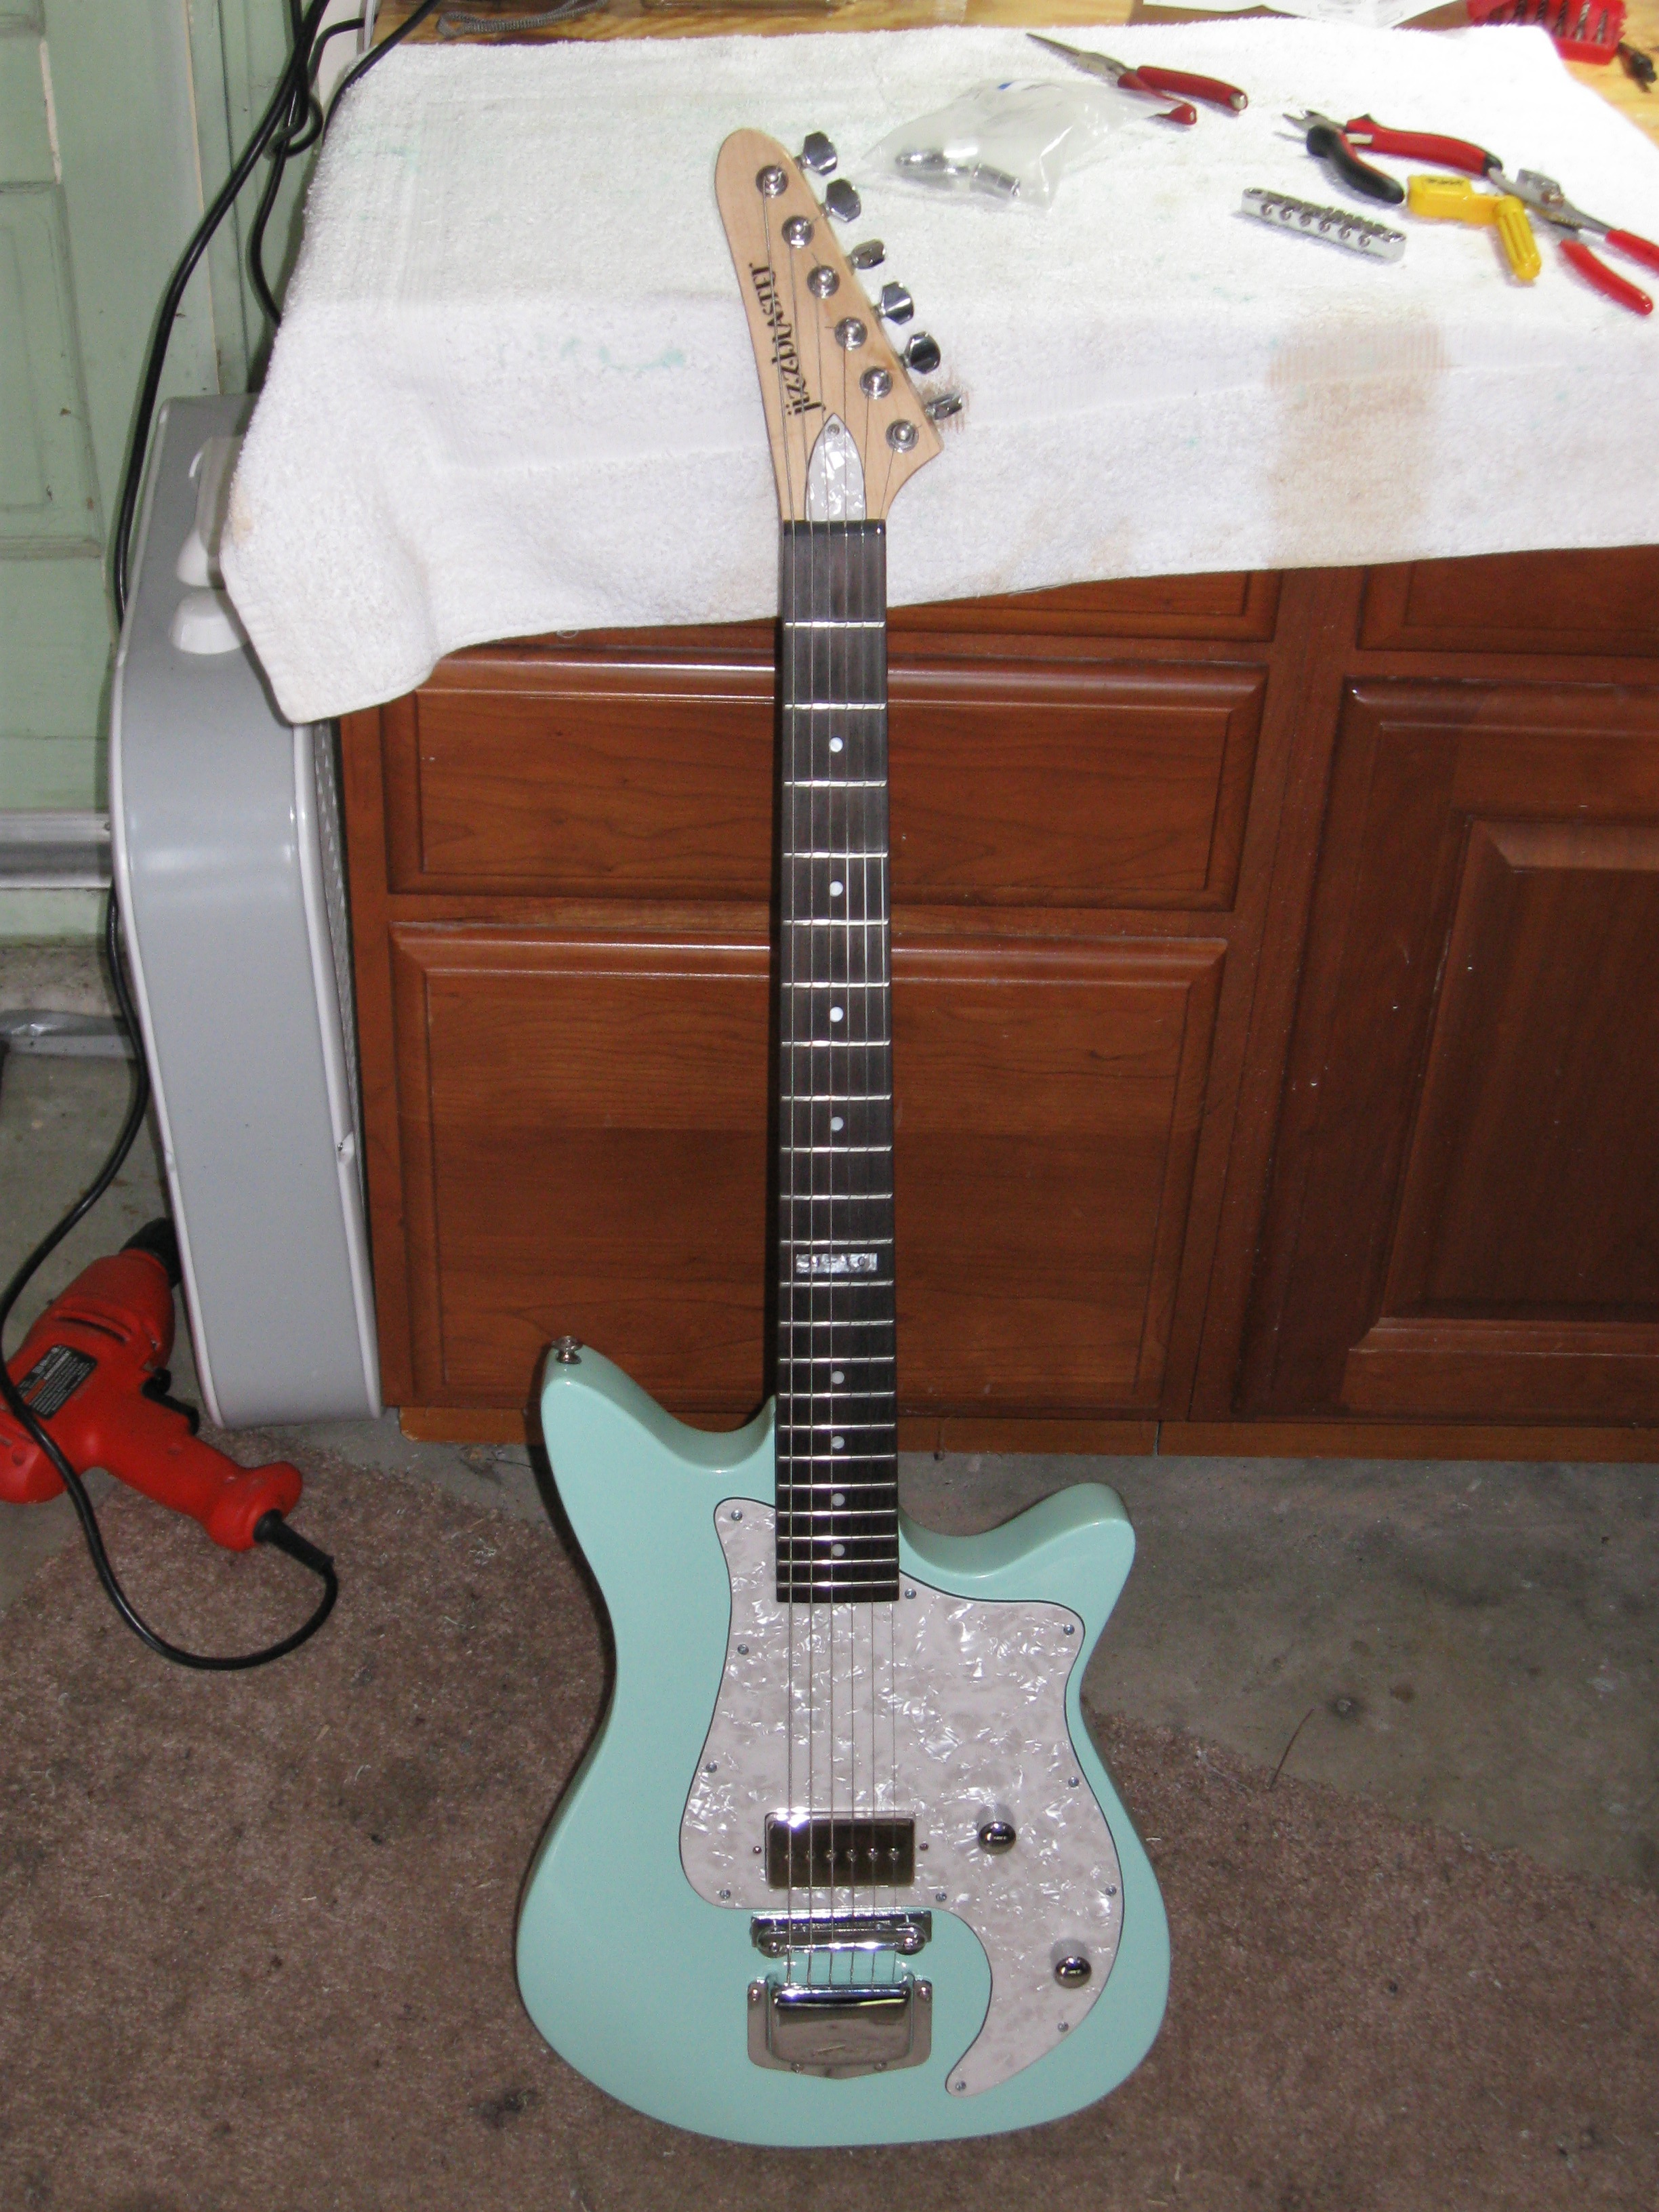
Now it was time to put it together and begin playing! Although it took almost 3 months to complete, I was really happy with how it turned out. For my first guitar paint-job, I couldn't be happier.