On this day, July 27, 2016, my artile on WikiHow - How To Build a Supercomputer - has reached 200,000 views. In honor of the achievement, I will reproduce the article here on my website so that future generations may read and enjoy this masterfully crafted tail of human ingenuity and technical triumph.
Are you in need of a machine that can deliver hundreds of trillions of floating-point calculations per second? Or are you in need of a bar story about how the supercomputer in your basement flipped a breaker? Building your own High Performance Compute cluster, a.k.a. supercomputer, is a challenge any expert geek with a weekend of free time and some cash to burn can tackle. Technically speaking, a modern, multi-processor supercomputer is a network of computers working together in parallel to solve a problem. This article will briefly describe each step in the process, focusing on hardware and software.
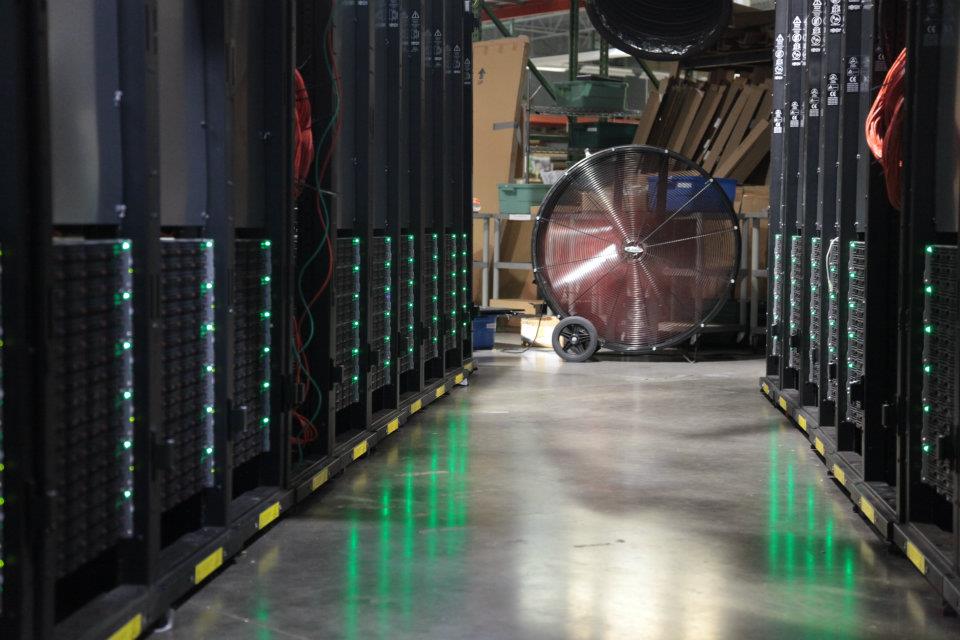
Step 1. First determine the hardware components and resources needed. You will need one head node, at least a dozen identical compute nodes, an Ethernet switch, a power distribution unit, and a rack. Determine the electrical demand, cooling and space required. Also decide on what IP address you want for your private networks, what to name the nodes, what software packages you want installed, and what technology you want to provide the parallel computing capabilities (more on this later).
- Though the hardware is expensive, all software listed in this how-to is free, and most are open source.
- If you would like to see how fast your supercomputer would theoretically be, use this tool: http://hpl-calculator.sourceforge.net/

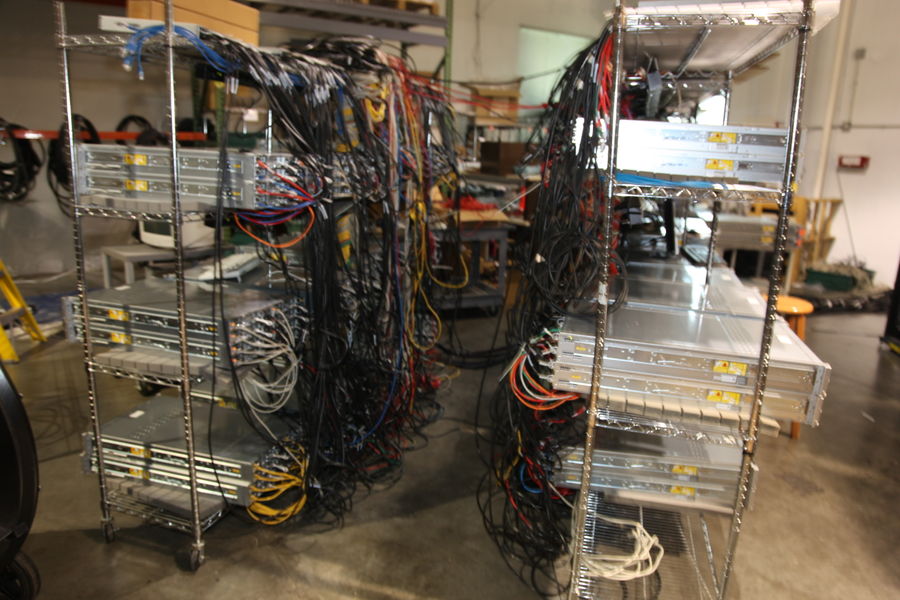
Step 2. Build the compute nodes. You will need to assemble the compute nodes or acquire pre-build servers.
- Choose a computer server chassis that maximizes space, cooling, and energy efficiency.
- Or you can utilize a dozen or so used, outdated servers - whose whole will outweigh the sum of their parts yet save you a sizable lump of cash. All processors, network adapters, and motherboards should be identical for the whole system to play together nicely. Of course, don't forget about RAM and storage for each node and at least one optical drive for the head node.
Step 3. Install the servers into the rack. Start from the bottom, so the rack isn't top heavy. You will need a friend to help you with this - the dense servers can be very heavy and guiding them into the rails that hold them into the rack is difficult.
Step 4. Install the Ethernet switch above the server chassis. Take this moment to configure the switch: allow for jumbo frame sizes of 9000 bytes, set the IP address to the static address you decided on in step 1, and turn off unnecessary routing protocols such as SMTP Snooping.
Step 5. Install the PDU (Power Distribution Unit). Depending on how much current your nodes may need at maximum load, you may need 220 volts for high performance computing.
Step 6. With everything installed, you can begin the configuration process. Linux is the de facto OS for HPC clusters–not only is it the ideal environment for scientific computing, but it doesn't cost a thing to install it on hundreds or even thousands of nodes. Imagine how much it would cost to install Windows on all those nodes!
- Begin with installing the latest version of the motherboard BIOS and firmware, which should be the same on all nodes.
- Install your preferred linux distro on each node, with a graphical UI for the head node. Popular choices include CentOS, OpenSuse, Scientific Linux, RedHat, and SLES.
- This author highly recommends using the Rocks Cluster Distribution. In addition to installing all the tools necessary for a compute cluster to function, Rocks uses a great method for 'distributing' many instances of itself to the nodes very quickly using PXE boot and the Red Hat 'Kick Start' procedure.

Step 7. Install the message-passing interface, resource-manager, and other necessary libraries. If you didn't install Rocks in the previous step, you will have to manually setup the necessary software to enable the parallel computing mechanisms.
- First you will need a portable bash management system, such as the Torque Resource Manager, which allows you to break-up and distribute tasks to multiple machines.
- Pair Torque with the Maui Cluster Scheduler to complete the setup.
- Next you will need to install the message passing interface, necessary for the individual processes on the separate compute nodes to share the same data. OpenMP is a no-brainer.
- Don't forget the multi-threading math libraries and compilers to build your parallel computing programs. Did I mention that you should just install Rocks?
Step 8. Network the compute nodes together. The head node sends the compute tasks to the compute nodes, which in turn must send the result back, as well as sending messages to each other. The faster the better.
- Use a private ethernet network to connect all the nodes in the cluster.
- The head node can also act as a NFS, PXE, DHCP, TFTP, and NTP server over the Ethernet network.
- You must separate this network from public networks, which ensures that broadcast packets don't interfere with other networks in your LAN.
Step 9. Test the cluster. The last thing you may want to do before releasing all this compute power to your users is test it's performance. The HPL (High Performance Lynpack) benchmark is a popular choice for measuring the computational speed of the cluster. You will need to compile it from source with all possible optimizations your compiler offers for the architecture you chose. It's comman to run HPL for several hours to 'burn in' the hardware, which will quickly find the hard drives, memory sticks and motherboards that are faulty so they can be replaced.
- You must, of course, compile from source with all possible optimization options for your platform. For example, if using AMD CPUs, compile with Open64 with -0fast optimization level.
- Compare your results on TOP500.org to compare your cluster to the fastest 500 supercomputers in the world!