I love my 1974 Honda CL200, but some features are just... dorky. And what they're doing in Japan with old Hondas and Yamahas inspired me to do the same with mine. So what started off as a mild, stock-ish restoration project, began to steer in the direction of darkness when I decided to add some bratstyle/tracker styling cues. One thing led to another, and the next thing I find myself doing is bobbing the rear fender.
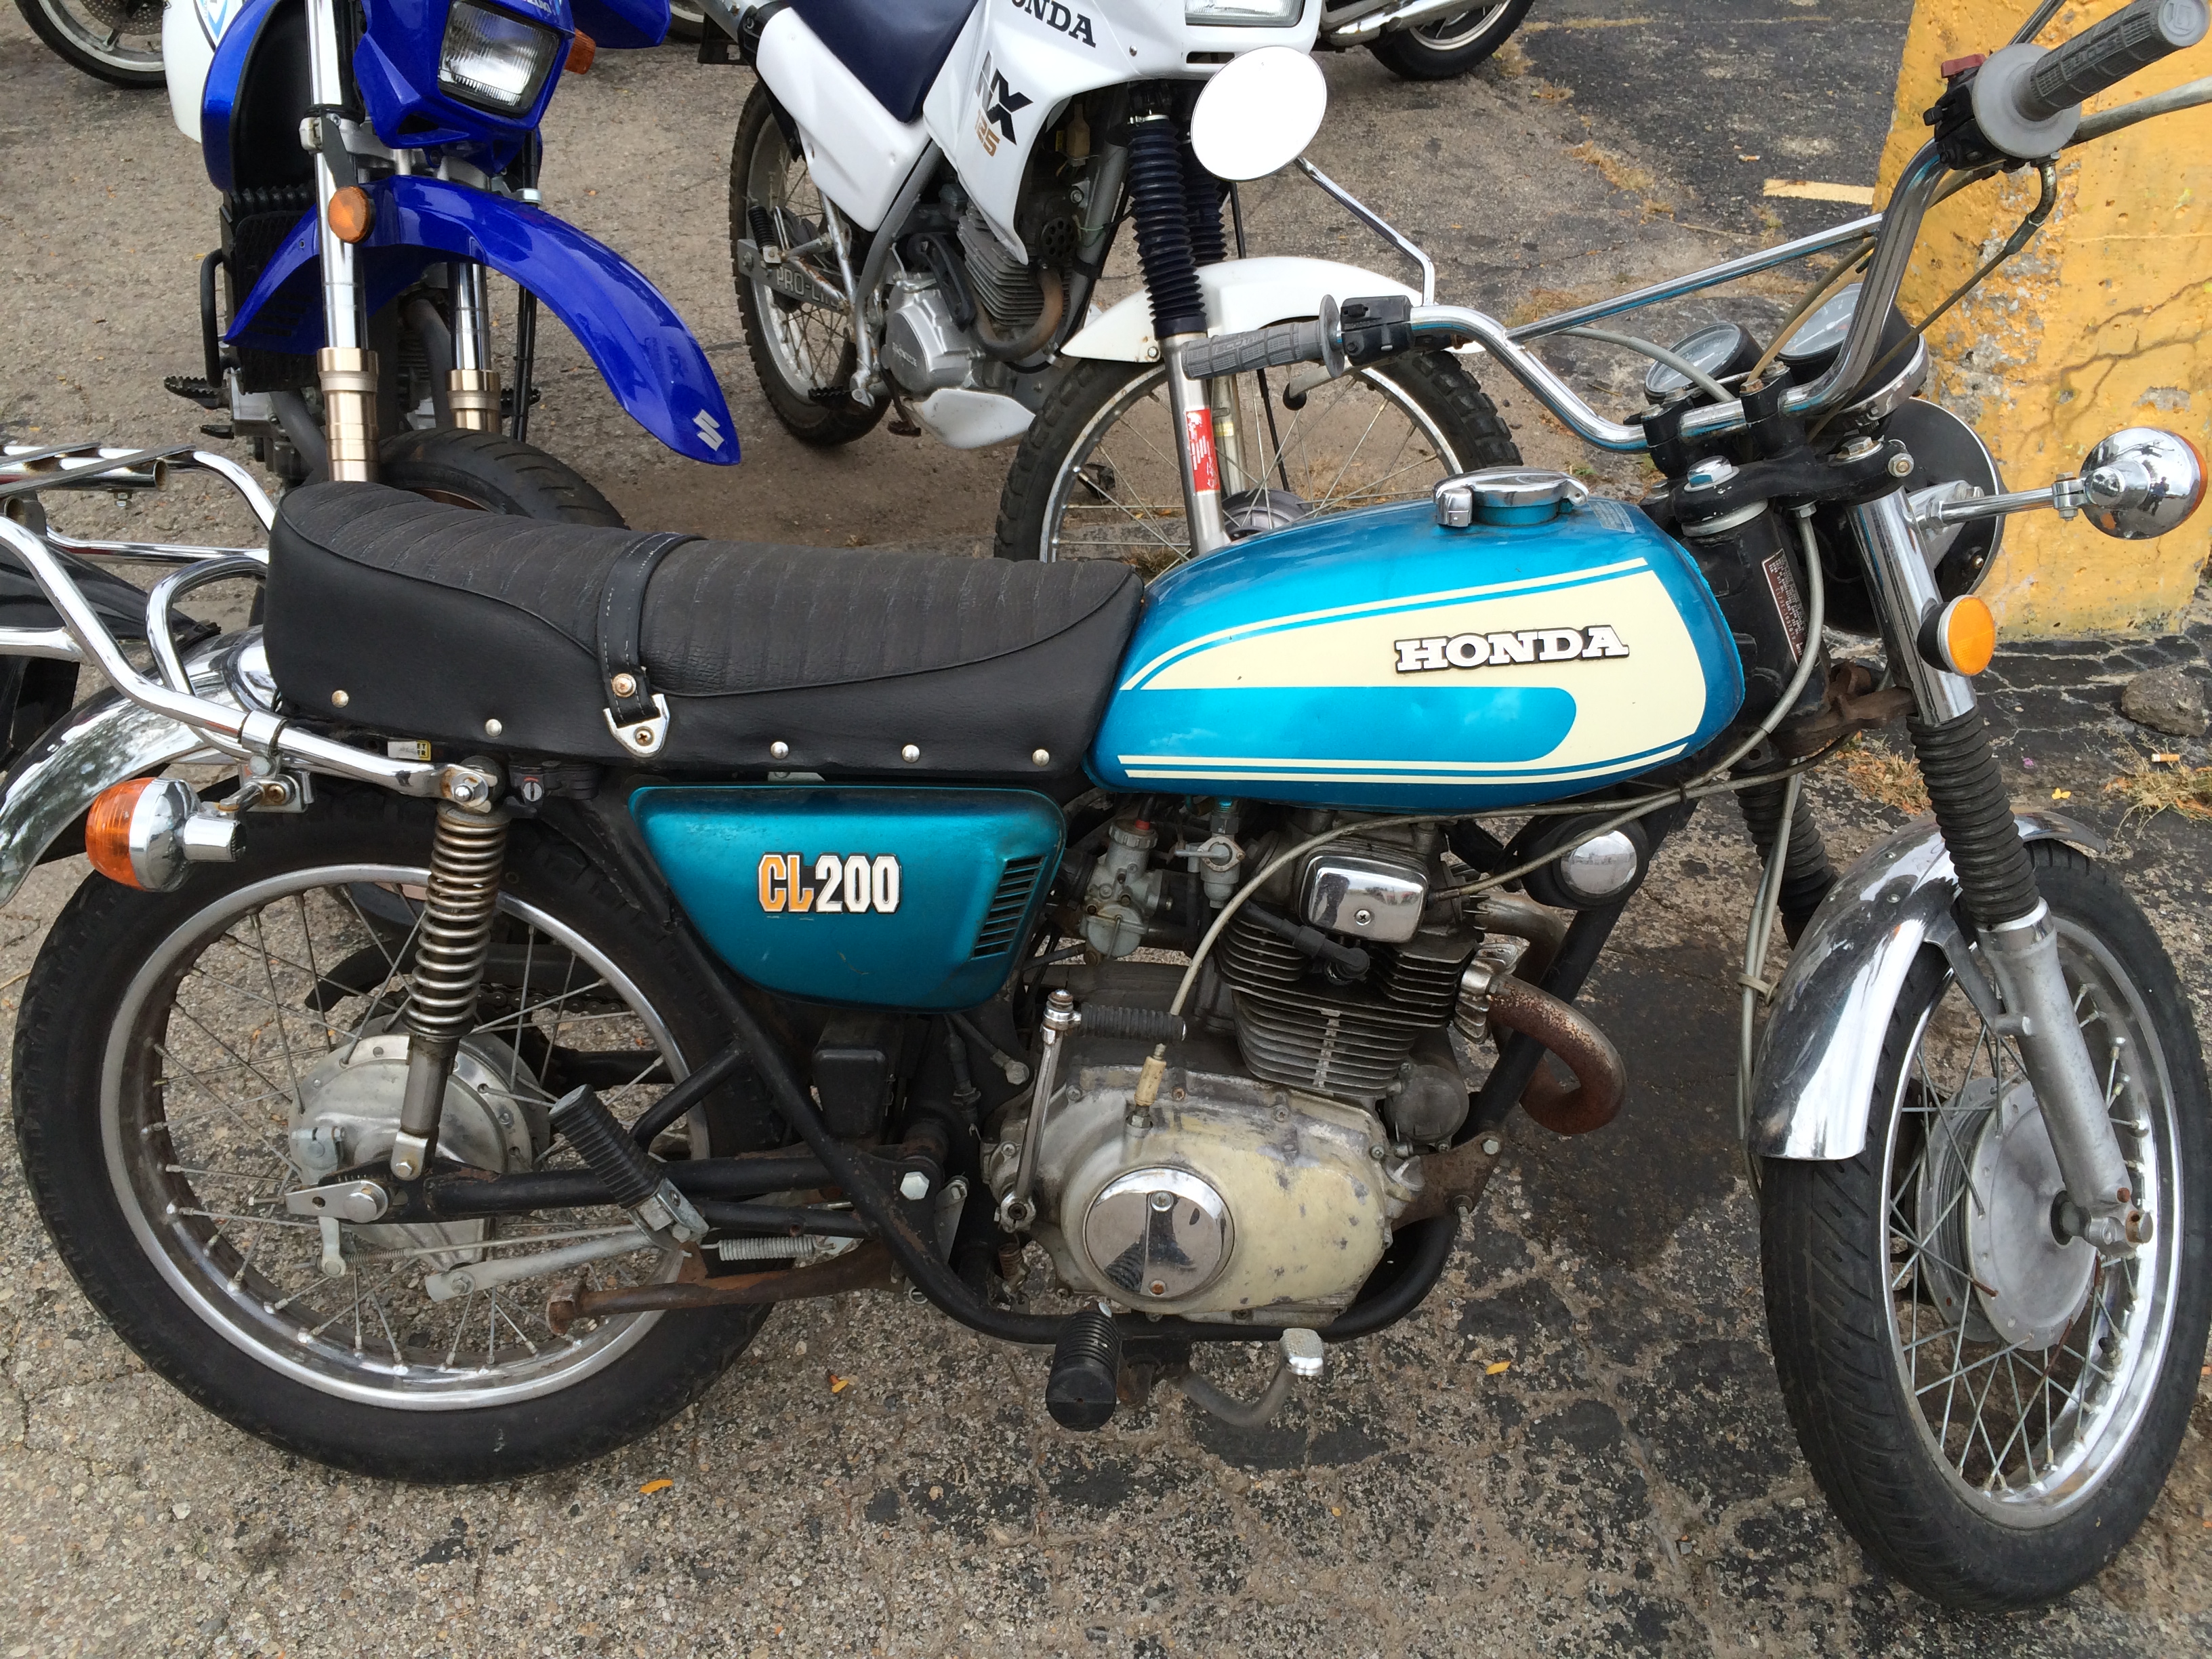
Here's how it looked on the lot I found it on:
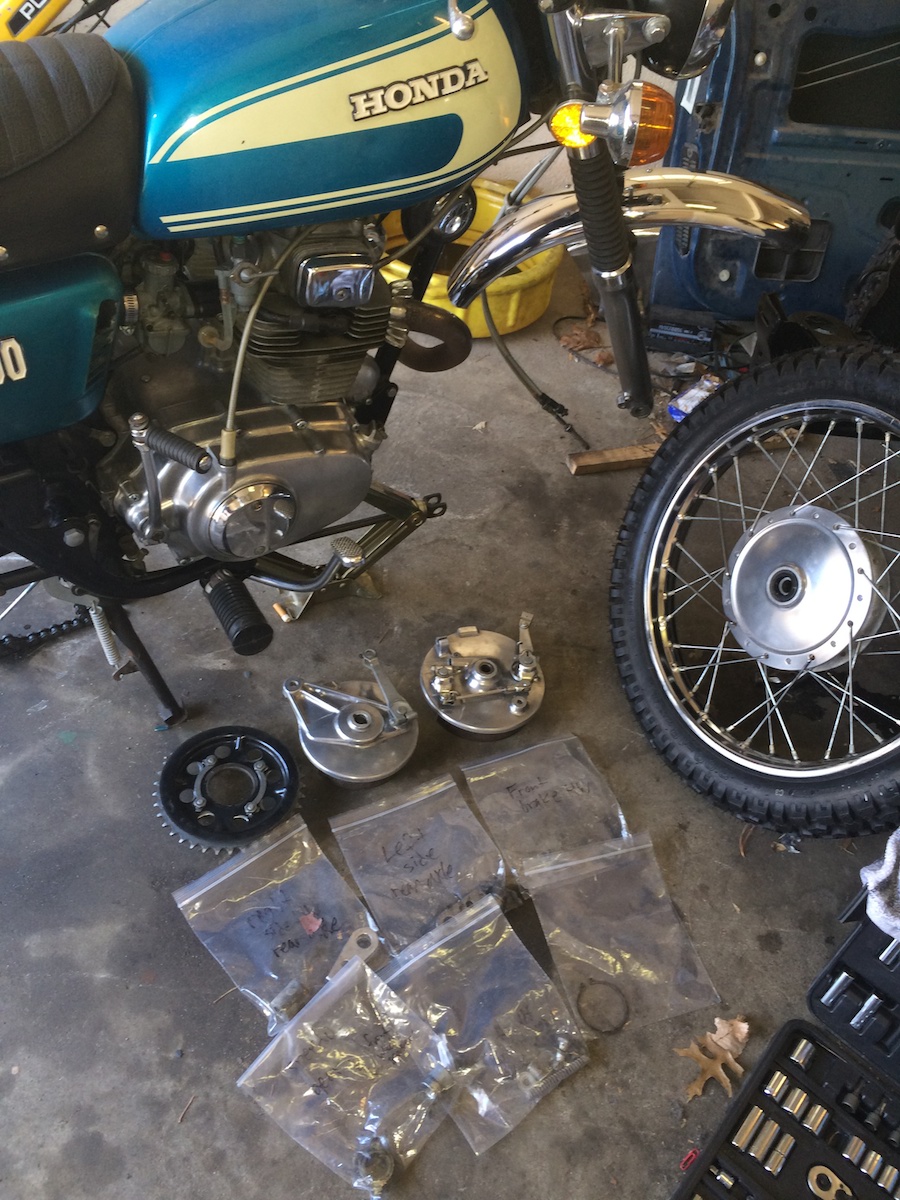
The first thing that needed to be done was refinish and polish all the aluminum. Next I repaired, painted and spruced up the side covers.
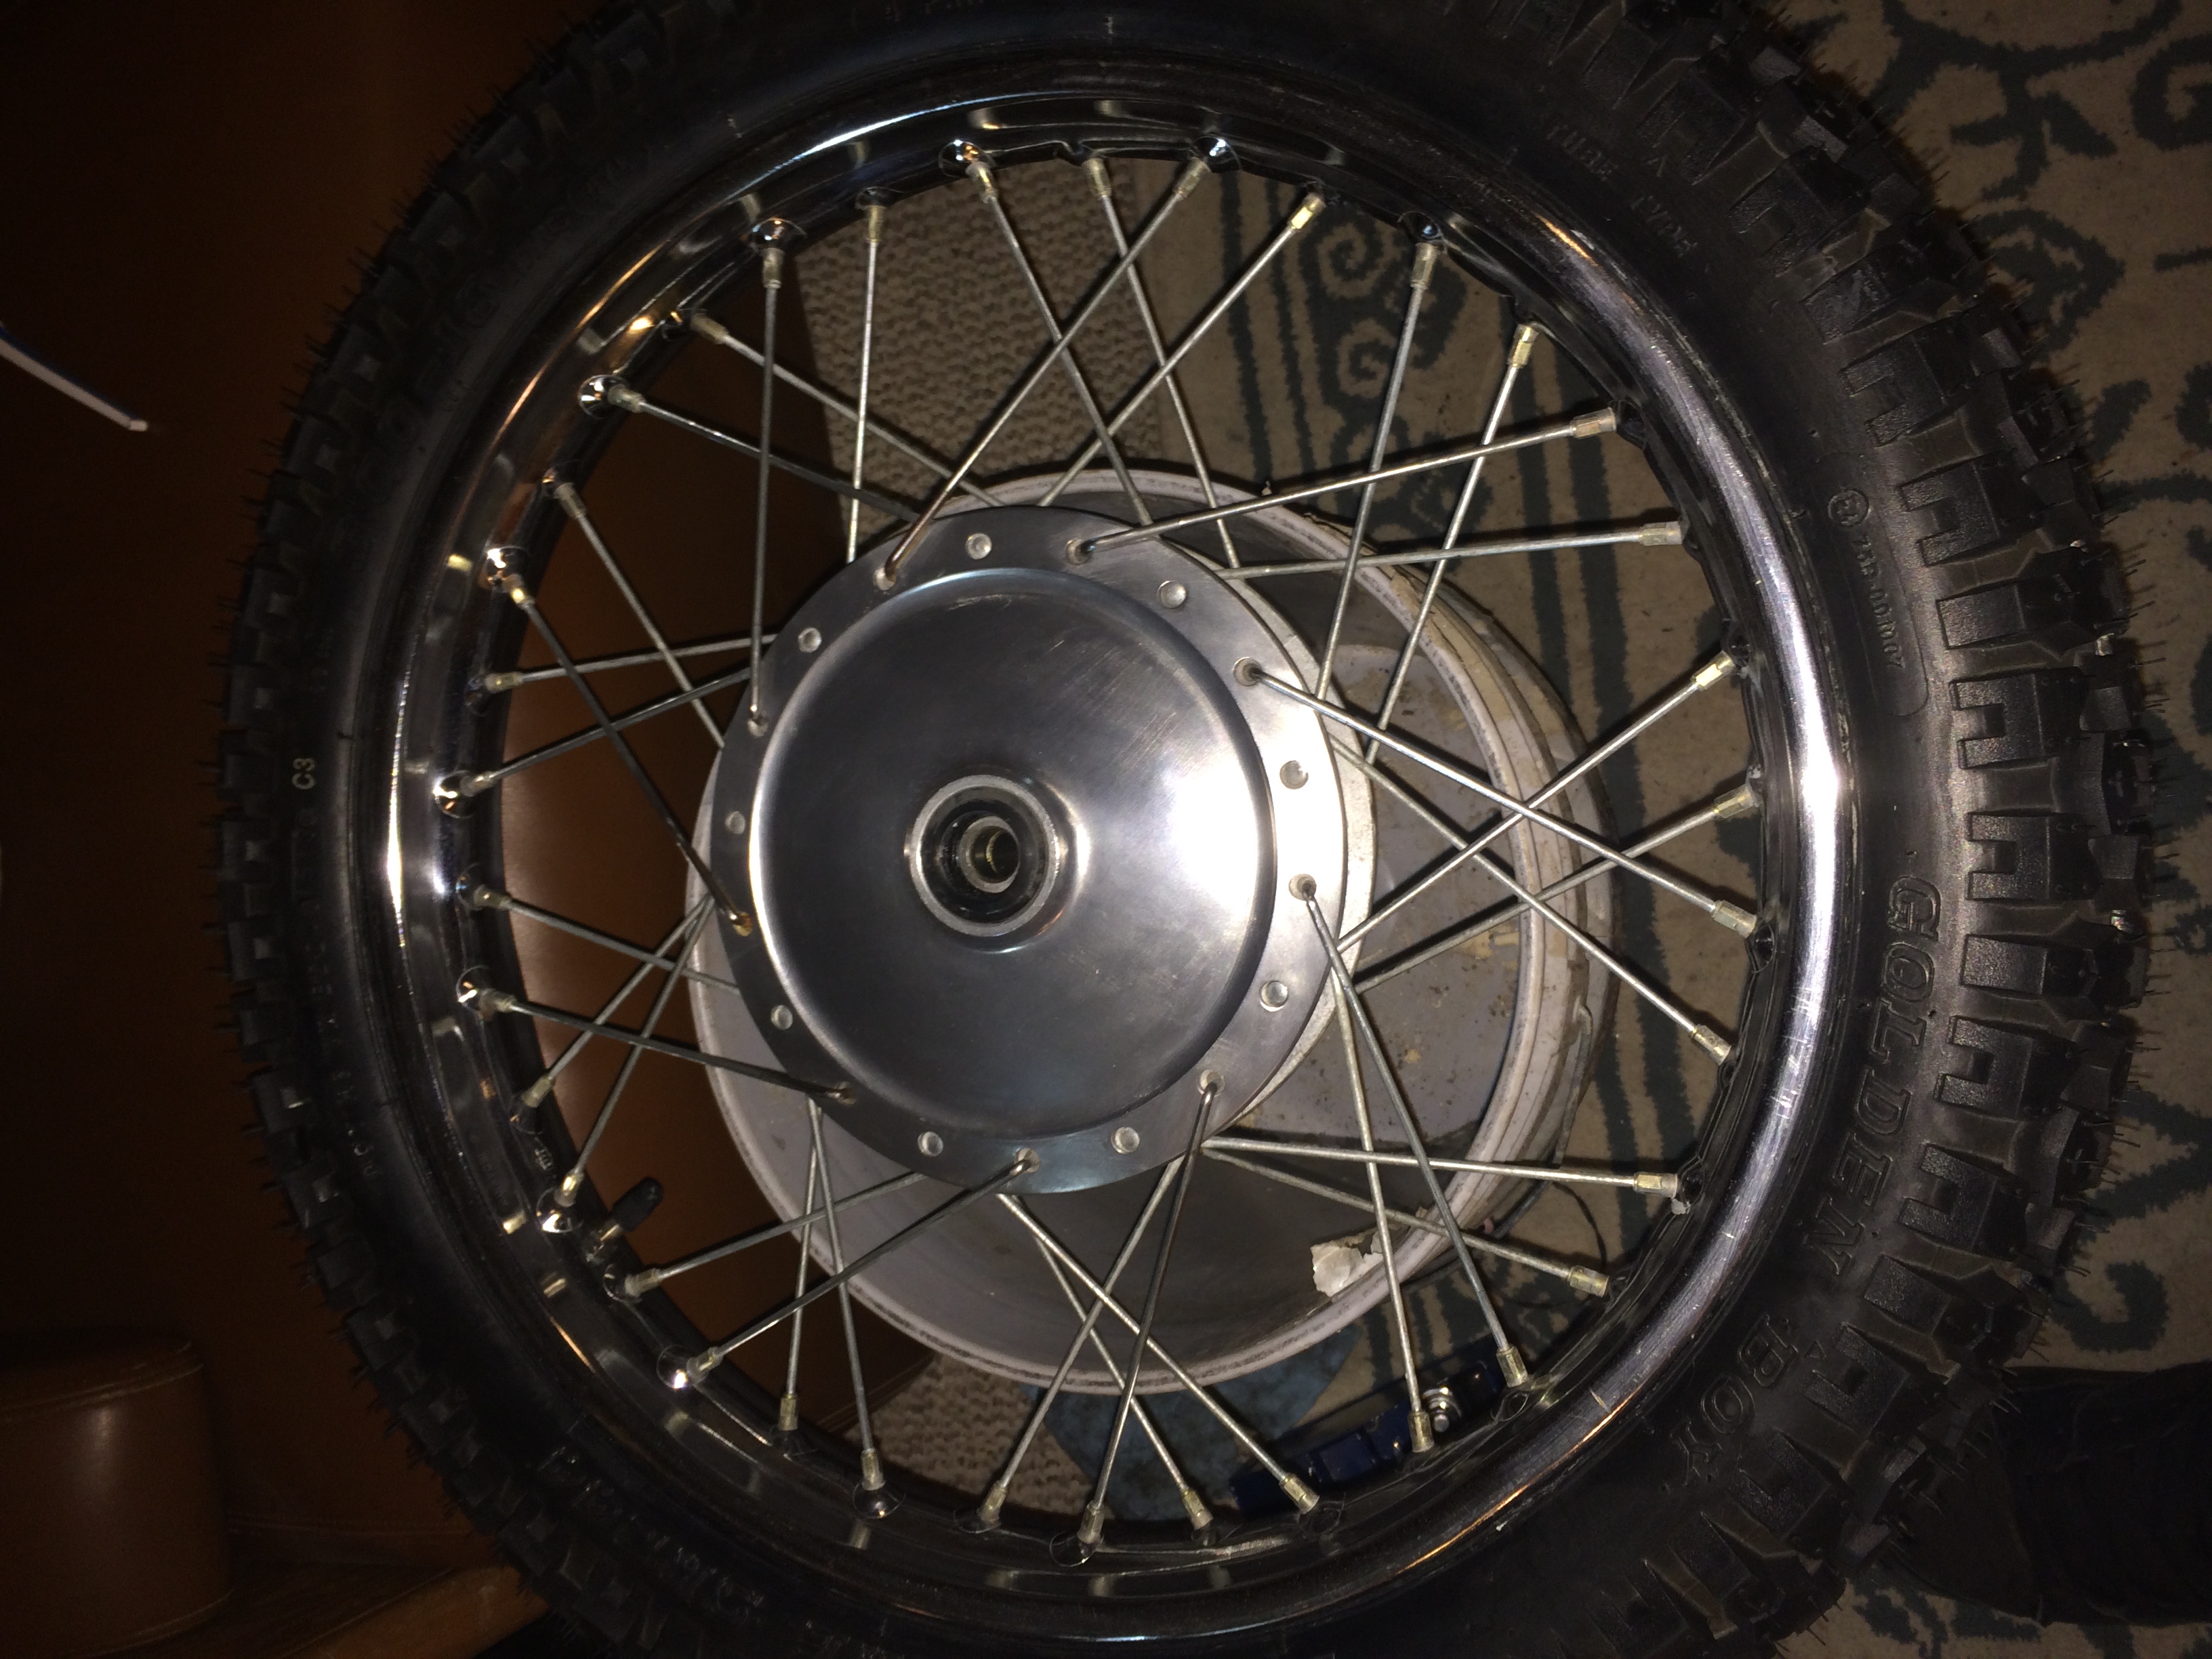
Then installed the new tires. They're Shinko 244 dual sport tires,
which are both 0.5 inches bigger than stock. They handle fine and, in my opinion, help the bike handle a little less clumsy.
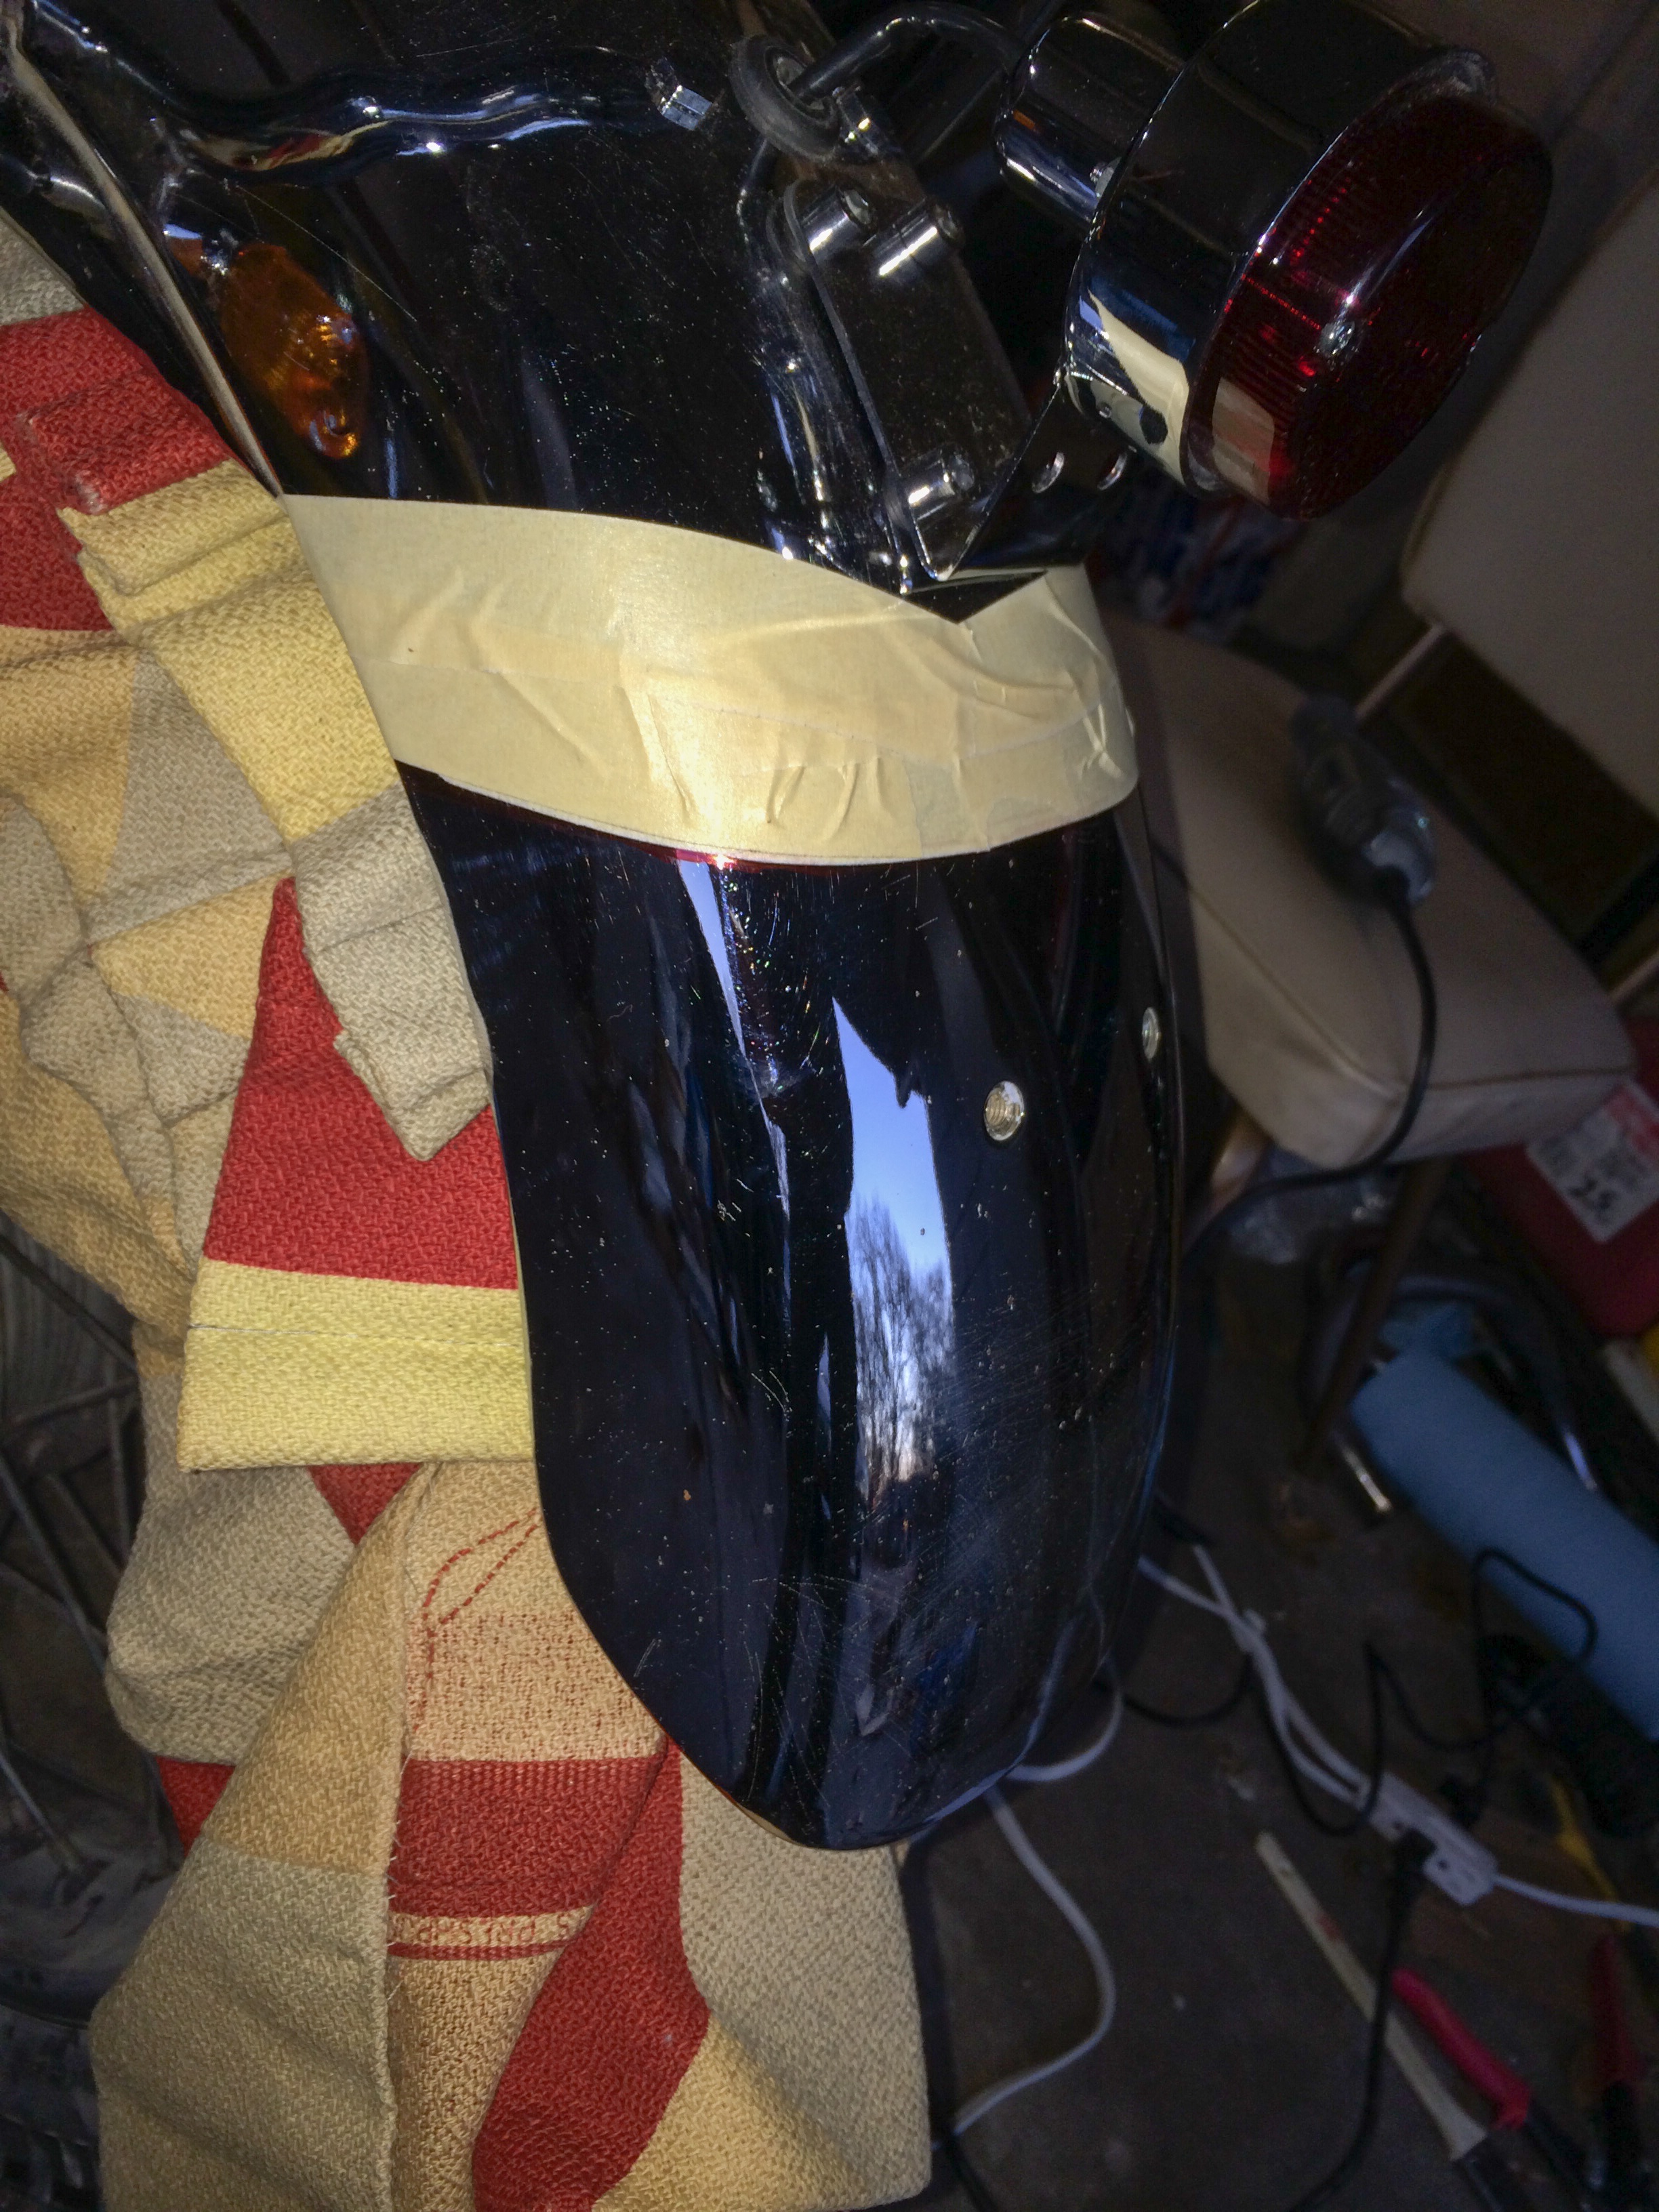
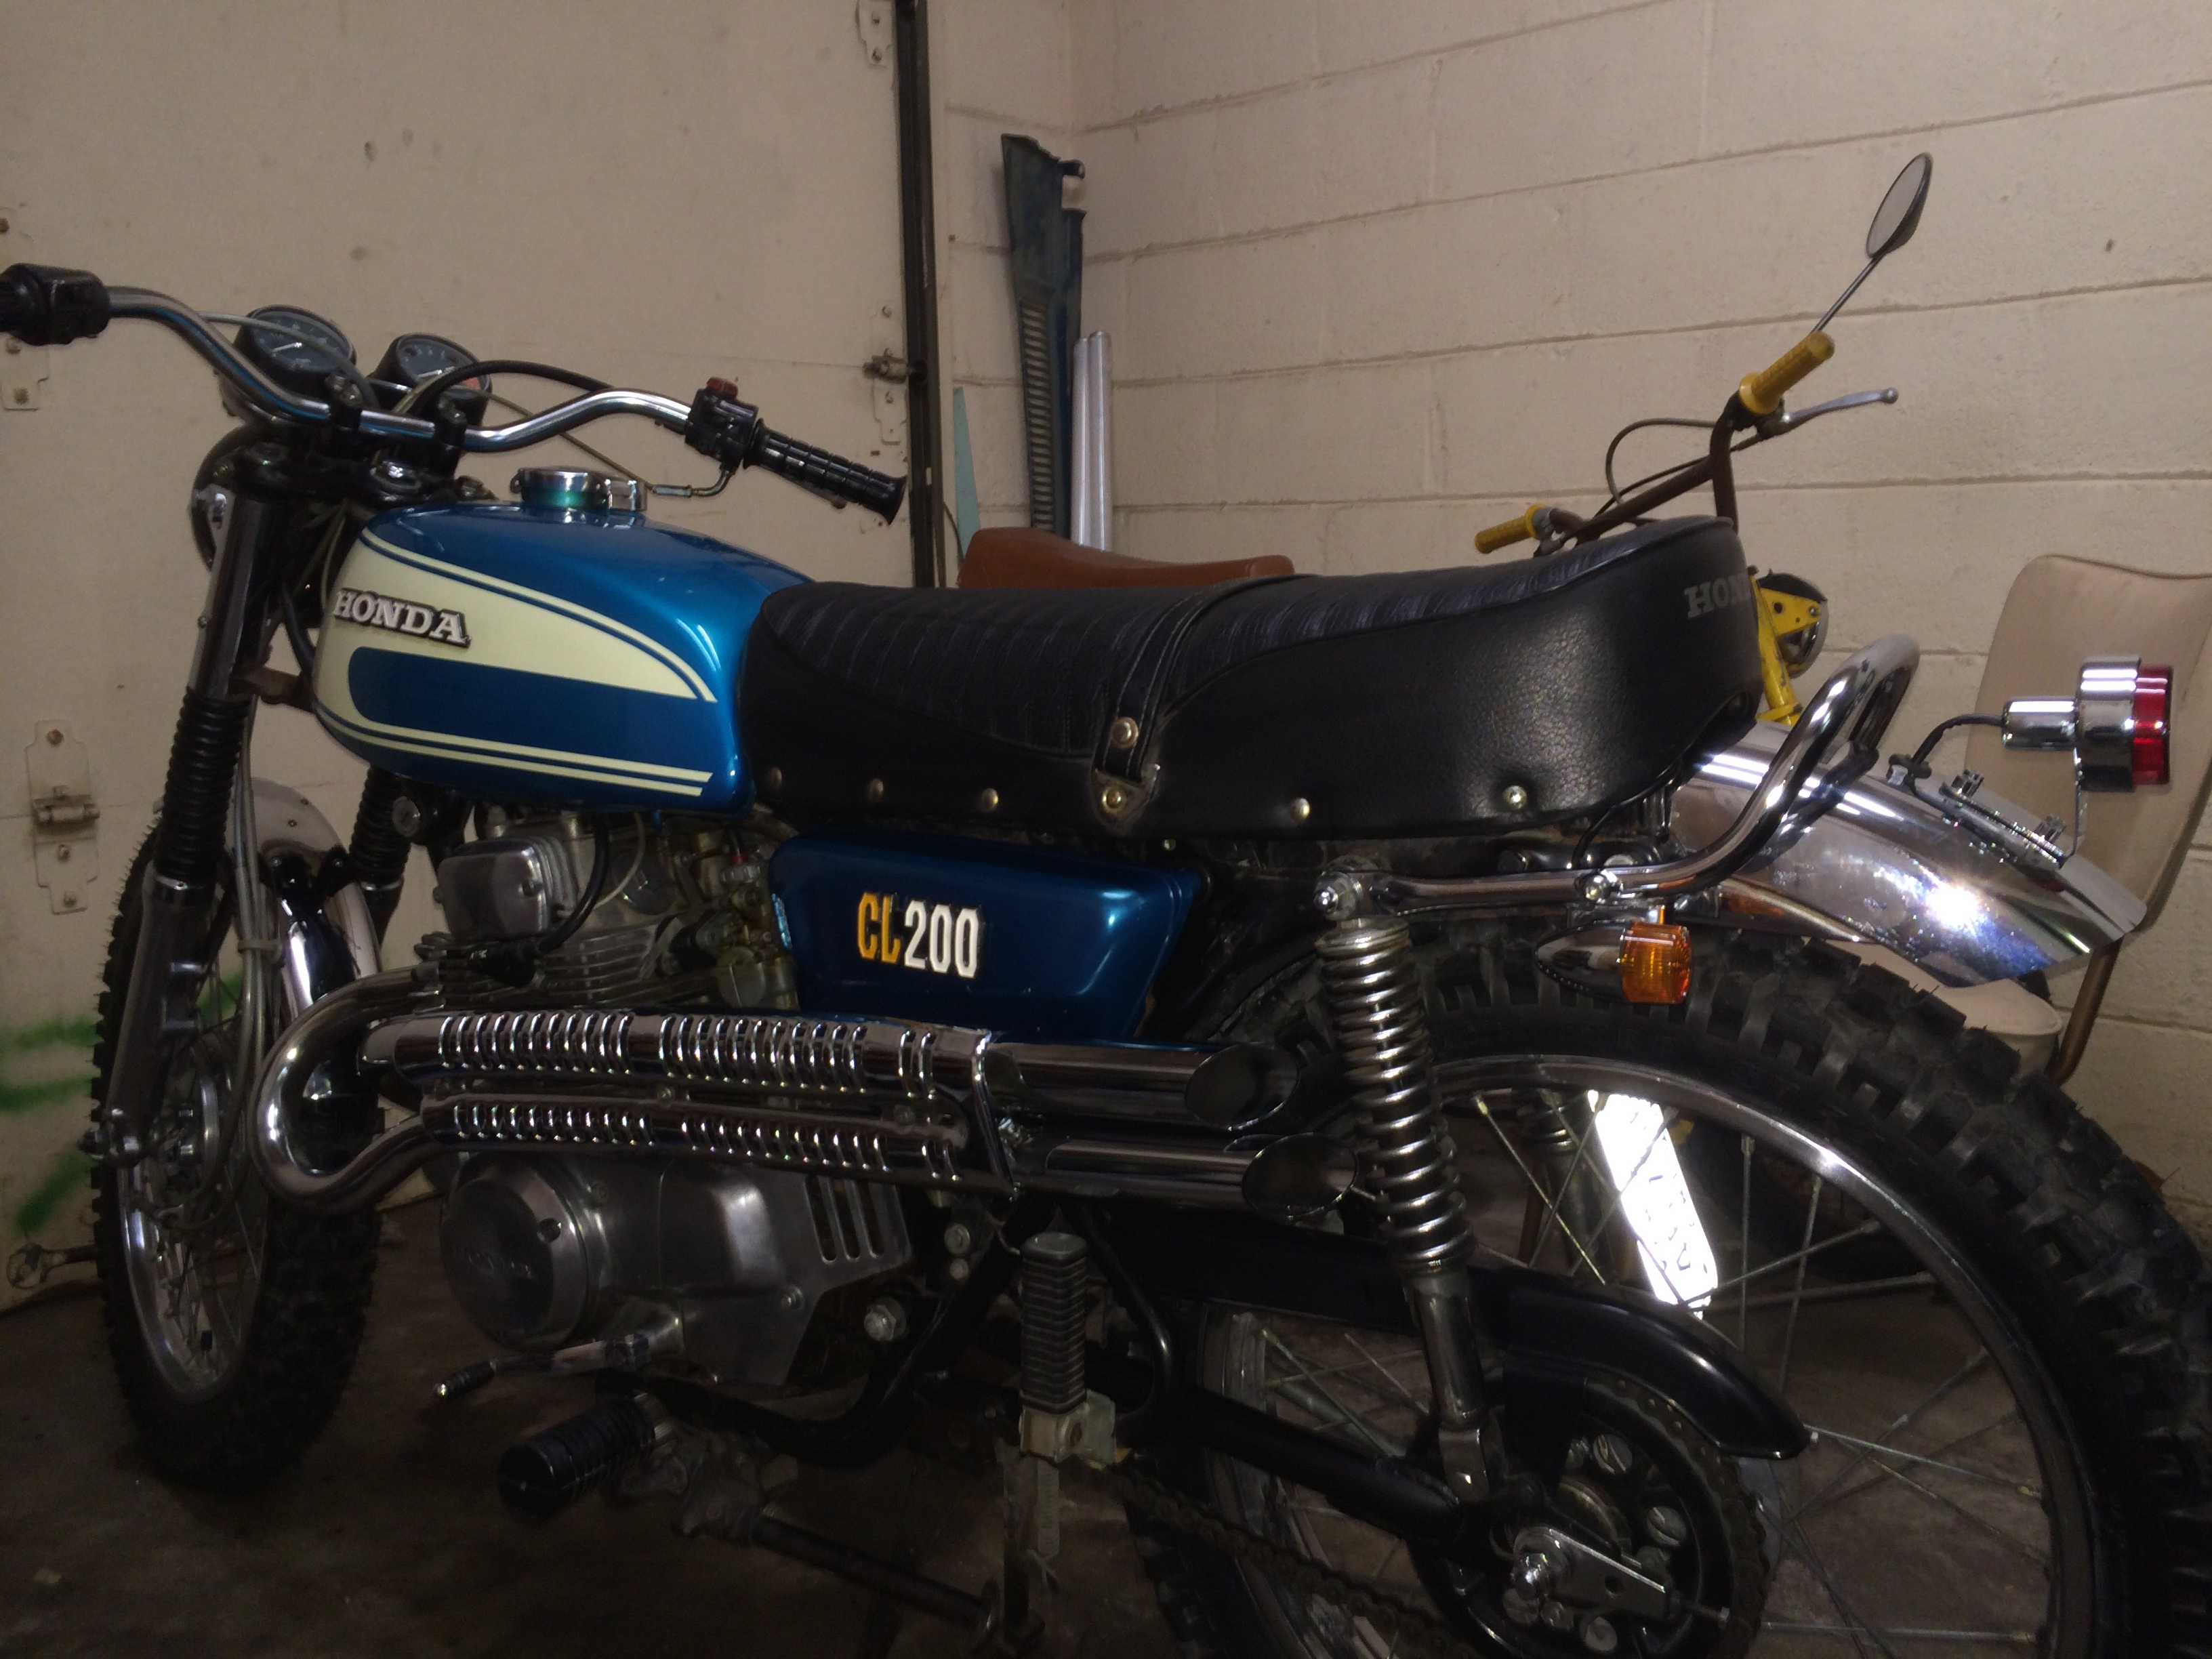
New tail light and turn signals, both from Dime City Cycles. You can also see where I'm planning on bobbing the fender in this pic:
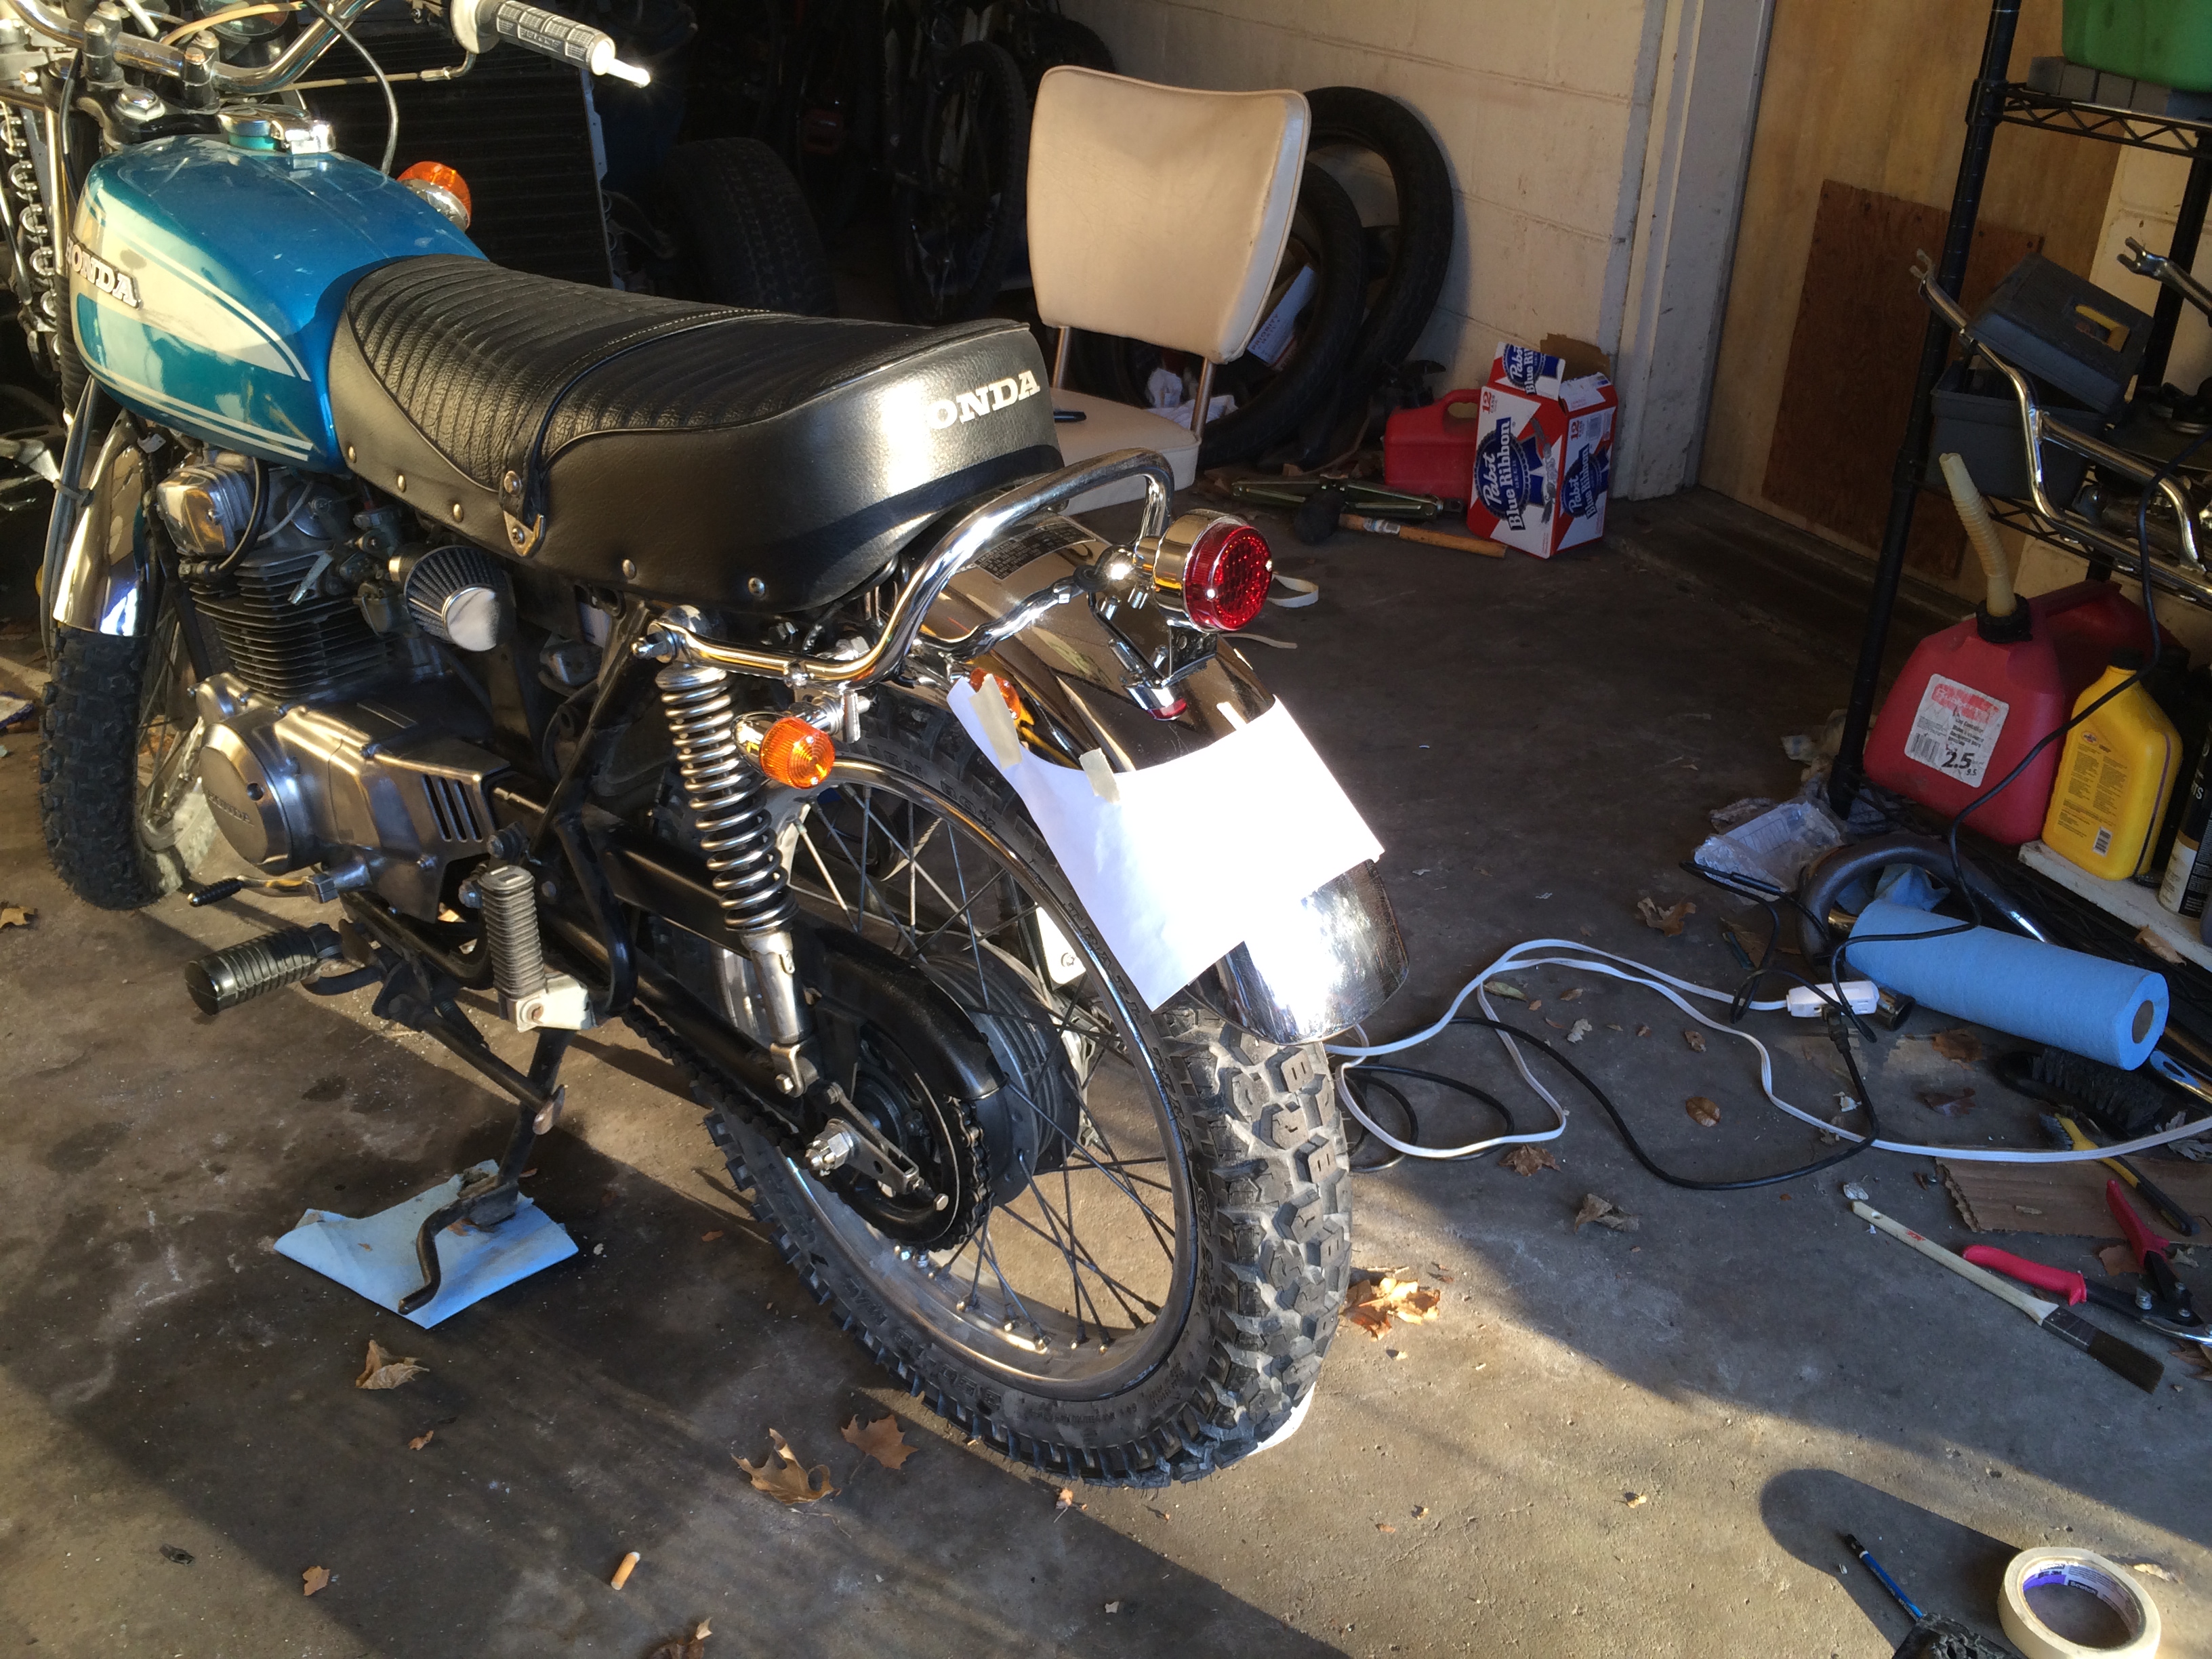
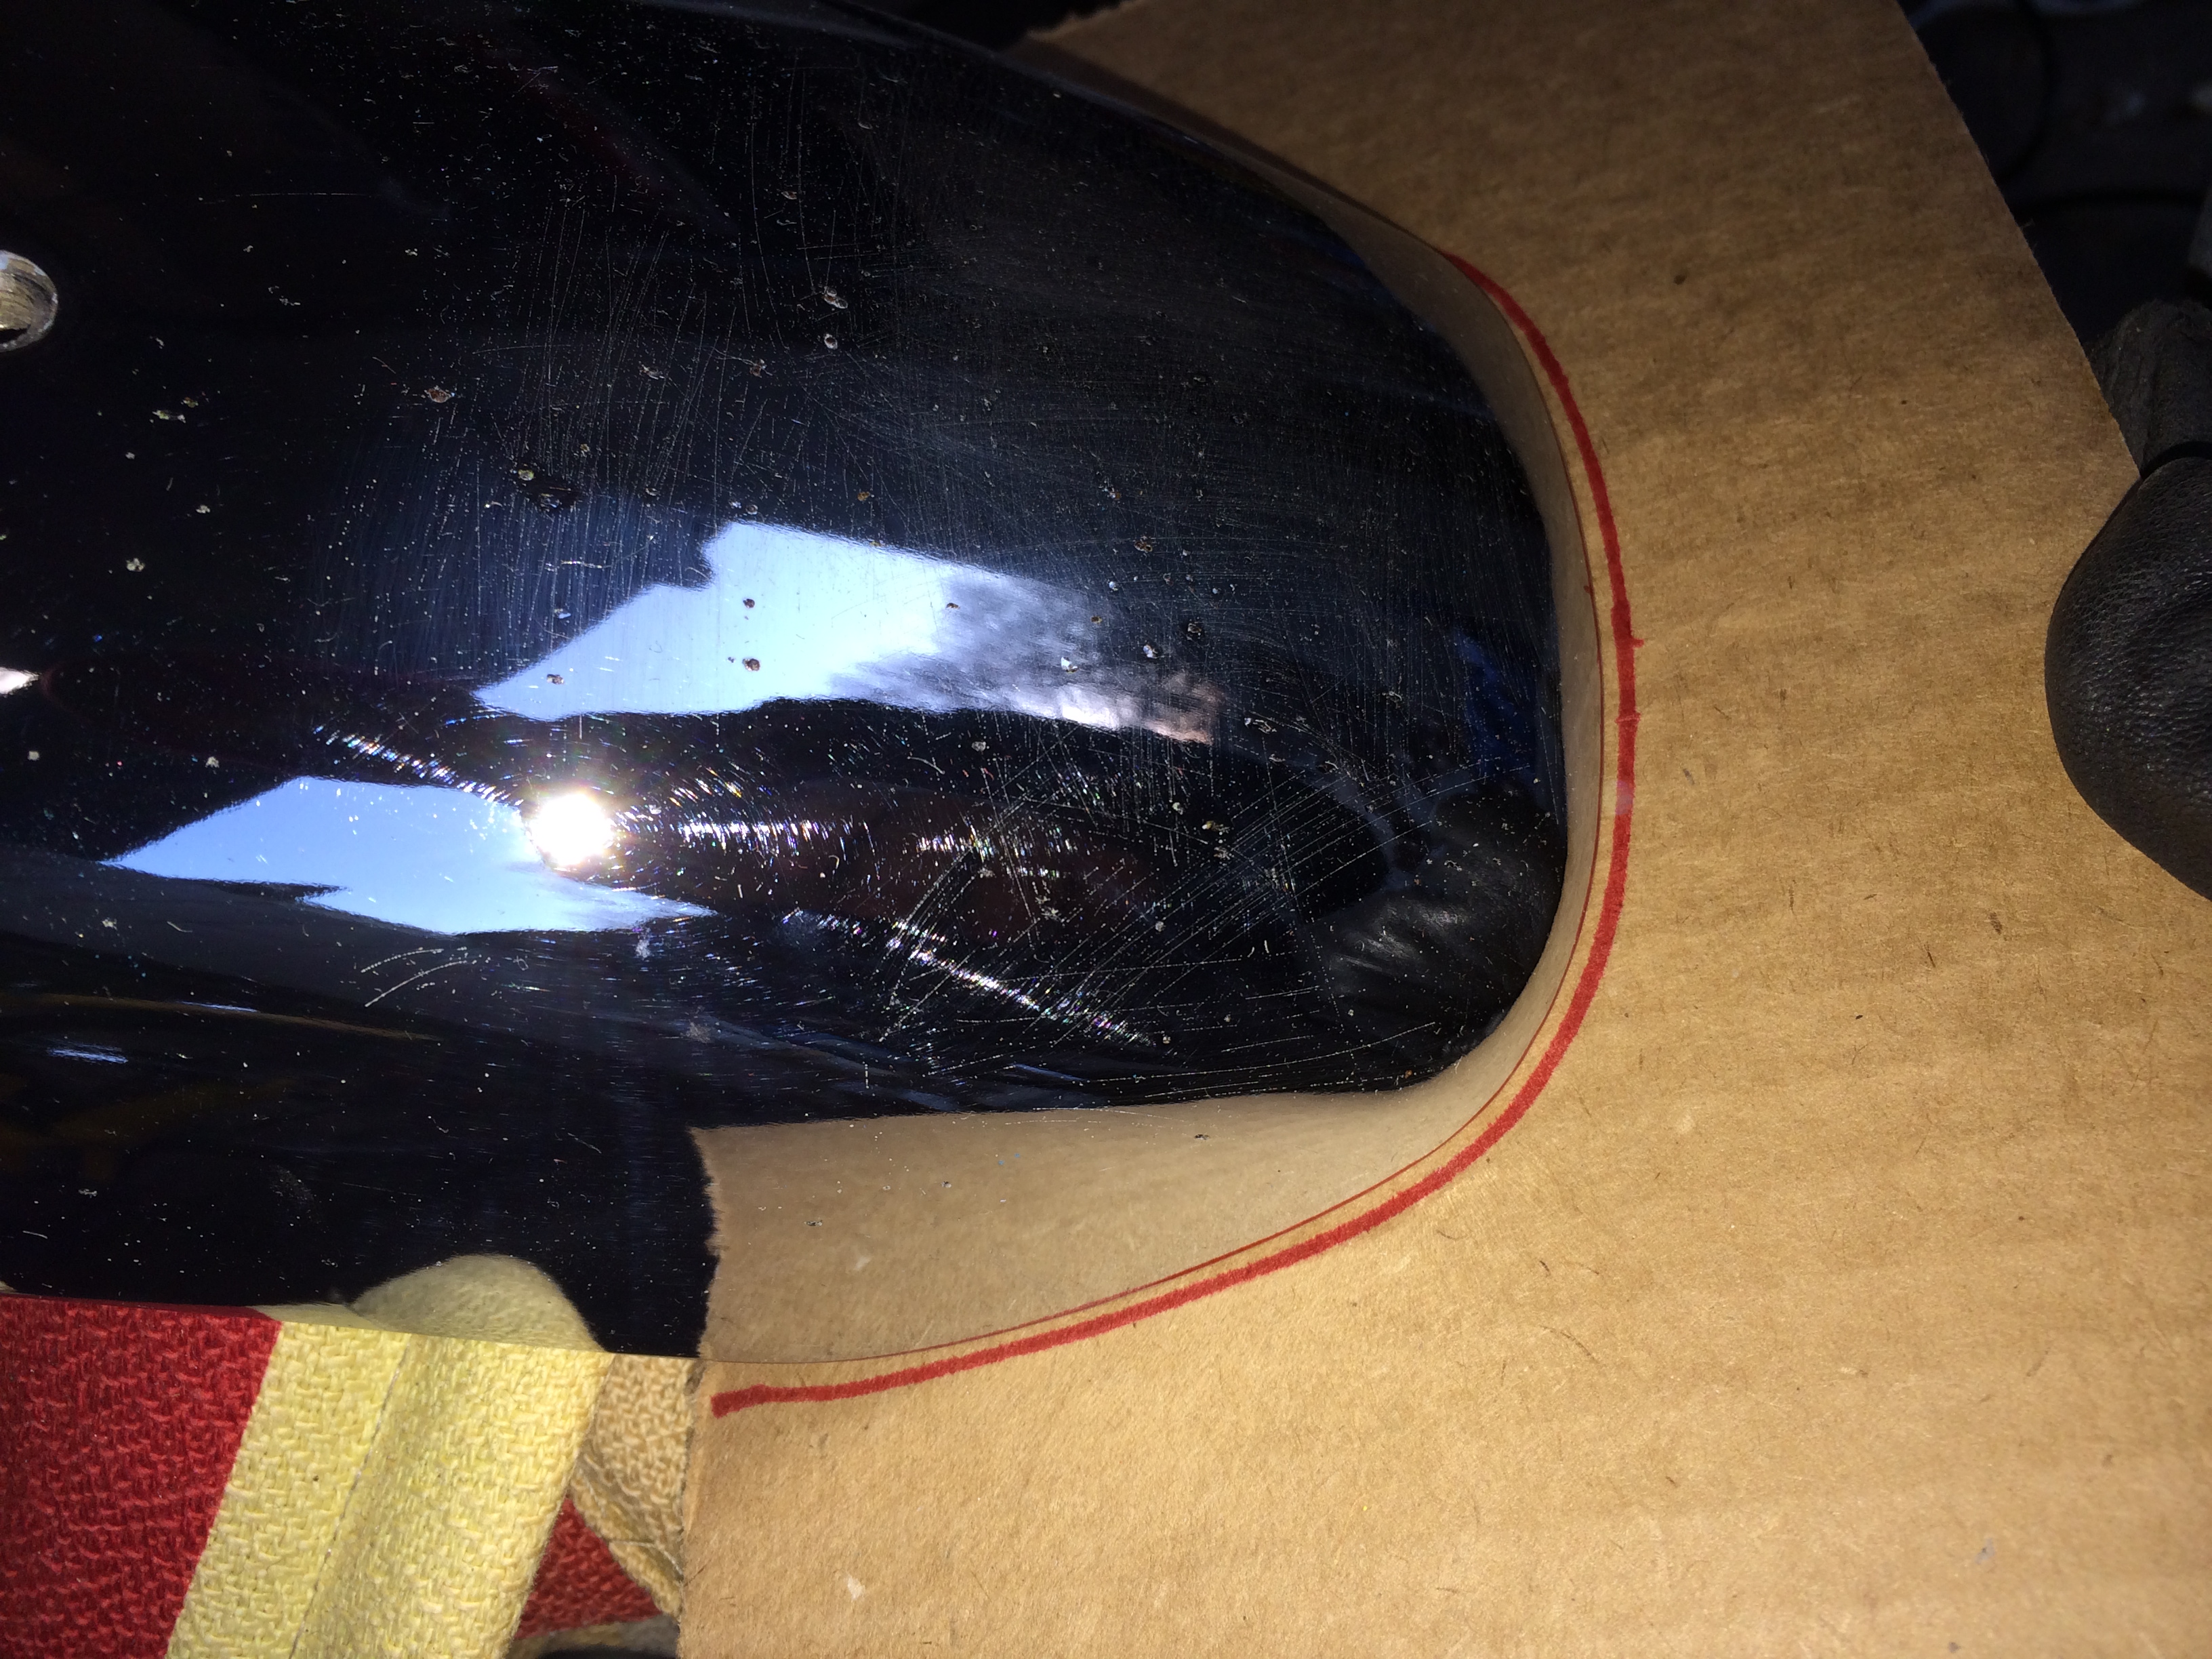
Now to bob the rear fender. I wanted to keep the same geometry as how the factory shaped the fender, just higher up on the bike. So I made a template. You can also see the chrome where the PO had used sandpaper to try to remove chrome pitting. That has got to go! Put it where I wanted, drew the line, masked off the chrome, and used my dremel cutting wheel. It was easy.

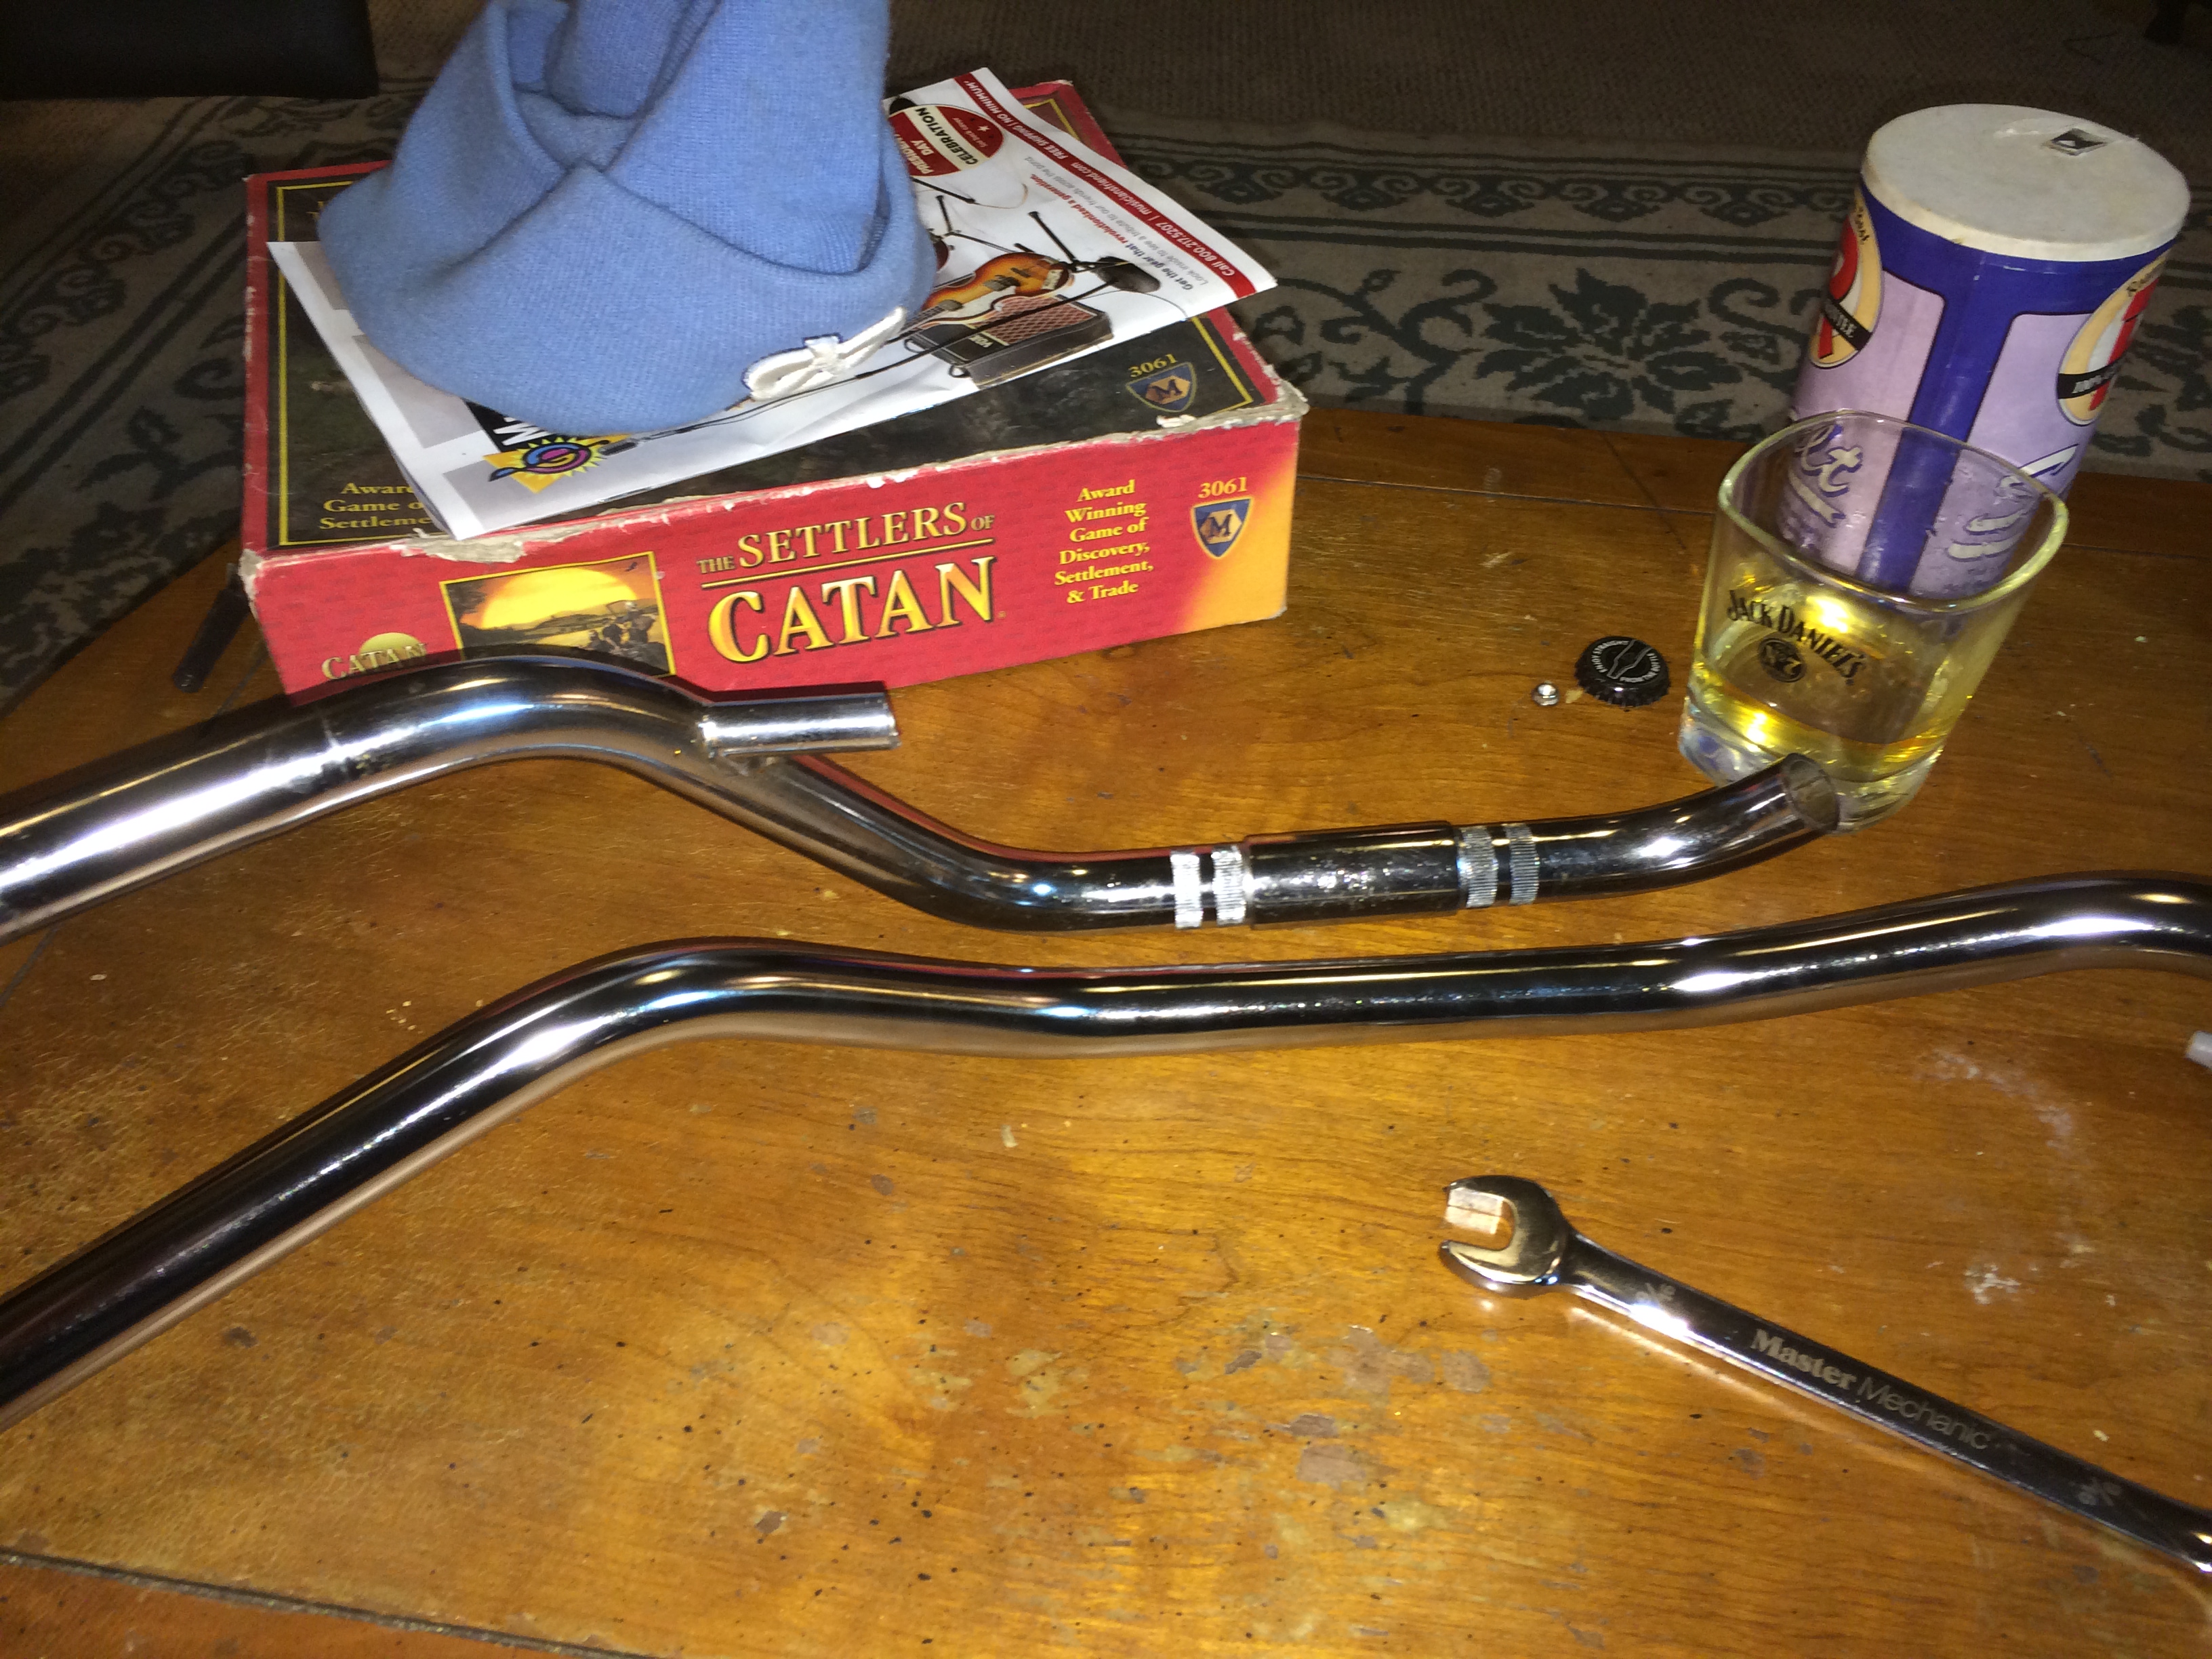
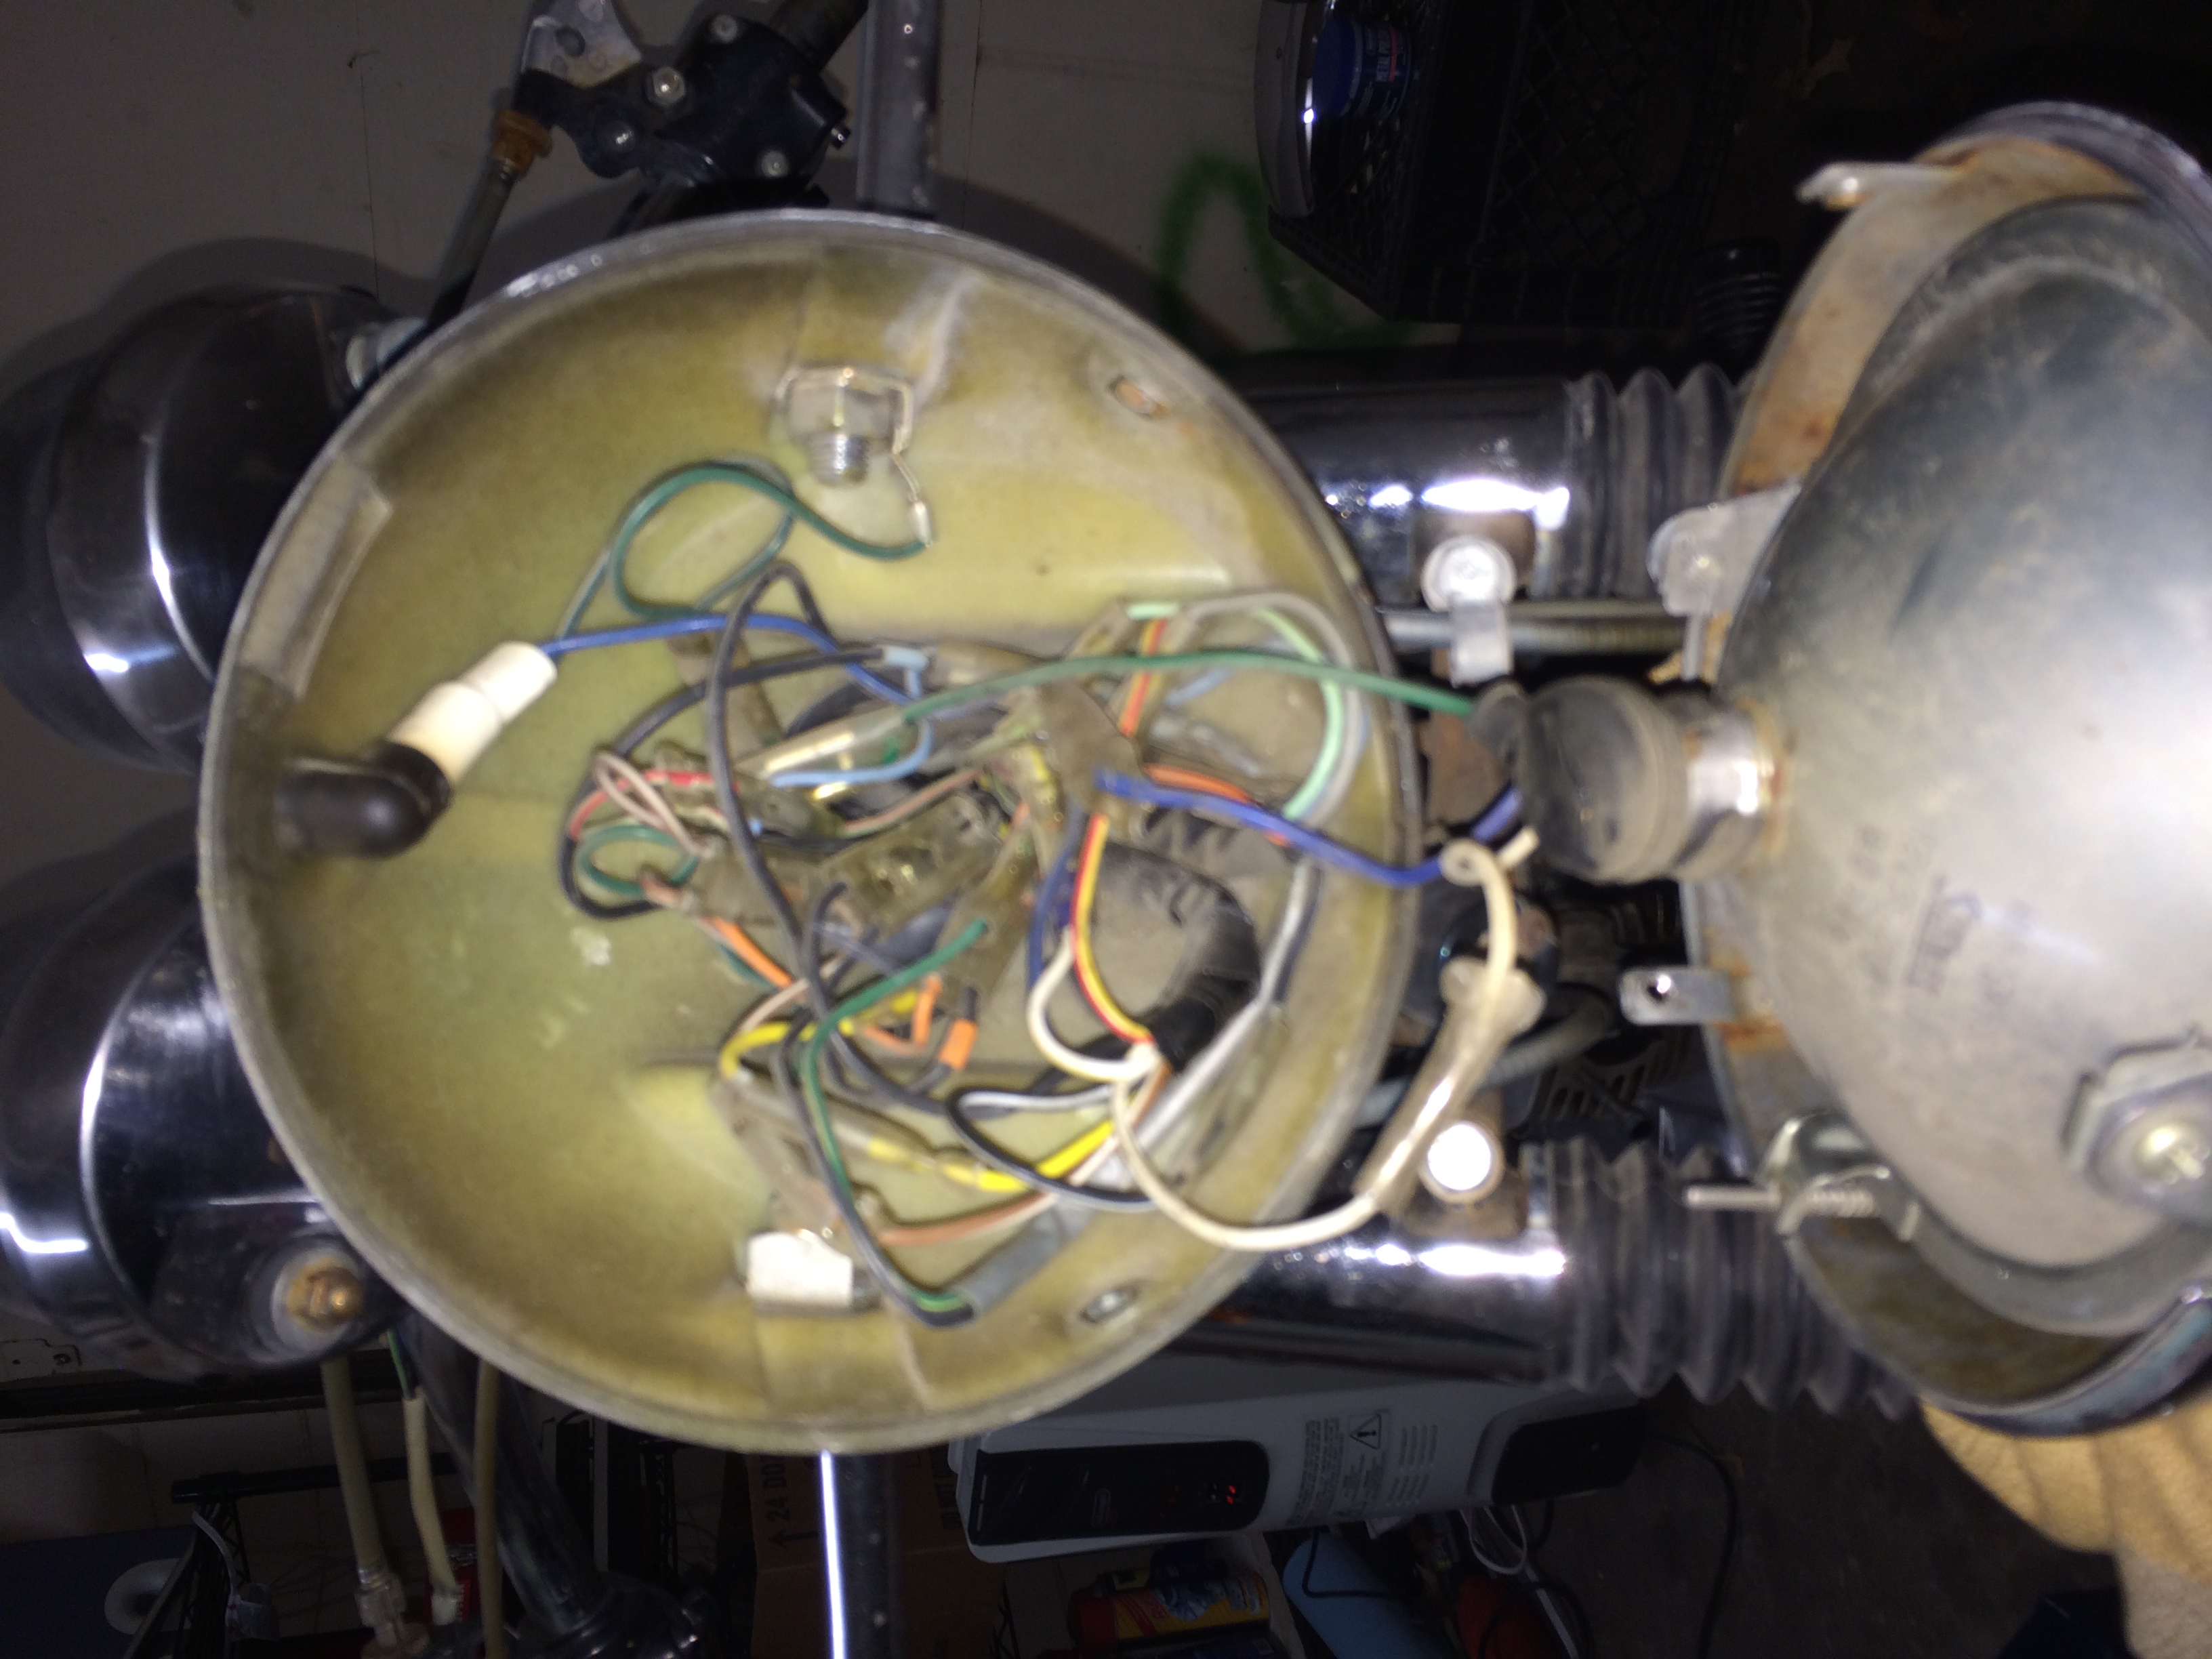
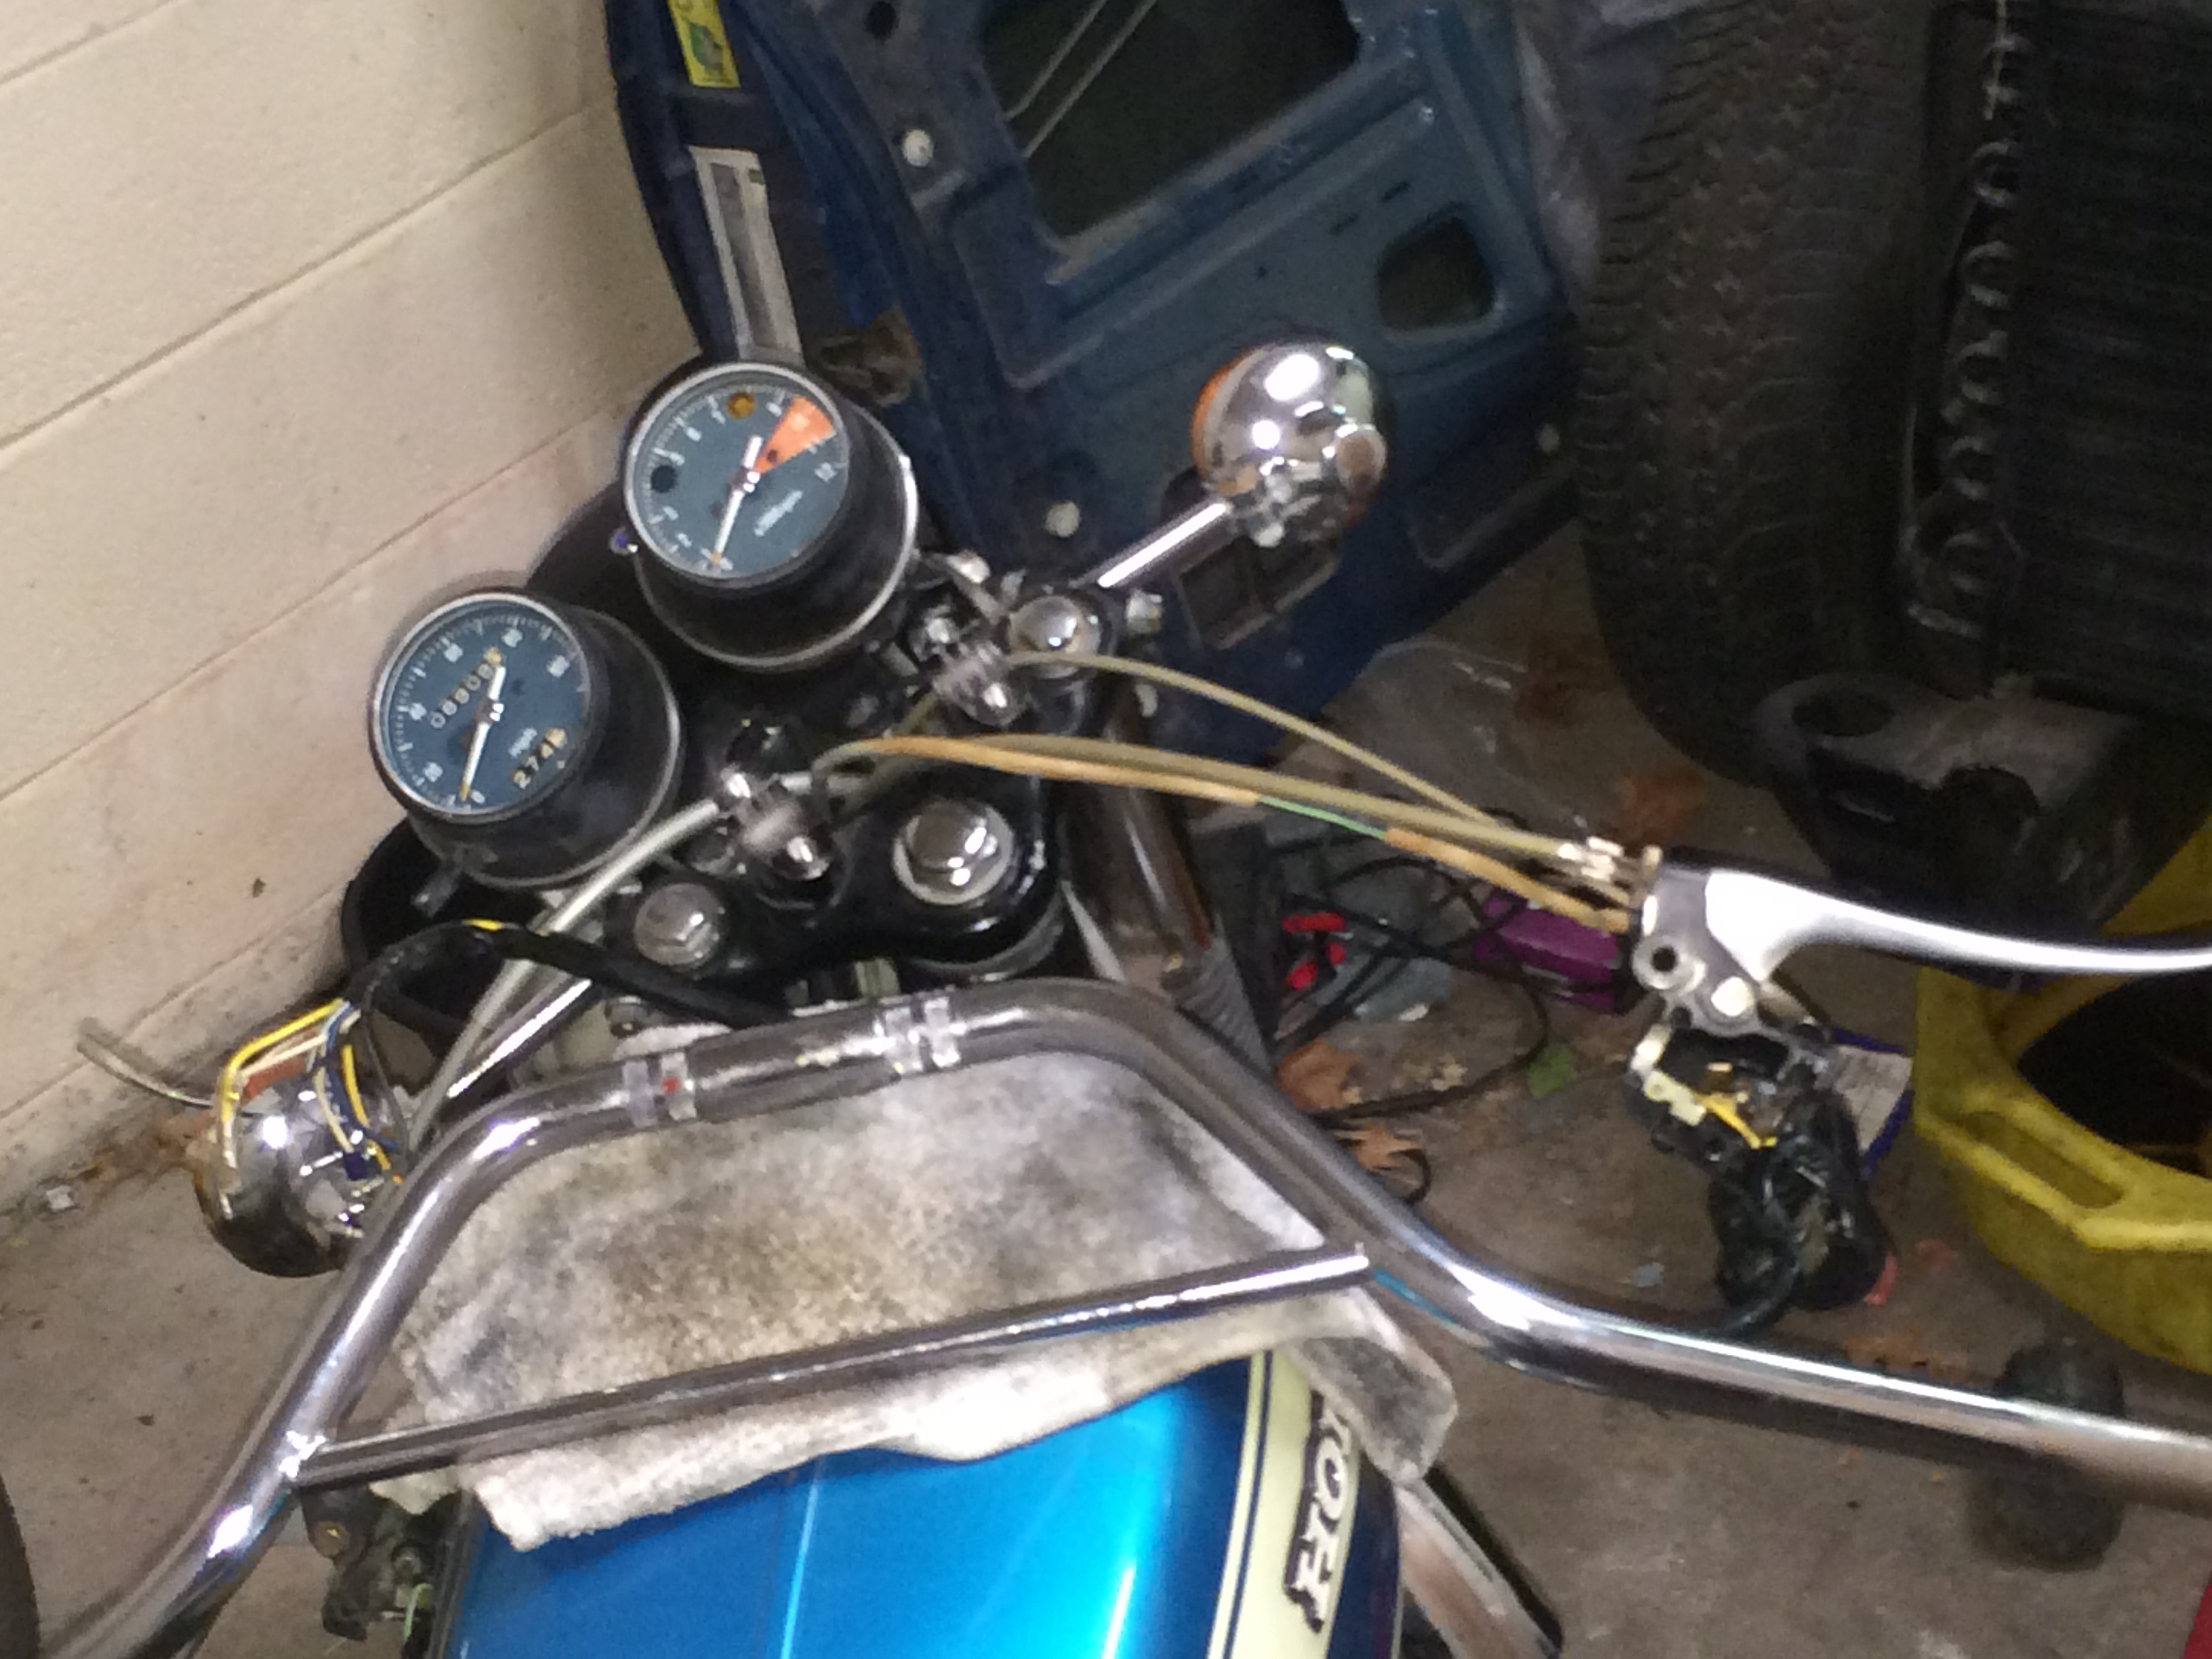
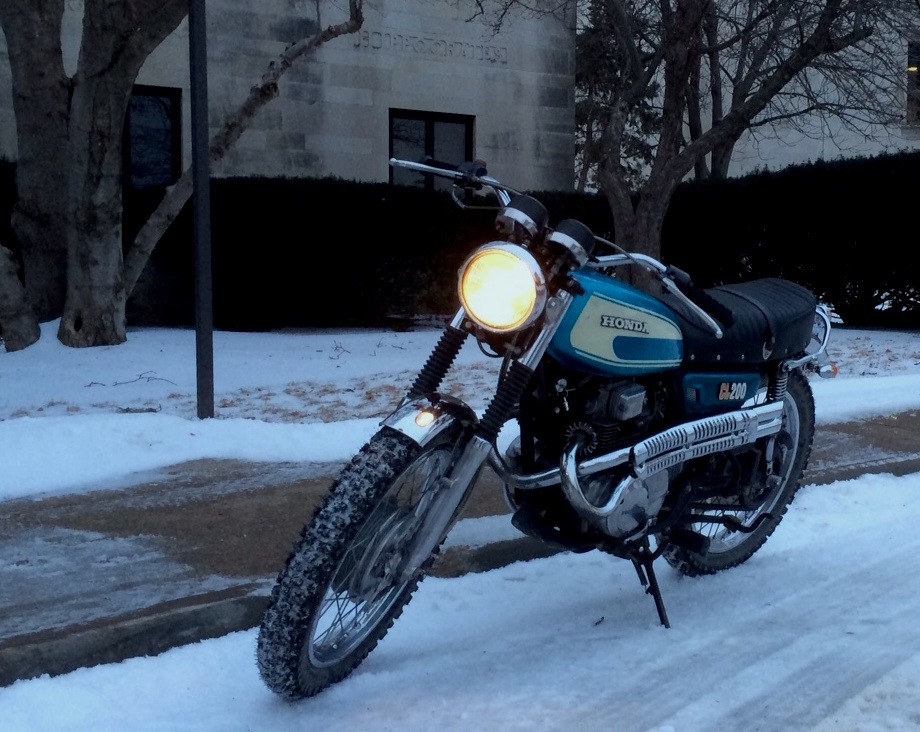
Onto the handlebars - They're the Emgo Daytona bars. Removing the original ones was a pain because the wires for all the controls ran through them. I ended up cutting the old ones in half so I could just get the wire bundles through. I used a big zip tie to fish them in and out by tapping the wires to the end of the zip tie, running the zip tie through the bars, then pulling the zip tie from the other end. Lots of wd40 was needed. The new bars had smaller angle bends so it was a little easier getting them back through and up I had to cut hockey-rink shaped holes in them for the wires. They're "daytona bars" but are perfect for the bratstyle look. Getting the right switch/throttle-body back together was a huge pain! I can't believe I didn't short a wire in the process. I also had to drill holes in the bars for the mounting studs used to locate the angle of the levers. Even though I followed the position of the stock bars, they're too high and will have to be re-drilled and repositioned.

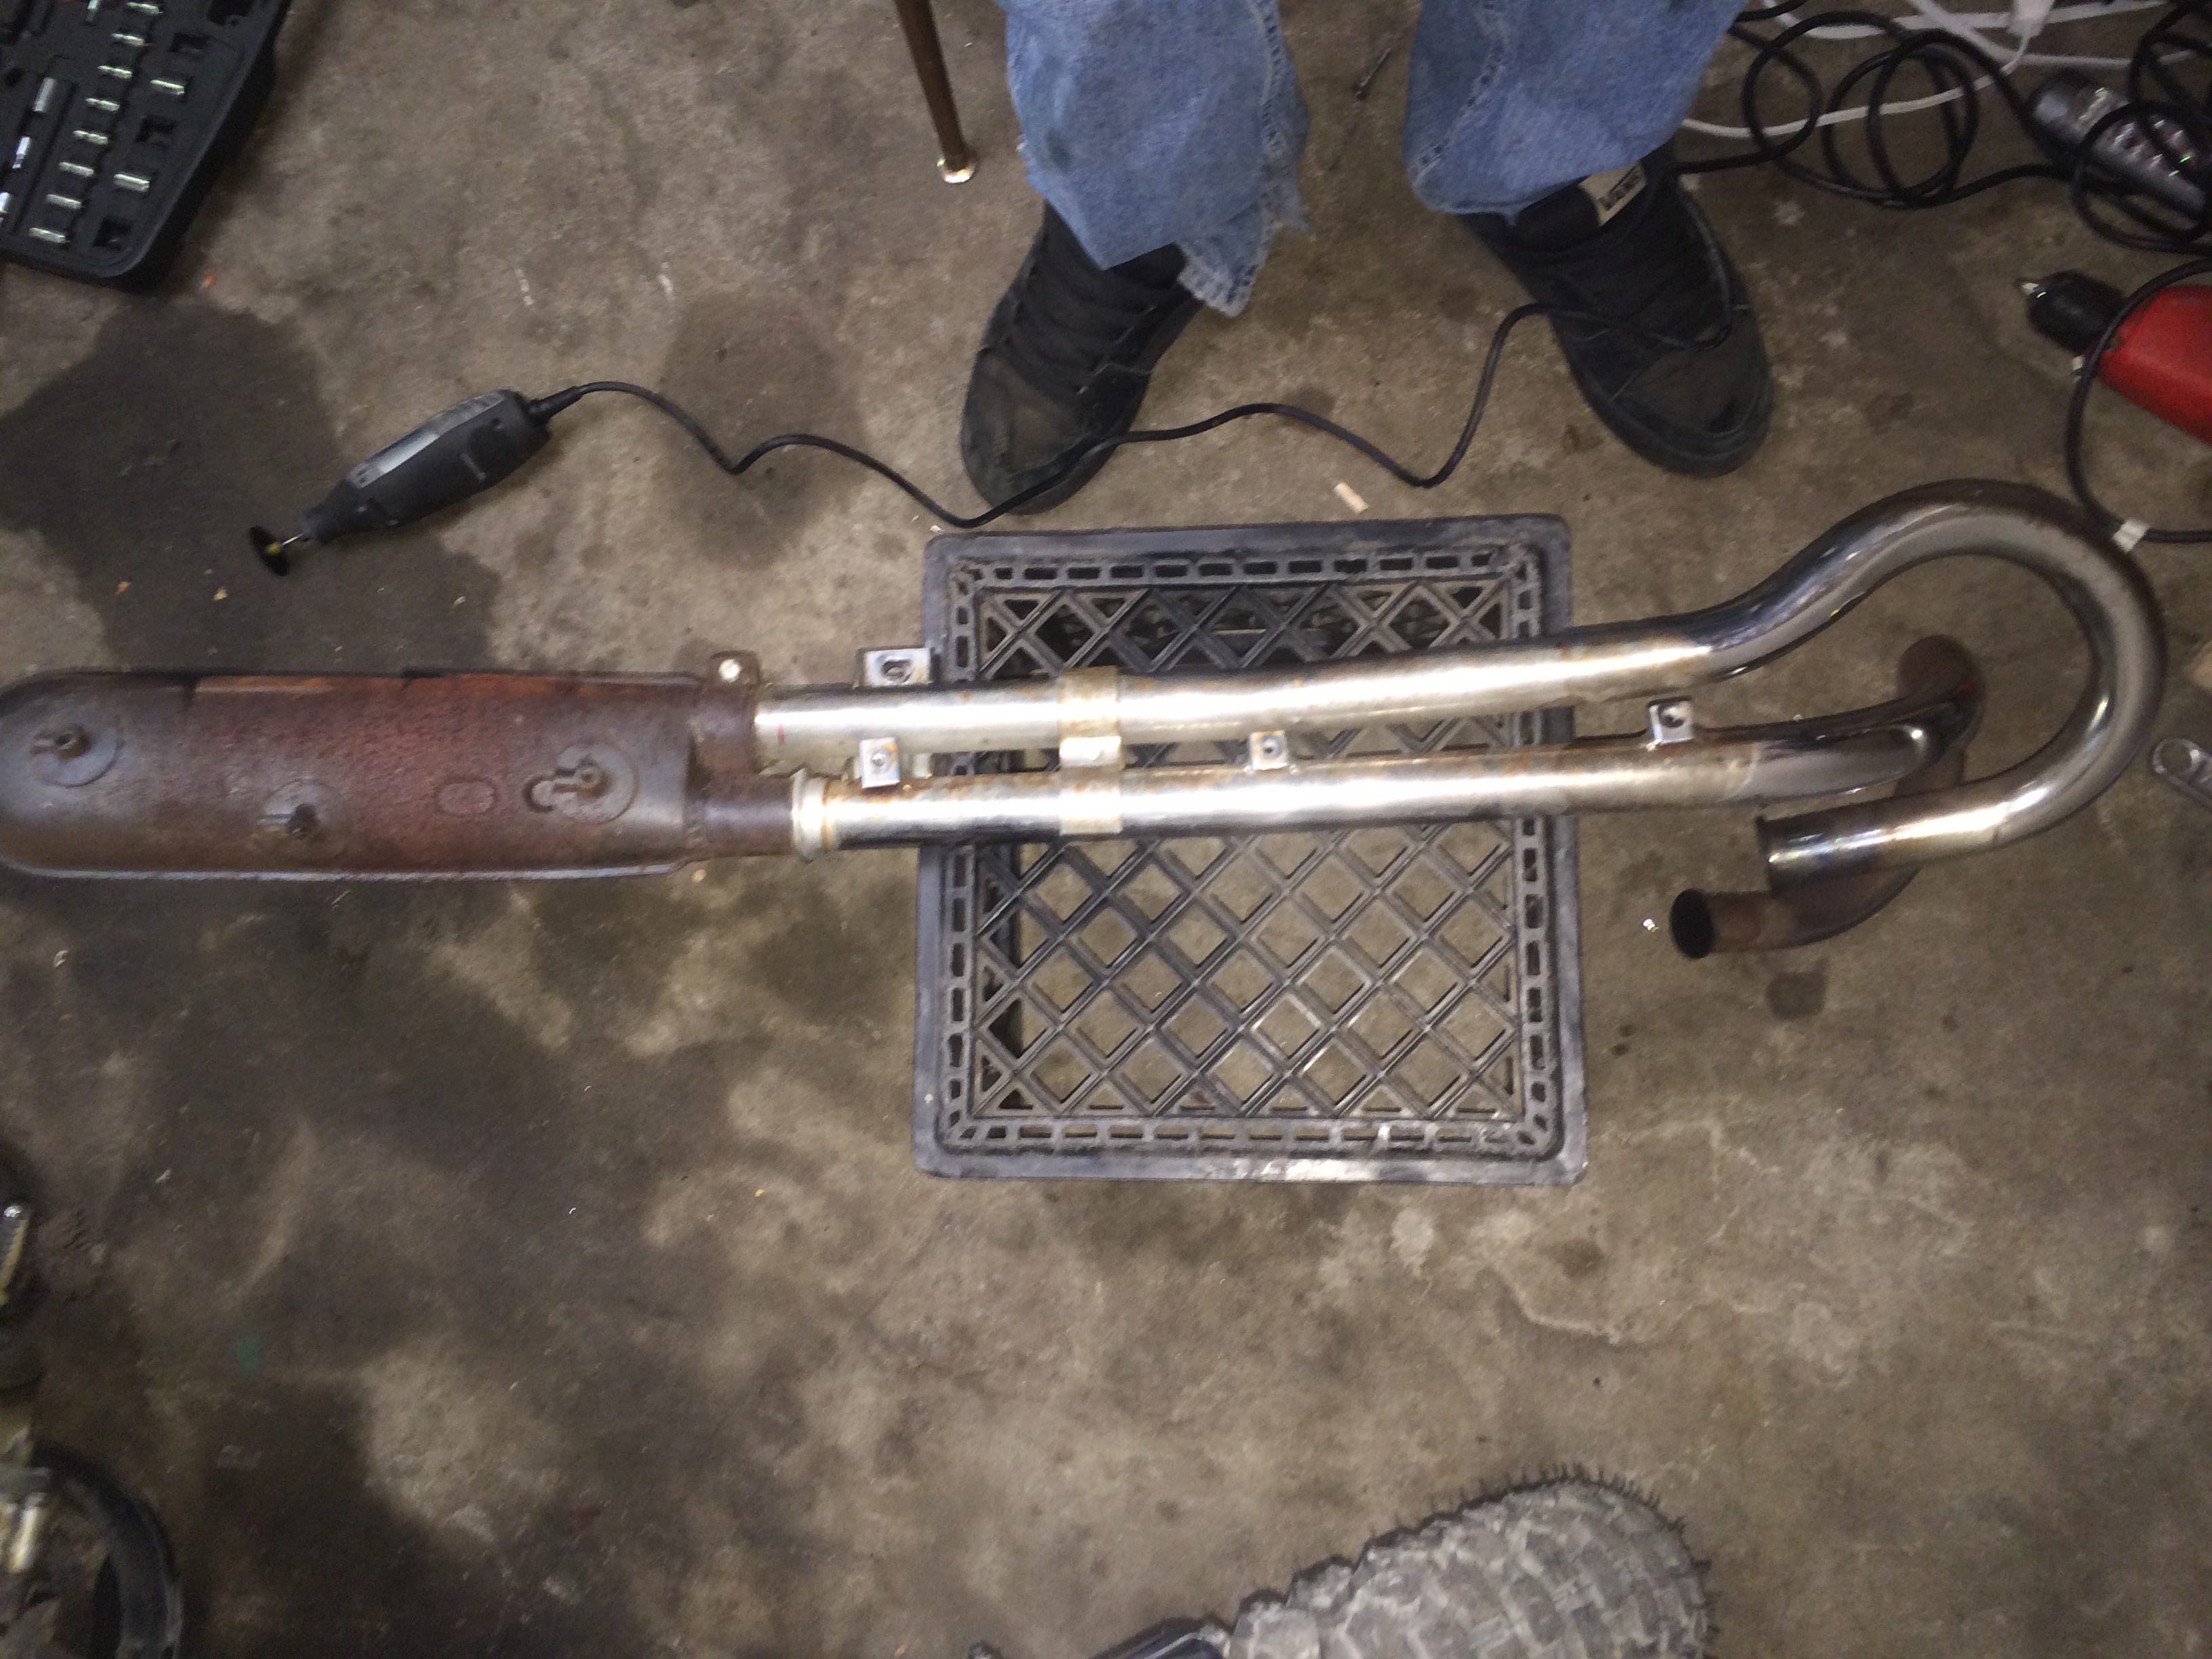
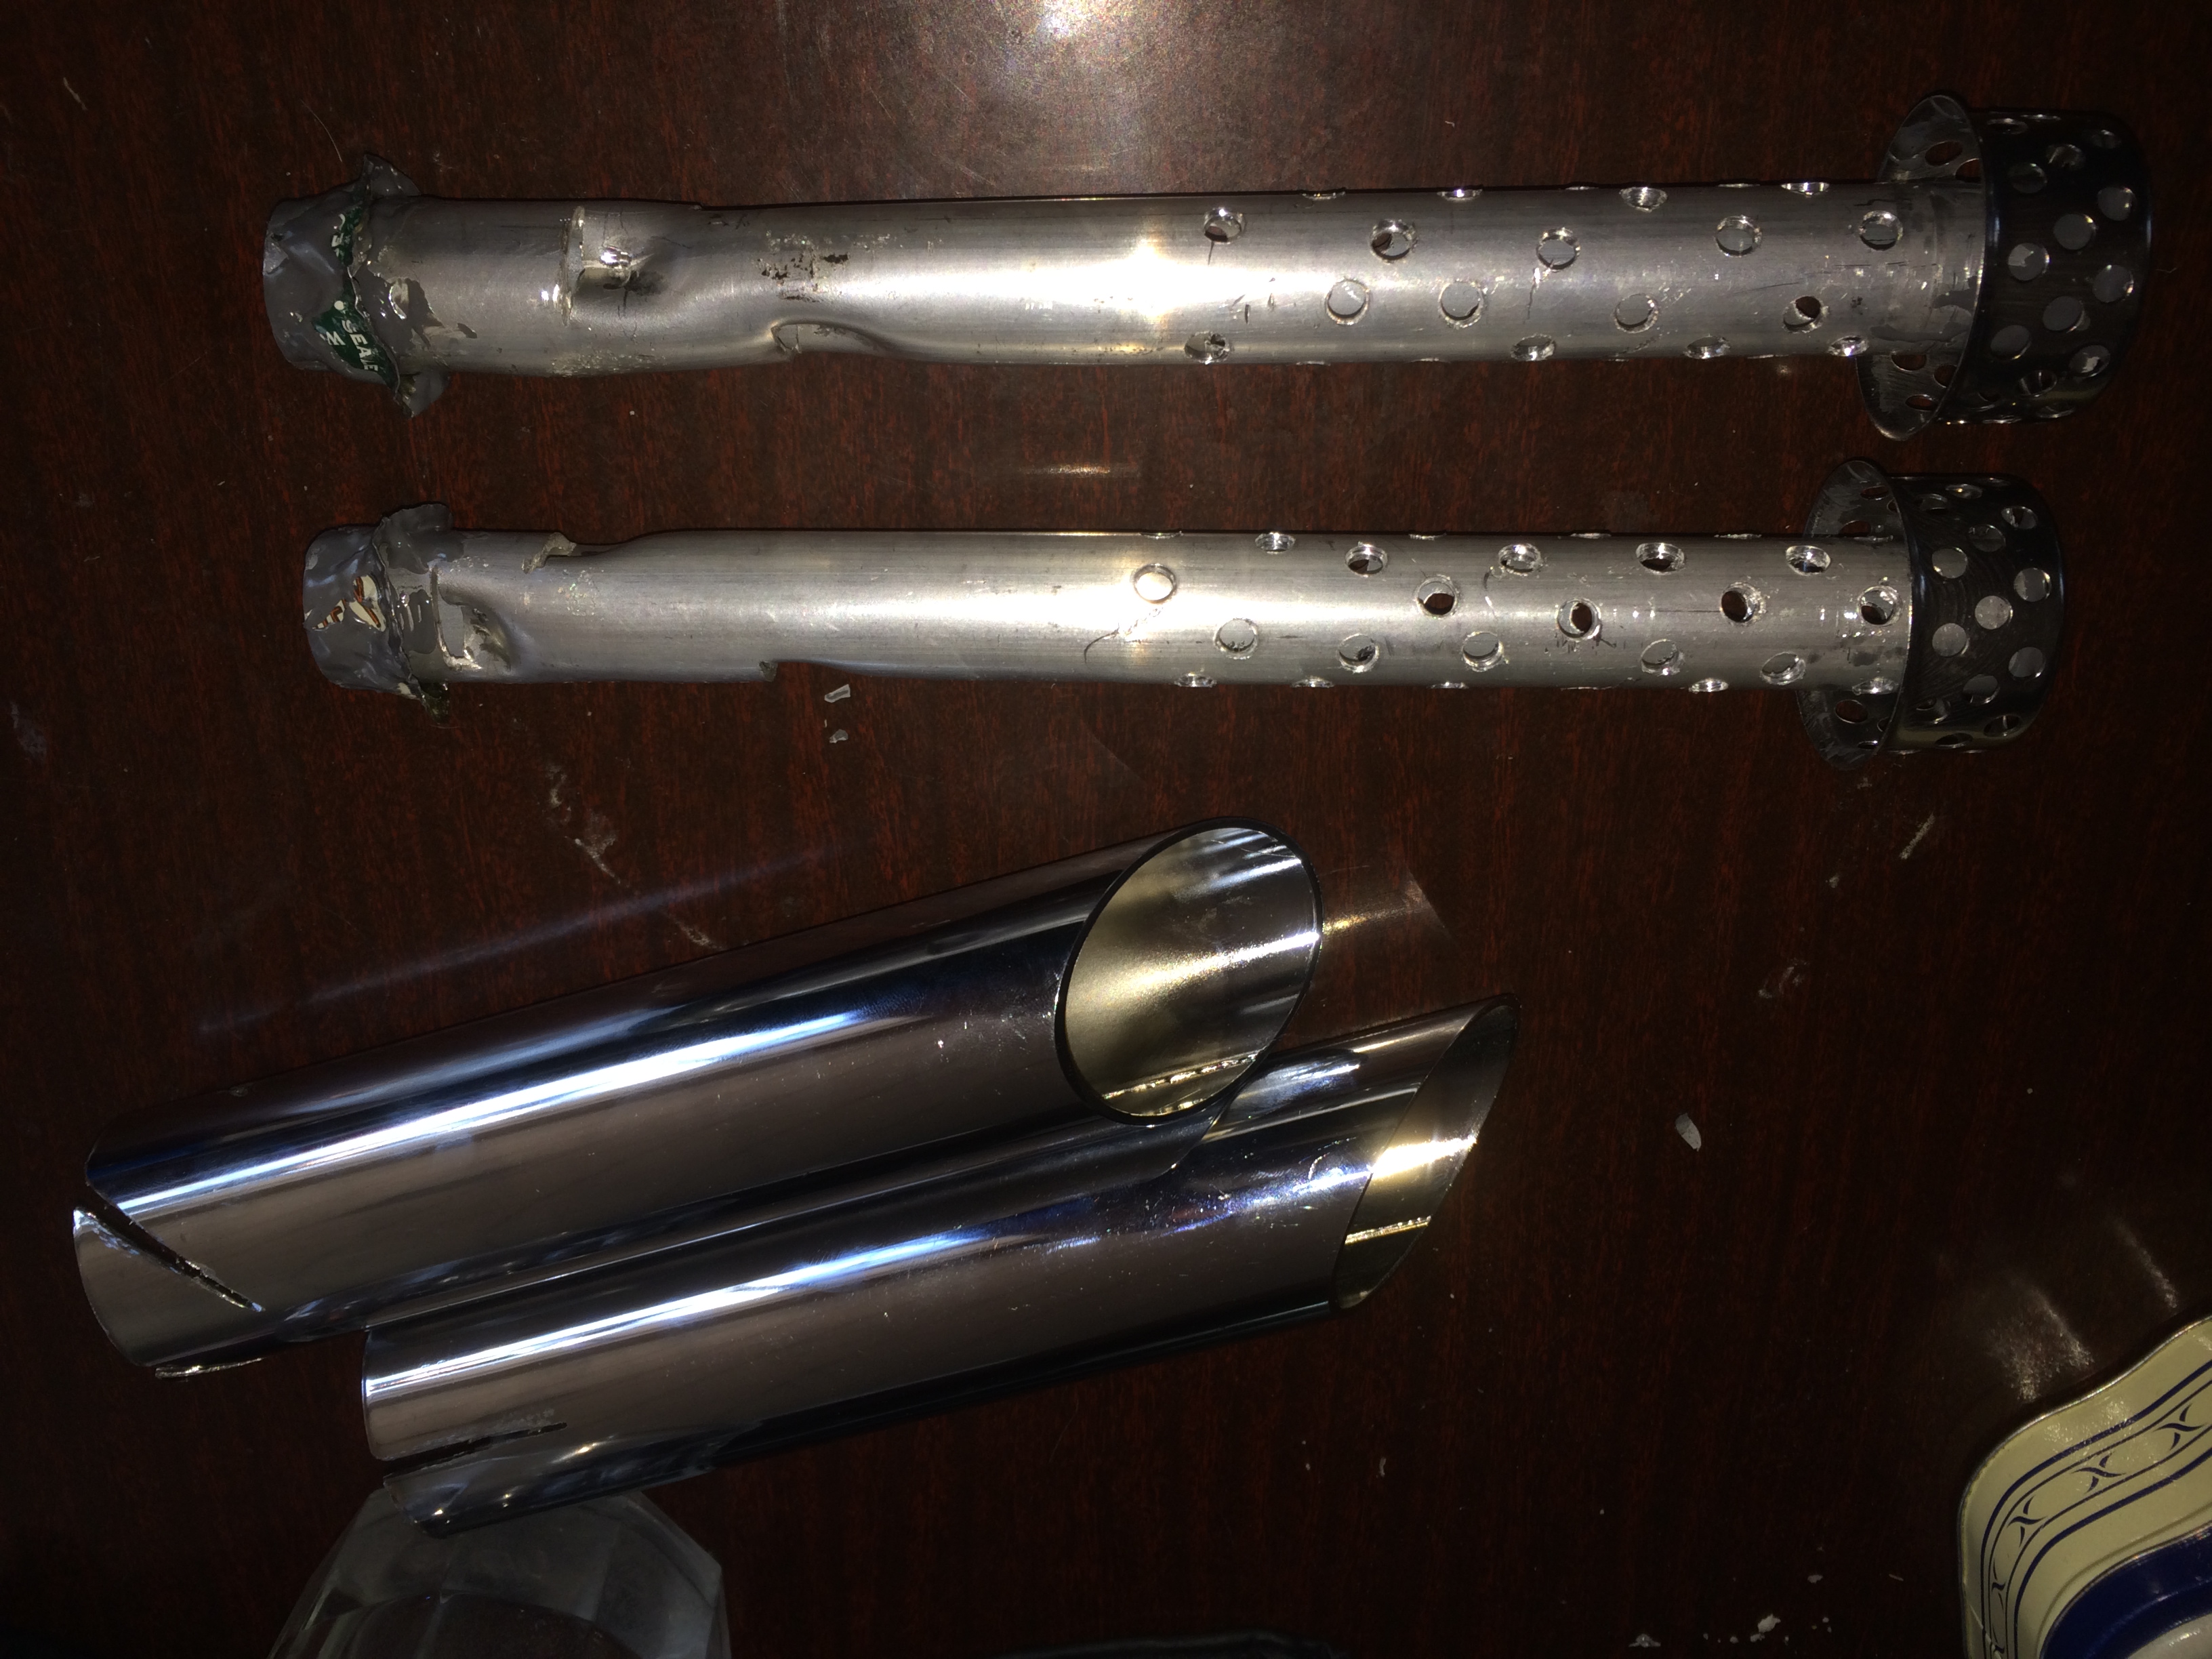
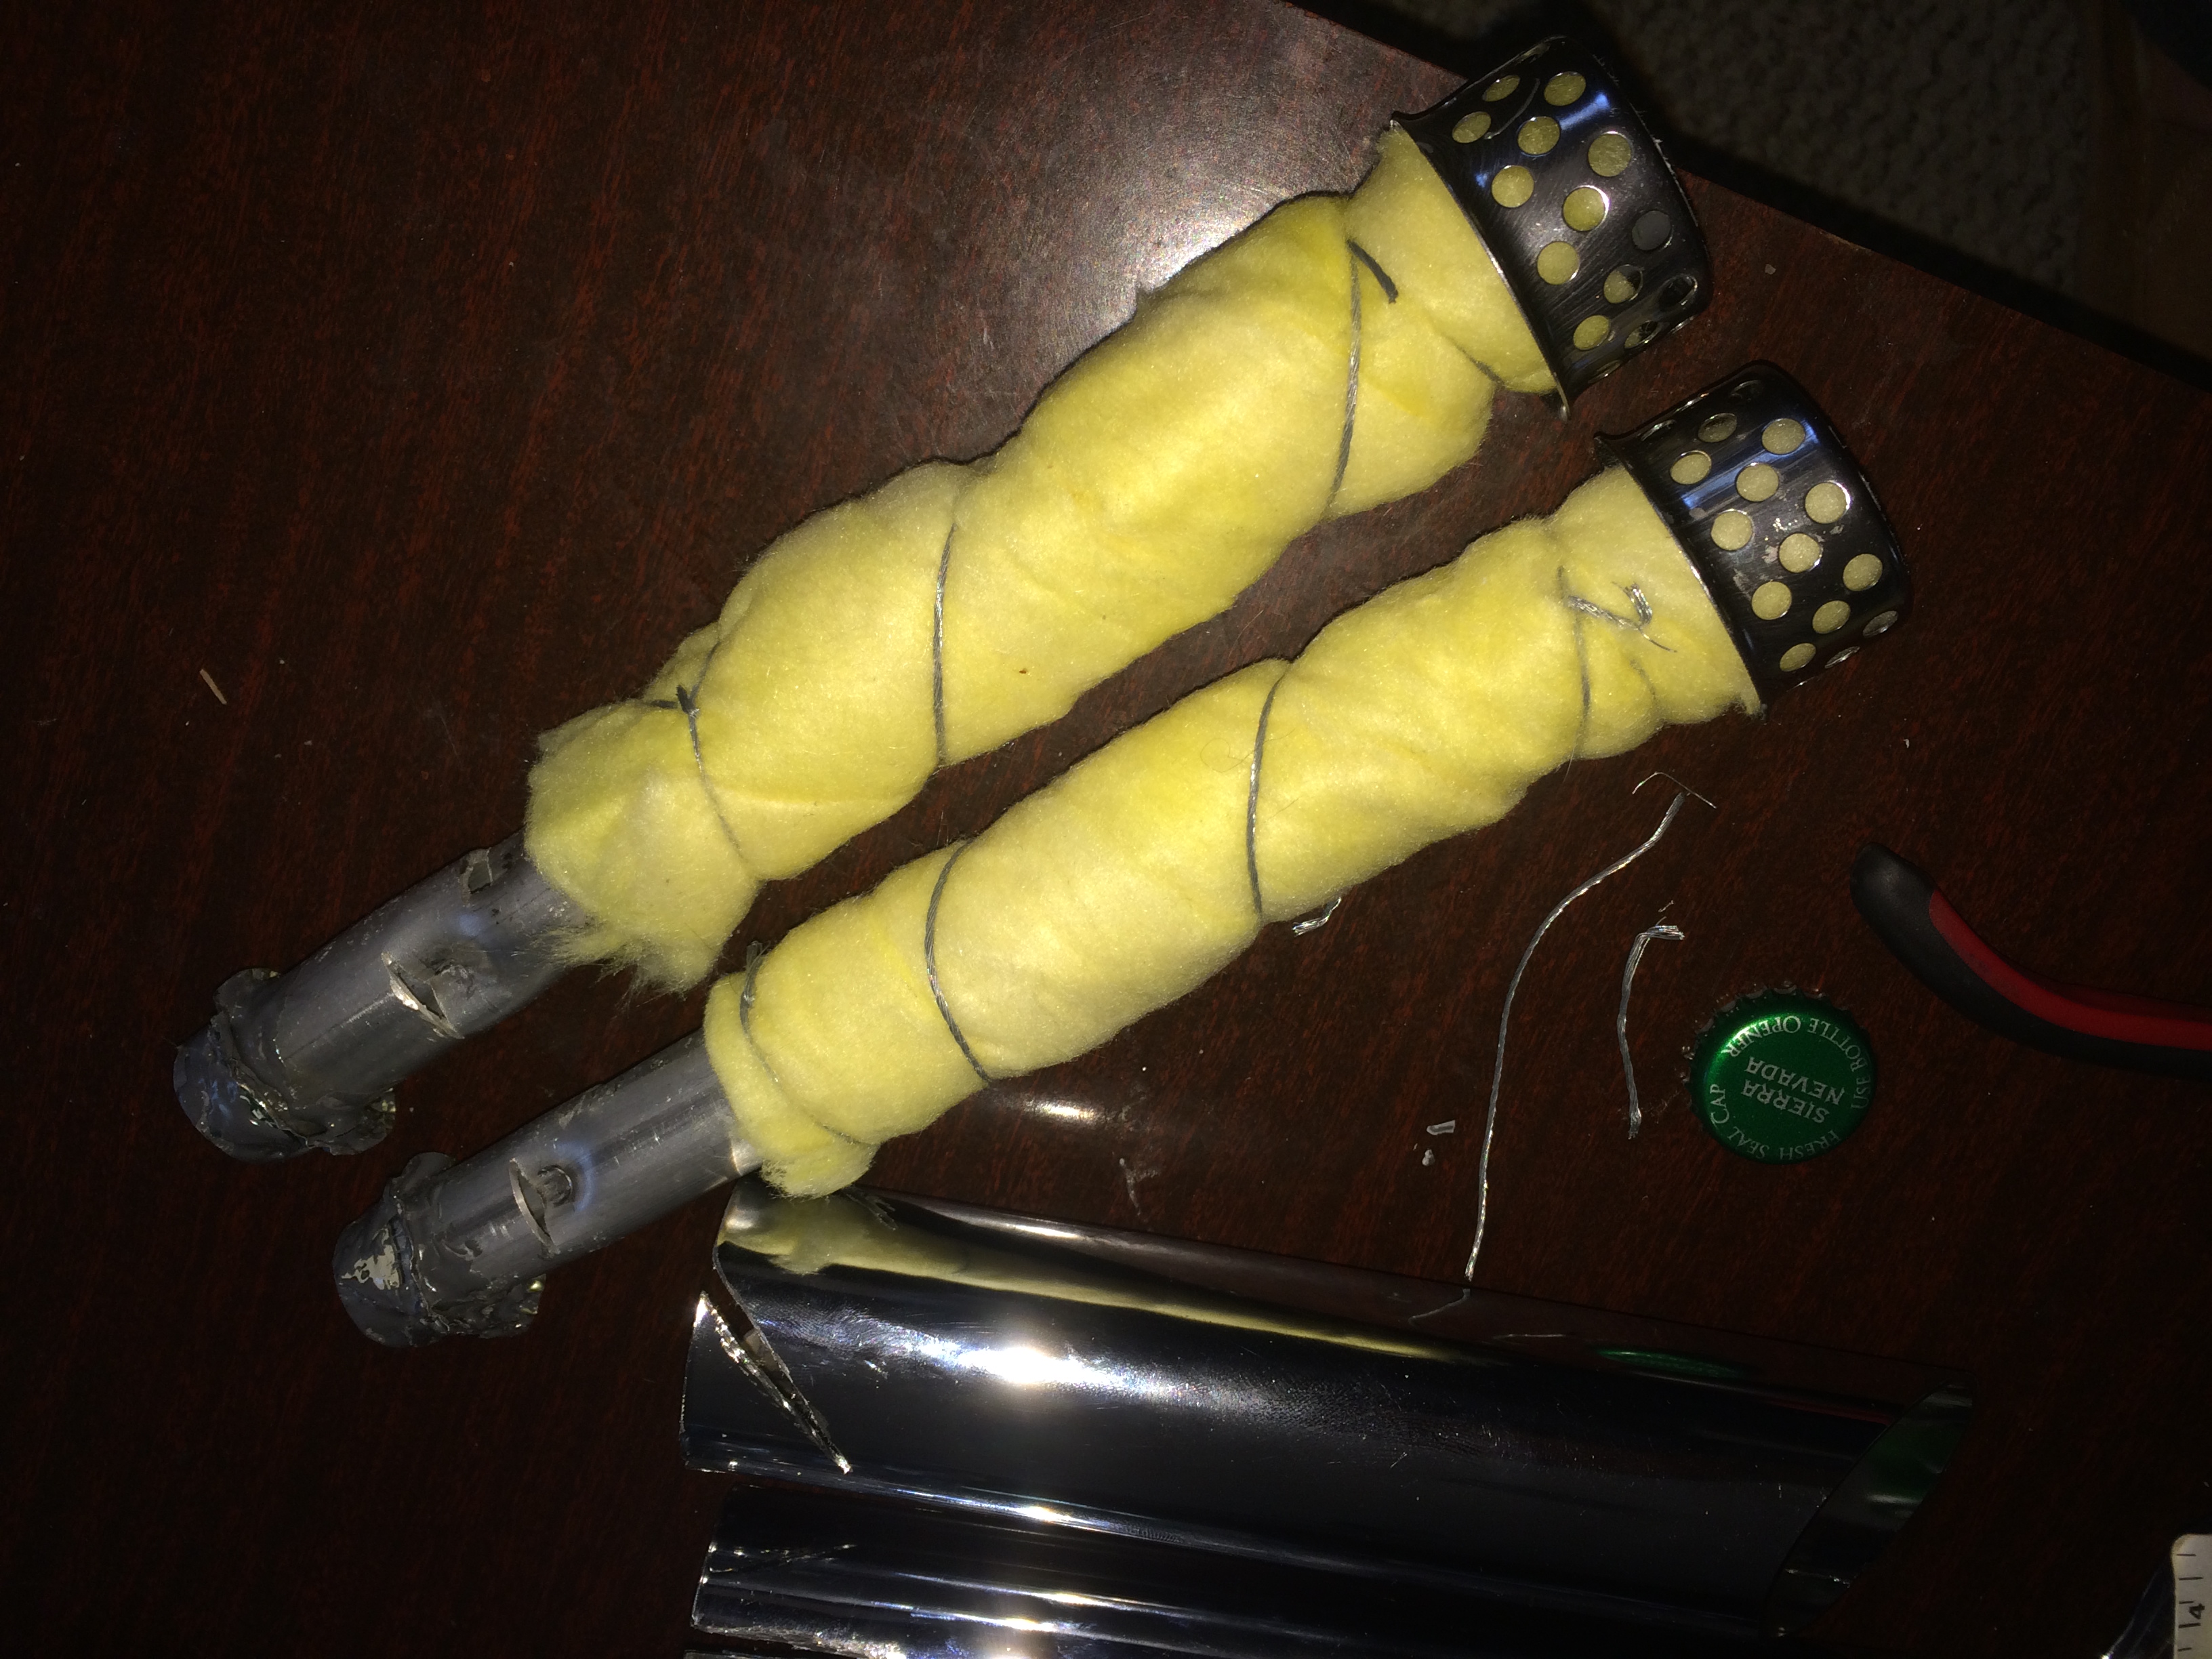
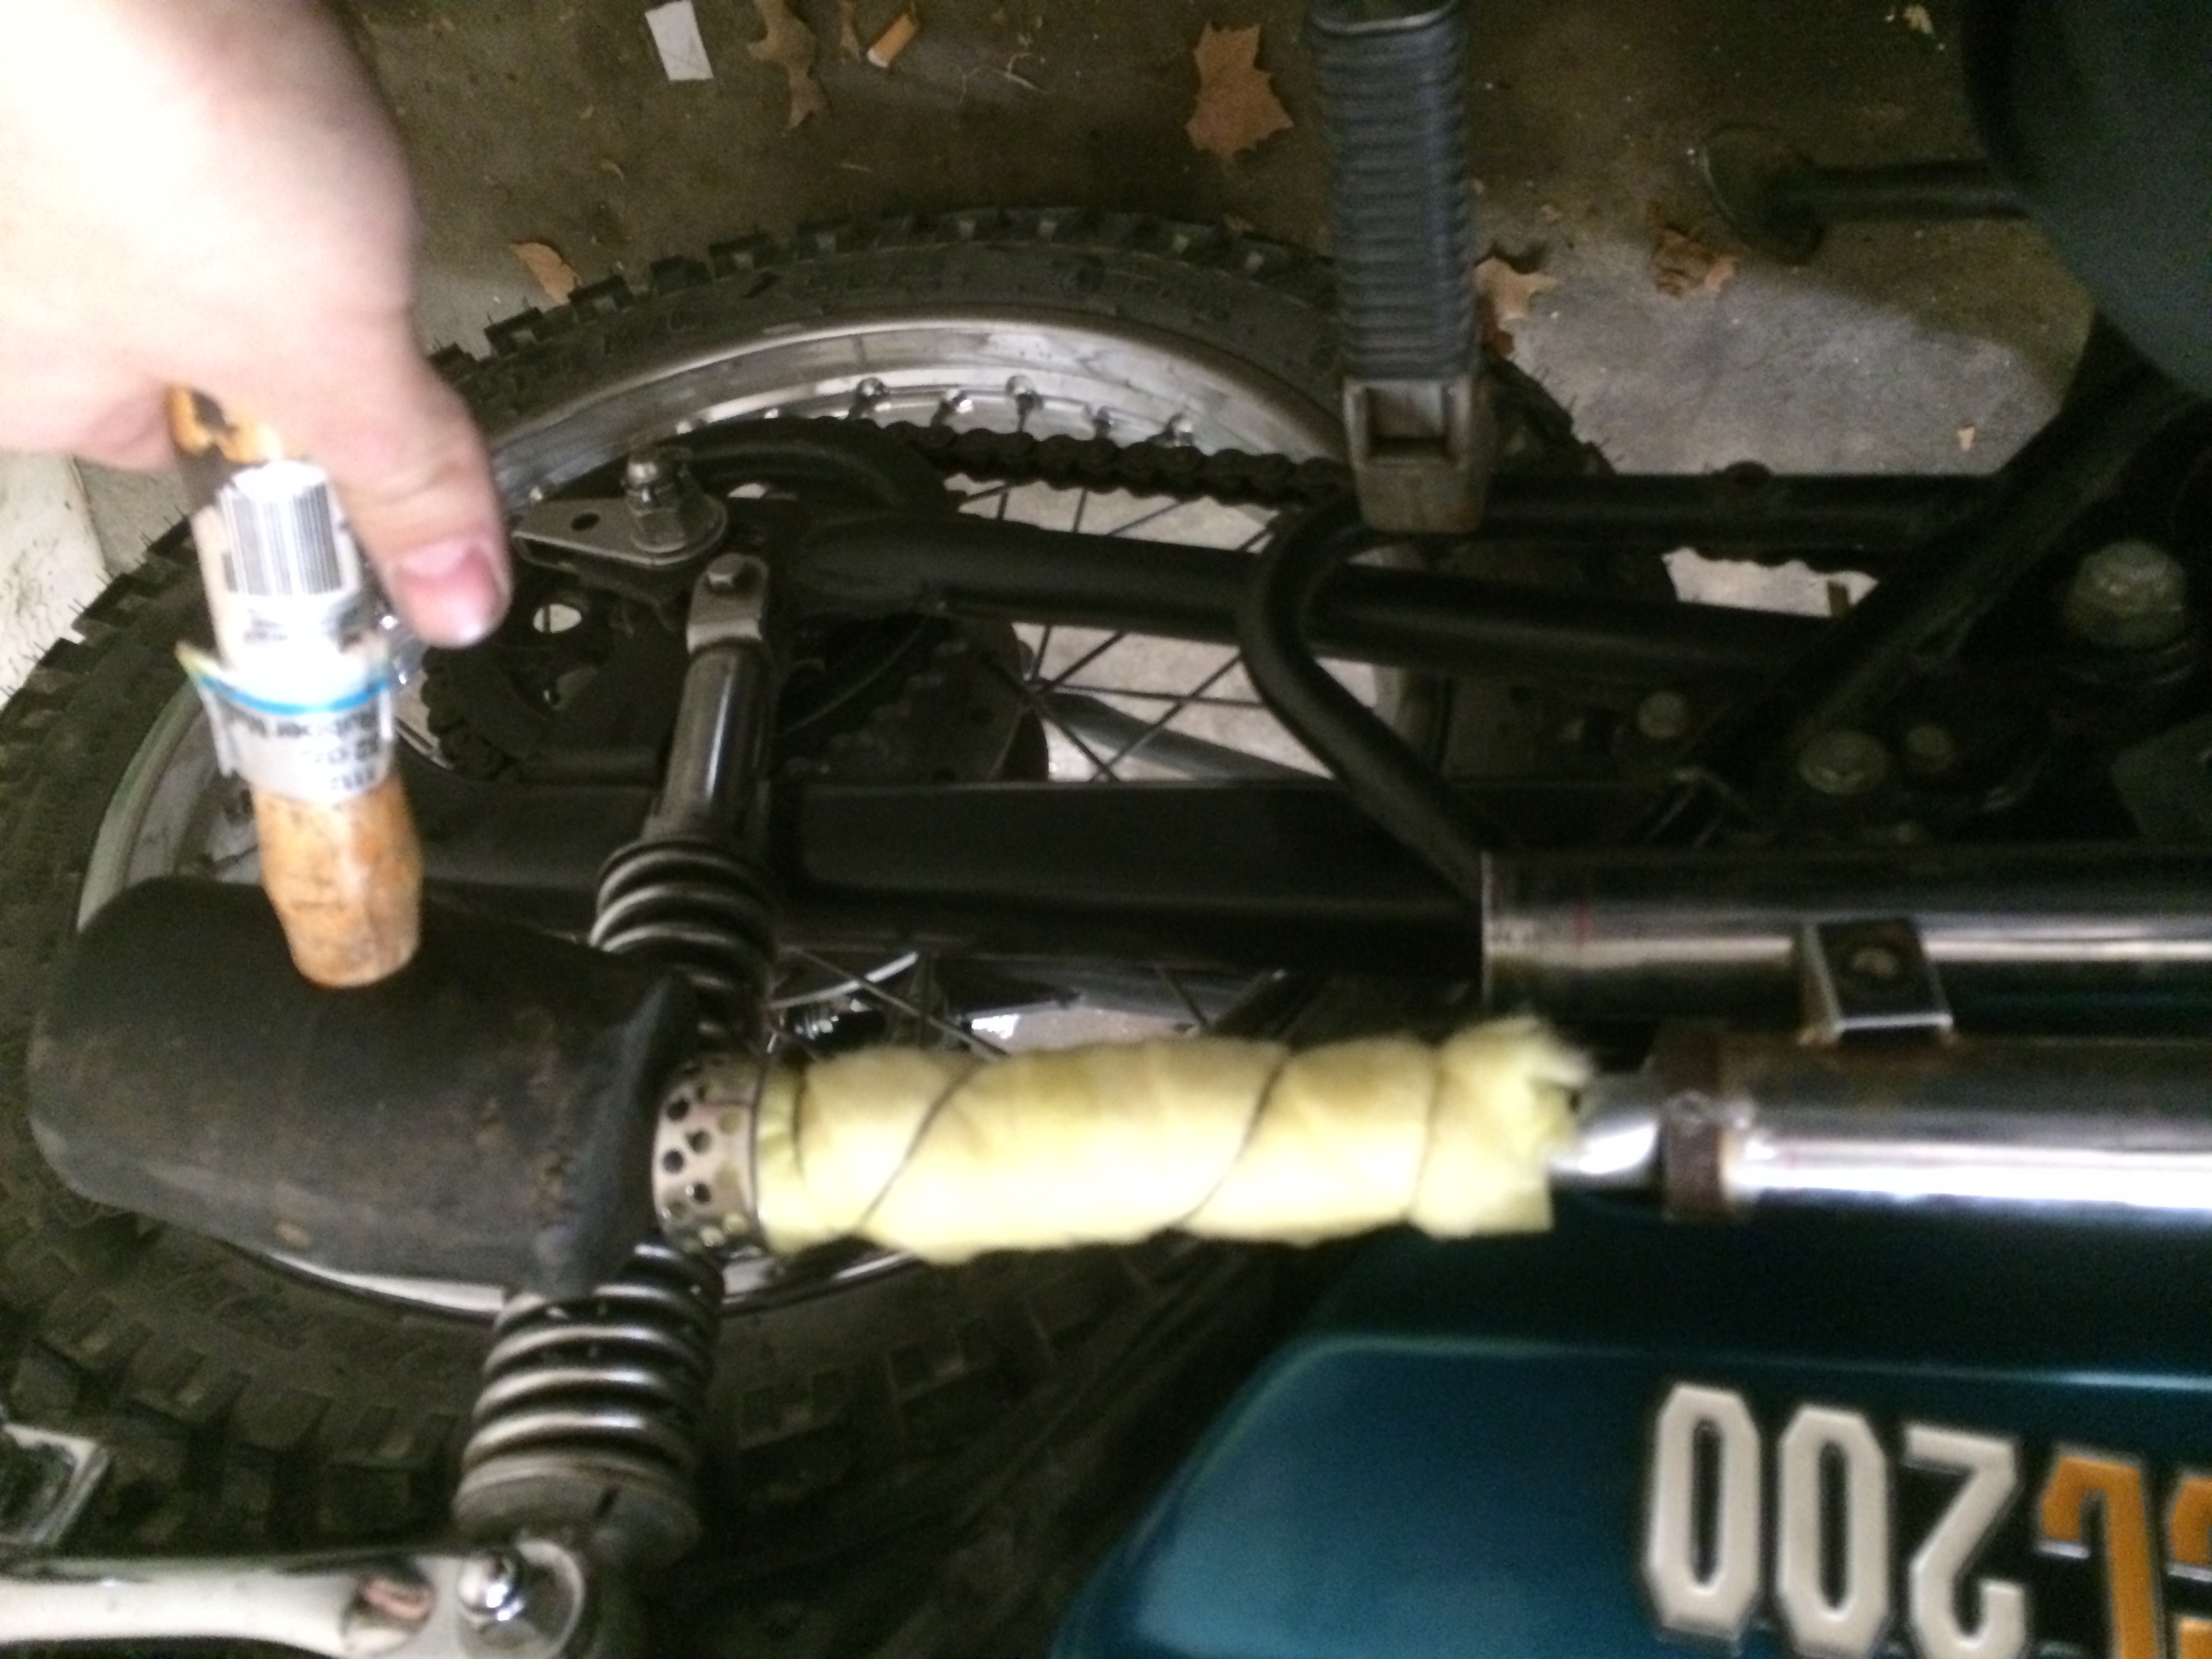
Lastly, the exhaust could go back together. To get the muffler off I had to cut if off with a dremal cutting wheel and a hacksaw where the cutoff wheel couldn't reach (a grinder with a cutting disk would have been a much better choice). Instead of running open pipes, I made some baffles that will go inside the exhaust pipes, and found some chrome exhaust tips on Ebay. They sound a little louder than the stock muffler with a big hole in the bottom, but do a good job of muffling the high-pitched, smacky, nasty sounds. You can see the how the baffles were made in the pictures, and you'll need some good muffle baffle packing as well.

And that was it!

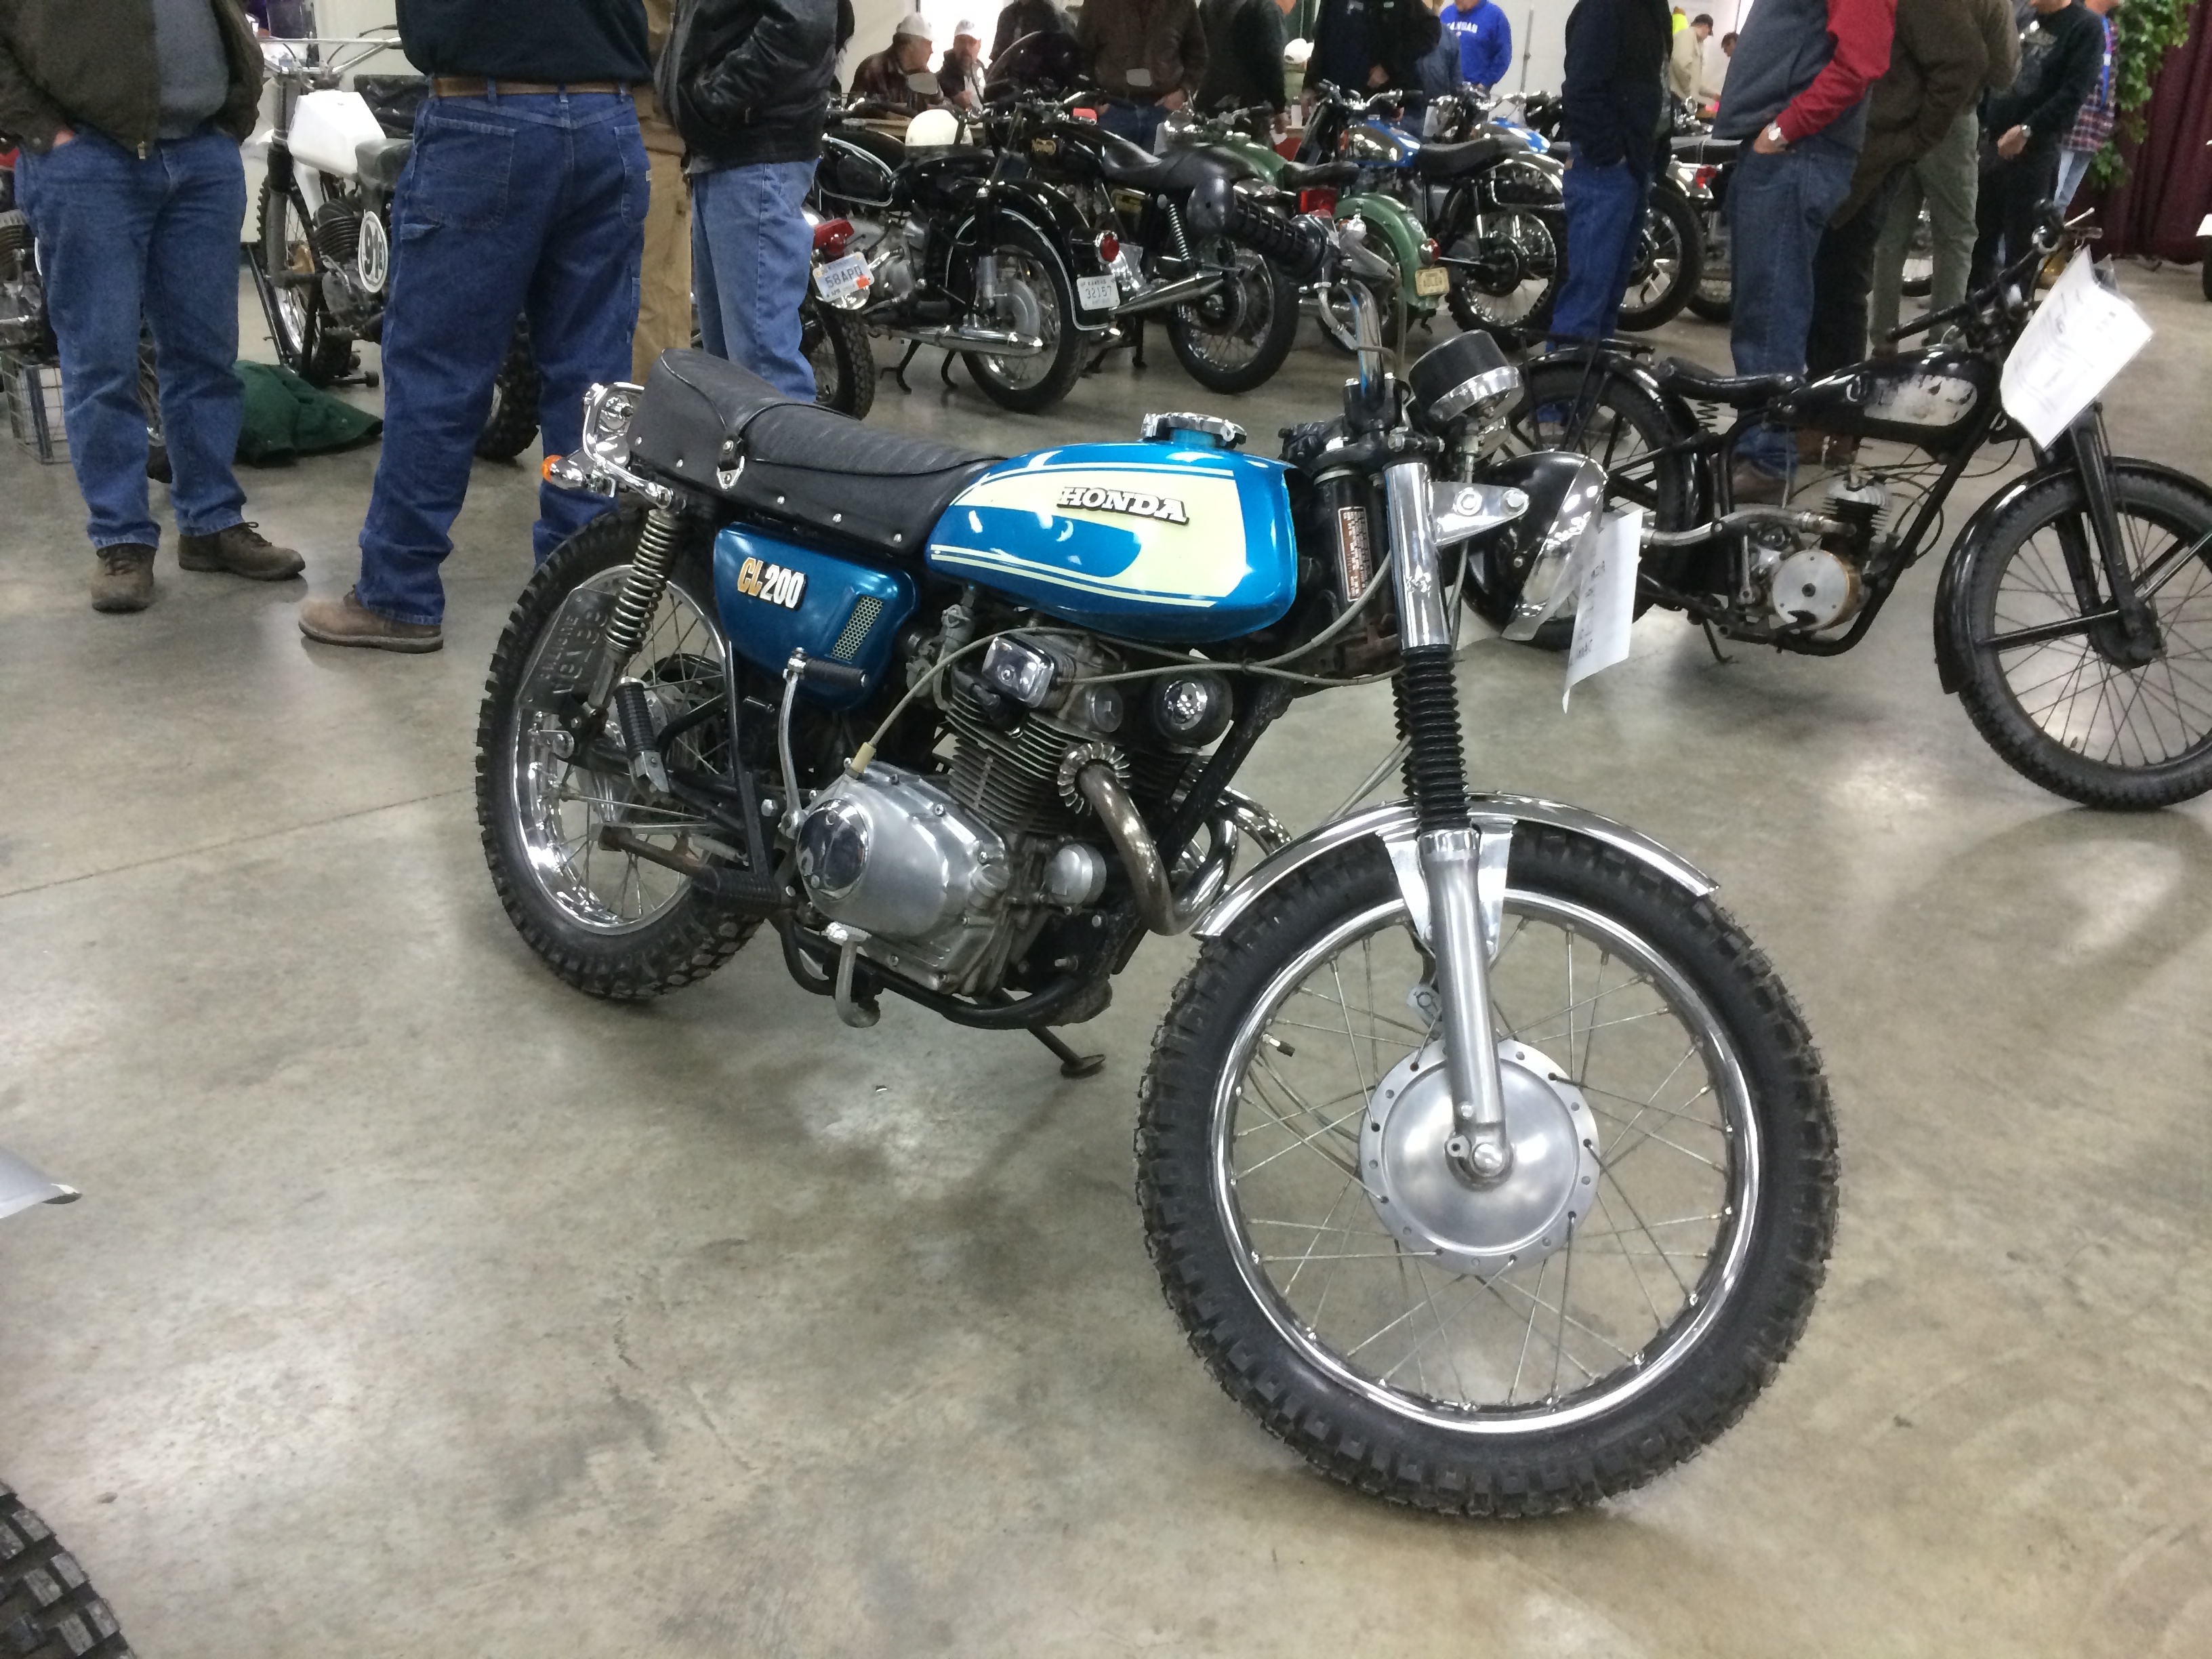
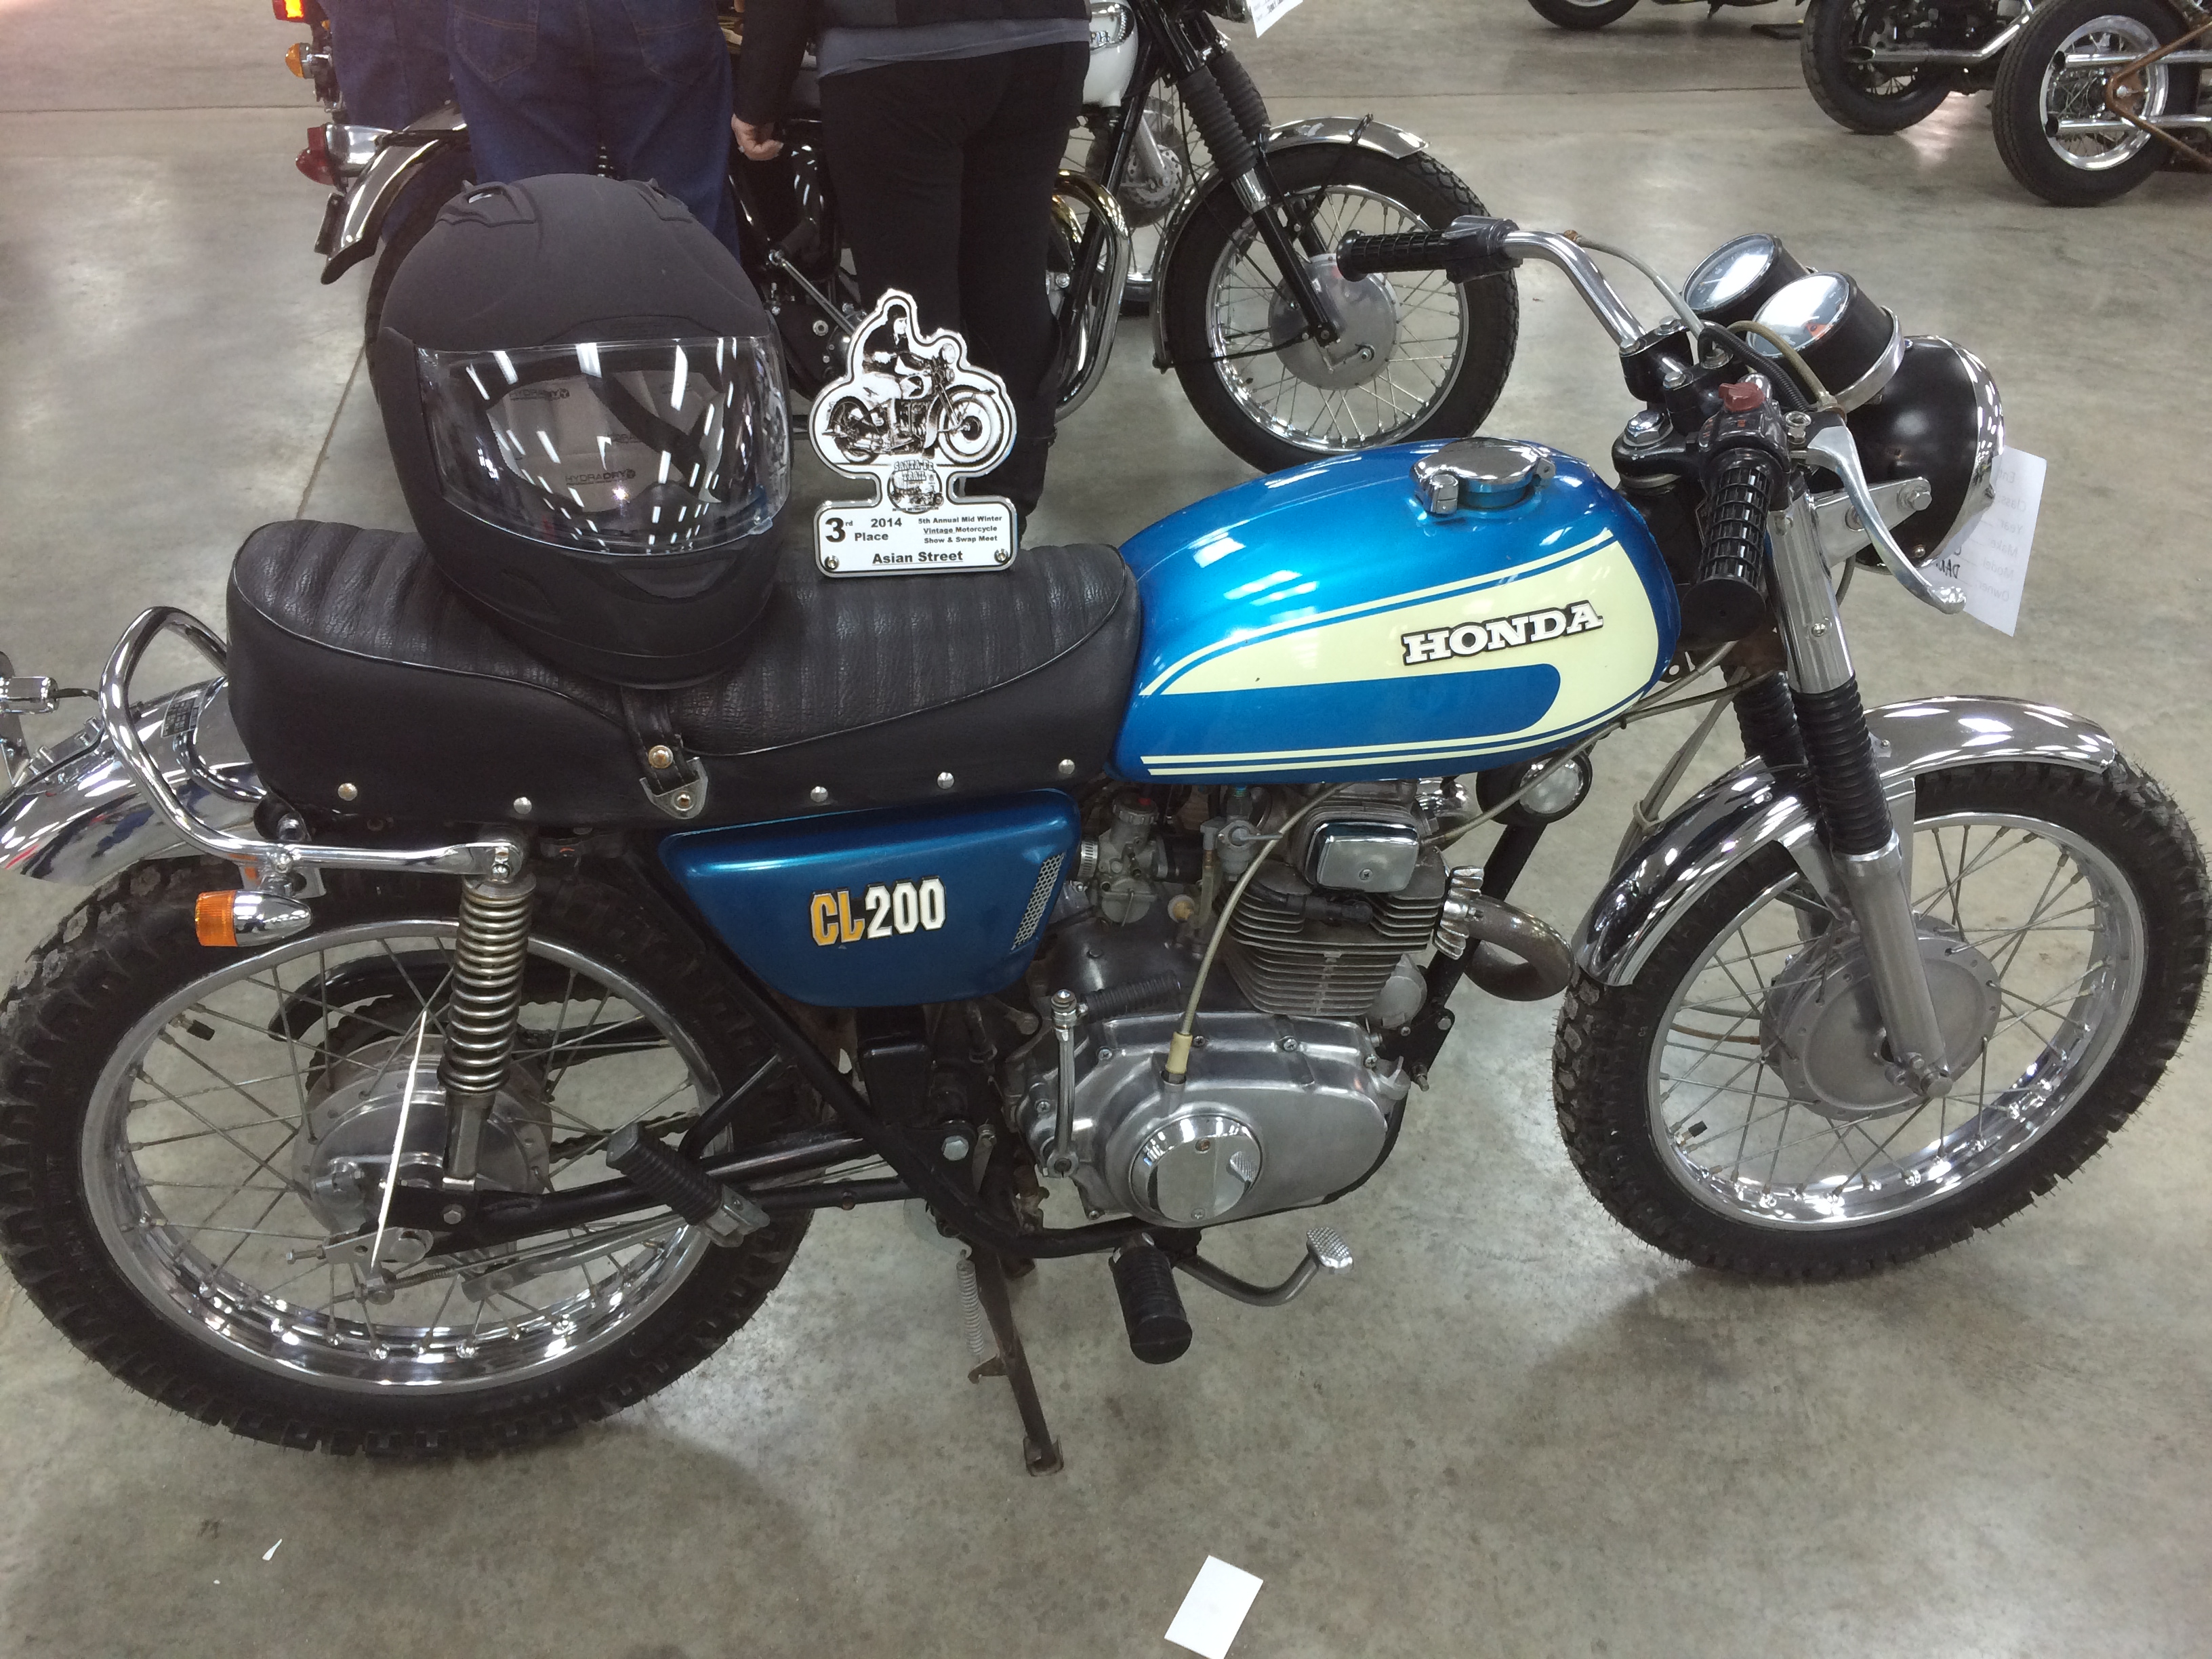
I polished and waxed it up and had it finished (for now) just in time for a local vintage motorcycle show. I took 3rd place in the Japanese Street division.
But I'm not done now! Stay tuned for Part 2 of this build.